At the beginning of the month, we had a Share Your Favorite Soaping Tip Contest. The tip could pertain to soap, bath bombs, lotions, or any other bath and beauty project. We received close to 400 comments, and I was so impressed with all the tips. I definitely learned some new tricks! If you’re looking for more informational posts, check out the Tips and Tricks category of the blog.
Many of the tips had similar themes including have fun, stay organized, safety first and don’t get discouraged. These tips made me smile, because they really identified what the DIY journey is all about. Creating should be fun! To make sure it’s fun, it’s crucial to stay safe and it also helps to be organized. Click here to read all the tips in the comment section.
Most frequent tips:
1. Have fun. Don’t forget that soapmaking should be a fun activity. If it’s stressing you out, take a deep breath and relax.
2. Stay organized. Keep your soaping area organized and thoroughly read over the instructions several times. This will help the entire process go smoothly.
3. Safety first. If you are making cold process soap, take proper lye safety precautions such as wearing goggles, long sleeves and soaping in an area with no children or pets nearby. Click here to learn more about lye safety.
4. Don’t get discouraged. We all have an occasional soaping mishap. If your batch doesn’t turn out perfectly, don’t get discouraged and quit. Your next batch will be better. =)
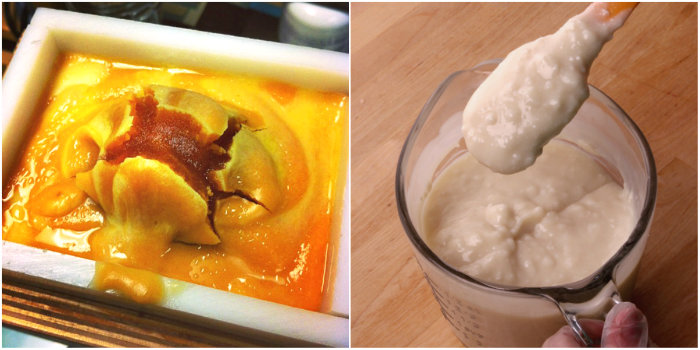 Soaping mishaps happen, but don’t get discouraged! Check out the Soap Behaving Badly and the Soapy Mess-Up Quick Guide to learn how to work through common problems.
There were so many great tips, it was hard to choose my favorites. Below are some of the tips that really stood out to me. Thanks to everybody who took the time to share a tip. The team and I had such a good time reading through them!
Tool Tips
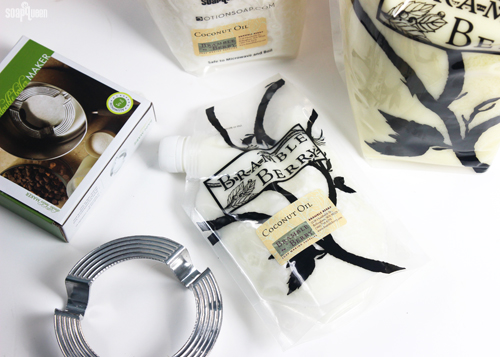
“I know all of you probably have at least one of the reheatable bags that your oils come in from Brambleberry. I actually cut the top off across one of them to make it a open bag. It works perfectly for rebatching soap in and works even better for melting your waxes in. I use the double boiler method and it is an awesome way to melt things down in. So never never throw away. They are really useful for this purpose.” – Kristie
“To process images for water soluble paper so that you get the best, most vivid images into your soaps, select the image in Microsoft Word (or use any image editing program). Increase both color saturation and contrast, and then lower your brightness or exposure just a tiny bit (to counteract the increased contrast, which can wash out some of the subtleties in the image). This will ensure that the images underneath the clear layer of soap don’t look so “washed out” (so to speak).” – Vittoria
“My house is kept rather cold (thanks, hubby), which makes getting a good gel on my CP soap a challenge sometimes. My secret? A cheap pizza stone! I pop it in the oven at 170 while I make my soap, pull it a few minutes before I’m ready for it, then set my mold on the stone (usually I put a thin towel between the stone and mold), cover with a towel, and let it go. The heat is enough to encourage the gel, but it dissipates just at the right rate–not too fast, not too slow, so I get a perfect gel every time. I use a cheap, thin stone since I wouldn’t want to ruin a high end one, and the high end stones tend to hold their heat longer, which I don’t really want.” – Lindsey
“If you stamp your soaps and have a problem with get soap getting stuck in the stamp, place a sheet of plastic wrap over the soap before you stamp. The impression comes out fine and no soap gets on your stamp.” – Debbie
