Father’s Day is next month (Sunday, June 20th). Now is the time to make your cold process soap so it has time to cure for Dad’s big day!
Never made cold process before? No problem! Check out our beginning series to cold process on Soap Queen TV. Be sure to check out all of the (free) videos before diving in. Don’t miss out on the safety precautions and basic instructions.
Video 1: Lye Safety and Ingredients
Video 2: Cold Process Basic Terms
Video 3: Cold Process Fragrances
Video 4 COMING SOON: Cold Process Colorants
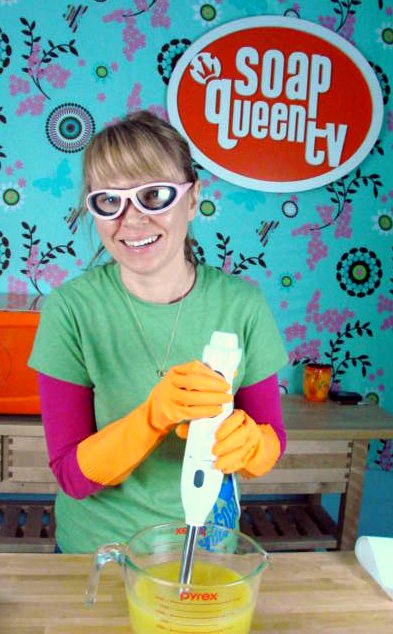
Safety First: Make sure that you have on your goggles, gloves and long sleeves. Read a lye safety blog post HERE or watch a short video on lye safety HERE.
Ingredients:
11 oz. Olive Oil
8.9 oz. Coconut Oil
7.9 oz. Palm Oil
2.1 oz. Jojoba Oil
.5 oz. Shea Butter
4.3 oz. Lye
10 oz. Distilled Water
(Yeild 45 oz.)
2.5 oz. Blue Man Fragrance Oil
¼ tsp of Ultramarine Blue
1 tsp of Ocean Blue Jojoba Beads
1/8 tsp of Super Pearly White
2 mini scoops of Titanium Dioxide
.5 oz. EXTRA Jojoba Oil
Tools:
2 Heat Safe Containers
Spoons
Mini Scoop
Small Bowl
Wax Paper
Mini Mixer for Colorants
Stick Blender
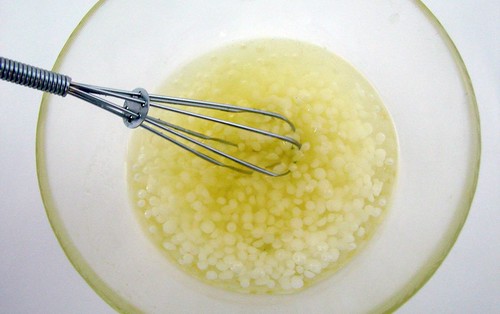
ONE: Put on your gloves and goggles and make your lye water. Measure out 10 ounces of distilled water and mix in 4.3 ounces of lye. Remember to always add the lye to the water and never the other way around. Stir the lye water until the mixture turns clear and set aside.
TWO: Measure out all of your oils. In a large heat safe container, heat and combine the olive oil, coconut oil, palm oil and jojoba oil. Give it a good mix.
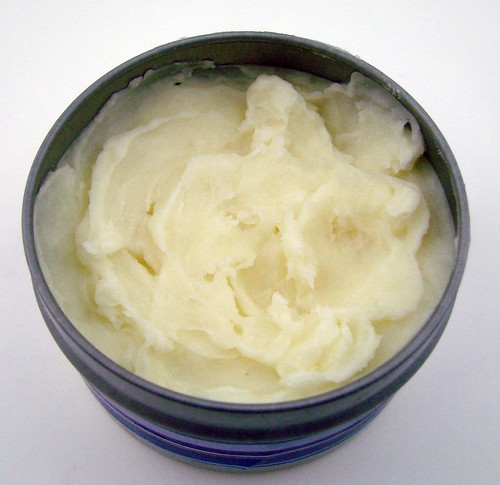
THREE: Stir your shea butter into the oil mixture until is completely melts in. If shea butter gets too hot it tends to get grainy. I like to stir it in and have the heat from the other oils melt the butter.
FOUR: Let your oils and lye cool down. For this recipe, my oils and lye were both between 90°F and 100°F when I combined them (oils were 94°F and lye water was 98°F). While your oils are cooling, we have a couple of things to keep us busy, like lining your mold, measuring out your fragrance, and making a blue slurry for the swirl.
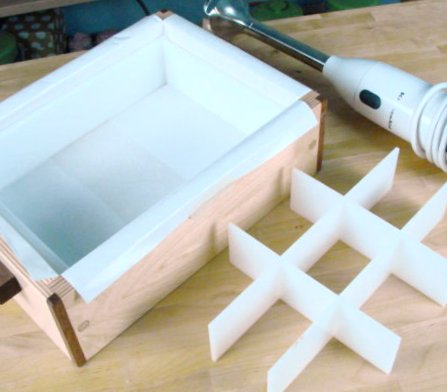
Line Your Mold: Use freezer paper to line your mold, shiny side up. Once your mold is lined add the side and end border pieces and put your inserts together so they’re ready for action.
Fragrance: In a small mug or bowl, measure out 2.8 ounces of Blue Man Fragrance Oil. I normally recommend .7 oz. to 1 ounce of fragrance per pound of cold process soap. I’m using a little more this time so it’s strongly scented (because I adore, love, love, love, strongly scented soap).
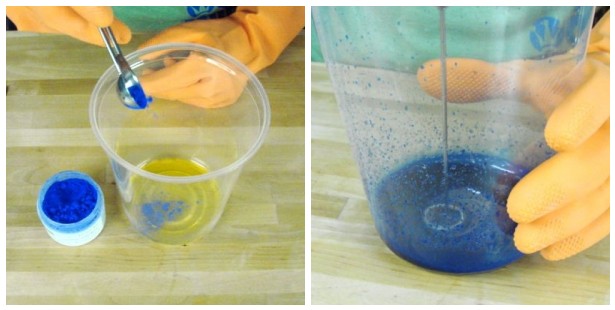
Blue Slurry: I learned this technique from Christy Rose of KBShimmer and love it. In a tall plastic container, combine ½ ounce of Jojoba Oil and ¼ tsp. of Ultramarine Blue Oxide. Mix together with a mini mixer or frother to break up all of the clumps. We’ll be adding some soap to this colorant later to swirl.
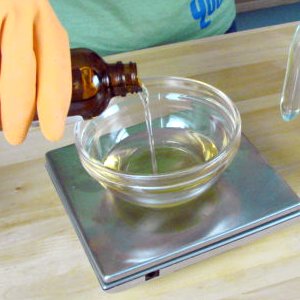
Fragrance: Measure out 2.5 ounces of Blue Man Fragrance Oil.
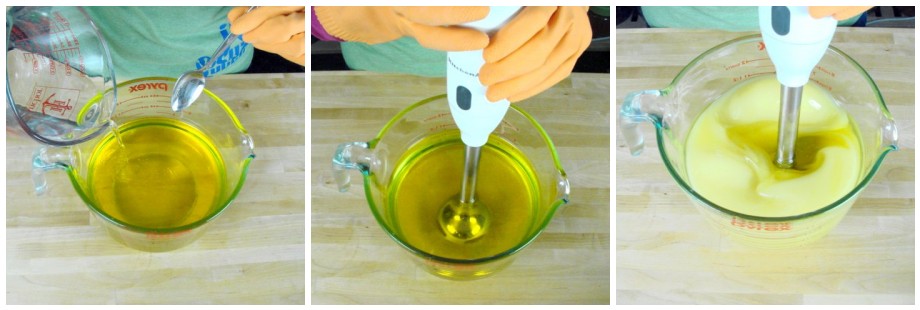
FIVE: Once your oils mixture and lye mixture has reached your desired temperature, it’s time to combine them. Slowly and carefully add your lye water to the oil mixture. Remember to “burp” your stick blender before turning it on.
What’s Burping? Burping gets rid of air bubbles. Give the stick blender a couple of taps on the bottom of the glass container while the head of the mixer is submerged in the liquid. The goal is to get the bubbles out of the head of the mixer before we start mixing.

SIX: Mix with your stick blender until you have a thin trace (like a thin pudding mixture). Then add 12 ounces of the soap batter to the blue slurry container and mix with your sick blender. Do not add any fragrance to this colored soap. Blue Man is a discoloring fragrance and we don’t want this part of the soap to discolor. Then hand stir in ½ tsp of Blue Jojoba Beads.
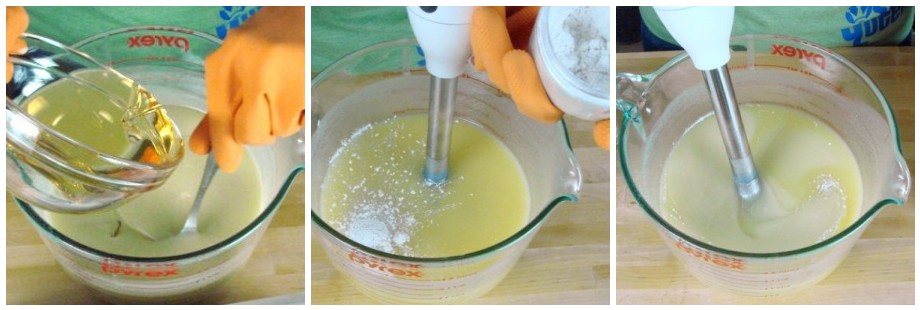
SEVEN: Add the Blue Man fragrance to the rest of the non-colored soap batter and hand mix with a spoon. Then add 2 mini scoops of Titanium Dioxide and 1/8 tsp of Super Pearly White Mica. Mix well with your stick blender. Don’t forget to “burp”!
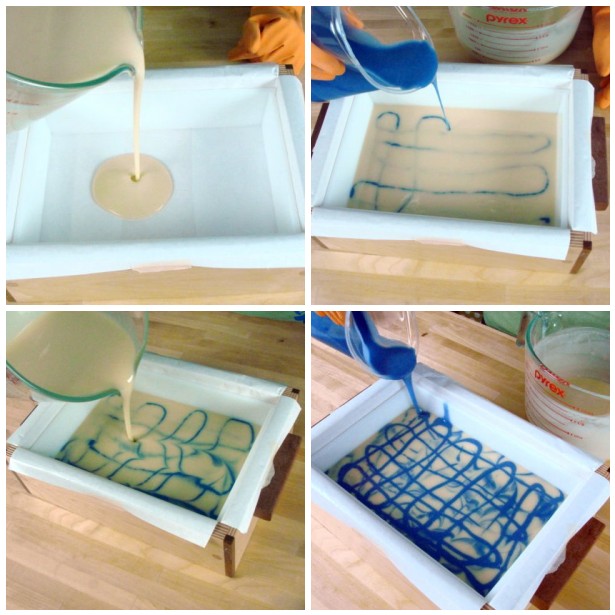
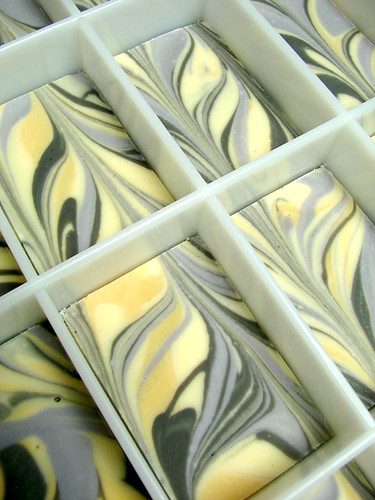
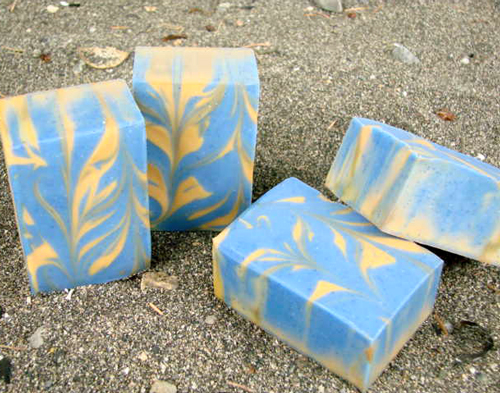
EIGHT: Both soap batters should be at a light trace at this point. Pour half of the non-colored base into the mold. Then drizzle half of your colored soap in an “S” like pattern horizontally then again, vertically. Repeat with the rest of your soap batter.

NINE: In bigger molds I usually use a spatula or a spoon to swirl. Because this mold is so small, I recommend something smaller like a skewer. I actually used a dropper and the swirls turned out great. Swirl your soap in an “S-like” shape horizontally then again vertically.
TEN: Drop in the assembled dividers and pop the lid on. Let it rest for 24-48 hours before unmolding. Then let it cure for 4-6 weeks. Click HERE for unmolding tips.

