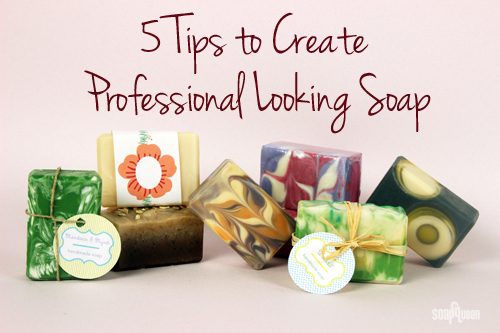
This week had a popular blog post on finishing touches. Between pouring your soap in a mold and giving it away or selling it, a lot can happen. Corners can get dinged or soda ash can form. Luckily, there are steps to make your soap look its best. Check them out in the 5 Tips to Create Professional Looking Soap blog post.
Soapylove Sale + Project Roundup
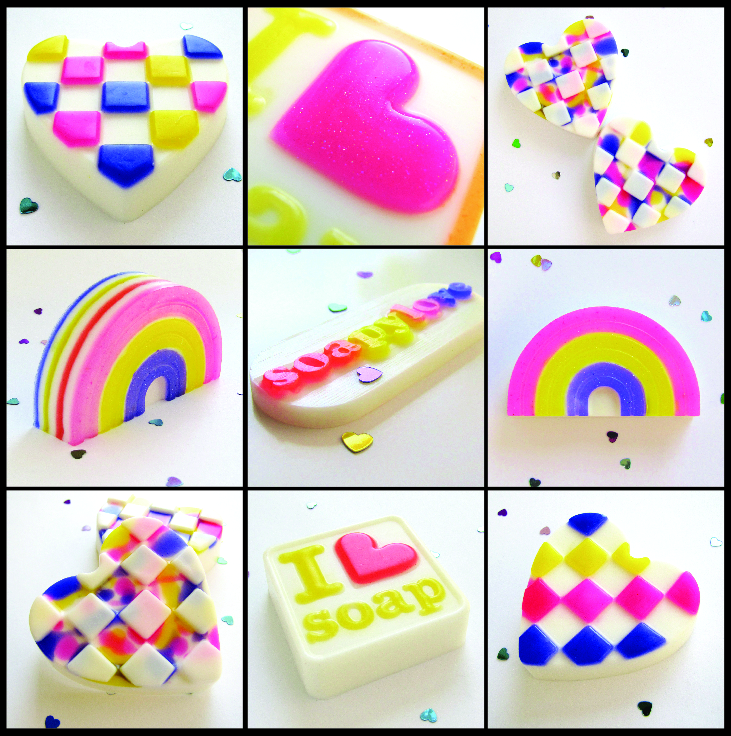
If you are a melt and pour soap maker, you’re propbably familiar with the adorable projects created by Debbie Chialtas of Soapylove. Full of bright colors, cute shapes and fun designs, Soapylove’s projects are incredibly creative and unique.
Debbie’s Soapylove line of products are well known for sugary-sweet fragrances and eye-catching colorants. Sadly, the Soapylove line is now on clearance, to make room for new products in our warehouse. But act fast! These items are available while supplies last, and will not return once sold out.
[Read more…]
Inspirational Glassy Color Formulas
Hi everyone! It’s me, Debbie Chialtas of Soapylove! I love helping out here on Soap Queen. I hope you like this post!
When it comes to glycerin soap inspiration, I always find glass beads to be an amazing source of ideas. The same qualities of glass (color, translucence, surface texture, and shape) apply to glycerin soap as well!
For the Soap Lab issue of “Let’s Get Soapy” – carried on Bramble Berry if you click here – I did a special article about combining pigments with micas to get glass-like colors. By doing this I got the intensity of pigments with the light reflection of micas. I was really pleased with the results. I used the above beads as my color reference, then started mixing!
Here are my formulas, all made with colors carried by Bramble Berry. Maybe you already have some in your soaping tool box!
Feelin’ the Love
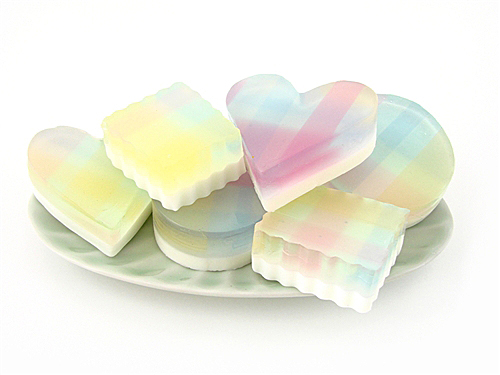
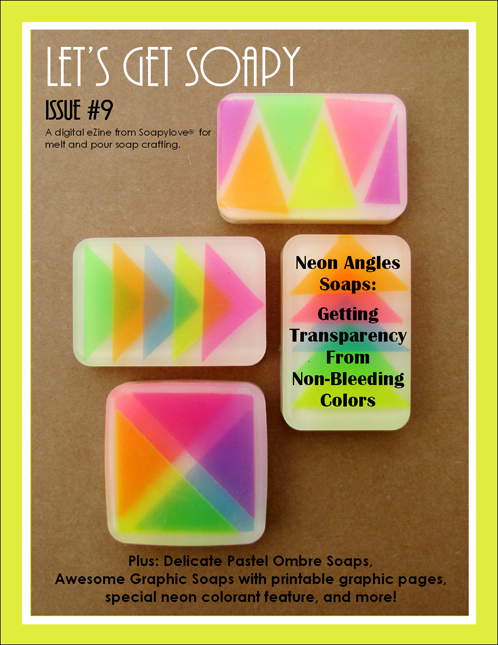
Brand new and hot off the press, Debbie Chialtas’ newest Let’s Get Soapy e-zine is now available! This 24-page full color PDF is packed with tutorials for making soaps with water-soluble paper, achieving ombre coloring and working with neon colors for bright soaps that are ready for summer.
Sign Up for a Soapy Swap
Get ready, get set, SOAP! It’s time once again for a Bramble Berry Soap Swap! Our soap swaps are easy to participate in, and you may even meet a few fellow soapers or learn some new techniques yourself. Our last soap swap was a huge success, and we can’t wait to see what soapy surprises we get this year! Interested in swapping? Read on to find out how to get started!
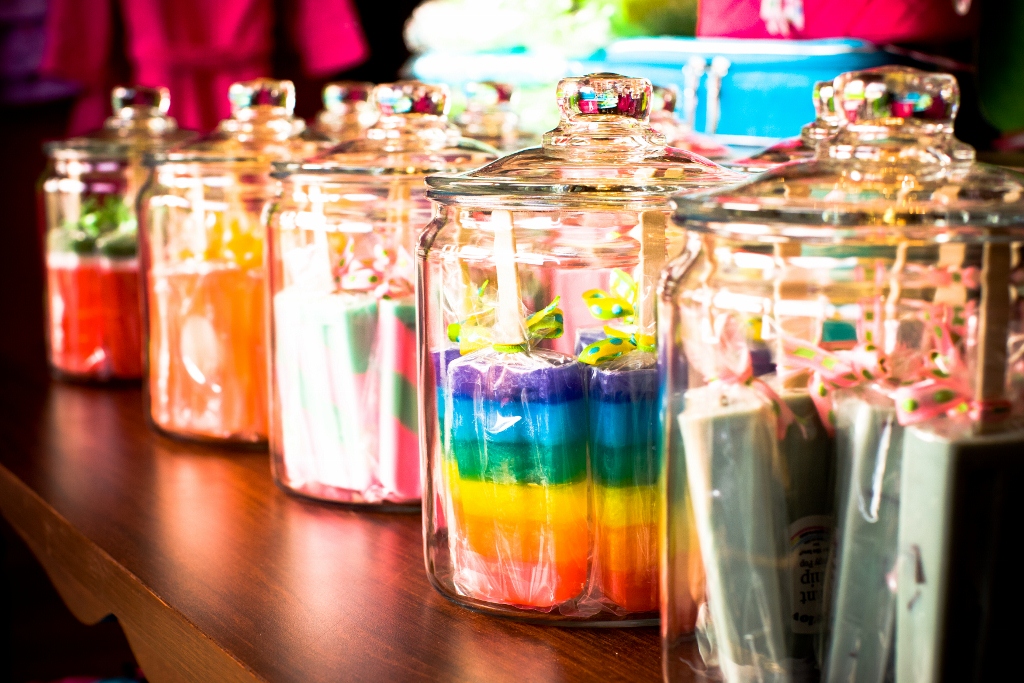
Double Feature SoapyLove Ice Pop Soap!
Here’s Debbie with another super adorable SoapyLove project! When you’re done oohing and aahing over this tutorial, check out the totally rad soaps she taught at Soap Weekend Intensive 2012 using Bramble Berry’s neon colorants. -Anne-Marie
Do you want to sell wholesale? Be prepared!
We’ve been getting copious amounts of questions recently on the Soap Queen Blog, Facebook Fan Page and in customer service requesting wholesale advice. It’s been so long (over a decade now!) since I’ve sold my soaps wholesale, I thought I would reach out to some of my successful soaping friends to share some current best practices and advice with the Soap Queen readers. Today’s wholesale guest blog is by Debbie Chialtas from Soapylove (you’ll soon be addicted to her website)! Thanks for the tips, Debbie!
Anne-Marie
Guest Post by Debbie Chialtas
When I first started Soapylove I was just selling to support my hobby. I came up with my prices pretty randomly and didn’t have any real business plan or structure. Eventually, though, shop owners asked if I sold wholesale.
Soapylove Neon Bonanza
Recently I received a wonderful surprise in the mail – the new neon colorant sample pack from Bramble Berry! I guess Anne-Marie really knows me since neons are my favorite colors! So yesterday while my kids were happily at Grandma’s house, I hit the kitchen with my Soapylove molds to take the neons for a spin. Here are my projects and some tips to get super bright, clean details in your next project!
Supplies needed for all projects:
Soapylove Tutorial: Sparkly Strawberry Sorbet Soaps
Soapylove Technique Post – 3 Color Fade
Rainbows and hearts… I can’t seem to get enough! One of my favorite looks lately is graduated color. Several years ago I taught at Otion’s Soap Weekend Intensive and was thrilled to attend a class by Paula of PJ Soaps (she’ll be teaching again this summer!). She showed how to make her beautiful moon soap (click here for tutorial), where she tilts the mold to get a lovely fade between the moon and midnight sky.
I have used this several times with a single tilted color, but realized if you use one on each side and then fill the center, that you can get a 3 color fade!
Here’s what you’ll need:
Coral Mica
Yellow Mica
Liquid Blue
Striped Heart Mold
NOTE: The mold in this tutorial has been discontinued. The kit now contains the Swirled Heart Mold.
Clear M&P soap base
White M&P soap base
Or click here and get everything you need all at once.
Here’s how to do it:
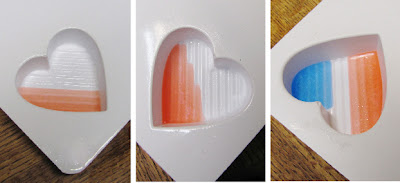
Prop your mold up on one side or corner. I used the Soapylove Striped Heart Mold. Next, melt and color a small amount of clear soap using non-bleeding red or coral mica. Spray your mold with alcohol, then pour a small amount of soap into one side, allowing it to only cover 1/3 of your mold surface.
It’s okay if your color doesn’t line up perfectly with the stripes. Allow to harden. Now turn around your mold so the opposite side is propped up. Melt and pour some blue soap into the opposite side, again only covering 1/3 of the mold face. Allow to harden.
Move your mold to be flat on the table. Color your third batch of soap yellow, spray mold with alcohol, and pour in soap so it fills the center area and covers a bit of each side color. Allow to harden. Spray with alcohol and top off with fragranced white soap. Voila!
Here’s a tip: color your soap with a light hand – if your colors are too dark then the background color won’t show through. When I do this project again, I’ll use a little less blue so the green tone will be more noticeable.
Enjoy!
-Debbie
Soapylove
Part 2: Using Silicone Molds with M&P – Tips and Projects
In my first post about using silicone molds with melt and pour soap, I gave some tips about using these intricate molds and how to avoid surface flaws. Today I will touch on using different bases and colorants, how to enhance the designs, and how to make a cute jewelry filled soap purse (click here for the mold).
Using different bases and colorants:
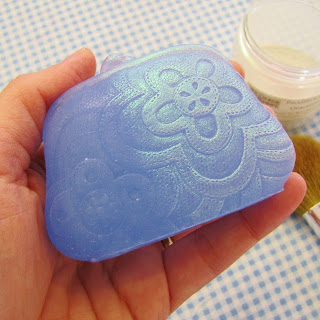
The neat thing about these molds is that they can have a lot of fine detail and a variety of textures. To get the biggest impact, experiment with your mold to see if clear, pearly (clear base with mica color), or opaque shows off the design the best. You will find that each will have a very different look depending on your mold. For the purse, my favorite was an opaque base with pastel color. For my Typography Soap mold (which I made), I prefer clear with just a hint of color. There’s no hard-and-fast rule about what’s the most effective because all designs are unique!
Enhancing the design:
Sometimes you want a little extra “oomph.” I like to use a cosmetic blush brush and some pearly mica to do just that. First just use the mica in the lid of your jar. This will be plenty. Just swirl your brush in the powder, tap it on the lip of your jar to remove any excess and gently brush the surface of your soap. By going light, you can control the intensity of your color. See what a difference the mica makes?
Jewelry Box Filled Purse:
For a quick and fun version of the ever popular “toy in soap” idea, here is a fun way to play up the purse shape. Take a lip butter pot and fill it with acrylic craft gems (you could put something special in there, but I did have some soap seep inside, so keep that possibility in mind).
Next, fill your mold 1/4 way with soap and allow to form a thick skin. Make sure to pop all bubbles so your layering isn’t noticeable. Now close the lid on the lip butter pot and gently push it into the soap skin. Hold it for a few moments to let the soap “grab” and solidify. Then spray the jar with alcohol and top off with soap. Allow to harden and unmold!
I hope you have enjoyed my posts about using these super fun molds. It’s so incredible what shapes can be made! You may even want to try your hand at your own original designs with Bramble Berry’s Flexy Fast!
Here’s a little silicone mold entertainment. Enjoy!
-Debbie
Soapylove
Soapylove Technique Post: Using Silicone Molds with M&P, Part 1
If there’s anything that makes glycerin soap crafting even more of a joy, it’s using silicone molds. The shapes, textures, and amount of detail is mind blowing, plus the ease of unmolding can’t be beat! Today I’m going to discuss some tips to make your soaps as amazing as possible, and avoid any disappointing results (and in my next post I’ll give you some project ideas, too!). I used the Bramble Berry “Kudos Sunflower Handbag Silicone Mold.”
For starters, it can be hard to guess how much soap each mold holds (hard if you don’t read the description on the site like me!). So to determine the capacity of a mold, just fill it with water, then pour that into a measuring cup. Voila! That’s how much you need (add 1/2 oz more to make up for soap left in your cup).
The main challenge using these intricately detailed molds is that the textures can sometimes trap bubbles, causing gaps in the design or holes in the soap surface. Here’s an example of what that can look like:
Avoiding this is easy – it just takes some attention while you’re pouring. First, spray the surfaces of the mold lightly with rubbing alcohol before you pour. This helps pop bubbles on contact and thins the soap slightly so it flows into the tiny details better. Next, pour your soap pretty hot so it’s not thick at all. Just make sure that you don’t overheat your soap, causing bubbles.
Once you have poured, allow it to sit on the counter and harden at room temperature. Since the molds are so soft, it’s hard to move them without squeezing your soap and spilling or wrinkling the soap surface. Also, the silicone insulates very well, making it take longer to cool than in a traditional hard plastic mold.
Getting the soap out is definitely the fun part! Just pull the sides of the mold away from the soap – there will be no resistance at all – and stretch it while pushing the soap up and out. It’s super easy!
In my next post I will talk about using different soap base colorants, how to enhance the surface design, and how to make a jewelry-filled soap purse. I hope to see you then! 🙂
Happy melting and pouring!
-Debbie
Soapylove
Soapylove Tutorial: Cute as a Button Soaps
Soapylove Tutorial: Loteria Soap Shrines
Lidded molds and embed paper are my two latest supply obsessions. I just love how easy it is to put colorful images into soap bars, and the lidded molds make it a snap to make perfectly protected and showcased soaps! So now that it’s fall I get to pair up my favorite supplies with Mexican Folk Art, which is fabulous for colorful Halloween inspirations.
These soaps use Loteria card images (like Mexican bingo), and then we get to bust out the crafty goodness and decorate the mold like a little shrine. Traditionally for Dia de los Muertos families honor their deceased loved ones with favorite goodies and loads of flashy decorations. So pull out your glitter, puffy paint, rhinestones and glue gun, and have fun! These soaps will certainly be too pretty to use! 🙂
Supplies:
8 oz Soapylove Naturally Clear Soap Base
2 oz Soapylove Bright White Soap Base
Soapylove Jewelry Box Colorant Set
Soapylove Candy Jar Fragrance Set
Water Soluble Paper – download and print the Loteria Card images onto the paper using a laser printer
3 Lidded Molds
Click here to have these items added to your Bramble Berry cart.
Rubbing alcohol in spray bottle, knife and cutting board, microwave, measuring cups
Craft supplies such as glue gun, lace, ribbon, gems, glitter glue, decorative paper, feathers – you name it!
First melt all of the clear soap base in a measuring cup (high heat in microwave for 45 seconds or so). Add a generous sprinkle of the ultrafine glitter from the colorant set. Stir well and pour a thin layer into each mold. Allow to harden.
Meanwhile, cut the Loteria Card images (they are sized to fit the lidded molds). Reheat the soap base if it has formed a skin. Spray hardened soap in molds with alcohol and pour another thin layer of soap on top. Place paper, image side down, into the soap and pour another thin layer of soap on top. Use a chopstick or craft stick to press image down flat. Smooth all corners down. Allow to harden.
Melt the 2 oz of white soap base, allow to cool to 120 degrees. Spray hardened soap in molds with alcohol and pour a thin layer of white into each. Allow to harden.
Reheat remaining clear soap in your cup and add a few drops of Ruby Red colorant. Stir well. Spray white soap with alcohol and pour in red soap to 1/4″ of top of mold (this will make it easier to unmold soap when it’s ready to be used). Allow to harden and snap on lids.
Now you’re ready to give these soaps the royal treatment! Use a glue gun to stick on trims all around the edges (front only so you don’t glue the lid on), glue fun things like gems or buttons to the sides, decorate the front with glitter glue or puff paint, and you can even glue on paper to extend the background for more decorating surfaces! Think of it like decorating a frame. The sky is the limit!! Now you can hang these up like little works of art. These would be awesome for a fall craft fair. Very eye catching!
I hope you like this over-the-top soap treatment. If you try it, please comment here and link to your pictures. I would love to see what you do!
Have fun!
Debbie, Soapylove
P.S. Looking for even more Halloween project inspiration? Check out the Fall ’09 issue of Let’s Get Soapy!