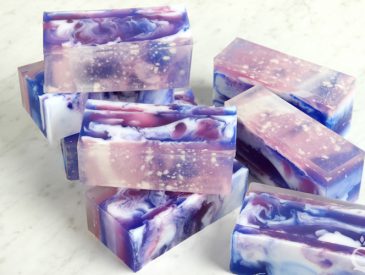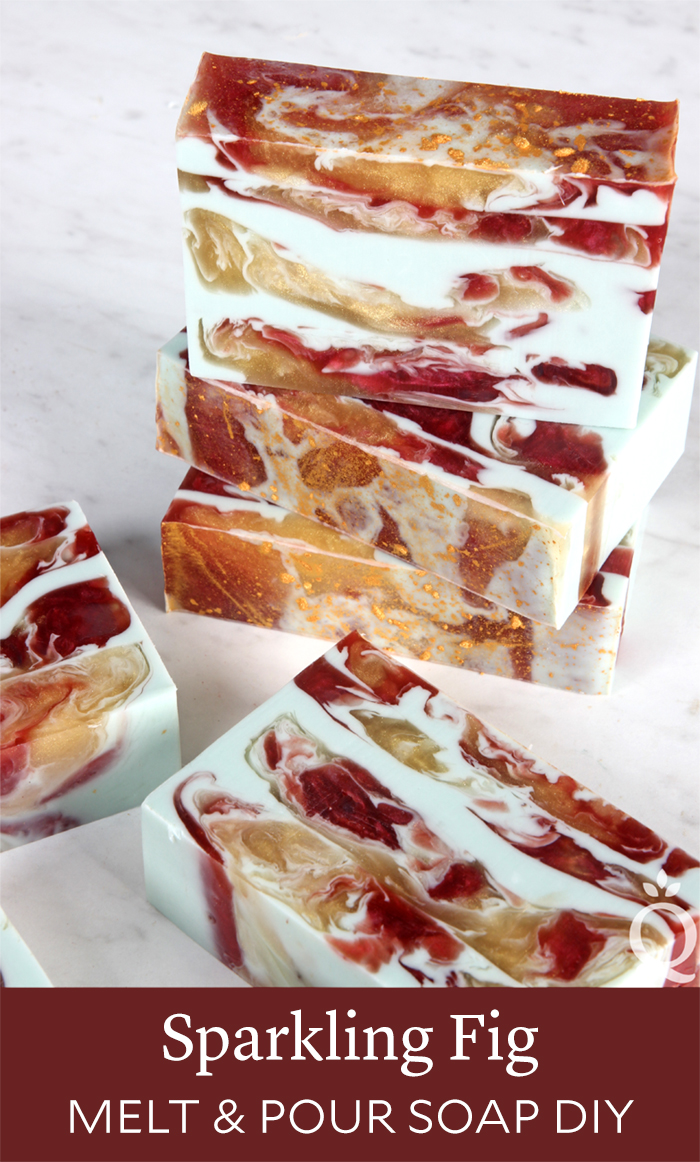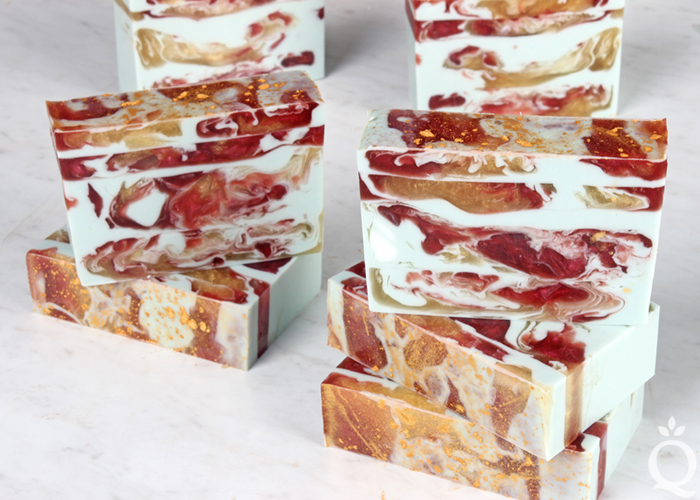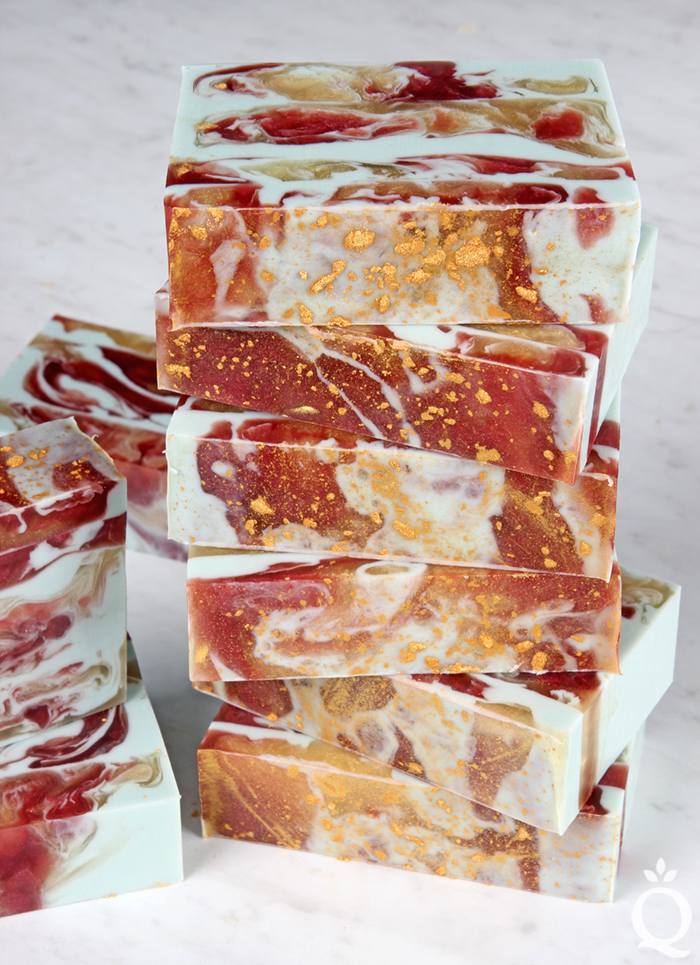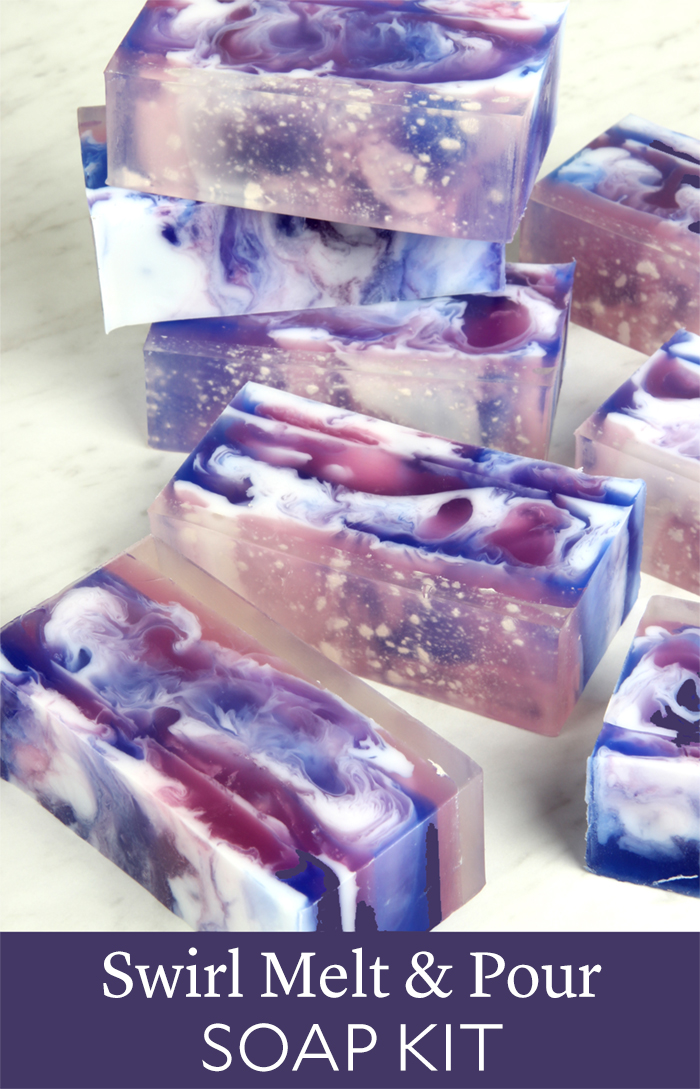
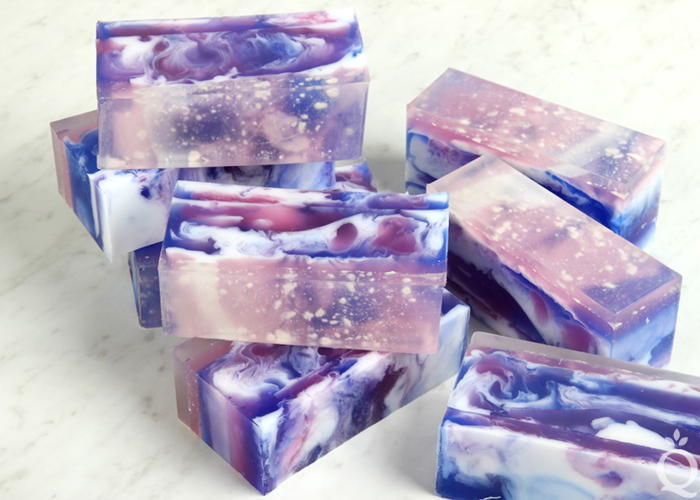
There’s a reason swirl designs are so popular. Not only are they fun to do, but your soap turns out differently each time. The Swirl Soap Kit includes everything you need to give the technique a try. We first shared the tutorial in 2009 – you can watch the Soap Queen TV video here. Eight years later, it was time for a refresh.
The updated Swirl Soap Kit has a similar design and feel, but it now comes with printed instructions to make it easier than ever to use. There are also new items like the 10″ Silicone Loaf Mold, which is durable and flexible.
If your loved one wants to get creative or if they want to try a new project, these kits are the perfect way to start. You can also put them on your wishlist so people know exactly what to get you. Everyone deserves to get creative – make time for it this holiday season.
Swirl Soap Kit Includes:
10″ Silicone Loaf Mold
2 lbs. Clear Melt and Pour Soap Base
1 lb. White Melt and Pour Soap Base
1 oz. Yuzu Cybilla Fragrance Oil
Super Pearly White Mica
Liquid Blue Colorant
Liquid Pink Colorant
Liquid Violet Colorant
1 Dropper
99% Isopropyl Alcohol in a Spray Bottle
- 10" Silicone Loaf Mold
- 2 lbs. Clear Melt and Pour Soap Base
- 1 lb. White Melt and Pour Soap Base
- 24 mL Yuzu Cybilla Fragrance Oil
- 1 Dropper
- Super Pearly White Mica
- Liquid Pink Colorant
- Liquid Blue Colorant
- Liquid Violet Colorant
- 99% Isopropyl Alcohol in Spray Bottle
- Chop all the Clear Melt & Pour Soap Base into small cubes. The smaller the pieces of soap, the easier they will melt. Place the soap into a heat-safe container and melt in the microwave using 30 second bursts. After each burst, stir the soap. Be careful not to overheat and burn the soap.
- Once melted, use the dropper to add 15 mL of the fragrance oil into the soap and mix in with a spoon. Pour a small amount of the clear soap into the mold (just enough to cover the bottom).
- Sprinkle a pinch of the white mica onto the soap and spritz with alcohol to get rid of bubbles. Allow to harden and cool for about 10 minutes.
- Once the first layer has hardened, remelt the clear soap base in the microwave using 30 second bursts, stirring between each burst.
- Split the remaining clear soap equally into three separate containers. Add a few drops of the pink colorant into one container until you have reached your desired color and stir to mix in. Add drops of the blue and violet colorants into other containers and stir to mix in.
- Chop all of the White Melt & Pour Soap Base and place in a separate heat-safe container. Melt in the microwave using 30 second bursts. Add 9 mL fragrance oil to the soap, and stir to mix in.
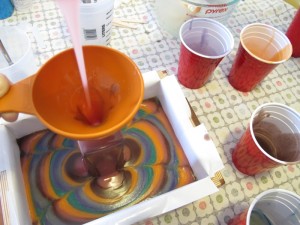
- Spritz the soap in the mold with alcohol. Pour half of the melted white soap on top of the previous layer. Pour about ½ of the pink, violet, and blue soap into the white. The soap will naturally swirl itself as you pour. Experiment with pouring into different areas of the mold. Spritz with alcohol to get rid of any bubbles after pouring. Allow to cool and harden for about 5 minutes.
- If the remaining white, violet, blue, and pink soap has cooled and hardened, reheat each color in the microwave using 10 second bursts until it's fluid.
- Spritz the soap in the mold with 99% isopropyl alcohol. Pour the remaining white, violet, pink, and blue soap into the mold. Spritz with alcohol to get rid of bubbles.
- Allow the soap to fully cool and harden for at least 3-4 hours. Remove from the mold, cut into bars. Enjoy!
