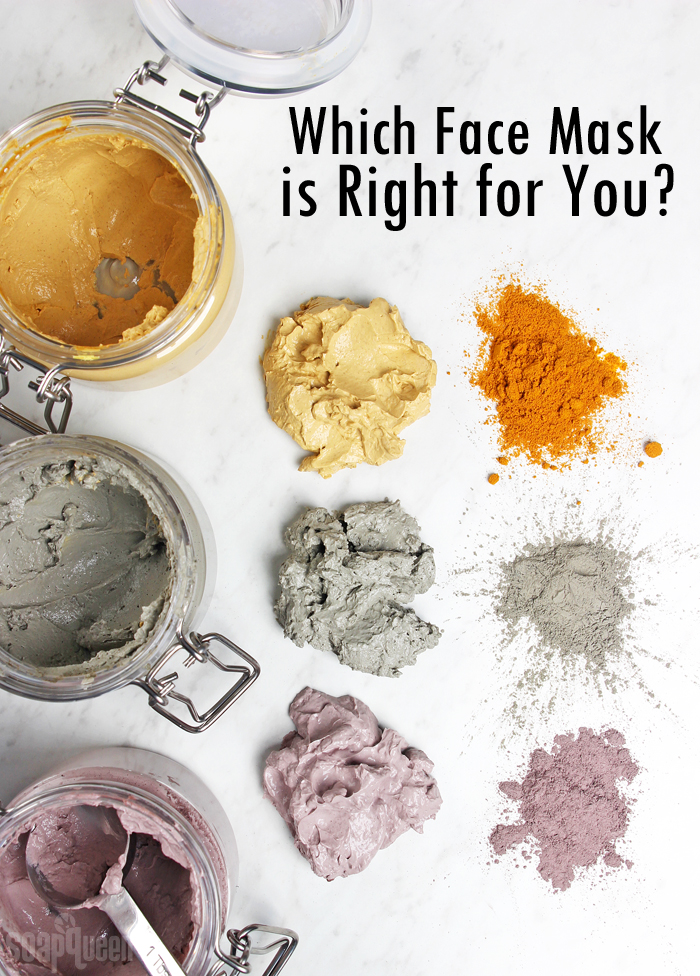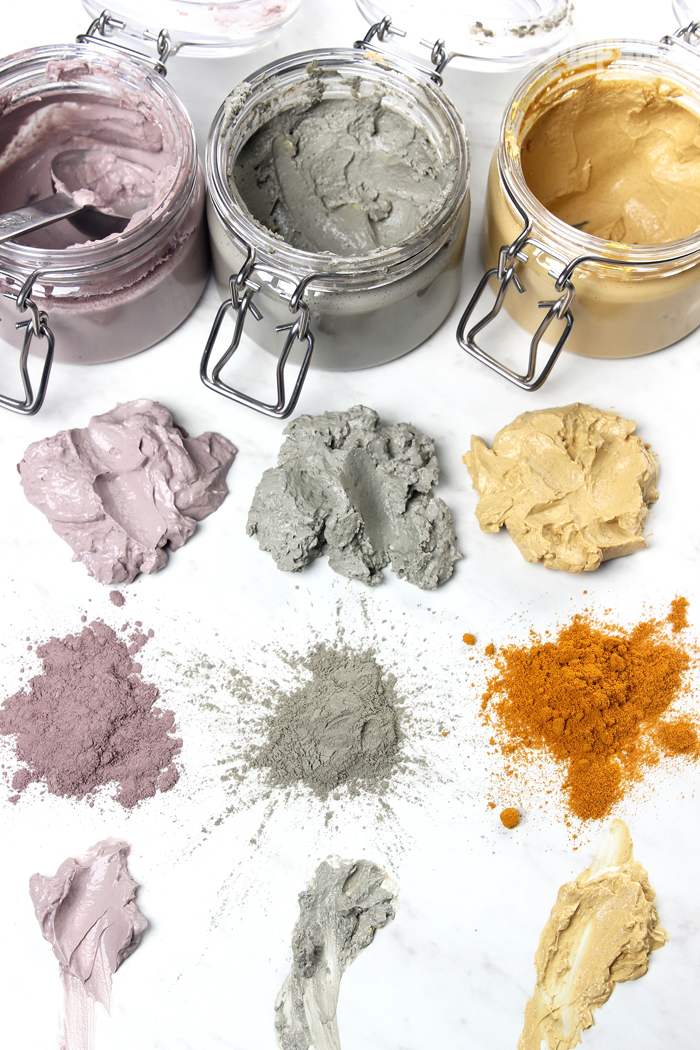
Have you heard of multi-masking? Essentially, it’s the process of applying different masks to various areas of your face to target specific skin care concerns. For example, let’s say you have an oily T-zone but dry cheeks. Products for oily skin on your dry cheeks wouldn’t be the best fit…but your T-zone would love them! Multi-making is a fun (and usually colorful!) way to balance your skin and give it the TLC it needs. Learn more about our clay mask recipes and the benefits of each.
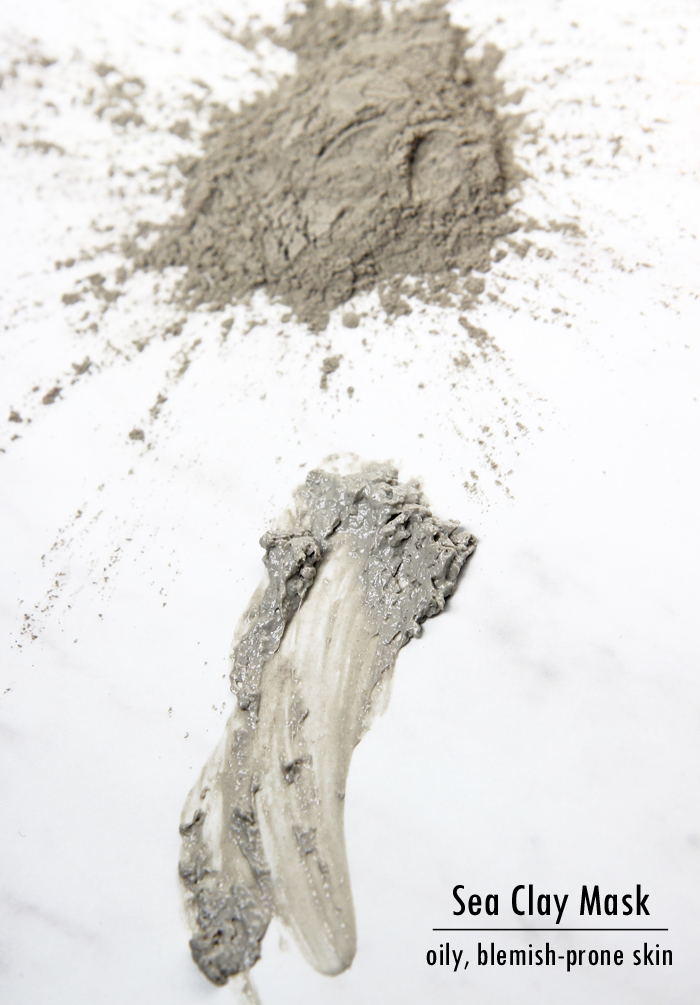
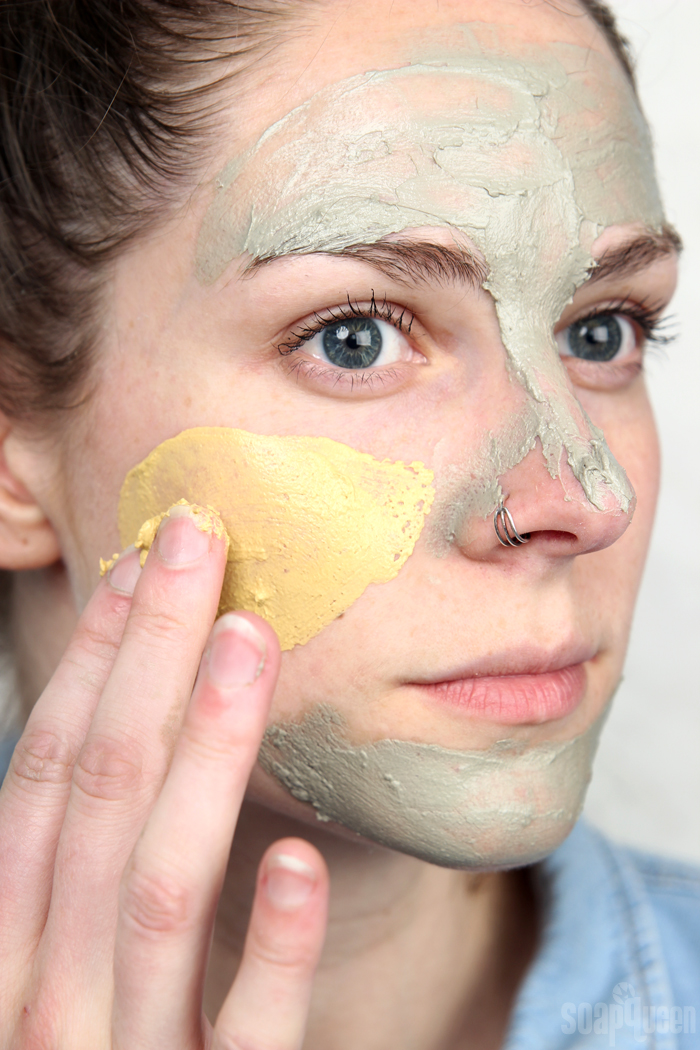
Below, Lily demonstrates how to multi-mask using the Sea Clay Mask and the Turmeric Clay Mask. Lily has an oily T-zone and normal skin on her cheeks. The Sea Clay Mask contains the most clay of all the recipes, making it great for oily skin. The Turmeric Clay Mask is suitable for combination to oily skin. To get started, Lily applied the Sea Clay Mask to the oily areas of her skin. In her case, this is her chin, nose and forehead.

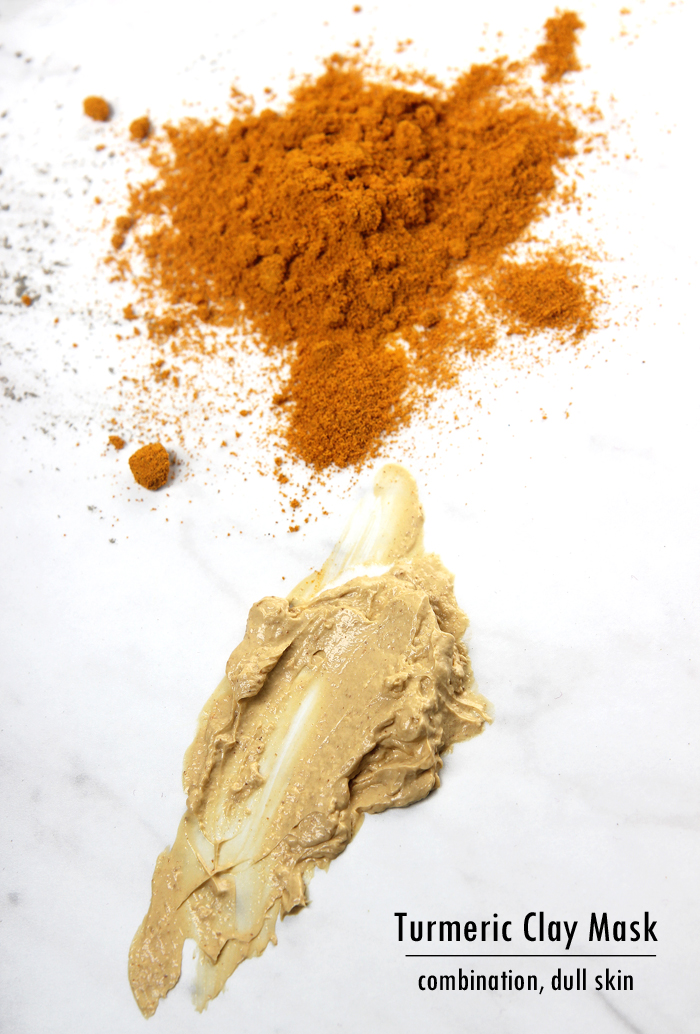
Then, the Turmeric Clay Mask is applied to the cheeks to address those skin concerns. Because it does not contain as much clay as the Sea Clay Mask, it won’t leave her cheeks feeling dry and uncomfortable.
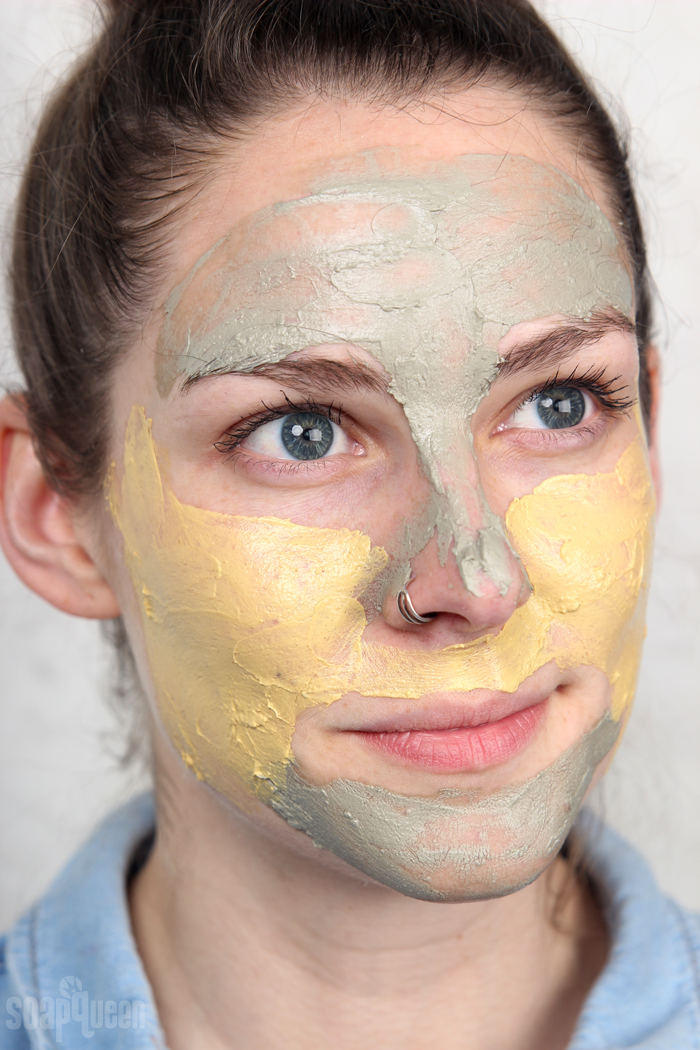
Once your skin is covered in homemade clay mask goodness, it’s time to wait. And if you’re getting your photos taken during this process, that obviously involves cheesin’ for the camera! 😉

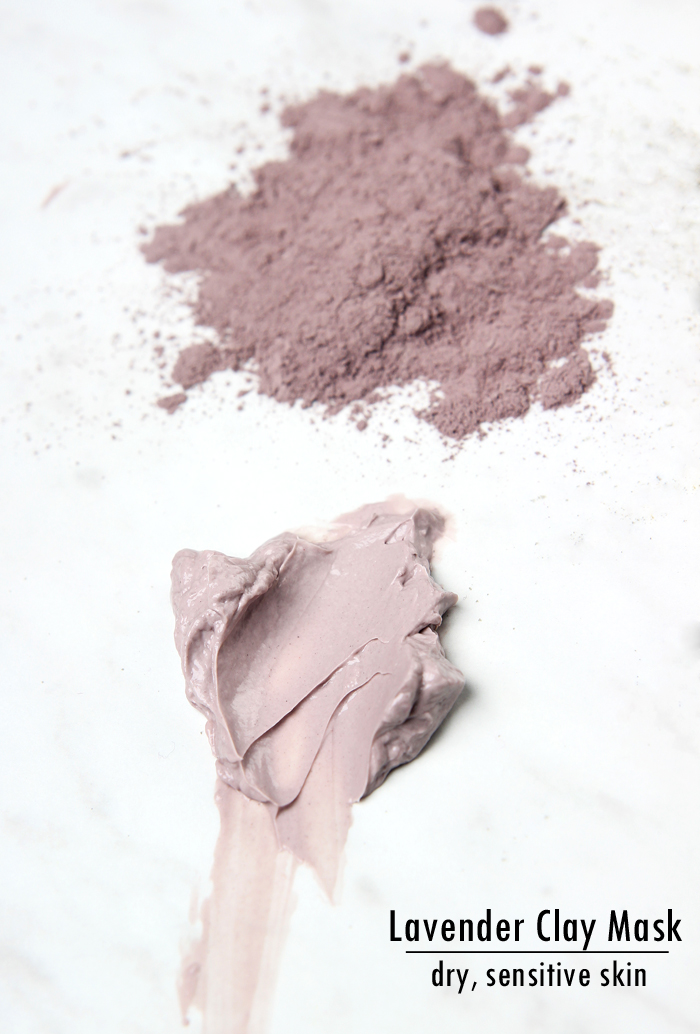
After about 10-15 minutes, the masks will begin to dry. Wash them off with warm water. There is no need to wash your skin after, but you can if you’d like. If you are applying the Lavender Clay Mask, which contains less clay, it may not dry in 10-15 minutes. Because it does not contain much clay, it may remain a lotion-like texture. If your cheeks are dry rather than comfortable (like Lily’s), I would recommend applying the Lavender Clay Mask to your cheeks and the Sea Clay Mask to your T-zone. What’s your perfect multi-making combination?

