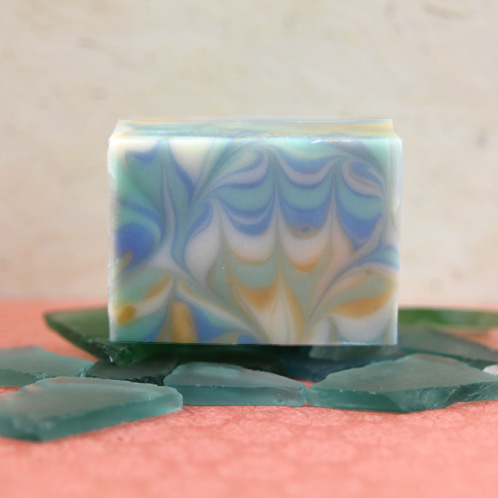
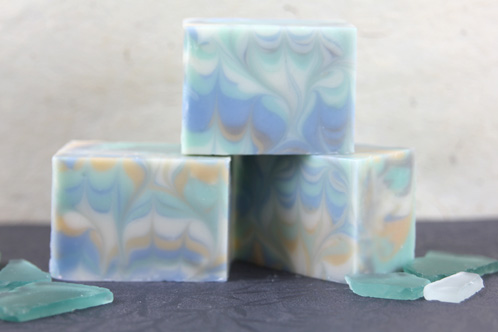
Lately, I’ve been obsessed with swirling because of these new swirl tools — they make achieving techniques like the Peacock Swirl a breeze! For this tutorial we tried our hand at the Peacock Swirl’s counterpart, the Frog Foot! Simply drag the Easy Swirl Tool in a different way (basically, the opposite way) to achieve this beautiful, striking design.
What You’ll Need:
16 oz. Coconut Oil
16 oz. Canola Oil
24 oz. Palm Oil
3.2 oz. Castor Oil
4.8 oz. Hazelnut Oil
8 oz. Rice Bran Oil
8 oz. Sunflower Oil
11 oz. Sodium Hydroxide
26.4 oz. distilled water
18 Bar Birchwood Mold with Silicone Liner
Fragrance blend of:
3.4 oz. Cedarwood Essential Oil and 1.6 oz. Peppermint 2nd Distilled Essential Oil
Click here to add everything you need for this project to your Bramble Berry shopping cart!
If you’ve never made Cold Process soap before, stop here! I highly recommend checking out our FREE four part SoapQueen.tv series on Cold Process Soapmaking, especially the episode on lye safety. And if you’d rather do some reading, Bramble Berry carries a wide range of books on the topic, including my newest book, Soap Crafting. You can also checkout the digital downloads for that instant gratification factor. This is an advanced technique and should not be attempted without a few recipes under your belt.
SAFETY FIRST: Suit up for safe handling practices! That means goggles, gloves and long sleeves. Make sure kids, pets, and other distractions and tripping hazards are out of the house or don’t have access to your soaping space. Always soap in a well-ventilated area.
COLOR PREP: Disperse 1 teaspoon of each pigment into 1 tablespoon of liquid oil (we like Sweet Almond or Sunflower oils). Prepping your colors in the beginning will allow you to work quickly and give you more time to work with your soap. Use the mini mixer to get all those clumps worked out smoothly.
FRAGRANCE PREP: In a glass container, combine the Cedarwood and Peppermint Essential Oils. Give the mixture a good stir, and then set it aside.
TOOLS: This is a tutorial that uses two brand new soaping tools: the Comb Swirl Tool and the Easy Swirl Tool. You’ll use them in steps seven and eight to create the beautiful Frog Foot Swirl in just two motions. If you decide to order the new tools, please note that they will arrive fully assembled and ready for use in our 18 Bar Birchwood Mold. If you’d like to use them in a smaller mold, or rearrange the screws to create a different pattern, you can easily disassemble the whole tool and configure it to your specifications. Each tool is lovingly handcrafted in our Bellingham, Wash. warehouse, and just like all handmade items, variations between products are normal.
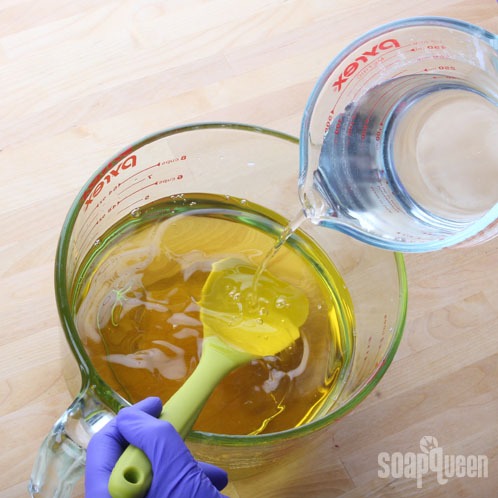
ONE: Slowly and carefully add the lye to the water, and stir until clear. Set aside to cool. If you’d like a harder bar of soap that lasts longer in the shower, you can add Sodium Lactate to the cooled lye water. Use 1 teaspoon of Sodium Lactate per pound of oils in the recipe.
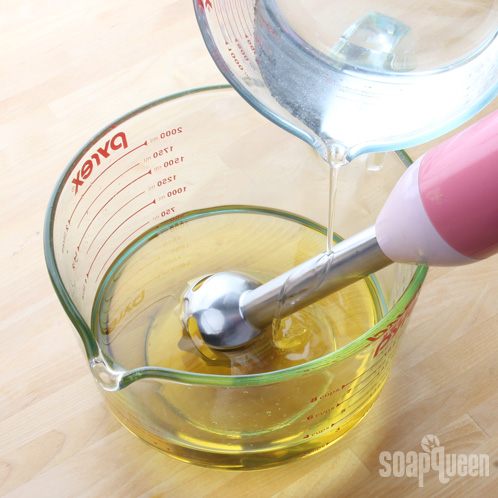
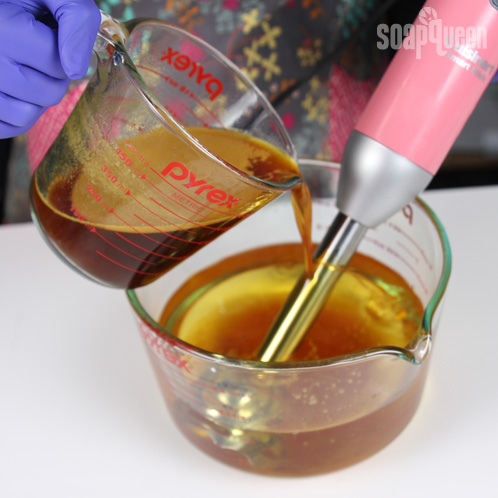
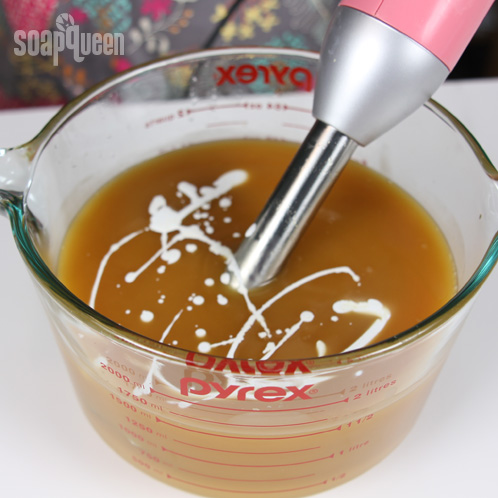
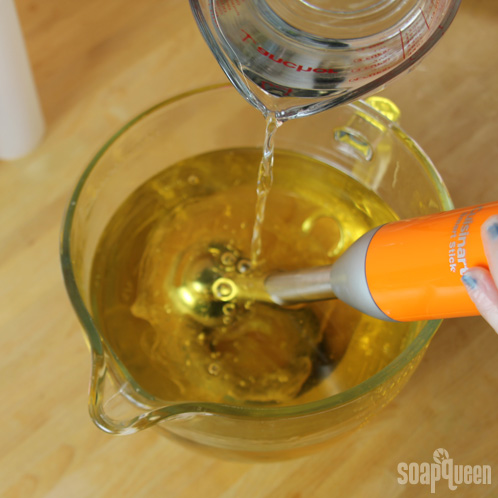
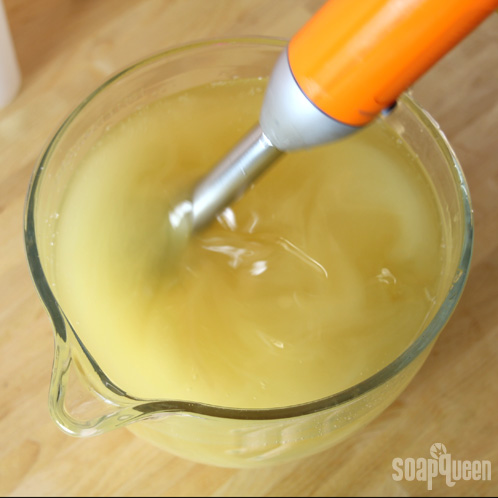
TWO: Melt and combine the Coconut, Canola, Palm, Castor, Hazelnut, Rice Bran and Sunflower oils in a large glass container. Once the lye water and the oils have cooled to 130 degrees or below (and are ideally within 10 degrees of each other), add the lye water to the oils and stick blend until thin trace.
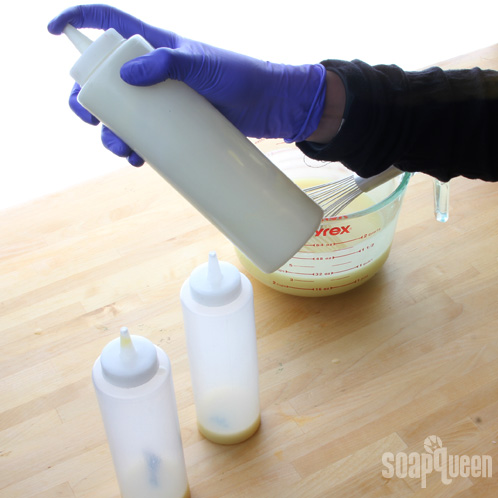
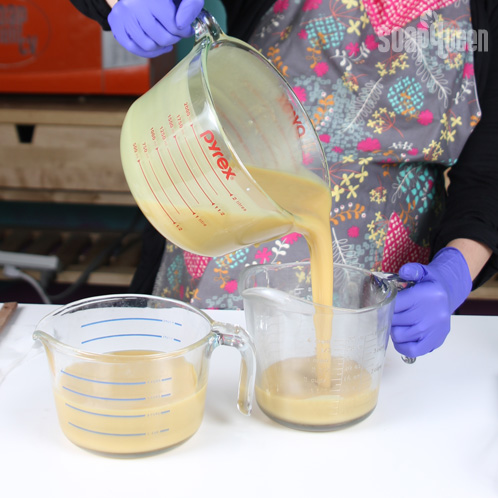
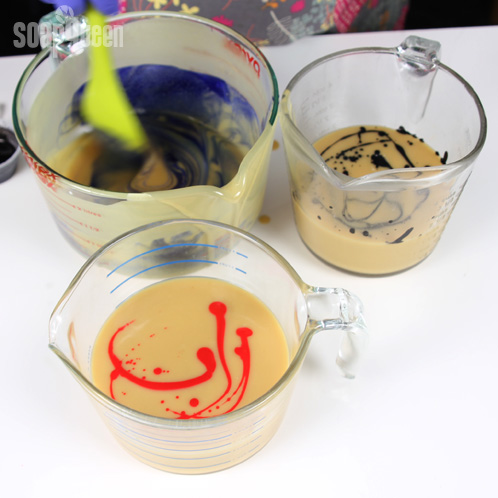
THREE: Split the batter equally into five containers, and then add one colorant per container. We added:
- 1.5 teaspoons of dispersed Super Pearly White in container 1.
- 3/4 teaspoons of dispersed Super Pearly White and 1/3 dispersed Activated Charcoal in container 2.
- 1.5 teaspoons dispersed Aqua Pearl in container 3.
- 1.5 teaspoons Apricot Blush in container 4.
- 1 teaspoon 1982 Blue in container 5.
Using a spatula or whisk, mix the colorant into the batter.
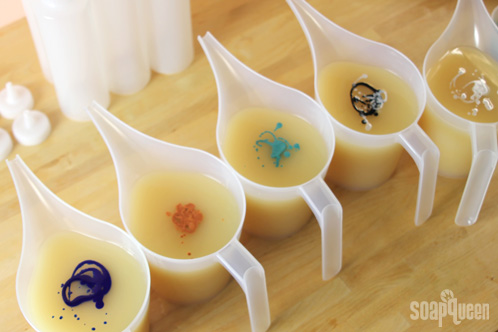
FOUR: Once you’ve fully mixed in the colorant, divide the fragrance oil blend equally between the 5 containers and mix.
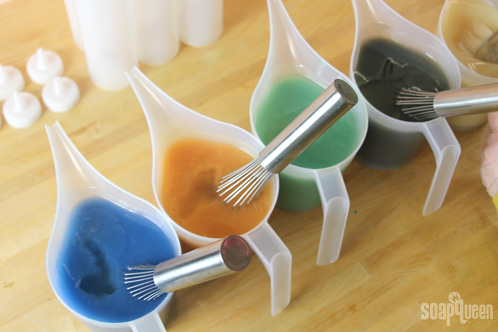
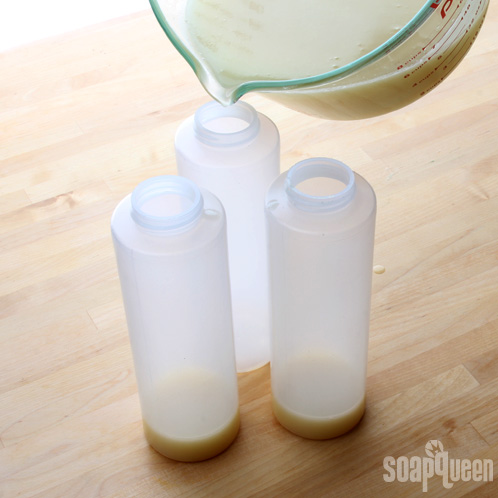
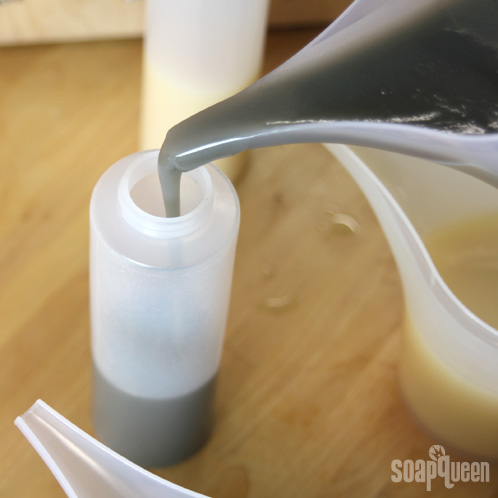
FIVE: Once the fragrance has been fully incorporated, pour each color into its own condiment bottle. Fill each bottle about halfway (6 oz.) full.
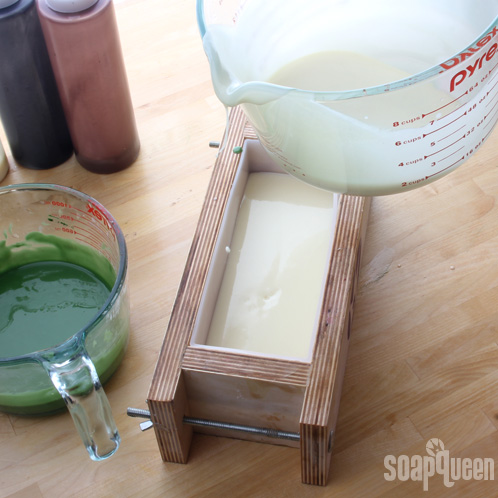
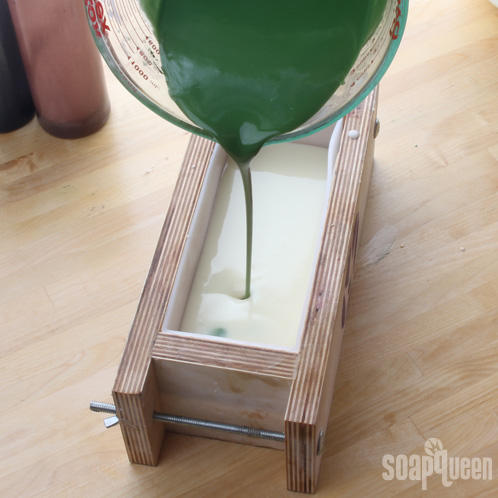
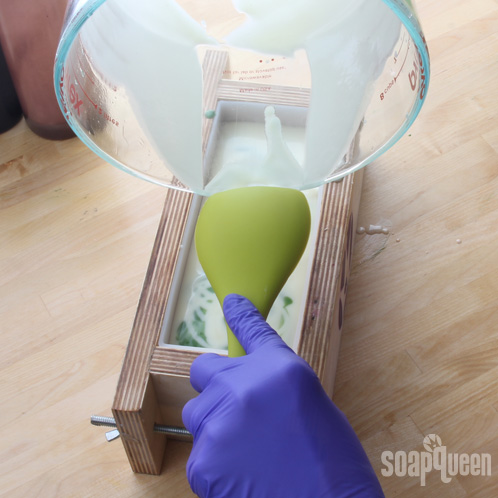
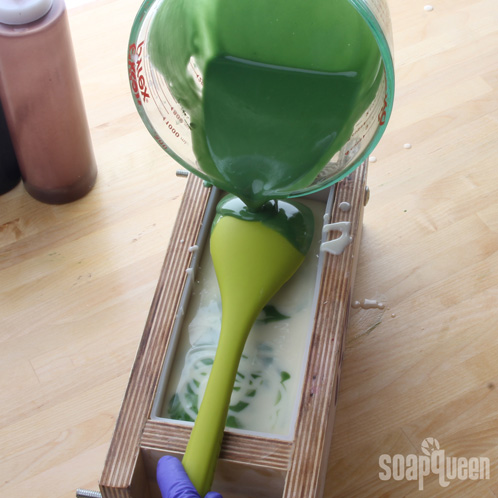
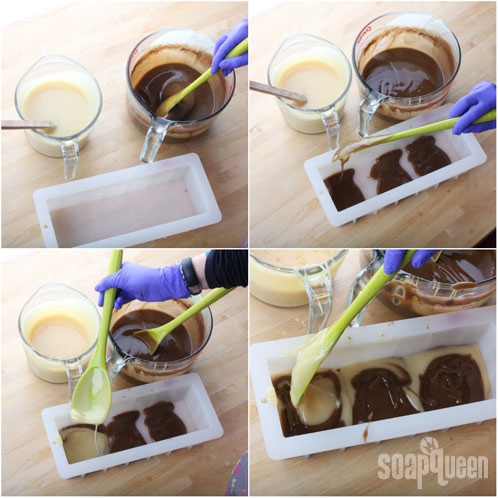
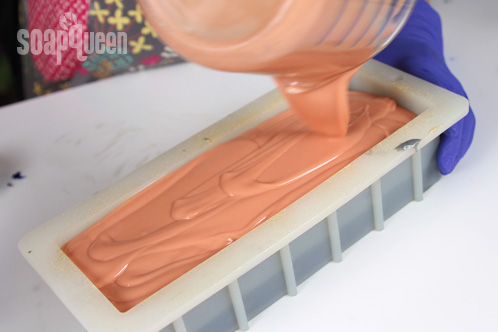
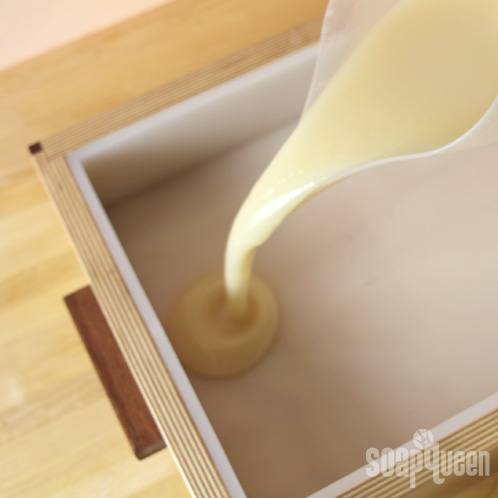
SIX: Using the remaining soap in the containers, pour one color at a time down the middle of the mold. Layer each color on top of the other in the same order to create a unique pattern that will spread outward. Repeat this process until you’ve emptied all 5 soap containers.
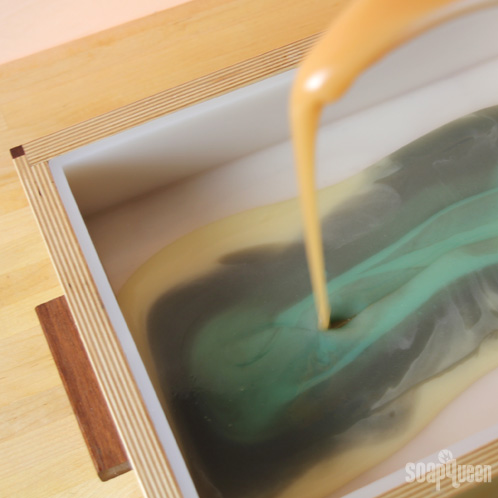
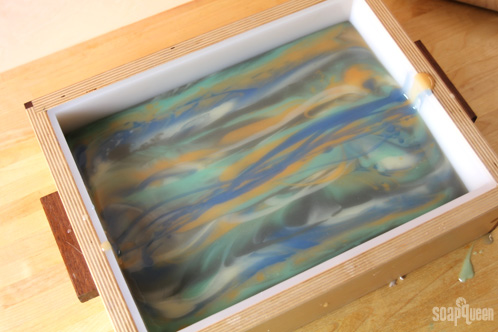
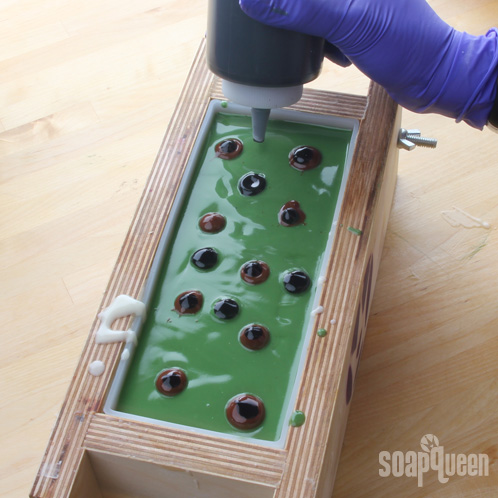
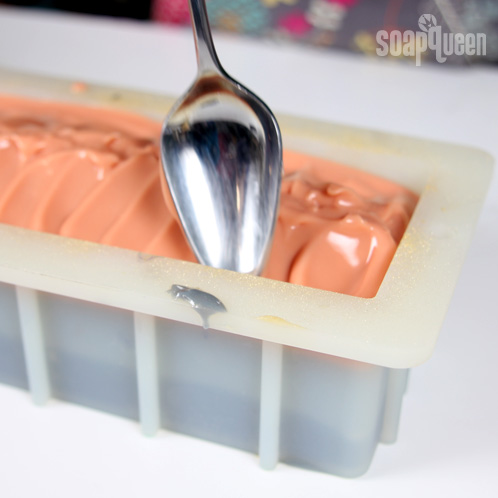
SEVEN:Once you’ve emptied all 5 containers, use your condiment bottles to squirt horizontal lines of soap across the mold. Repeat this process with all 5 colors, layering one on top of the other in the same order, until you’ve emptied all the bottles.
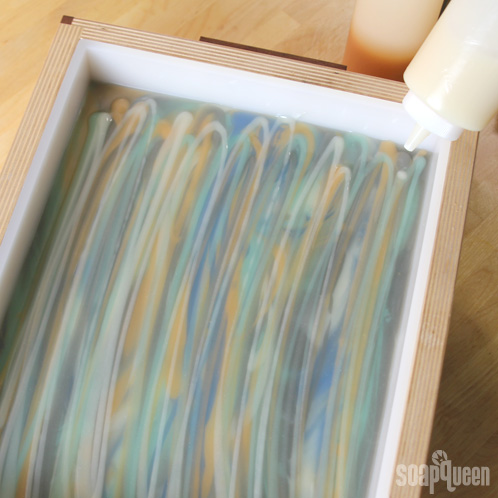
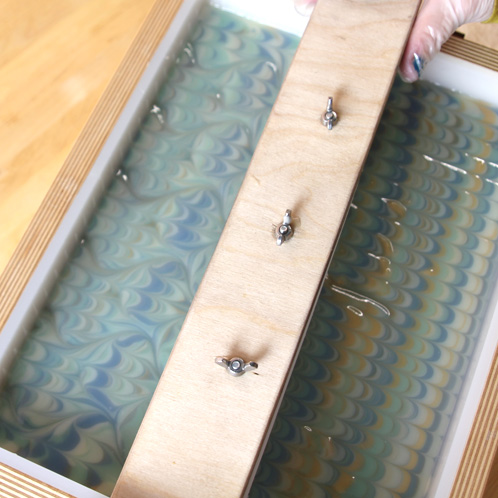
EIGHT: Insert the Comb Swirl Tool at the top of the mold and slowly and smoothly drag it straight down to create a non-pareil pattern.
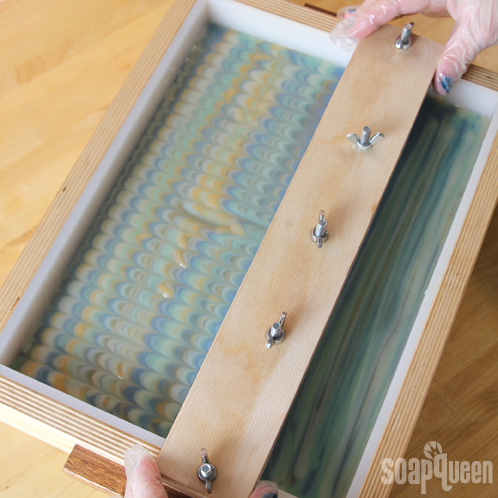
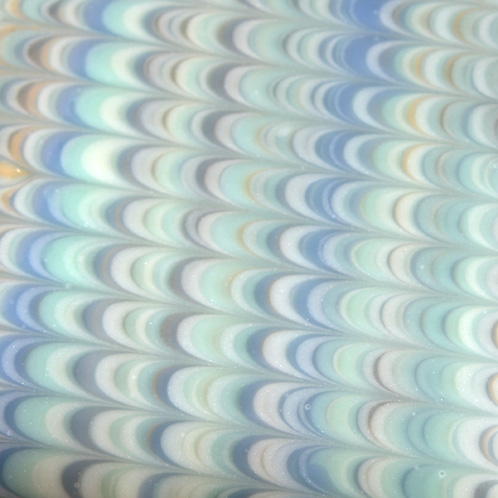
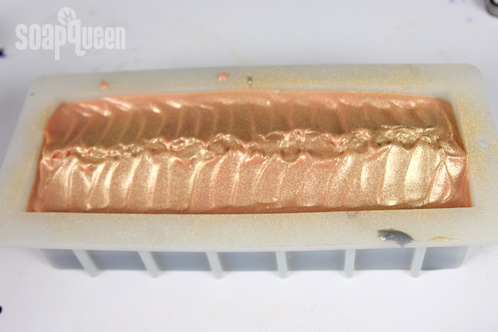
NINE: Pay close attention, because this is where the Frog Foot differs from the Peacock Swirl. Instead of dragging the Easy Swirl Tool in the same direction you drug the Comb Swirl Tool, drag it in the opposite direction. So, if you drug the comb tool down from the top of the mold, start with the swirl tool at the bottom and drag it up in slowly undulating ‘S’ curves. The resulting design will create the same S-curves, but they will have points instead of soft bubbly plumes like the Peacock.
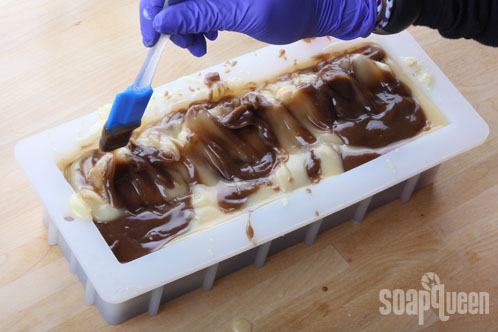
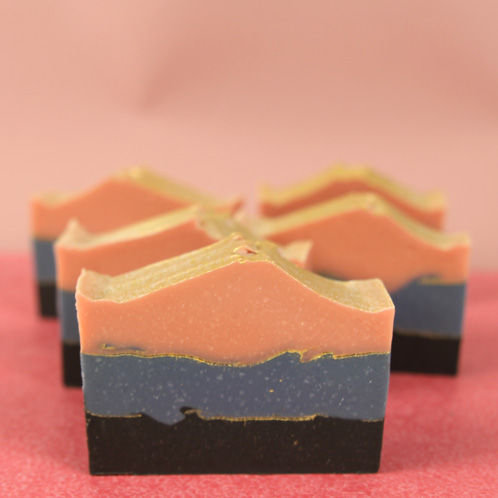
Spray the entire top with 91 or 99% Isopropyl Alcohol to reduce soda ash. Cover and insulate for 24 hours and unmold after 3-4 days, and allow to cure for 4-6 weeks. Below you can really see the difference between the Frog Foot (top) and the traditional Peacock (bottom).

Have you used either of our new swirl tools to create either the Frog Foot or the Peacock Swirl? We’d love to hear how they’ve worked out for you!
