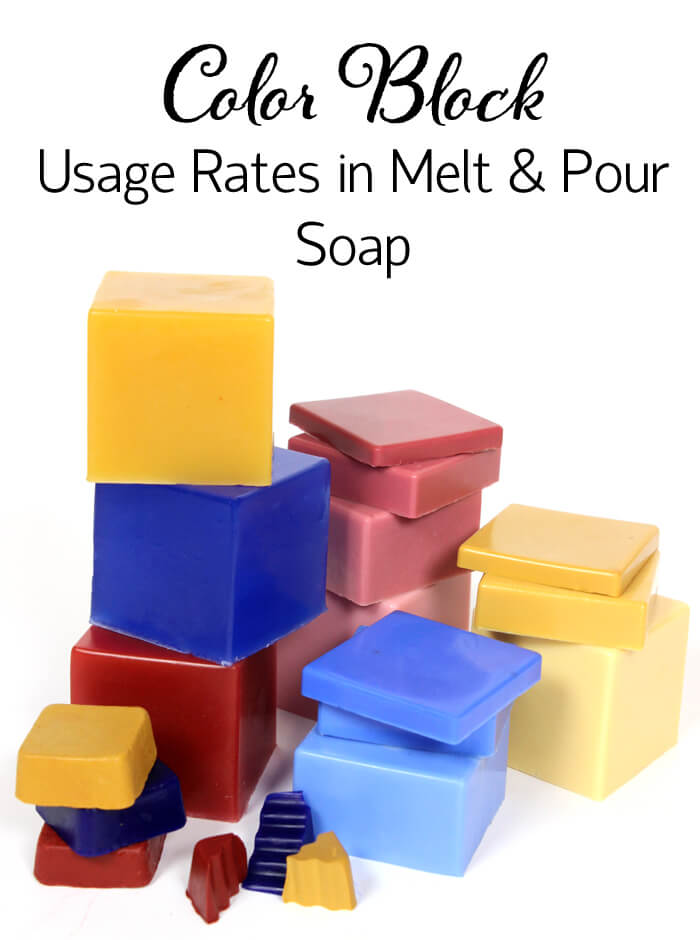
If you want to add color to melt and pour soap, there are plenty of options. You can use micas, liquid colorants (like LabColors), natural colorants and more (click here to check them out!). One of my favorite ways to color melt and pour projects is with Color Blocks. Color Blocks are small pieces of highly concentrated melt and pour soap. They’re mixed with various oxides, pigments and micas. They are easy to use; simply add a small amount of the Color Block to melted soap and stir. The heat melts the Color Block shavings, which color the soap. Color Blocks are great for preventing clumps and speckles, and incorporate easily into melt and pour bases.
Color Blocks are considered a “what you see is what you get” type of colorant. This means that the color you see in the melted base will be the same color when the soap hardens. The easiest way to get the colorant you want when using Color Blocks is to add small amounts until you reach the desired shade. Check out the Soap Queen TV video below to learn how to use Color Blocks.
While adding small amounts of Color Blocks until you reach the desired shade is easy, it’s not the most precise method. In the melt and pour tutorials here on the blog, I often say to add shavings of the colorant until you’re happy with the shade. If you want to be super exact, you can chop the Color Block into small pieces and add them to your melt and pour by weight. To give you an idea of just how much Color Block is generally needed, I decided to add an exact amount of Color Block to various amounts of melt and pour bases. I wanted to give you an idea of just how concentrated the Color Blocks are, and how far a small amount can go. =)
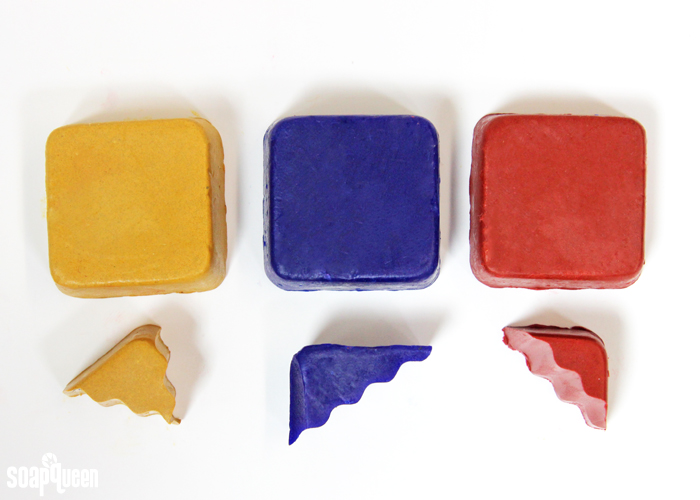
 In the photo above, whole Color Blocks are shown in the top row and .1 ounce of the color block (or 3 grams) is shown in the bottom row. Each Color Block weighs approximately .8 ounces.