Hearts, Love and Rainbows!
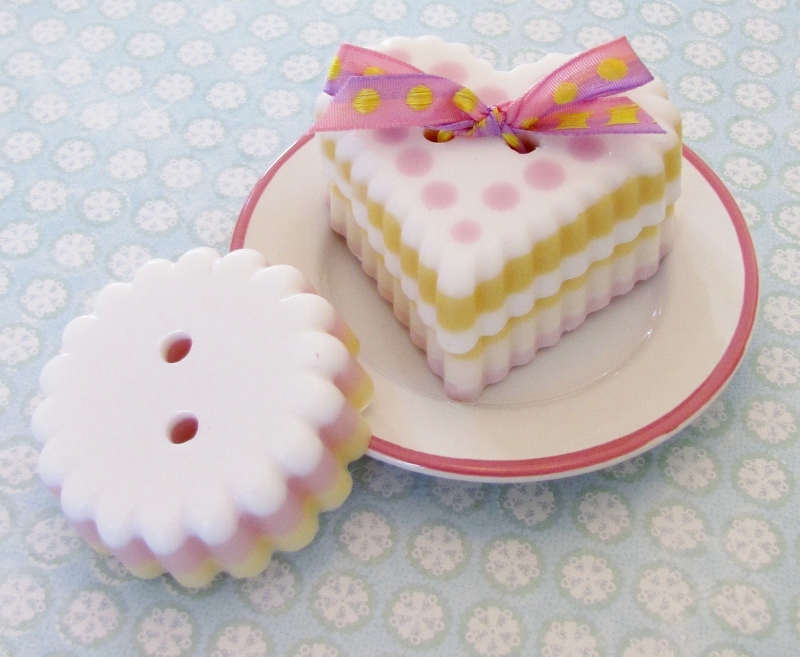
Soapylove Tutorial: Cute as a Button Soaps
News and Chatter, Hearts ‘n’ Dots
Goaterific!
Happy Monday! Even though today was a super duper busy day, I managed to squeeze in a little Etsy shopping from Kristy’s Lovely Lathers. Now I just have to patiently wait for my “Luxurious Artisan Goat’s Milk Soap” to arrive. In the mean time, check out the incredibly amazing (and artistic) soap that is in route!
Rose Bath Fizzy
Pyrex Glass measuring cups
Fragrance Oil or Essential Oil (optional)
Citric Acid
Baking Soda
Simple Heart Mold
Witch Hazel
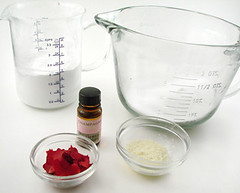 Recipe
1 lb. Citric Acid
2 lbs. Baking Soda
1/4 ounce Fragrance or Essential Oil (optional)
1/2 ounce rose petals (dried or fresh)
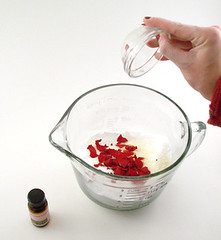
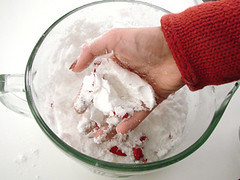
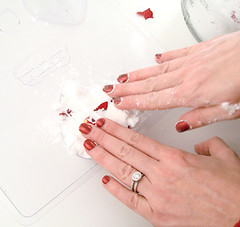
Step 1: Measure Citric Acid and Baking Soda. Mix together thoroughly. Blend clumps fully out and add rose petals. Spritz in with hazel – just enough to dampen and wet the mixture until it holds together, like a slightly dry pie crust.
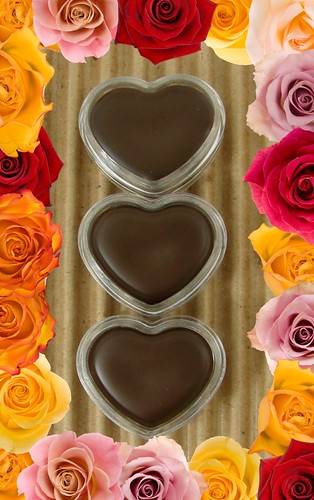
Chocolate Lip Balms with Cocoa Powder
1 oz. Shea Butter
1 oz. Beeswax
1 oz. Cocoa Powder
.4 oz. Castor Oil
.8 oz. Vitamin E Oil
.9 oz. Avocado Oil
25 Heart Lip Balm Containers
STEP ONE: Combine the Beeswax, Castor Oil, Vitamin E Oil and Avocado Oil in a heat safe container and heat in the microwave for 2 minutes. Stir the mixture halfway through to ensure even mixing.
STEP TWO: Once the beeswax is melted, stir in the Shea Butter. Heat in the microwave for 30 seconds if the Shea Butter does not melt all the way down with gentle stirring.
STEP THREE: Once the mixture is completely melted, mix in the Cocoa Powder making sure there are no clumps.
Optional Step Four: Add flavor oil (if you want to). This recipe is plenty flavorful without the flavor oil added.
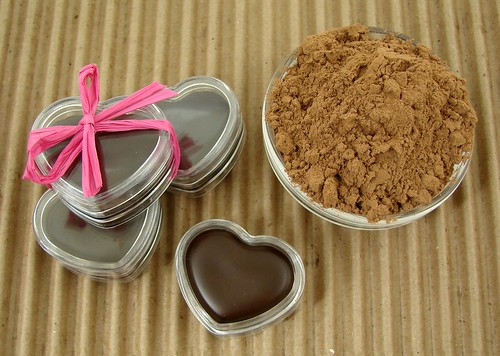
STEP FIVE: Pour the chocolaty mixture into your heart shaped lip butter pots and let cool. It gives a little bit of a neutral brown tint to the lips and gives a faint smell of chocolate when applied. Don’t put calories on your hips this Valentine’s Day – put ’em on your lips!
Valentine Eye Candy
 Black Metal Love Conversation Hearts by Vanessa Elise
 Strawberry Tart Vegan Soap from Ohxcrap
 Valentines Day Honey Rain from Terra Secrets
 Sealed with A Kiss Vegan Soap by The Sugarthooth Dragon
 She Drive Me Crazy Valentine Soap by So Stinking Sweet
 Felted Soap for your Valentine by Bogate Designs
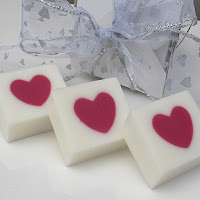 Sweet Heart Soap by Naked Garden
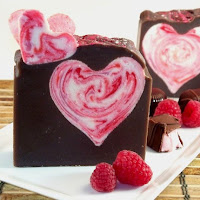 My Heart dark Chocolate Raspberry by KB Shimmer
Romantic Reeds Tutorial
Fragrance Oil or Essential Oil
DPG (Dipropylene Glycol)
Rubbing Alcohol
Reeds
Reed Bottle

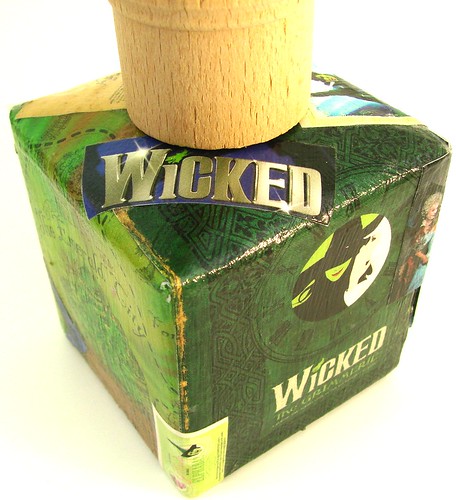
Last but not least is a collage from my old magazine collection (I knew I saved them for a reason). I just picked out fun colors and things that I love…notice the iphone, Twitter bird and the work out girl.
Please note: The cute curly Ting Ting sticks don’t wick-up the fragrance blends like the reeds do – but they are so cute I used them as is. If you are trying to fragrance a large room try mixing in some reed diffusers with the curly Ting Tings.
Soap Queen TV 2010 Season Begins!
This year we are focusing on other types of projects and techniques including Cold Process Soapmaking, Lotions, Scrubs and so much more so stay tuned!
Soap Queen TV – Massage Candles from Soap Queen on Vimeo.
Massage candles are a wonderfully luxurious treat to make for yourself or that special someone. A massage candle is a blend of skin safe waxes, oils and essential oils that melt at a low temperature, perfect for a warm and soothing massage.
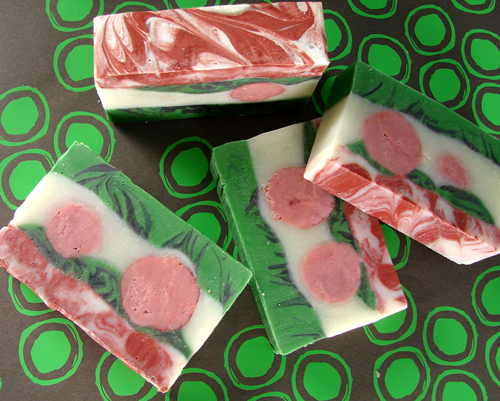
Valentine Cold Process Soap
This advanced cold process recipe is for the patient soapmakers our there. But I promise your patience will be rewarded with a beautiful and detailed bar of handmade soap. This recipe is divided into 3 stages and is actually a combination of 3 separate recipes. So take a deep breath, grab your ingredients and let’s make some Valentine’s Day Soap!
7.8 oz. Olive Oil
7 oz. Coconut Oil
6.5 oz. Palm Oil
1.2 oz. Beeswax
3.18 oz Lye
7.43 oz. Water
1-2 teaspoons Burgundy oxide
Flexible Brownie Pan Mold
18 oz. Olive Oil (16 + 2 oz.)
2 oz. Coconut Oil
2 oz. Palm oil
2.9 oz. Lye
7.22 oz. water
2 oz. Olive Oil
1.8 oz. Baby Rose fragrance
2 teaspoons Pink Oxide
2 teaspoons Fuchsia LabColor (diluted)
18 oz. Olive Oil (16 +2 oz.)
2 oz. Coconut Oil
2 oz. Palm oil
2.9 oz. Lye
7.22 oz. water
2 oz. Olive Oil
1.8 oz. Baby Rose Fragrance
1 Tablespoon Pearly White mica
The entire recipe fits two 2 lb. molds or one 4lb mold. You may have some extra soap left over too so have another little mold on hand (check out some of our heart molds).
Baby Rose fragrance oil tends to accelerate trace, so this recipe is specifically formulated to reach trace slowly. For this reason it’s important to prepare layers one and two in separate batches rather than making one big batch and splitting it (which is what you’ve see me do in the past).
Safety First! If you’ve never made cold process we highly recommend reading this blog post and watching this DVD or reading this book. Please do not make Cold Process Soap for the first time with just this blog post.
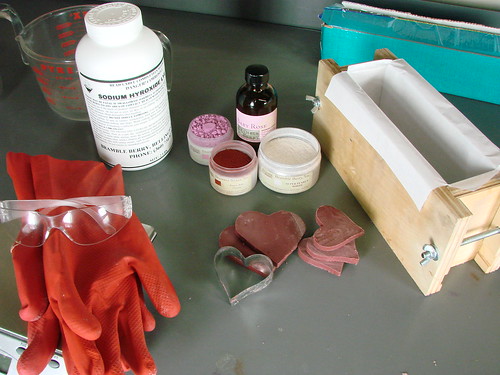
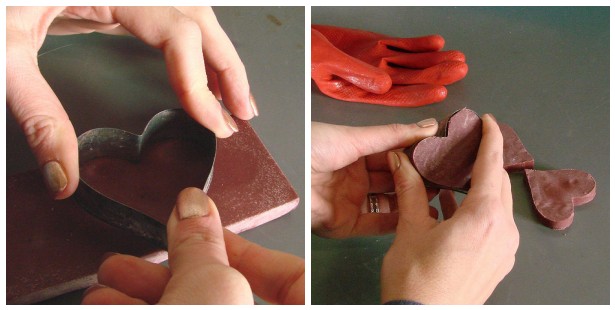
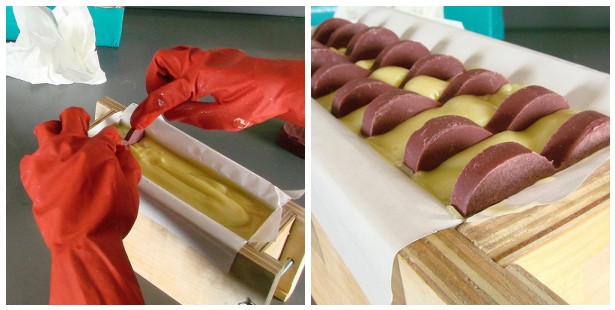
STEP ONE:Make the recipe for the cut-out hearts by combining and heating your oils, mixing in your lye water followed by the Burgundy Oxide. After reaching trace, pour 1/4″-1/2″ of soap into the Flexible Brownie Tray. Let sit for 24-48 hours or until the soap is firm enough to remove from the mold. Use a cookie cutter or craft knife to cut 9-10 heart shapes and smooth the edges with your finger if needed.Set hearts aside.
STEP TWO:Line your wooden mold(s) and have an extra mold or storage container on hand. We used freezer paper with the shiny side up (towards the soap) so it peels off easily. Learn to line your mold here.
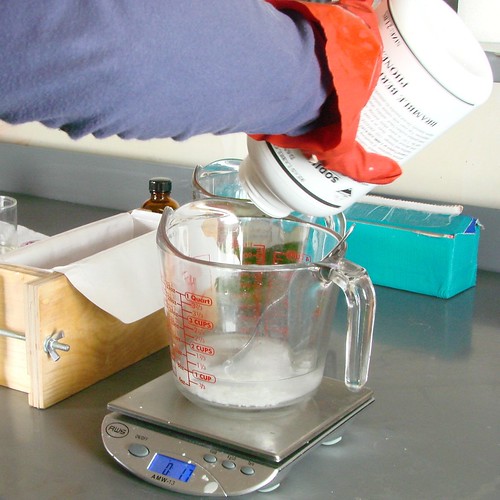
STEP THREE: To start the second recipe, sprinkle the lye over the water in a heat safe container. Stir well taking care not to inhale any fumes. Set aside and allow to cool until the water is clear with no bits of lye in the bottom.
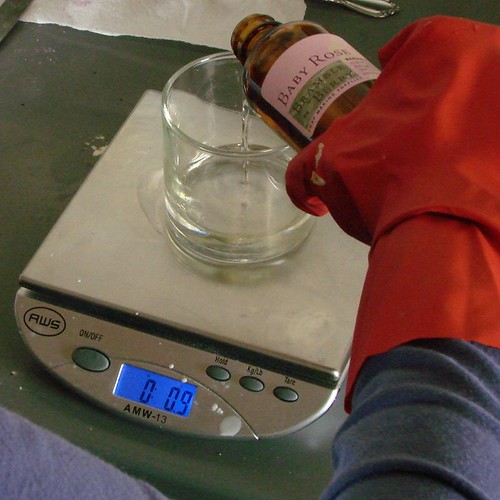
STEP FOUR:Measure out 2 ounces of olive oil in a head safe container. Measure out 1.8 ounces of Baby Rose Fragrance Oil.Set aside but keep with in arms reach. We’re going to add these both at the very end.
STEP FIVE: In a microwave safe container that will hold at least 2 pounds, melt the Coconut Oil and Palm Oil (making sure to mix the palm oil well). Add the remaining 16 oz. Olive Oil and mix well.
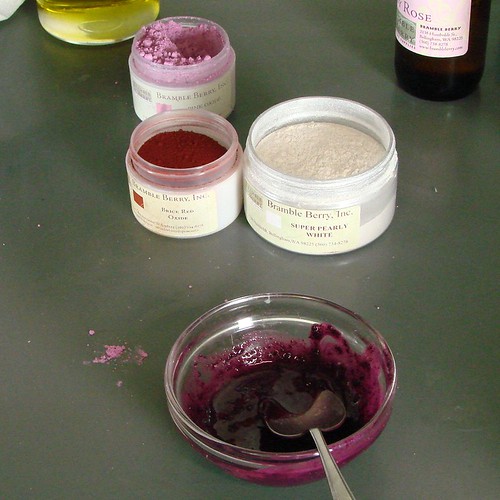
STEP SIX: Mix the Pink Oxide with a tiny bit of Olive Oil to work out any clumps and set aside. Keep your diluted Fuchsia LabColor close at hand too.
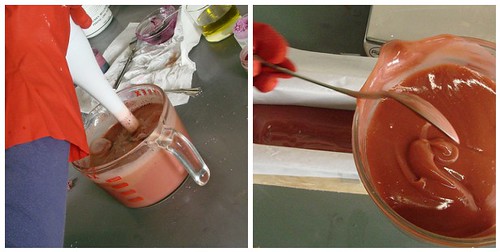
STEP SEVEN: (Are your goggles and gloves on? Keep ’em on!) Slowly add the lye water to the oil mixture. Gently mix using a stick blender in short bursts. Add the Pink Oxide mixture and Fuscia Labcolor and blend until fully incorporated. What you see for color is what you will get so if the color is not dark enough, add more Fuscia Labcolor until it is your idea of a perfect pink color.
STEP EIGHT: Heat up the 2 oz. of Olive Oil for 45 seconds in the microwave. Add your fragrance oil to this warmed up olive oil. Add the fragrance and oil mixture and stir with a spoon. Then gently use your stick blender to give it one or two bursts. Baby Rose accelerates trace even with the extra gentle addition method and careful stick blending so be prepared to pour quickly.
STEP NINE: Once trace is reached (which will happens fast), spoon the soap into the mold filling it only half way and tamping it down on the table to get rid of any air bubbles.
STEP TEN: For the third recipe, repeat steps 3-9 using the Super Pearly White Mica as your colorant.
STEP ELEVEN: Place the heart cut-outs at even intervals through out the soap, leaving the tips of the hearts peeking out of the top. The spacing depends on how wide you want your soap slices to be.
STEP TWELVE: Insulate and allow to set-up for a few days before cutting.
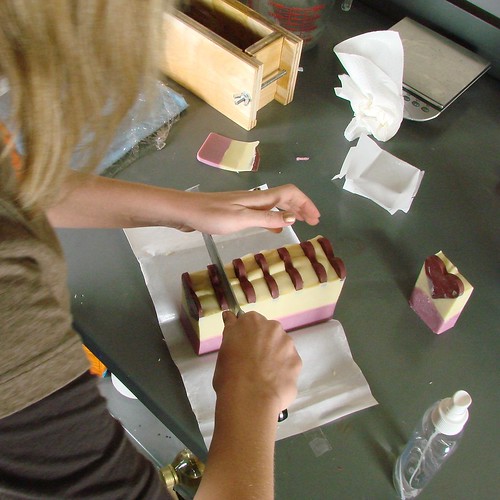
Cutting the Soap: Remove the soap log(s) from the mold. Using a sharp non-serrated knife slice the soap so there is one heart on the front of each slice. You may need to trim the bars a little to clean up the hearts.
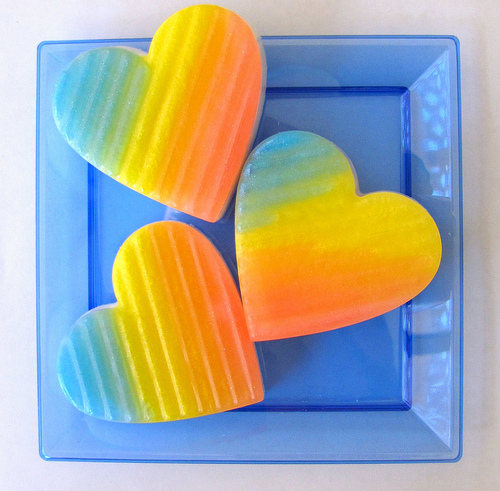
Soapylove Tutorial: Ombre Heart Soaps
Happy Valentine’s Day
 Happy Valentine’s Day to you and yours!
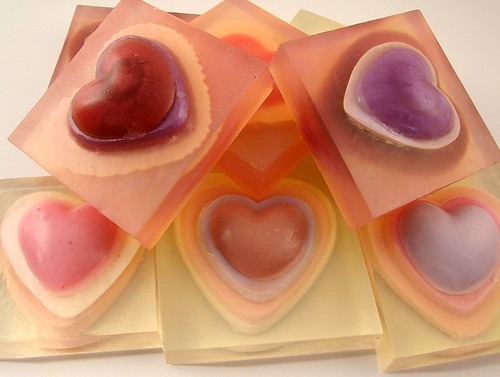 Today is an especially sweet day for me because I’m picking my dear Husband up at the airport. He’s been in Saudi Arabia on business for eight days now and his plane should be landing any minute.
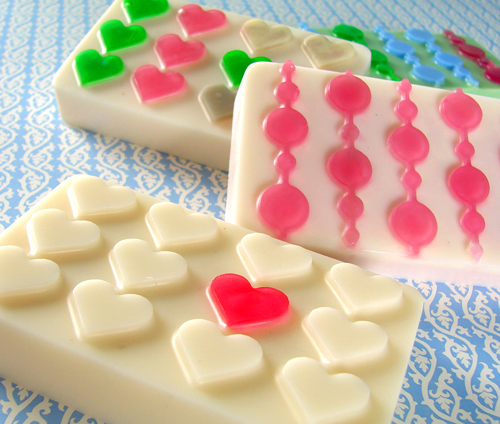
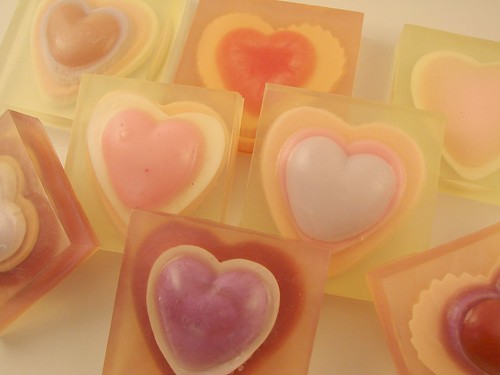
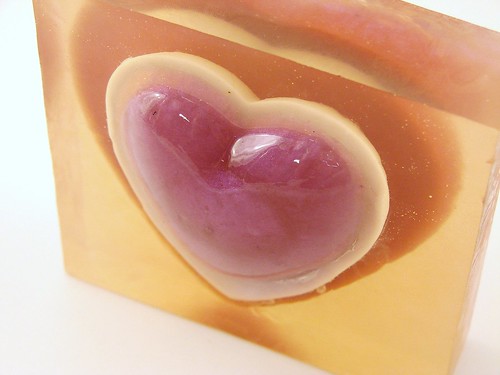 These are some fun soaps I cooked up for Valentine’s Day using the Milky Way Simple hearts, cutting the hearts horizontally, building a soap sandwich and then embedding the heart sandwiches in the silicone tray mold. They were lots of fun to make!
Valentine Class at Otion
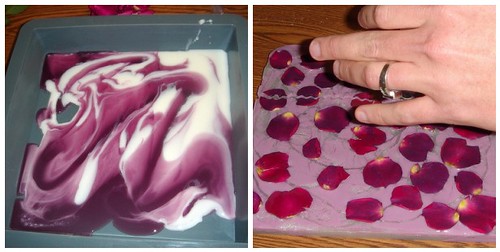 I was lucky to teach the Valentine’s Melt & Pour and Bath Fizzy class at Otion to a full house. There were many happy and excited women who all showed up to learn basic melt and pour with a Valentine’s theme. The next class at Otion is the Clamshell & Cameo Melt and Pour class on February 28 – suitable for beginners and advanced soapers alike. The photo above is the Rose Melt and Pour soap in progress.
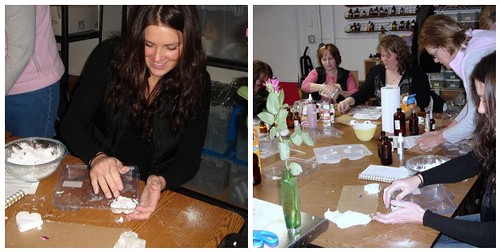 We also made bath fizzies galore. There was lots of surprise and excitement over the low cost of producing a bath bomb (who can beat under $1 to make a smelly bath fizzy that performs the same or better than anything in stores?). All the attendees made perfect fizzies their first try and left with between 4 and 12 bath fizzies each.
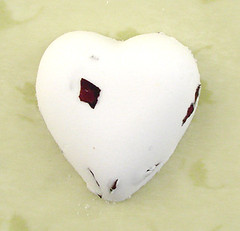
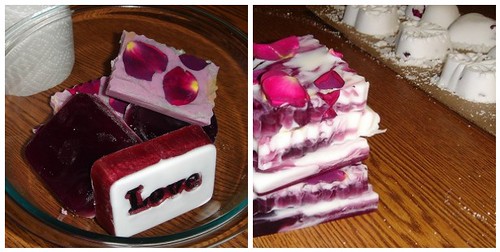
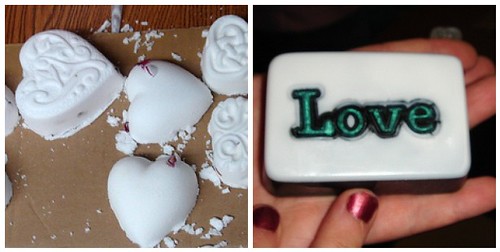 The class made the Bath Fizzies with Rose Petals project (here). The Milky Way Heart Series really turned out great for the white nature of the fizzy. It looked very pure and clean. We finished off with the Martha Stewart Rubbing Stamping Soap project. Every single soap turned out beautifully. The class soapers left with a pile of soaps and fizzies.
As for me, I was completely blown away with the excitement and ethusiasm displayed by all the soapers. They energized me with their creativity and fervor for trying new things. I hope to see YOU at the next class.

