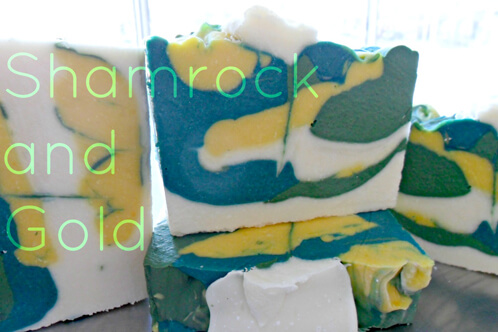
I have always wanted to make whipped soap, also known as Floap. It floats in the bathtub, looks like whipped cream, can be piped like frosting, and it’s not something we’ve ever done before! I must say, there are quite a few things I’ll do differently next time, but I’m still thrilled with how this soap turned out.
Because whipped soap has so much air in it, you need to use lots of hard oils so it will last in your shower. The original recipe I found called for extra palm and some tallow, but I chose to add in cocoa butter in place of the tallow and part of the palm oil. It turned out great! However, I decided that I could whip the oils by hand without a mixer (which I didn’t have at the time, and I really wanted to make Floap right then). I thought to myself “I make whipped cream by hand all the time; I don’t need no electric mixer!” That was a big mistake. I don’t think I got the soap whipped up enough to really be light and fluffy, but it’s still gorgeous!
Now, I was warned that whipped soap doesn’t take color very well, so you either have to be happy with pastels, or be willing to over-color your batter. But, because I didn’t get the whipped volume I was expecting, I just over-colored regular soap and I’m expecting these bars to lather green. While this is appropriate for St. Patrick’s day (my inspiration for this to begin with) it’s not what I wanted.
I also made a classic error I always warn my students about: I didn’t do a background check on my fragrance, so I didn’t know that it would rice on me! I was able to smooth it back out, but I think using the Fresh Bamboo Fragrance Oil really killed the fluff in the soap. Next time, I’ll be sure to double check that I’m working with something that plays well with CP soap.
Enough of my mistakes; on to the project!
Note: We actually had some feedback on this recipe and found that it fills one of the 10″ silicone molds as well as the 5 lb Mold with Sliding Bottom, so be prepared to have an extra mold on hand!
Recipe
12 oz Cocoa Butter
12 oz Coconut Oil
15 oz Palm Oil
7.2 oz Olive Oil
2.4 oz Castor Oil
6.9 oz Sodium Hydroxide (Lye)
18.4 Distilled Water
1 teaspoon Hydrated Chrome Green
1 teaspoon Green Chrome Oxide
1 teaspoon Yellow Lip Safe Mica
4.4 oz Fragrance Oil

Click here to add everything you need for this project to your Bramble Berry shopping cart! Don’t forget to add a fragrance oil.
Safety alert! Be sure you’ve got gloves, goggles, long sleeves and pants, and closed toed shoes! Be familiar with all lye safety techniques before you start by reviewing this free video on lye safety from Soap Queen TV.
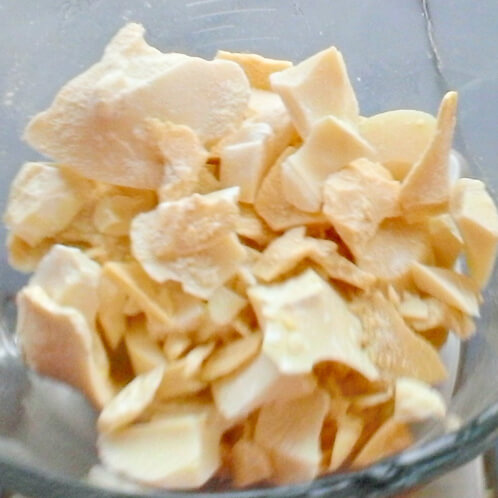
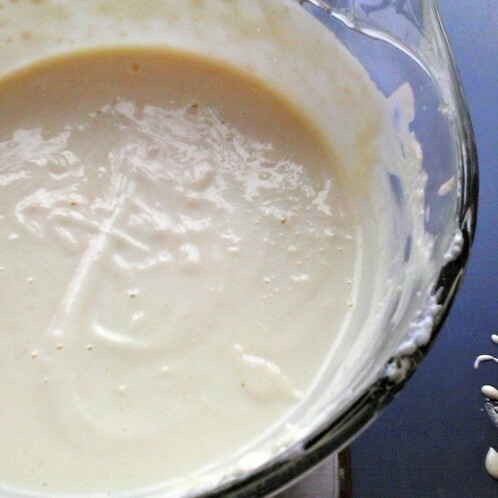
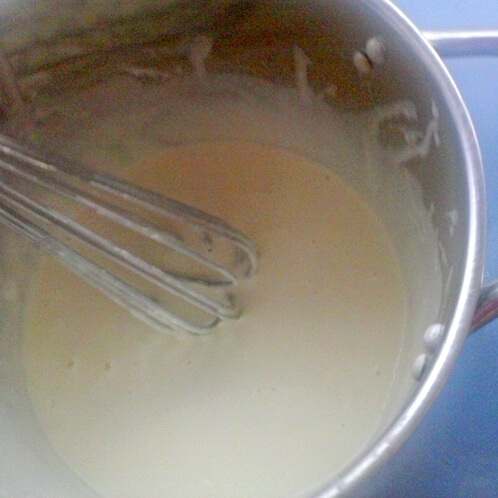
ONE: Melt down hard oils, and whip to a creamy consistency. Cocoa butter can actually crystallize if you melt it down all the way, so I added it to my warm hard oils and used my stick-blender to puree it in. This took quite a longer then I was expecting, and I think that next time I will just temper the cocoa butter and add it in liquid. Whip until the oils are a fluffy, almost meringue consistency.
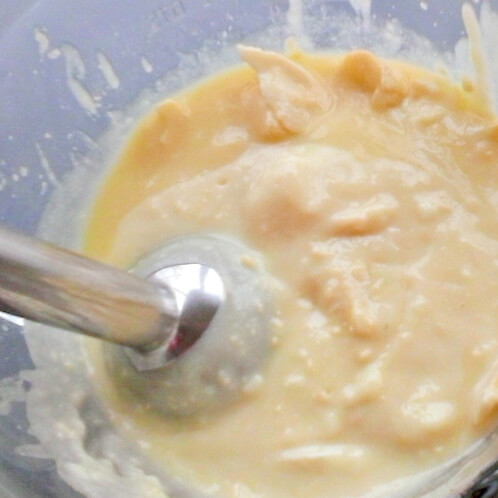
TWO: Add in your softer oils (olive and castor) while continuing to whip the hard oils. Your fluffy consistency will fall at first, but keep whipping and you should get back to that whipped meringue stage.
THREE: Make your lye water, and let it cool down. A lot. We have a dedicated freezer for lye water and soap, so I kept my lye in there until it was 92 degrees. Add the lye slowly (about 1 oz at a time) to your whipped oils, and continue to whip. Do so carefully, to make sure you don’t splash any lye or caustic soap. I ultimately had to transfer my whipped oils to a large stainless steel pot to have enough space to whip safely.
FOUR: Add fragrance! Some fragrances may cause the whip to fall a little, but just whip it back up. (At this point, my arm was getting pretty tired. Do yourself a favor: use an electric mixer.)
FIVE: Separate and color! I pre-mixed my colors in olive oil so they didn’t clump or speckle. I used 1 tsp each of hydrated chrome green, chrome green and yellow mica.
SIX: Glop into layers. Your soap should be the consistency of whipped cream or a fluffy meringue. I pulled the soap side to side first with a spatula, spaced about an inch apart. Then I dragged a thick spatula the length of the mold for a little bit of a swirl; this shows as a neat vertical line in the middle of the bars. You can pipe extra soap onto the top for texture, or just glop it with your spatula like I did.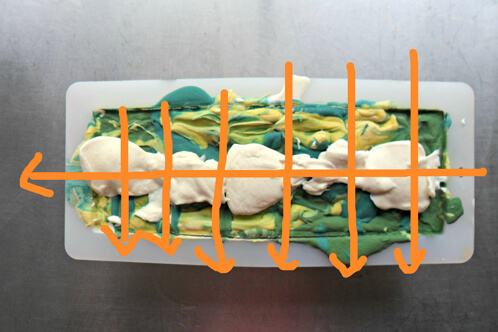
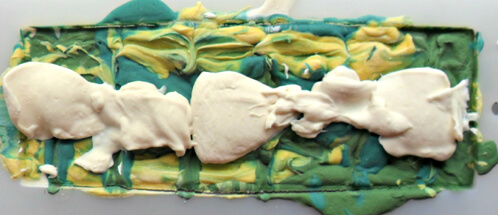
SEVEN: Your soap will harden up very quickly because of all the solid oils. So, depending on the kind of mold you used and how fast yours sets up, be prepared to cut your soap withing 4 hours or it may crumble. I cut mine the next morning (about 8 hours), and some of my frosting on top crumbled off.
Here’s a close-up of it in the mold. This was 4 hours after pouring, and you can see how hard it already is!
The verdict: I really want to take another shot at this technique, this time with some mechanical help. This soap doesn’t float at all, which is a big indicator that I didn’t get enough air whipped into my batter. And while it does lather a bit green, it leaves my skin feeling great, so I’m still going to call this experiment a win.
