
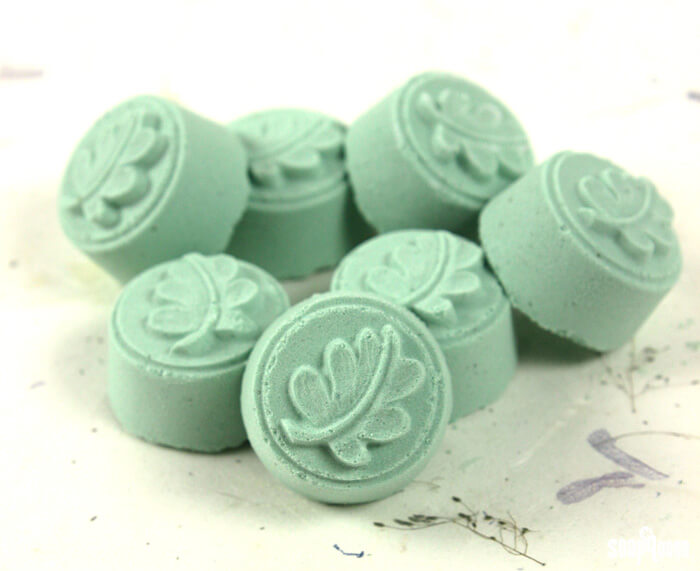
Regular bath fizzies are super fun, but if you’re looking for bubbles that stick around, these Aloe Bubble Bath Bombs are what you want. The addition of SLSA to the basic bath bomb formula of baking soda and citric acid creates silky and luxurious bubbles. Aloe extract adds skin soothing and moisturizing properties. Kentish Rain Fragrance Oil gives the bath bombs a fresh scent.
Sodium Lauryl Sulfoacetate (SLSA) is derived from coconut and palm oils (though, it’s not considered ‘natural‘ in my book because of all the processing it has to go through to get to its final powdery state). It’s extremely powdery and light, and tends to “poof” into the air. When working with SLSA, I recommend a well-ventilated area or a mask. Some crafters prefer to wear a protective mask to avoid sneezing and coughing. To use these bubble bath bombs, simple add 1-3 fizzies (depending on how many bubbles you’d like) directly to your bath water. For even more bubbles, add the fizzies as the water fills up the tub.
What You’ll Need:
Two Leaf Wax Tart Molds
1 cup Sodium Bicarbonate (Baking Soda)
1/2 cup Citric Acid
1/2 cup Sodium Lauryl Sulfoacetate (SLSA)
Irish Green La Bomb Colorant
.5 oz. Aloe Extract
Witch Hazel
4 mL Kentish Rain Fragrance Oil

Click here to add everything you need for this project to your Bramble Berry shopping cart!
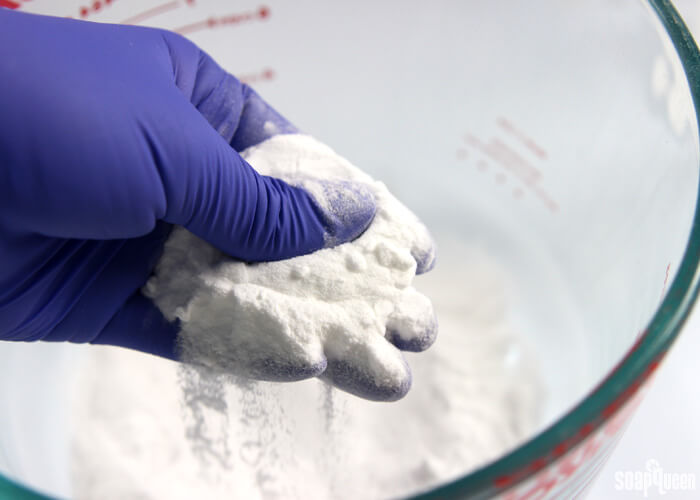
ONE: In a large bowl, combine the baking soda and citric acid. Use your hands to break up any clumps. Citric acid has a tendency to take off nail polish, so wear gloves to protect your manicure. =)
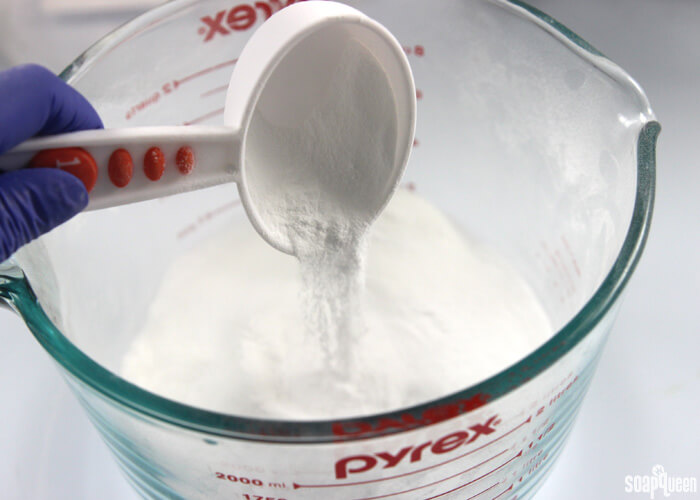
TWO: Add the SLSA and use your hands to thoroughly incorporate. SLSA is extremely powdery, so make sure you are in a well-ventilated room when adding it into the mixture. You may choose to wear a surgical mask to prevent sneezing!
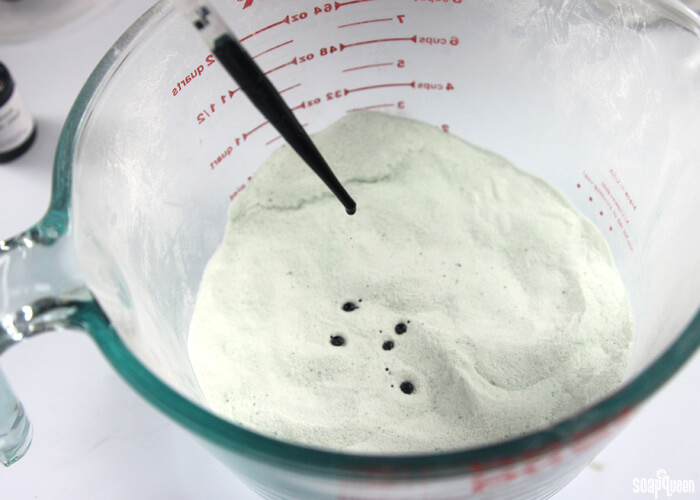
THREE: Begin adding drops of the Irish Green La Bomb Colorant, and mixing in with your hands in between each few drops. Use your hands to break up the drops of color into the powders. Keep adding drops until you get a minty green color. Keep in mind adding too much can color your tub. We added 8-10 drops of color.
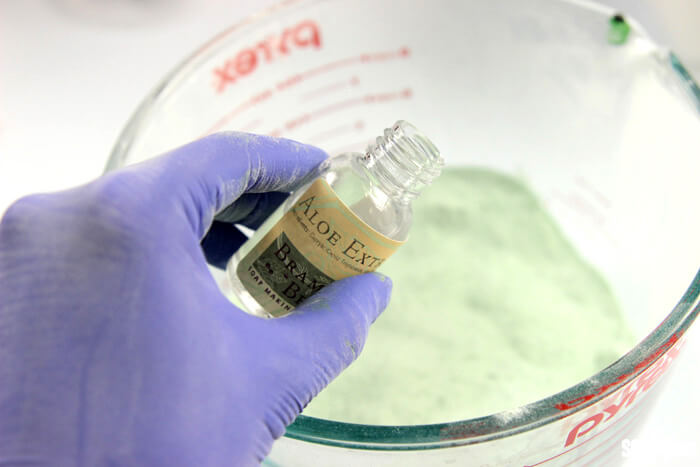
FOUR: Once the color is mostly mixed into the powders, add the aloe extract. Use your hands to mix in the extract thoroughly. You will find that the additional moisture helps mix in the color as well.
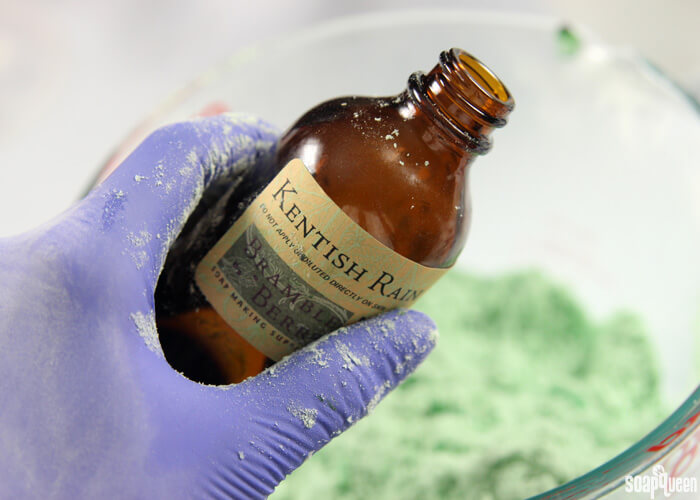
FIVE: Add the Kentish Rain Fragrance Oil, and use your hands to mix thoroughly.
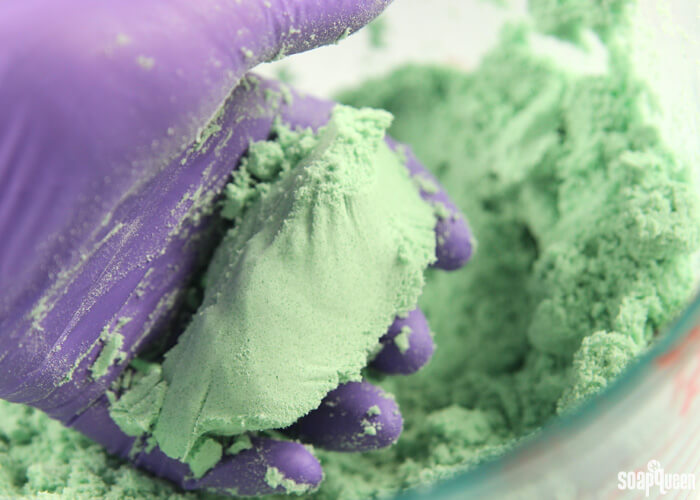
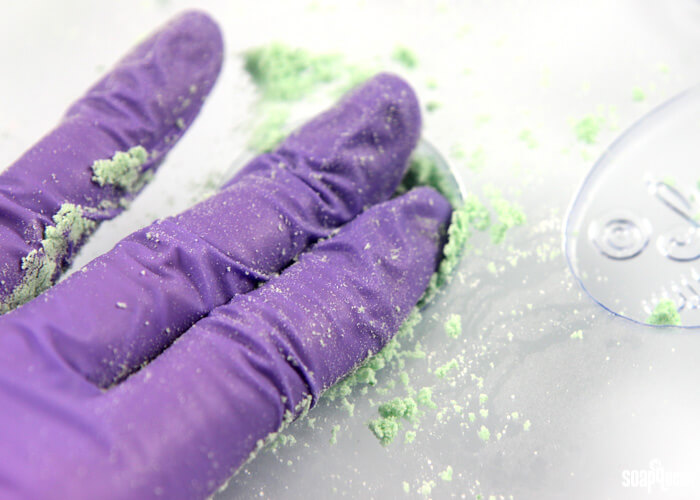
SIX: Check the moisture level of your fizzies. You may find that the mixture is quite dry and powdery. If so, add sprays of witch hazel until the mixture is a similar texture to wet sand. The mixture should hold its shape when squeezed in your palm.


Below, you can see that the mixture forms a ball when squeezed in your hand. This means that the mixture will hold its shape in the mold as well.
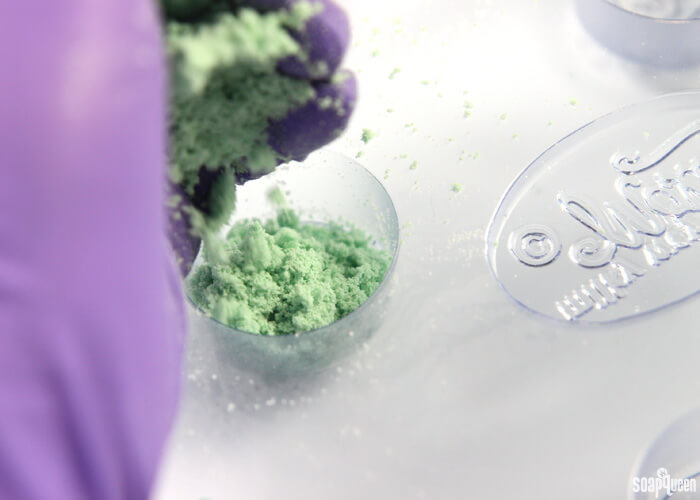
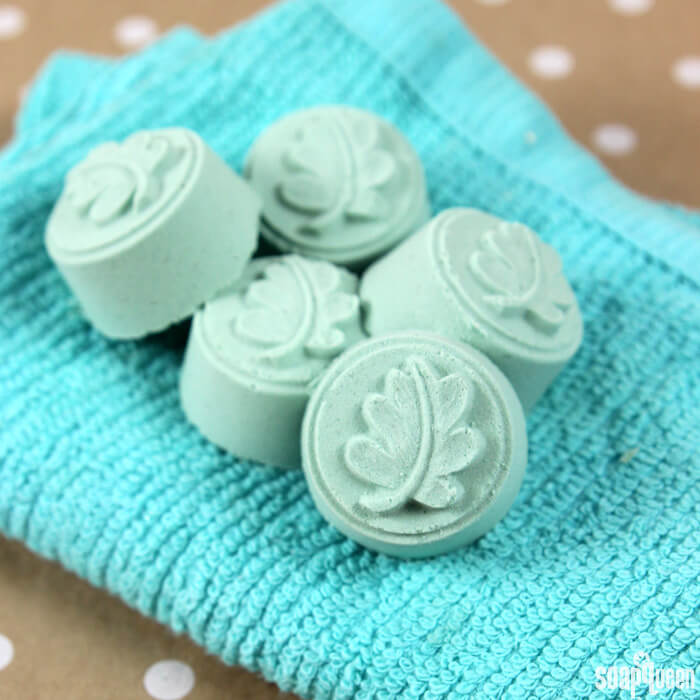
SEVEN: Fill each cavity completely with the bath bomb mixture, and use your fingers to press it firmly into each cavity. Allow the bath fizzies to sit in the mold for at least 2 hours or up to overnight.
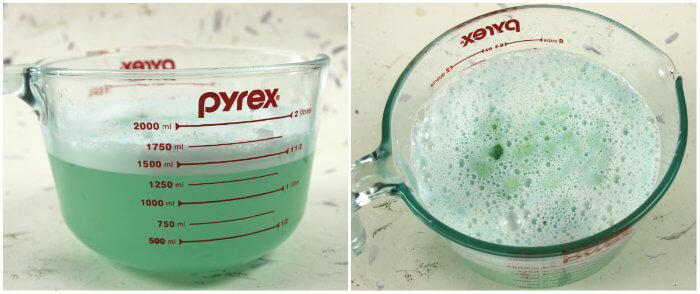
Once the fizzies are completely dry, press the back of each cavity gently to release them from the mold. These bath bombs tend to be a little bit more delicate, so handle with care. To use, drop 2-3 bath fizzies into the tub. To help promote more bubbles, place the bath fizzies into the tub while it fills up with water. Below, you can see an example of the bubbles once the fizzy is introduced to water.
What is your favorite way to add bubbles to your bath tub? I have been meaning to whip up more solid bubble bath bars soon. =)

Aloe Bubble Bath Bombs
Ingredients
- Two Leaf Wax Tart Molds
- 1 cup Sodium Bicarbonate Baking Soda
- 1/2 cup Citric Acid
- 1/2 cup Sodium Lauryl Sulfoacetate SLSA
- Irish Green La Bomb Colorant
- .5 oz. Aloe Extract
- Witch Hazel
- 4 mL Kentish Rain Fragrance Oil
Instructions
- In a large bowl, combine the baking soda and citric acid. Use your hands to break up any clumps. Citric acid has a tendency to take off nail polish, so wear gloves to protect your manicure. =)
- Add the SLSA and use your hands to thoroughly incorporate. SLSA is extremely powdery, so make sure you are in a well-ventilated room when adding it into the mixture. You may choose to wear a surgical mask to prevent sneezing!
- Begin adding drops of the Irish Green La Bomb Colorant, and mixing in with your hands in between each few drops. Use your hands to break up the drops of color into the powders. Keep adding drops until you get a minty green color. Keep in mind adding too much can color your tub. We added 8-10 drops of color.
- Once the color is mostly mixed into the powders, add the aloe extract. Use your hands to mix in the extract thoroughly. You will find that the additional moisture helps mix in the color as well.
- Add the Kentish Rain Fragrance Oil and use your hands to mix thoroughly.
- Check the moisture level of your fizzies. You may find that the mixture is quite dry and powdery. If so, add sprays of witch hazel until the mixture is a similar texture to wet sand. The mixture should hold its shape when squeezed in your palm. Below, you can see that the mixture forms a ball when squeezed in your hand. This means that the mixture will hold its shape in the mold as well.
- Fill each cavity completely with the bath bomb mixture, and use your fingers to press it firmly into each cavity. Allow the bath fizzies to sit in the mold for at least 2 hours or up to overnight.
- Once the fizzies are completely dry, press the back of each cavity gently to release them from the mold. These bath bombs tend to be a little bit more delicate, so handle with care. To use, drop 2-3 bath fizzies into the tub. To help promote more bubbles, place the bath fizzies into the tub while it fills up with water. Below, you can see an example of the bubbles once the fizzy is introduced to water.