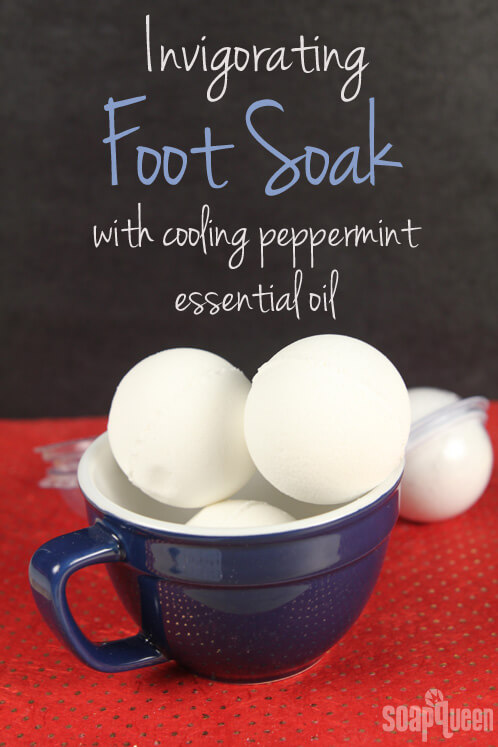
This fizzy bath bomb foot soak is step one in our luxurious home pedicure routine. The soak contains 1st Distillation Peppermint Essential Oil, which leaves a pleasant cooling sensation on your feet, while the Epsom Salts are calming and soothing.
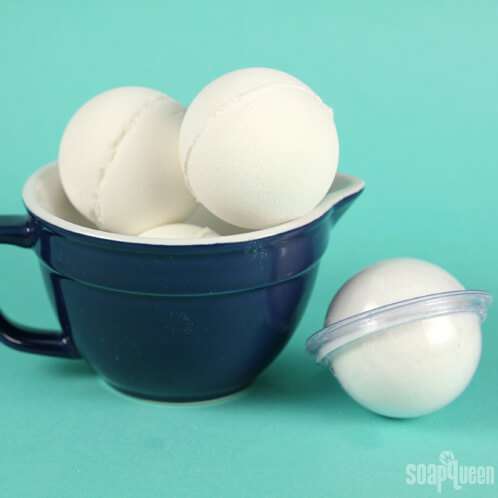
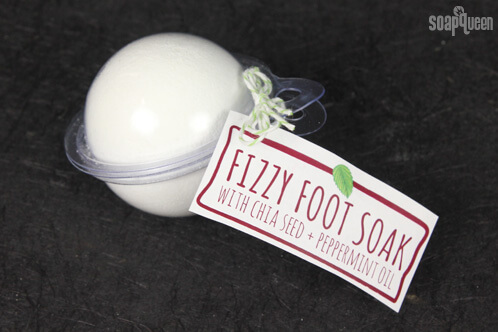
The Round Bath Bomb Clam Shell Mold acts as both the mold and the packaging for these little bombs, and you can complete the entire project by attaching the cute tag, which is available for free as a PDF download.
This project is part of the Happy Feet Home Pedicure series. See all the projects here: Moisturizing Heel Balm, Rose Clay Foot Mask, Cranberry Seed Foot Scrub and Summer Shimmer Nail Polish.
What You’ll Need:
4 Round Bath Bomb Clam Shell Molds
1 cup Baking Soda
½ cup Citric Acid
¼ cup Extra Fine Epsom Salt
1 Tbs. Chia Seed Oil
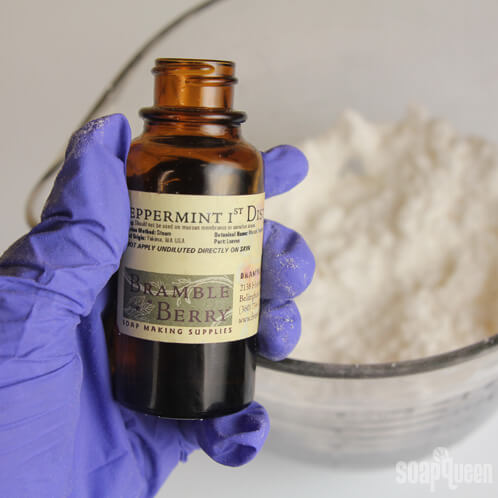
3 mL Peppermint Essential Oil, 1st Distillation

Click here to add everything you need for this project to your Bramble Berry shopping cart!
ONE: In a large bowl, combine baking soda, citric acid and epsom salt and stir to combine.
TWO: Using your hands, break up any clumps. If you can’t get them all, you can sift your mixture through a strainer to break them up.
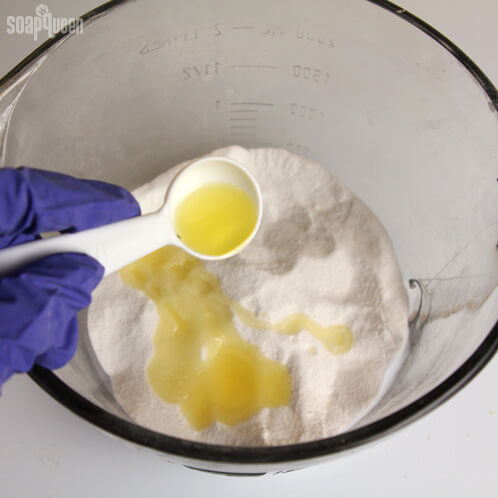
THREE: Add the chia seed oil and peppermint essential oil. Use your hands to combine the liquids with the powders breaking up any large clumps.
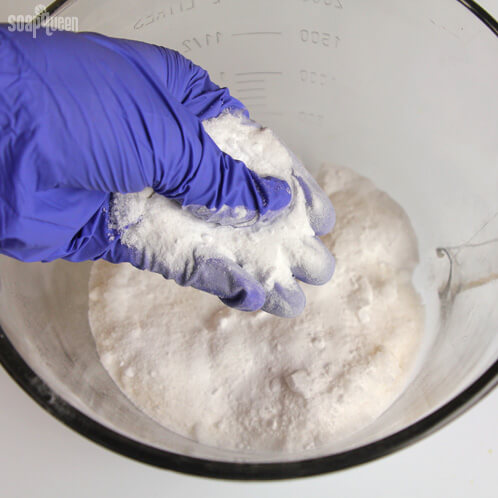
FOUR: Depending on the moisture level of the current mixture, spritz the bath bombs with witch hazel. It usually takes between 5-7 spritzes, and the mixture should be wet enough so when you squeeze the powder in your palm, it will stick together. If you don’t have witch hazel, adding a few extra drops of chia seed oil will also help the powders stick.
Note: You want to spray enough so that the powders stick together and aren’t crumbly. Be careful though because spraying too much can cause the mixture to fizz prematurely and ruin your bath bombs!
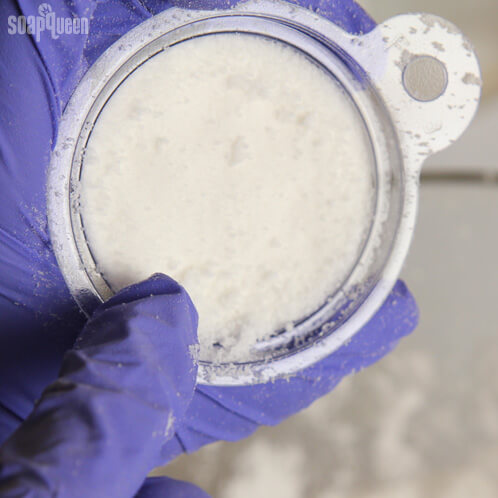
FIVE: Firmly press this mixture into both halves of the bath bomb mold. Carefully remove any powder that fills the outer edges; doing so will make the bath bomb molds easier to close.
SIX: Mound a little extra mixture in the center of one half of the mold. Match the eyelets of each side up, and press together. To avoid any imperfections on your bath bomb, make sure to direct pressure to the edges of the mold rather than the center.
SEVEN: Continue filling until all the molds are full. Clean off any stray bits of fizzy ingredients, attach a label and you are done!
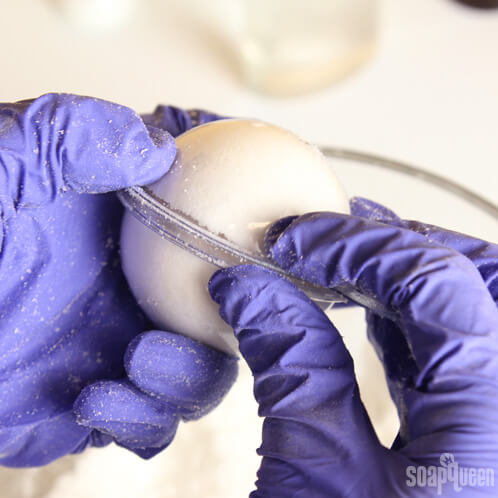
EIGHT: Unmold the fizzy when you are ready to use it (leaving your fizzies out in the air can often set off the fizzy reaction in humid climates). The bath bomb molds are intended for one time use, but if you are very careful when you unmold them you can re-use them. They are a mold & package all-in-one!