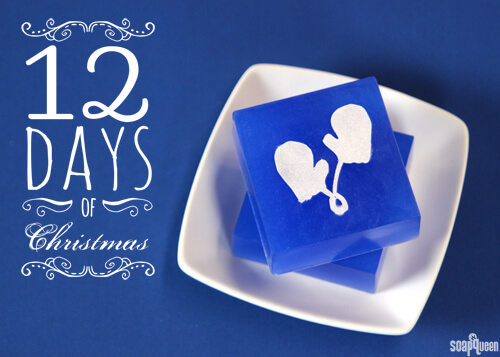
With the holiday season comes frosty temperatures and flurries of snow. If frigid weather has you feeling blue, remember…cold weather is the perfect reason to craft inside! This Snowy Stencil Melt and Pour project was inspired by the upcoming snow days, with wintery colors and icy stenciled shapes.
This stencil technique lends itself to a wide variety of shapes and ideas. Super Pearly White Mica was used to create a snow-like effect, but you can also use glitter as seen in the Stenciled Glitter Soap Tutorial and Glittered Sparkle Soap Kit.
What You’ll Need:
48 oz. Clear Melt and Pour
12 Cavity Square Silicone Mold
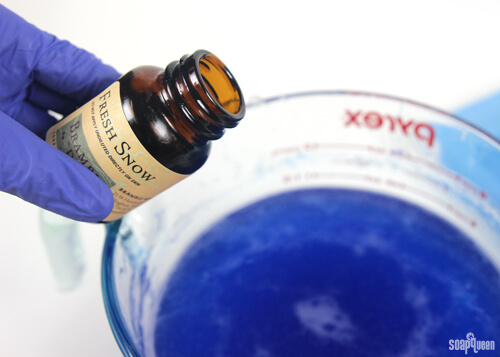
1.2 oz. Fresh Snow Fragrance Oil
Ultramarine Blue Color Block
Super Pearly White Mica
Holiday Label & Stencil PDF
Paint brush
Label stock

ONE: Cut and melt 48 oz. of clear melt and pour in a the microwave using 20-30 second bursts. Once fully melted, add shavings of the Ultramarine Blue Color Block until a rich blue color is achieved. Add 1.2 ounces of Fresh Snow Fragrance Oil, and stir to fully incorporate.
 TWO: Pour the soap into each mold cavity.
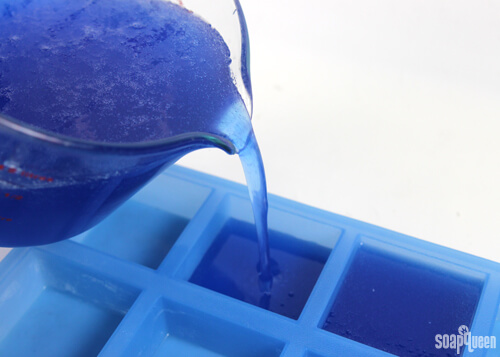 THREE: Spritz with 99% isopropyl or rubbing alcohol to disperse any bubbles. Allow to fully cool and harden.
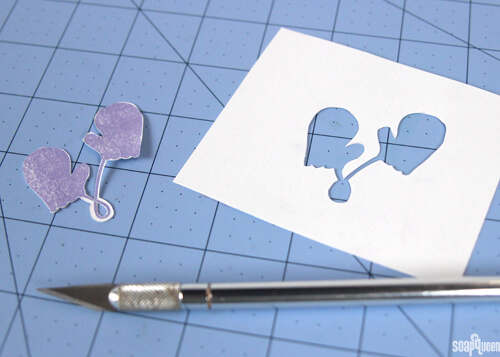
FOUR: While the soap cools, use an X-acto knife to cut out the stencil shapes printed onto label stock.
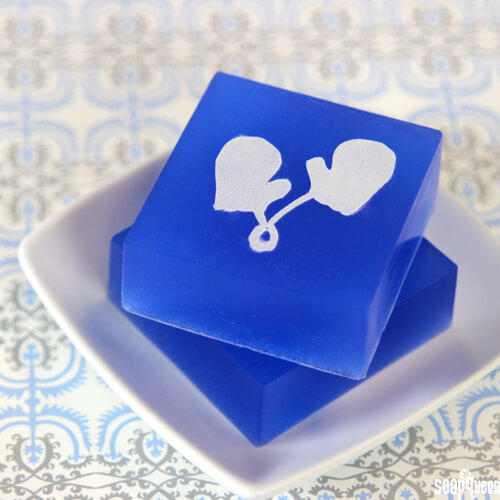
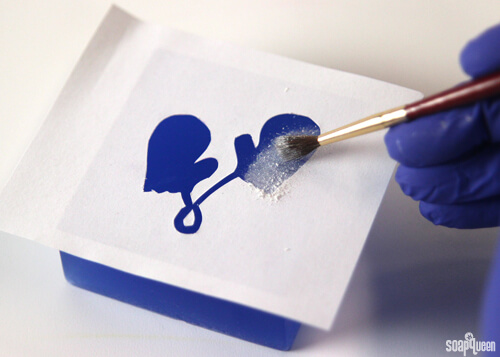
FIVE: Once the soap has fully hardened, remove each bar from the mold. Remove the backing and stick the stencil on the top of the soap, making sure the image is centered. Dip the paint brush into the Super Pearly White mica, and dust off any excess. Carefully brush the mica over the stencil.
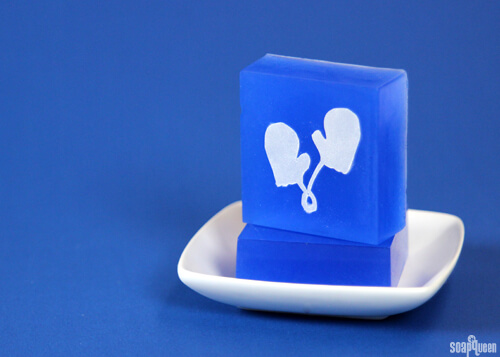
SIX: Once the design has been fully covered in mica, carefully remove the stencil. To set the mica, gently spray with aerosol hairspray (although that can make the mica less shimmery looking). Enjoy!

Do you enjoy spending time in the cold weather, or do you prefer to bundle up inside?