• November 18, 2010

Melt and Pour Tools *really* make a world of difference for Melt and Pour soap designs, especially intricate patterns like the Thanksgiving Mold.

DSC04379
What you’ll need for this project:
Get everything you need for this project at the click of a button.
To make the Pumpkin Soap
1. Mix 2 ounces of clear soap with Liquid Orange Color until you achieve the color you want.
2. Fill in the entire cavity. Allow to harden.

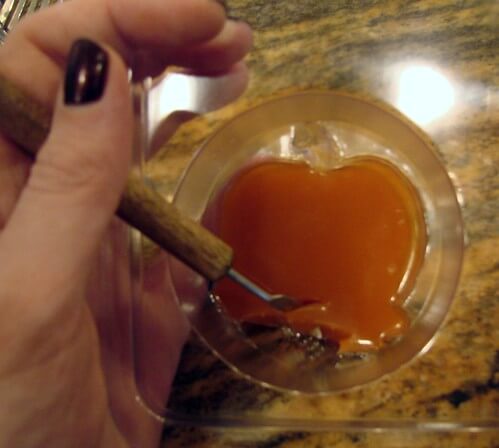
3.Once the Orange Soap has fully hardened, take your Scraper tool from your Tool Kit and cut ‘n’ pry the orange soap out of the corn cavities.

Thanksgiving Christmas MP Projects
3. Prepare your Yellow and Green-Brown soaps (using Clear Melt and Pour). Using your syringe, drop yellow colored soap into the corn and green with a touch of brown colored soap into the ‘leaves’. Tilt the mold as necessary to allow the yellow to fill in the corn entirely. The soap dries fast so it doesn’t take long.
Thanksgiving Christmas MP Projects


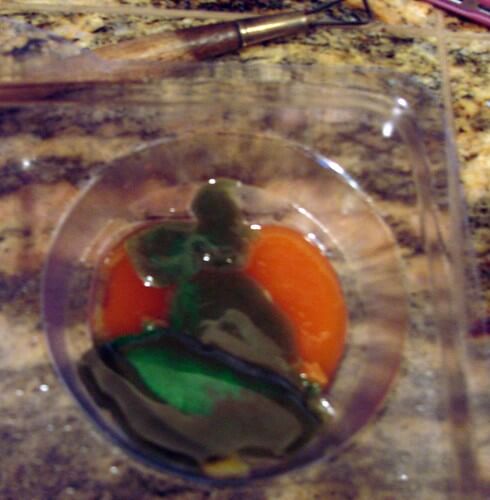
4.Cut out the Pumpkin Stem and fill that in with the syringe.  Allow all of the colors to fully harden.

Thanksgiving Christmas MP Projects
5. Prepare your background color. I used an Orange Brown mixture so the color was a warm fall tone. Add fragrance to this soap. It is about 2 ounces per cavity so make up approximately 4 ounces of soap colorant.

6.Check that temperature before you pour. Is it 130 or below? If it’s not, it may melt that first layer. Spritz the first colored layers with rubbing alcohol and slowly pour the background soap over. Give one final touch with rubbing alcohol and wait for 4 to 6 hours to pop your soap out.

DSC04307

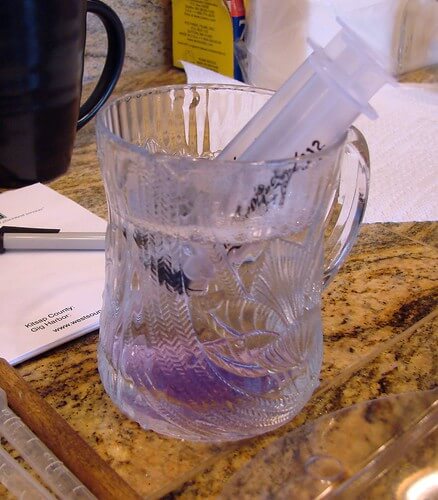
Tip! I always keep warm boiling water on hand to rinse my syringe out in between each use.

Thanksgiving Christmas MP Projects

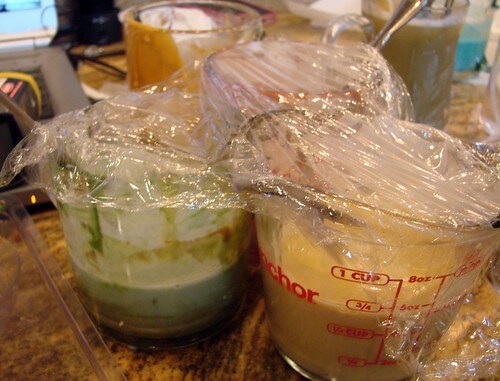
Tip 2: I prepare ALL of my soap colors for these projects at once and then let them sit, covered, so I can work quickly.

Showing how to make intricate designs

Thanksgiving Christmas MP Projects

Follow this same process for the Turkey Soap EXCEPT fill in the feather plume first. You can use the scraper/pick to scrape away any of the parts that spilled over. I used different gradients of yellow to make it look more varied and interesting.

Showing how to make intricate designsThese very basic scrape/layering techniques produced all of these bars of soap below. I love how versatile Melt and Pour can be with the Melt and Pour Tool Kit.Showing how to make intricate designs


You may also like these

Become an email subscriber

Enter your email address below and you will receive all our new posts directly in your email inbox.

  1. Ha! Not at all. I either work (like now – I’m reviewing resumes, signing Christmas checks and doing emails) or craft. I’ll rarely use the ‘free’ time to clean though I’m betting my husband wishes I did! LOL! =)

  2. Bramble Berry does ship to the UK so if you ever want to try it out, you can check the shipping options during the final step before putting in your credit card.

  3. This is my first time i visit here. I found so many interesting stuff in your blog, especially its discussion. From the tons of comments on your posts, I guess I am not the only one having all the leisure here! Keep up the good work.

  4. Super simple, I just put melted soap in the syringe and tip the mold on its side and ‘fill’ the ribbon, prop it up on its side and then do another task for a couple minutes. Then I rotate the mold and do it again. Once all four sides are done, the rest is a piece of cake. You can use either the droppers https://www.brambleberry.com/Se… or the Syringe: https://www.brambleberry.com/Se… Were you doing the same method? I’m guessing you were! =)

  5. Beautiful Thanksgiving soaps!

    Just curious… I have the “present” mold and I’m wondering how you got the “Ribbons” on the sides to look so clean. My convoluted method for those is time-consuming and looks nowhere near as nice!

    Thanks as always for the wonderful tutorial! 🙂

  6. Thanks dM. Yes, Chris was on a trip last weekend and I brought a HUGE amount of supplies home to soap up. You know what they say … when the cat’s away, the mouse will … make soap!

Comments are closed.

{"email":"Email address invalid","url":"Website address invalid","required":"Required field missing"}

The Latest from Soap Queen TV

Inspired by Gems & Crystals

All About Essential Oils

The Power of Charcoal

Create Your Own Clay Face Mask

DIY Bath Bombs

Cold Process Soap Tips & Tricks

Learn the Basics of Cold Process Soapmaking

Learn the Basics of Melt & Pour Soapmaking

Want to Start Your Own Soap Business?

Soap Business Success Stories

Soap Queen TV Favorites

Ingredient Spotlight

Disclosure

Unless stated otherwise, all images are original material and are copyrighted. If you'd like to use an image, please be a friend and credit the photo and link back to Soap Queen. Feel free to share, tweet and pin to your hearts content.