 I’m a firm believer in engaging kids in crafty projects at a young age. Arts and crafts enhance confidence and teach children to think creatively and problem solve. Not to mention, kids love creating! A great way to entertain the kids this holiday season is by throwing a DIY party for the little ones.
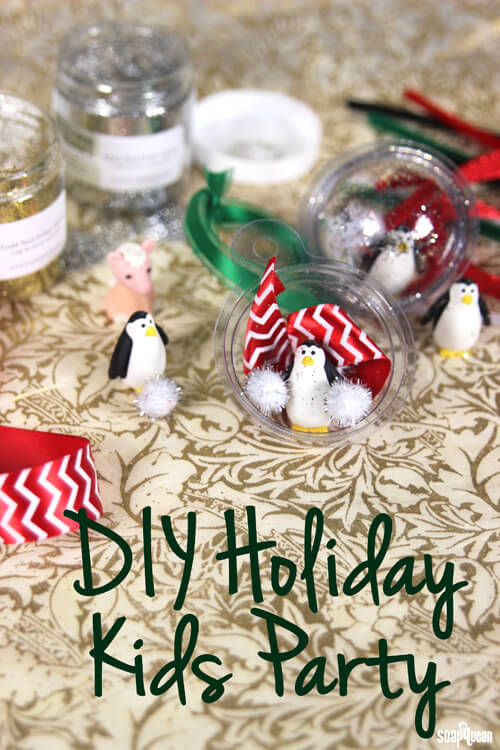
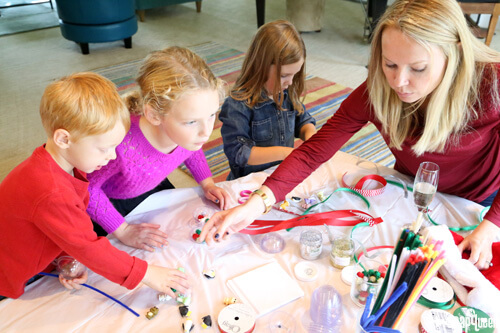
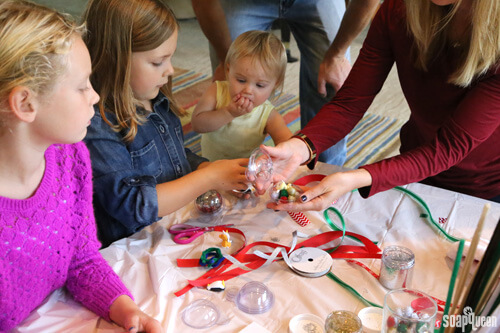
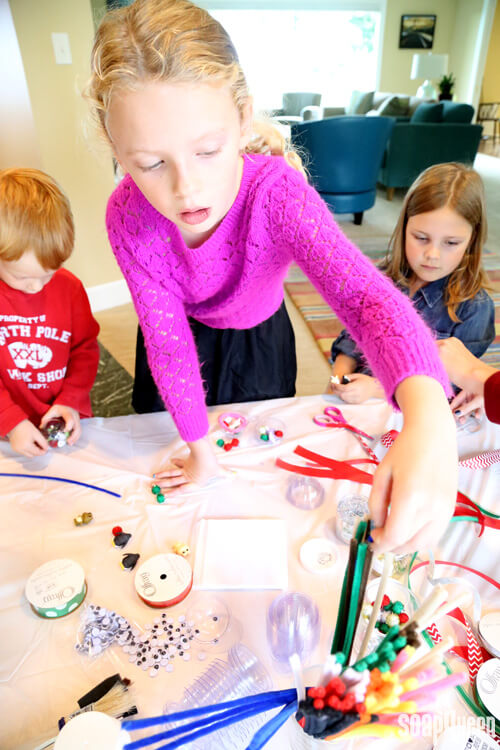
Recently, friends of Jamisen and Lily came over for an afternoon of playing and creating sparkly holiday ornaments. Created by filling the Bath Bomb Mold and Package with fun animal toys, pom-poms, ribbon and plenty of sparkle, this project was a hit for a variety of age groups. There is also no wrong way to fill the ornament, so kids can truly let their creativity be the limit.

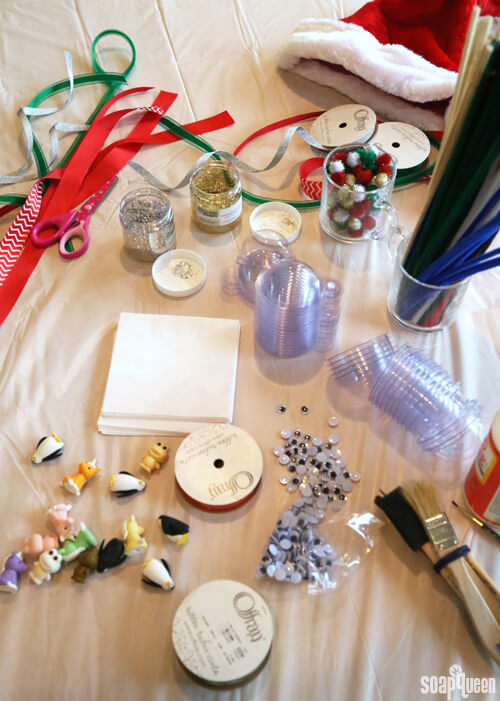
What You’ll Need:
Bath Bomb Mold & Package, Plastic (20 molds)
1 oz. Silver Nail Polish Glitter
1 oz. Gold Nail Polish Glitter
Black and White Penguin Erasers (10 penguins)
Frog Erasers (5 frogs)
Unicorn Erasers (5 unicorns)
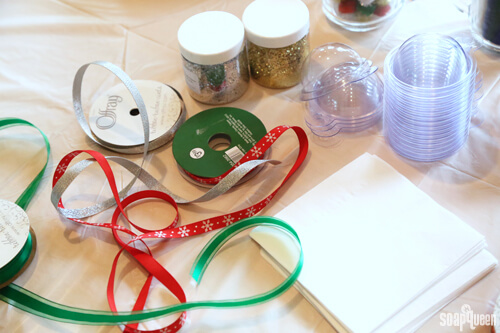
Ribbon
Pom-poms
Pipe cleaners


- A wide variety of ribbons, precut
- Small pom-poms
- Pipe cleaners
- Googly eyes
- Glue (just in case)
- Scissors
Basic Instructions:
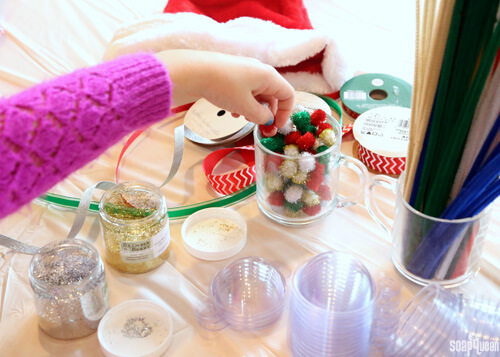
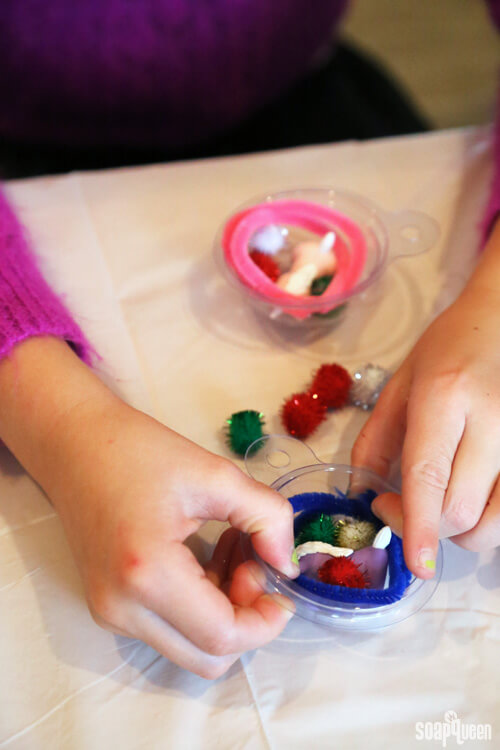
ONE: Place an animal eraser into the Bath Bomb Mold and Package.
TWO: Add glitter, ribbon, pom-poms or other craft supplies.The fun part is letting kids fill the mold with things they like!
THREE: Once the bath bomb mold is filled, close the two sides together, lining up the eyelets on each side.
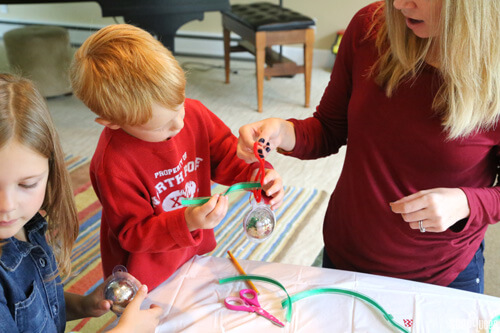
FOUR: Thread a ribbon or pipe cleaner through the holes and tie together. The ornament is ready to hang on a tree!
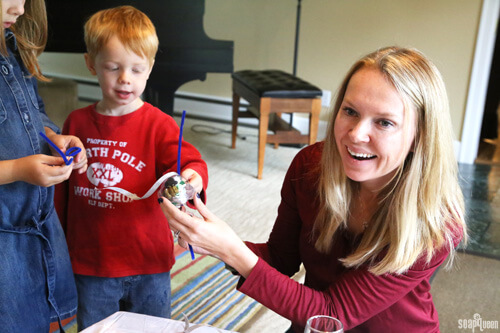
 To make the ornaments, simply let the kids fill the packages with whatever they desire! Once full, the packages can be closed and are ready to hang on the tree, stuff into stockings or hang from the mantle. It was so fun to see the variety of ornaments …kids are so creative!
 I found cutting ribbon up before hand helped tremendously. This way, you don’t have to worry about the kids using scissors. I purchased the ribbon from my local craft store.
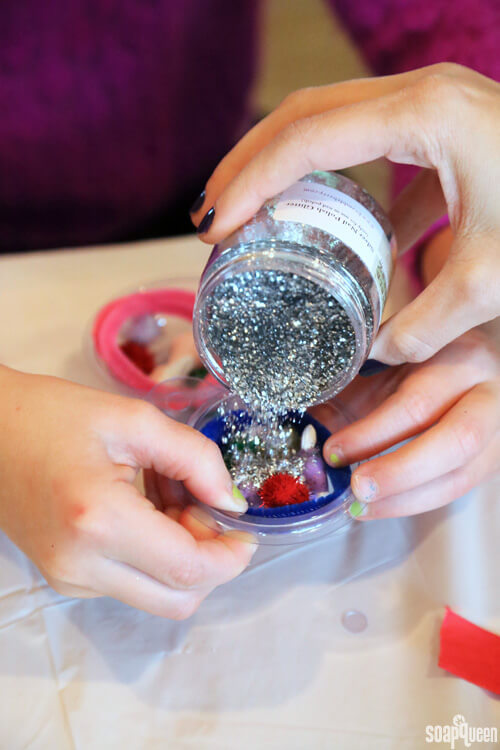
 When pouring the glitter, you may want to offer some assistance. Glitter can get a little messy! The tablecloth helped catch any spills and once all the materials were cleaned off, it was thrown away. Because it was from the dollar store, I didn’t feel too guilty =).
 Once the containers have been filled to perfection, it’s time to close them up and thread a ribbon or pipe cleaner through the holes. This makes the packages extremely easy to hang on the tree.

 The pipe cleaners were certainly a hit! The kids stuffed them inside the ornaments, and used them to thread through the bath mold and packages to hang. We also had fun twisting them into various shapes in between making ornaments.

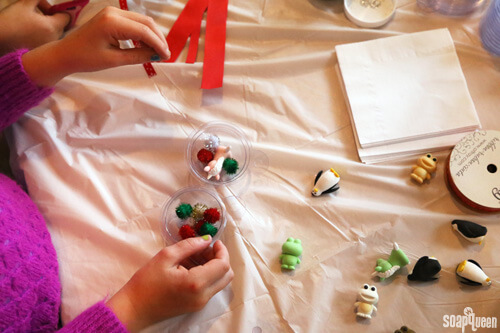 The penguin erasers were a big hit with both the boys and girls, aren’t they cute? I love the addition of googly eyes to the ornament in the top right corner. The kids had so much fun creating these ornaments, and Jamisen and Lily thoroughly enjoyed placing their creations on the tree. Can’t wait to make these again next year!
 What holiday projects do your kids enjoy making?