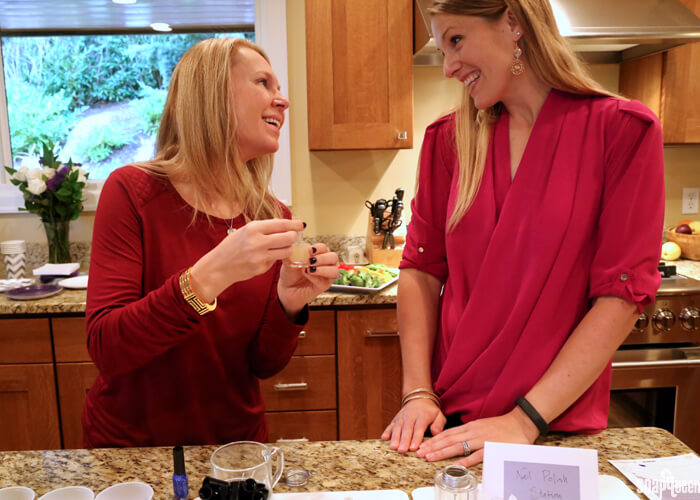
A few months ago, I threw DIY party at my house. It was a ton of fun; my friends and I created a Winter Gardenia Sugar Scrub, along with various colors of nail polish. Nail polish is one of my favorite projects to make with friends because it’s simple, easy to customize, and just about everybody loves nail polish. Making nail polish doesn’t require precise measurement or heat, which makes it easy to set up and clean up after.
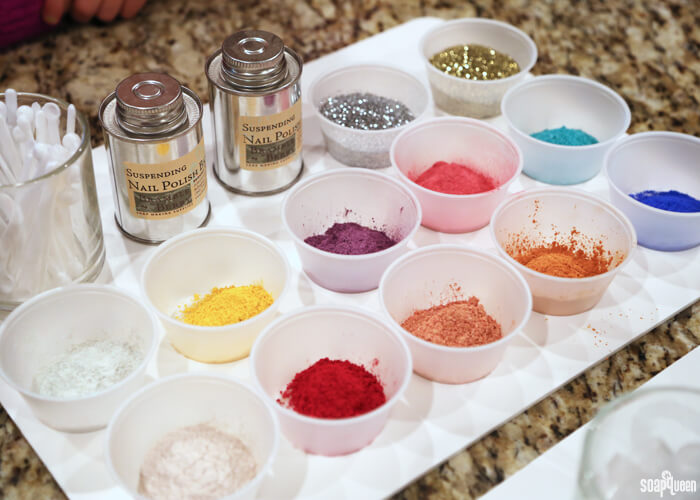
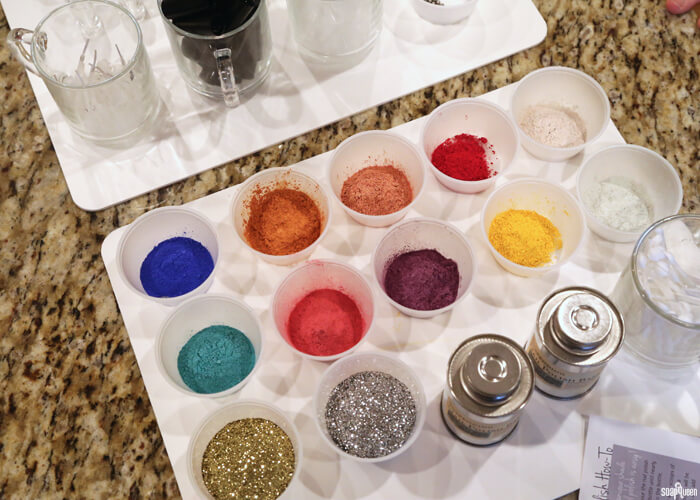
 I recommend planning on each person making about three bottles of nail polish. To give your guests plenty of color options, colorant sampler packs are a great way to go. For this party, I used the Brights and Pastel Micas Sampler Pack. I also brought along some glitter to add plenty of sparkle.
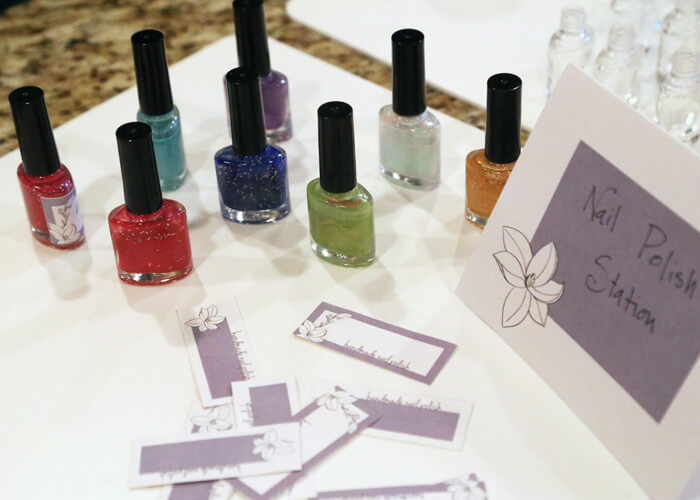
First, I showed everybody how to create a bottle of nail polish. Then, I gave them each printed instructions along with a template to test their nail polish color throughout the mixing process. I also had labels printed out, so my friends could write the name of their custom shade on the bottle. Coming up with fun polish names is one of my favorite parts!
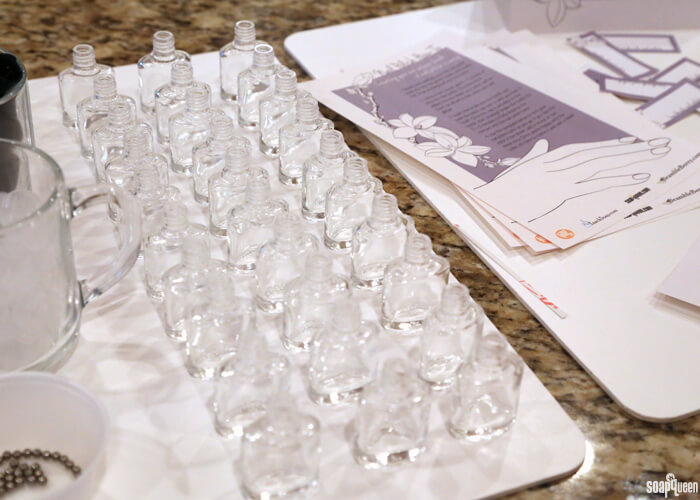
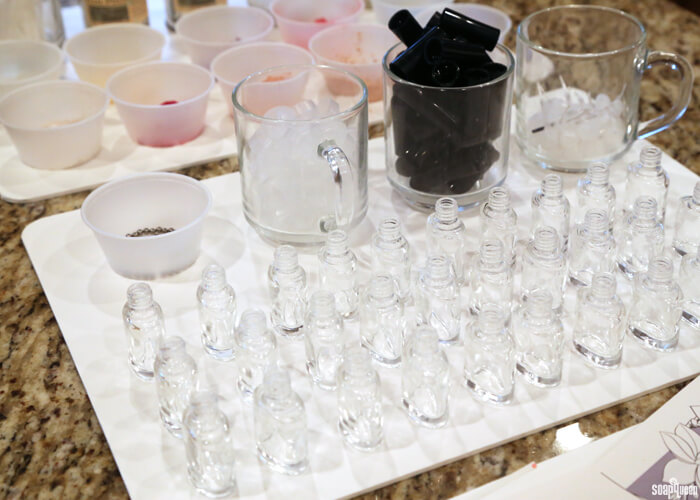
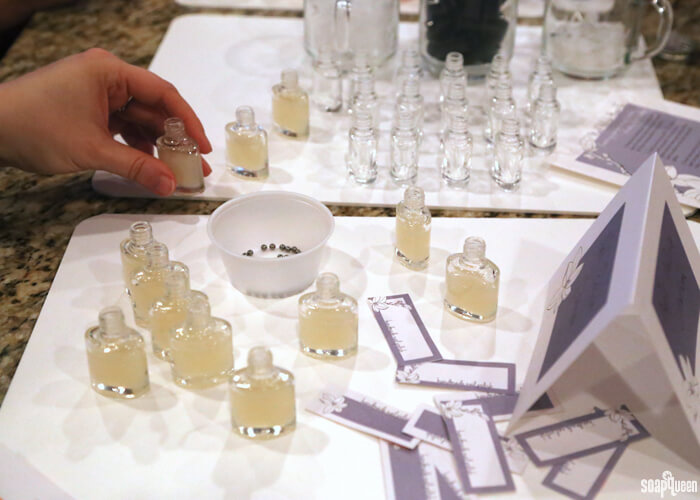
To help keep any spills or messes off the counter, I placed all the ingredients on plastic mats. I also had a few bottles of nail polish remover nearby just in case! I place each mica into small sample cups to make the colors easier to scoop. The Nail Polish Mixing Balls, caps and brushes were also on the counter for easy access. I brought two 4 oz. bottles of Suspending Nail Polish Base. This way, more than one guest can pour the base into their bottle at a time. I ended up with plenty of extra 8 mL Nail Polish Bottles. I recommend planning on each 4 oz. bottle of nail polish base making about 16 of the small nail polish bottles.
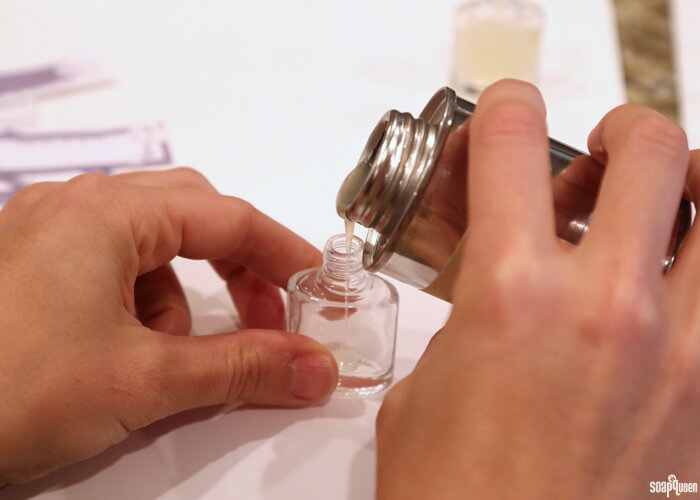
 To make the nail polish, gently pour the Suspending Nail Polish Base into the nail polish bottle. Add a Nail Polish Mixing Ball into the nail polish bottle. The Nail Polish Mixing Balls really help disperse the colorants into the nail polish base.
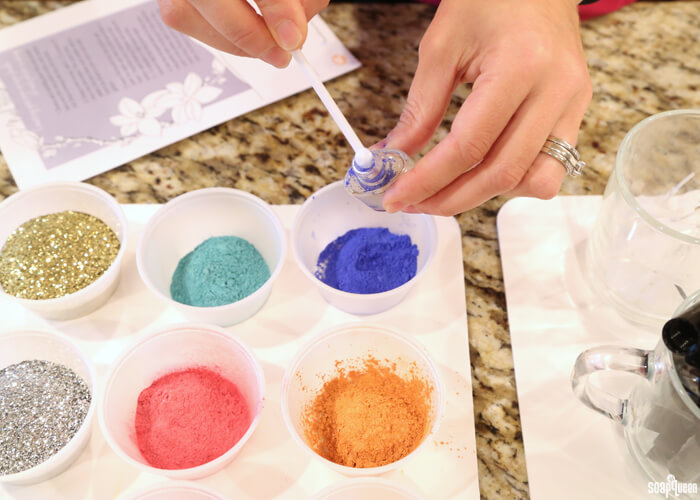
 Then it’s time to get mixing! Have plenty of .15 CC Scoops on hand to help your guests place the micas and glitter into their bottles. This is were things get really fun! The more color options available, the more mixing and customization options your guests have.
 Then, put the brush in, screw on the lid and shake, shake, shake the bottles until the color is fully incorporated into the base. For more information on how to make nail polish, check out the How to Make Nail Polish video on Soap Queen TV.
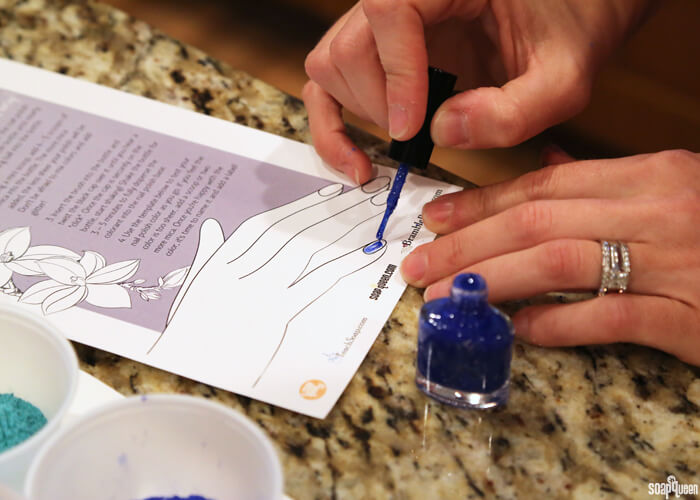
 The printed instructions include a nail graphic to test the color as you continue to add color to your nail polish. This way, you don’t need to test the polish directly on your finger nails.
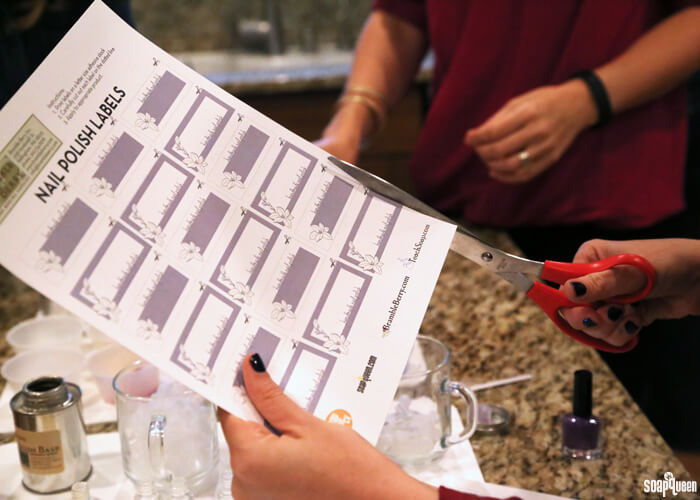
 Once you’re happy with your nail polish color, cut out a label and place the label on the bottle. I used the waterproof label paper to print the labels. Click here to download the free label template.
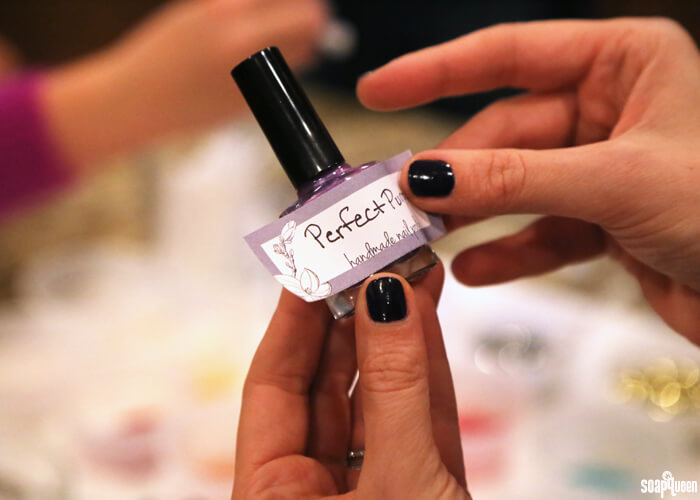
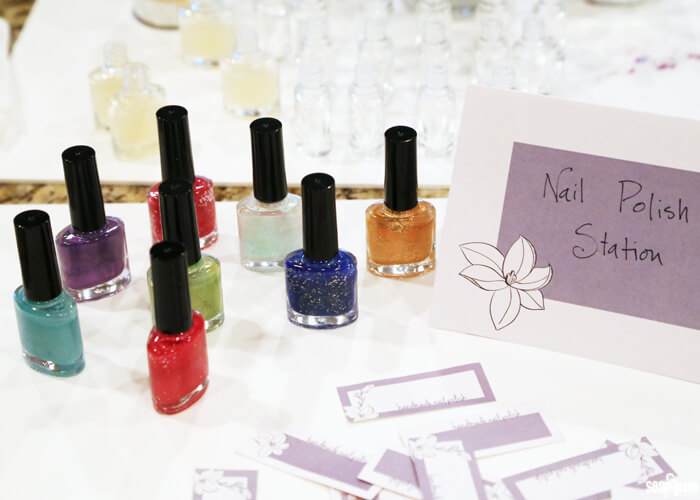
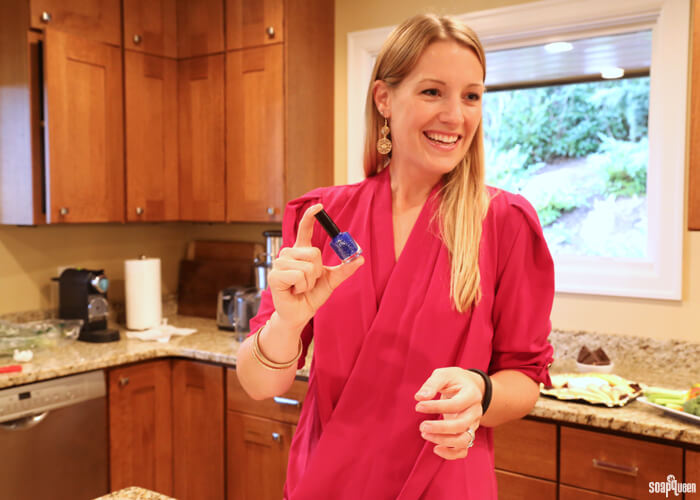
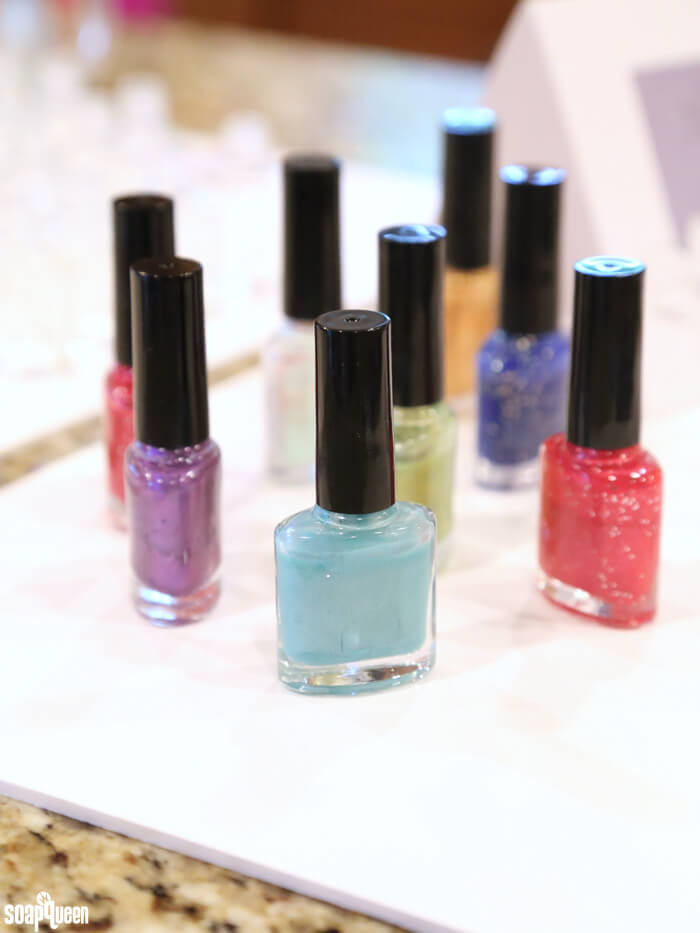 Here are a few of my favorite nail polish colors created at the party, including my “Perfect Purple,” color shown above.
Color Mixtures Shown Above:
- Sparkle Blue: Five CC scoops Cellini Blue Mica + four CC scoops Silver Nail Polish Glitter (The Silver Nail Polish Glitter has been replaced with the Silver Rainbow EcoGlitter).
- Bright Green: Four CC scoops Shamrock Green Mica + six CC scoops Yellow Mica
- Perfect Purple: Seven CC scoops Lavender Mica (The Violaceous Violet Mica previously used will be discontinued when supplies run out. It has been replaced with Lavender Mica).
- Bright Pink: Five CC scoops Coral Mica + five CC scoops Rose Pearl Mica
- Super Gold: 12 CC scoops Gold Nail Polish Glitter (The Gold Nail Polish Glitter has been replaced with the Silver Rainbow EcoGlitter).
If you want to recreate this nail polish party, here is the complete list of items used:
- Two bottles 4 oz. Suspending Nail Polish Base
- Small Nail Polish Bottle, 8 mL
- Nail Polish Mixing Balls
- Gold Nail Polish Glitter (The Gold Nail Polish Glitter has been replaced with the Silver Rainbow EcoGlitter)
- Silver Nail Polish Glitter (The Silver Nail Polish Glitter has been replaced with the Silver Rainbow EcoGlitter)
- Brights and Pastel Micas Sampler Pack
- Nail Polish Instruction Template
- Nail Polish Label Template

Click here to add everything you need for this project to your Bramble Berry shopping cart!
Have you ever thrown a DIY party before? I love having an activity during my celebrations. I find that it helps foster conversation, and guests love leaving with their creations. If you have any tips or tricks for throwing a DIY party, I would love to her them! If you’re interested in learning more about making your own nail polish, check out the tutorials below.