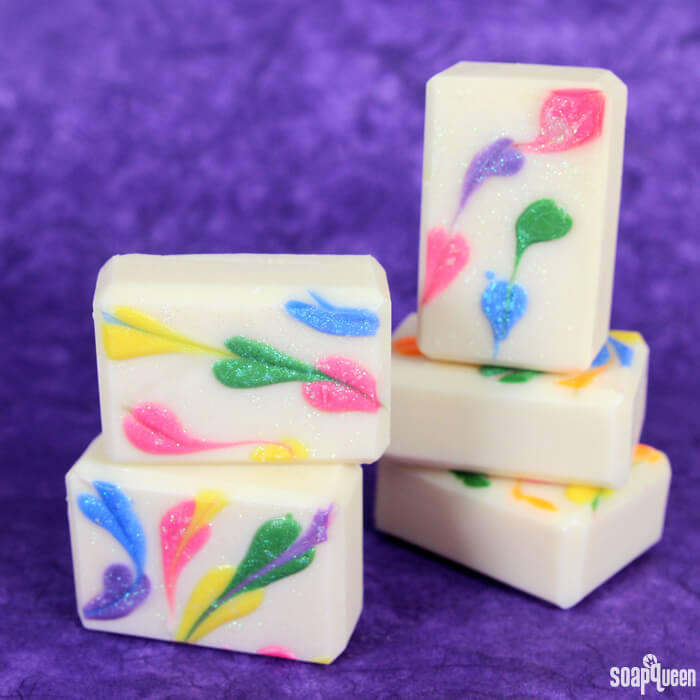
Hearts, rainbow and glitter, oh my! If you’re a long time reader of this blog, you know I’m a fan of color, sparkle and hearts. For example, last year I created this Rainbow Hearts Melt and Pour project. I loved it so much that I started dreaming of a cold process version.
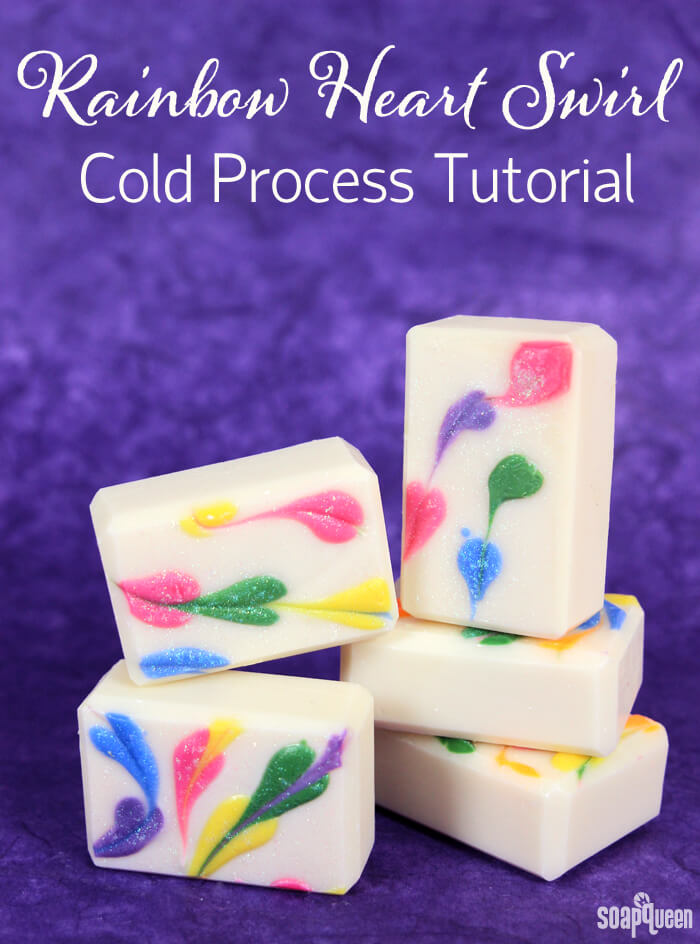
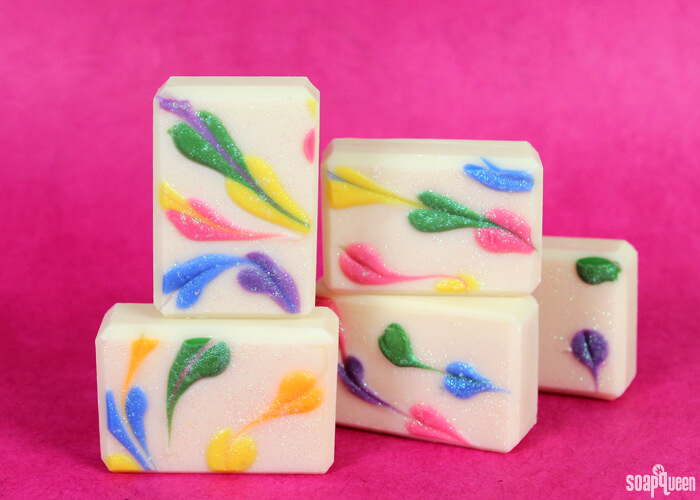
The brainstorm led to this cute and fun Rainbow Heart Swirl Cold Process Soap. It’s created by swirling tiny dots of multi-colored soap with a chopstick or dowel. Then, it’s covered in fine iridescent glitter. I colored the base a creamy white color using titanium dioxide to let the hearts really pop. To see this swirl technique in action, check out the Make Swirled Hearts Cold Process video on Soap Queen TV. A big thanks to Kristy Schemrich of Kristy’s Lovely Lathers for showing me this technique!
The key to this design is a slow-moving recipe and thin trace. If the soap is too thick, the dots won’t swirl properly and won’t become hearts. To give you plenty of swirling time, this recipe contains a large amount of slow moving oils such as canola oil, rice bran oil, and apricot kernel oil. I did not use olive oil in this recipe because I wanted the base to be as white as possible. This project is scented with Beach Breezes Fragrance Oil. It behaves great in cold process with no acceleration, but does discolor to a light tan. The added titanium dioxide combats this. =)
What You’ll Need:
18 Bar Birchwood Mold
Silicone Liner for 18 Bar Mold
6 Squeeze Bottles (one for each color of heart)
15 oz. Apricot Kernel Oil
15 oz. Canola Oil
15 oz. Coconut Oil
15 oz. Palm Oil
11.3 oz. Rice Bran Oil
3.7 oz. Shea Butter
10.2 oz. Sodium Hydroxide Lye
24.8 oz. Distilled Water
3.8 oz. Beach Breezes Fragrance Oil
Titanium Dioxide
Electric Bubble Gum Colorant
Merlot Sparkle Mica
Nuclear Orange Pigment
Sunset Orange Mica
Yellow Mica
Green Chrome Oxide Pigment
Ultramarine Blue Oxide
Queen’s Purple Mica
Fine Iridescent Glitter
Swirling Tool (Chopstick, dowel, etc)

Click here to add everything you need for this project to your Bramble Berry shopping cart!
If you’ve never made Cold Process soap before, stop here! I highly recommend checking out our FREE four part SoapQueen.tv series on Cold Process Soapmaking, especially the episode on lye safety. And if you’d rather do some reading, Bramble Berry carries a wide range of books on the topic, including my newest book, Soap Crafting. You can also checkout the digital downloads for that instant gratification factor.
SAFETY FIRST: Suit up for safe handling practices! That means goggles, gloves and long sleeves. Make sure kids, pets, and other distractions and tripping hazards are out of the house or don’t have access to your soaping space. Always soap in a well-ventilated area.
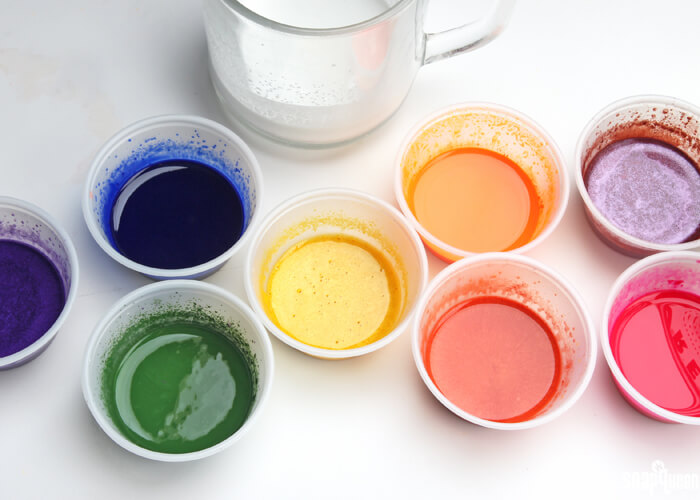
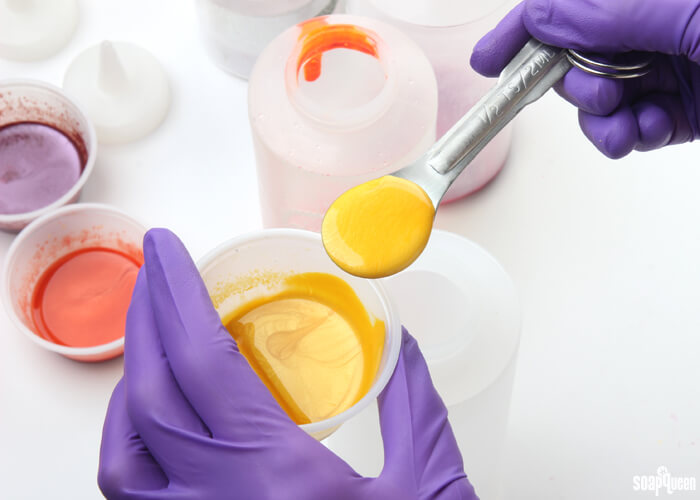
COLOR PREP: To ensure that the Titanium Dioxide blends smoothly into the soap batter, we recommend micronizing it before dispersing it in oil. Please note this is an optional tip but it does help with the titanium dioxide clumping in the soap. =) To micronize colorant, simply use a coffee grinder to blend the colorant to break up any clumps of color and prevent streaks of white from showing in the final soap. We like to use a coffee grinder that has a removable, stainless steel mixing area for easy cleaning. Then, disperse 2 teaspoons of the colorant into 2 tablespoons of sunflower or sweet almond oil (or any other liquid oil). Then in separate containers, disperse 1 teaspoon of the Electric Bubble Gum Colorant, Merlot Sparkle Mica, Nuclear Orange Pigment, Sunset Orange Mica, Yellow Mica, Green Chrome Oxide, Ultramarine Blue Oxide and Queen’s Purple Mica into 1 tablespoon of lightweight liquid oil. Use a mini mixer to get rid of any clumps.
FRAGRANCE PREP: Measure 3.8 ounces of Beach Breezes Fragrance Oil into a glass, fragrance oil safe container. Set aside.
BOTTLE PREP: For this project, you need six squeeze bottles. To each bottle, add dispersed colorants in the amounts below. Set aside.
- A (Red/Pink): 1/2 tsp. dispersed Electric Bubble Gum Colorant + 1/4 tsp. dispersed Merlot Sparkle Mica
- B (Orange): 1/2 tsp. dispersed Nuclear Orange Pigment + 1/4 tsp. dispersed Sunset Orange Mica
- C (Yellow): 1 tsp. dispersed Yellow Mica
- D (Green): 1/2 tsp. dispersed Green Chrome Oxide
- E (Blue): 1/2 tsp. dispersed Ultramarine Blue Oxide
- F (Purple): 1 tsp. dispersed Queen’s Purple Mica
ONE: Slowly and carefully add the lye to the water and gently stir until the lye has fully dissolved and the liquid is clear. Set aside to cool.
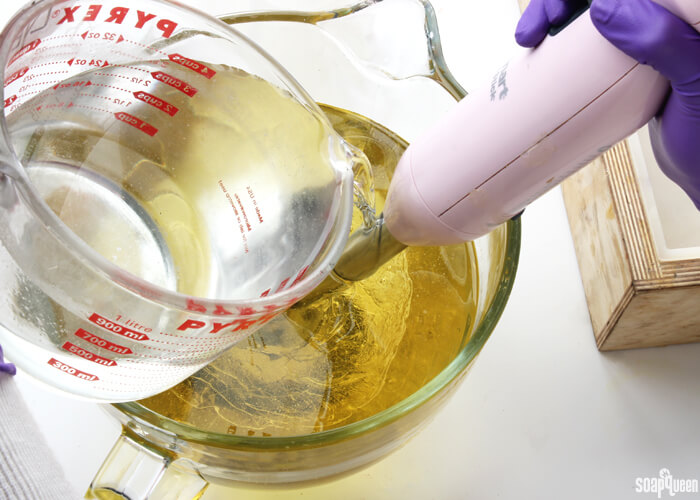
TWO: Melt and combine the apricot kernel oil, coconut oil, canola oil, rice bran oil, shea butter and palm oils (remember to fully melt then mix your entire container of palm oil before portioning). Once the lye water and the oils have cooled to 130 degrees or below (and are ideally within 10 degrees of each other), add the lye water to the oils and stick blend until thin trace. If you’d like a harder bar of soap that releases faster from the mold, you can add sodium lactate to the cooled lye water. Use 1 teaspoon of sodium lactate per pound of oils in the recipe. For this recipe, you’d add about 4.5 teaspoons sodium lactate.
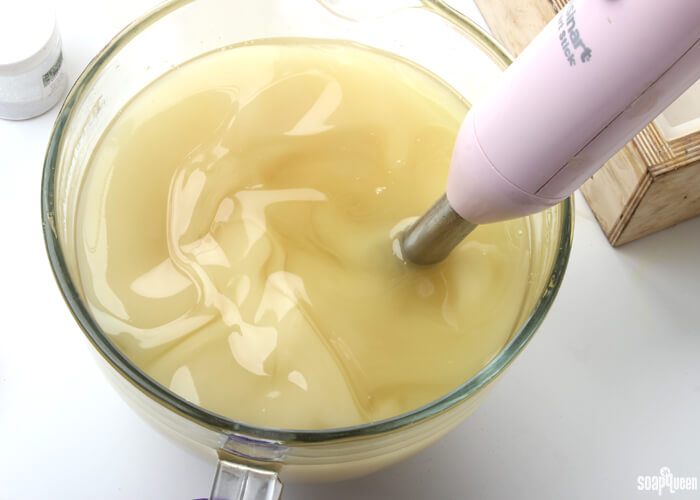
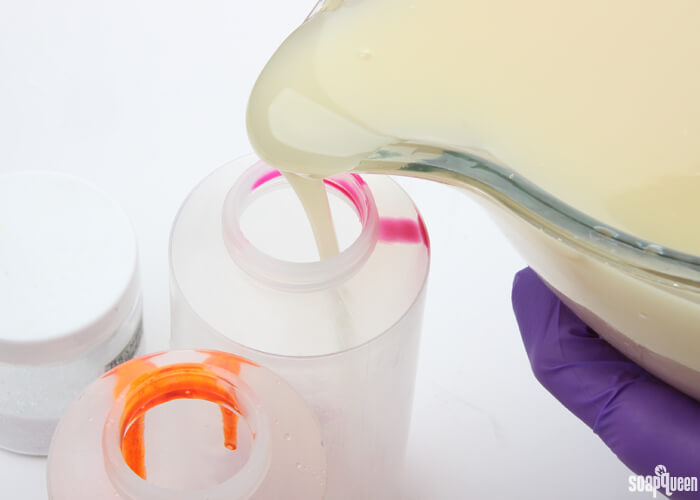
 TWO: Don’t over mix the soap! You want the soap to be nice and thin. You can always stick blend it more later. =) Once you’ve reached a nice thin trace, pour about 2-3 ounces of soap into each squeeze bottle.
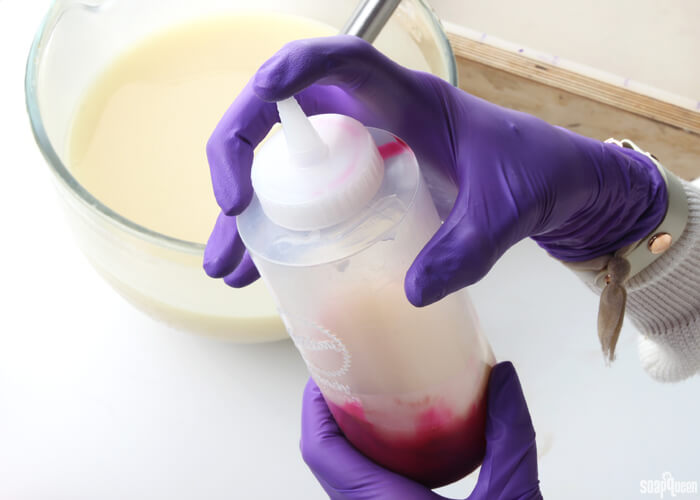
 THREE: Place the lid on the bottle and cover the hole with your finger. Shake the bottle vigorously to thoroughly blend the colorant in the bottle with the soap batter. Repeat this process for each color.
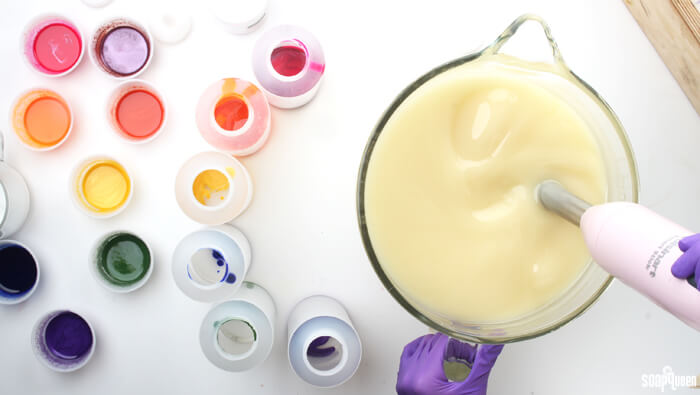
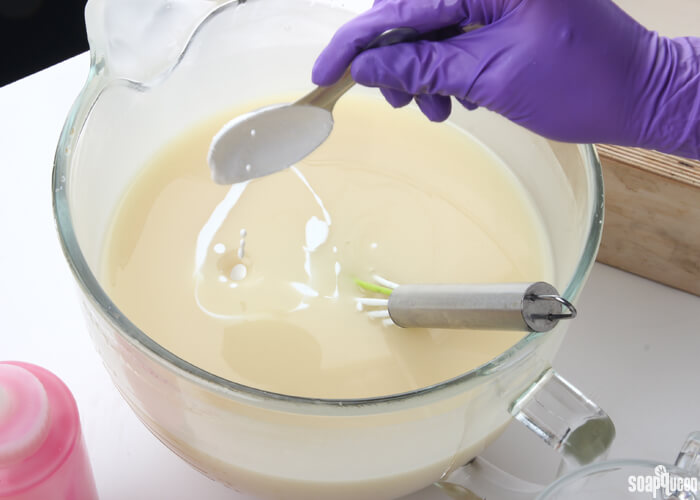
 FOUR: To the large bowl of soap, add 2 Tbs. dispersed titanium dioxide and the measured Beach Breezes Fragrance Oil. Use a whisk to thoroughly mix in the fragrance oil and colorant.
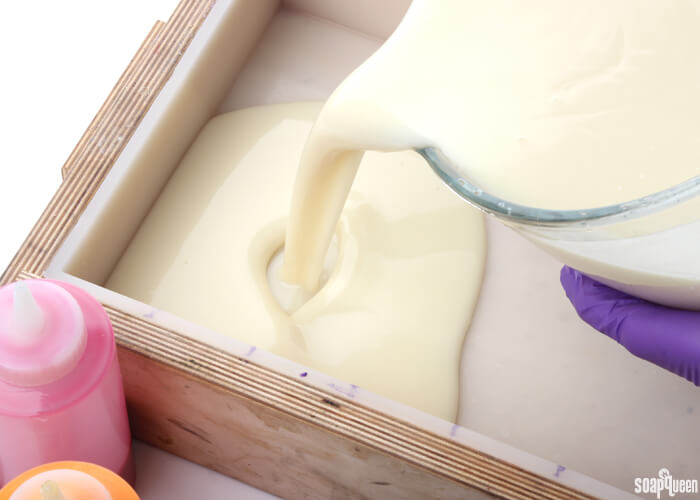
 FIVE: Pour the white soap into the mold. Tap the mold firmly on the counter to release any bubbles and create a smooth and evenly dispersed surface.
 SIX: Test the texture of the soap in the bottles. You want the soap to be thin enough to pour easily. But, you don’t want it to be so thin that it runs everywhere. If the soap is too thin, shake each bottle for several seconds to help thicken. But don’t wait too long! You don’t want the white soap base to get too thick. Once you’re happy with the texture of the colored soap in the bottles, begin making dots of each color in random spots on the surface of the soap.
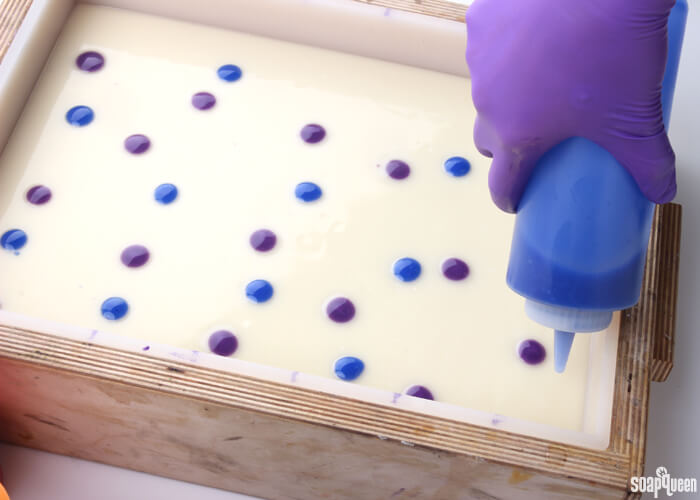
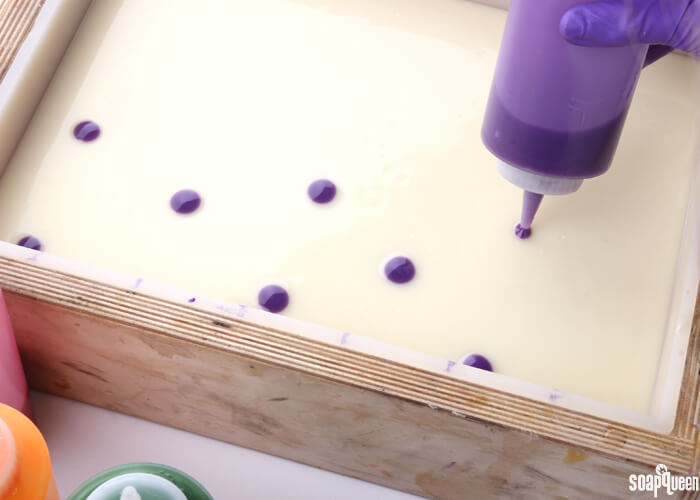 SEVEN: Continue placing dots of each color on the surface of the soap. Don’t worry about making them perfectly spaced.
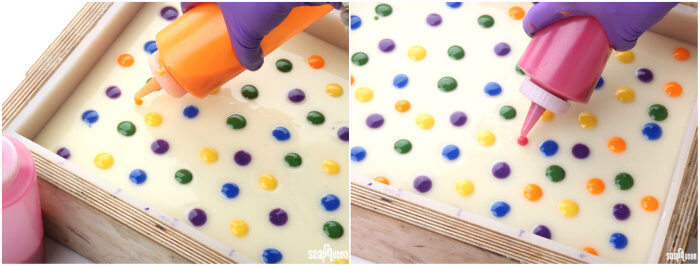 EIGHT: Once you have filled the soap with lots of rainbow dots, it’s time to make hearts! For this step, I recommend using a thin chopstick, dowel or skewer. Drag the fine point of the chopstick through the squirted dots in a connect-the-dots pattern without lifting the tool. Be sure the tool you’re using is only swirling the top of the soap, not the white base underneath. The more fine the point, the more delicate and precise the ‘hearts’ are.
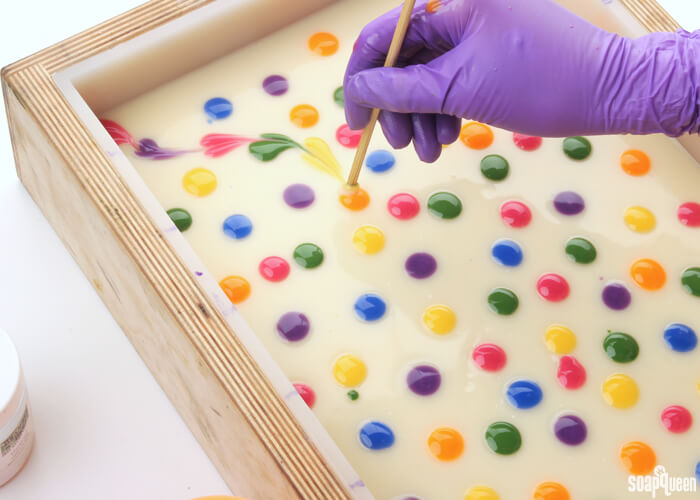
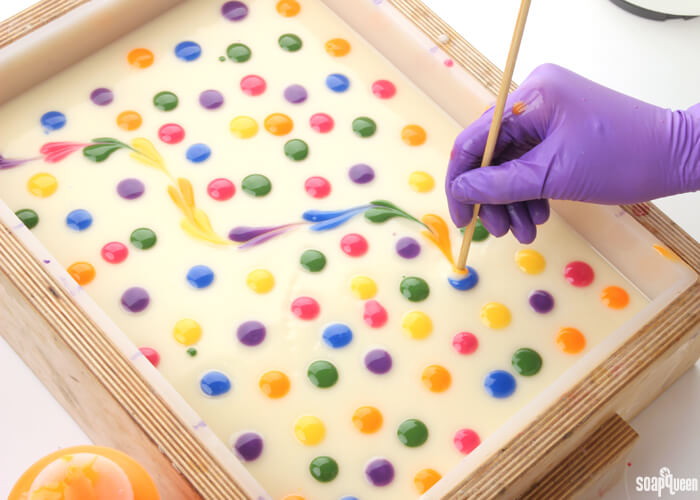 NINE: Continue until all the dots have been swirled and connected.
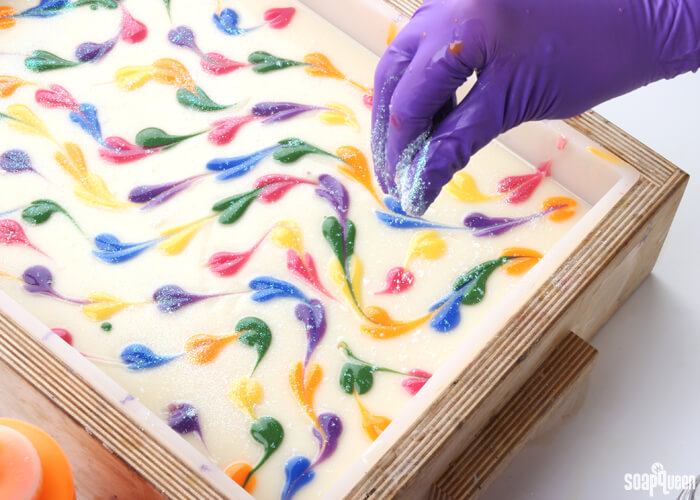
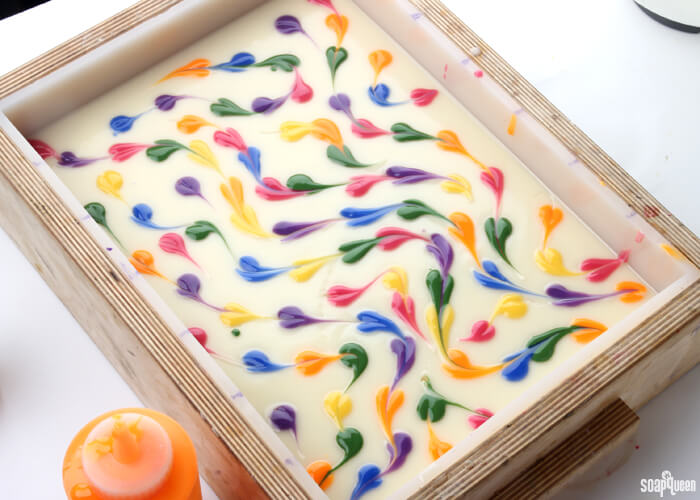 TEN: Sprinkle the top of the soap with fine iridescent glitter. Once you’re happy with the amount of glitter. Spritz the top of the soap with 99% isopropyl alcohol to prevent soda ash. Cover the mold and insulate for 24 hours. Allow the soap to stay in the mold for 3-4 days before unmolding. Because this recipe has a lot of soft oils, it may require more time in the mold to harden. Remove from the mold and cut into bars. Allow to cure for 4-6 weeks and enjoy!
NOTE: You can use dividers for this soap if you’d like. Just keep in mind that the dividers will “drag” the pattern down the sides of the soap. It will still look petty, it will just look different. If using dividers, place them into the mold before spraying the alcohol.
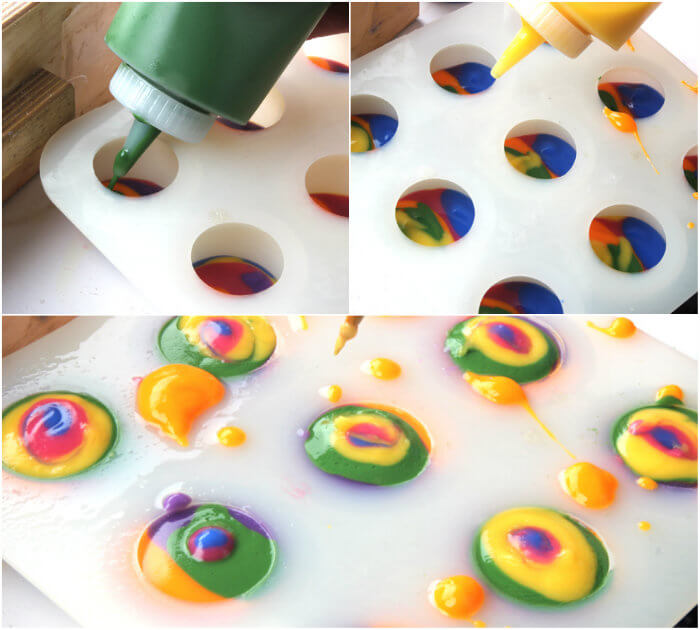
 You will have extra soap in the squeeze bottles. I recommend having a mold nearby to pour the extra soap into. I chose to squeeze each color into cavities of the Large 9 Ball Silicone Mold. I will be using these soaps as embeds for a later project!
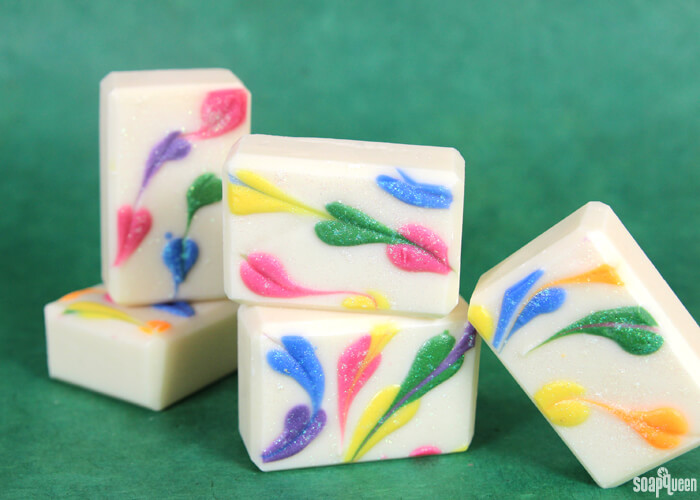
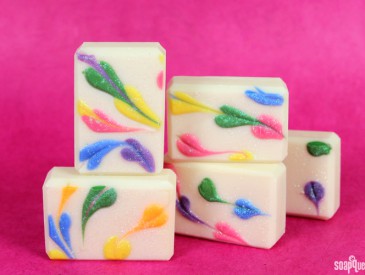
Have you tried this heart swirl cold process technique before? It’s actually easier than it looks! The key is getting the trace just right. =)
Rainbow Heart Swirl Cold Process Tutorial
Ingredients
- 18 Bar Birchwood Mold
- Silicone Liner for 18 Bar Mold
- 6 Squeeze Bottles one for each color of heart
- 15 oz. Apricot Kernel Oil
- 15 oz. Canola Oil
- 15 oz. Coconut Oil
- 15 oz. Palm Oil
- 11.3 oz. Rice Bran Oil
- 3.7 oz. Shea Butter
- 10.2 oz. Sodium Hydroxide Lye
- 24.8 oz. Distilled Water
- 3.8 oz. Beach Breezes Fragrance Oil
- Titanium Dioxide
- Electric Bubble Gum Colorant
- Merlot Sparkle Mica
- Nuclear Orange
- Sunset Orange Mica
- Yellow Mica
- Green Chrome Oxide Pigment
- Ultramarine Blue Oxide
- Queen’s Purple Mica
- Fine Iridescent Glitter
- Swirling Tool Chopstick, dowel, etc
Instructions
SAFETY FIRST: Suit up for safe handling practices! That means goggles, gloves and long sleeves. Make sure kids, pets, and other distractions and tripping hazards are out of the house or don’t have access to your soaping space. Always soap in a well-ventilated area.
COLOR PREP: To ensure that the Titanium Dioxide blends smoothly into the soap batter, we recommend micronizing it before dispersing it in oil. Please note this is an optional tip but it does help with the titanium dioxide clumping in the soap. =) To micronize colorant, simply use a coffee grinder to blend the colorant to break up any clumps of color and prevent streaks of white from showing in the final soap. We like to use a coffee grinder that has a removable, stainless steel mixing area for easy cleaning. Then, disperse 2 teaspoons of the colorant into 2 tablespoon of sunflower or sweet almond oil (or any other liquid oil). Then in separate containers, disperse 1 teaspoon of the Electric Bubble Gum Colorant, Merlot Sparkle Mica, Nuclear Orange Mica, Sunset Orange Mica, Yellow Mica, Green Chrome Oxide, Ultramarine Blue Oxide and Queen’s Purple Mica into 1 tablespoon of lightweight liquid oil. Use a mini mixer to get rid of any clumps.
FRAGRANCE PREP: Measure 3.8 ounces of Beach Breezes Fragrance Oil into a glass, fragrance oil safe container. Set aside.
BOTTLE PREP: For this project, you need six squeeze bottles. To each bottle, add dispersed colorants in the amounts below. Set aside.<br>A (Red/Pink): 1/2 tsp. dispersed Electric Bubble Gum Colorant + 1/4 tsp. dispersed Merlot Sparkle Mica<br>B (Orange): 1/2 tsp. dispersed Nuclear Orange Mica + 1/4 tsp. dispersed Sunset Orange Mica<br>C (Yellow): 1 tsp. dispersed Yellow Mica<br>D (Green): 1/2 tsp. dispersed Green Chrome Oxide<br>E (Blue): 1/2 tsp. dispersed Ultramarine Blue Oxide<br>F (Purple): 1 tsp. dispersed Queen’s Purple Mica
- Slowly and carefully add the lye to the water and gently stir until the lye has fully dissolved and the liquid is clear. Set aside to cool.
- Melt and combine the apricot kernel oil, coconut oil, canola oil, rice bran oil, shea butter and palm oils (remember to fully melt then mix your entire container of palm oil before portioning). Once the lye water and the oils have cooled to 130 degrees or below (and are ideally within 10 degrees of each other), add the lye water to the oils and stick blend until thin trace. If you’d like a harder bar of soap that releases faster from the mold, you can add sodium lactate to the cooled lye water. Use 1 teaspoon of sodium lactate per pound of oils in the recipe. For this recipe, you’d add about 4.5 teaspoons sodium lactate.
- Don't over mix the soap! You want the soap to be nice and thin. You can always stick blend it more later. =) Once you've reached a nice thin trace, pour about 3 ounces of soap into each squeeze bottle.
- Place the lid on the bottle, and cover the hole with your finger. Shake the bottle vigorously to thoroughly blend the colorant in the bottle with the soap batter. Repeat this process for each color.
- To the large bowl of soap, add 2 Tbs. dispersed titanium dioxide and the measured Beach Breezes Fragrance Oil. Use a whisk to thoroughly mix in the fragrance oil and colorant.
- Pour the white soap into the mold. Tap the mold firmly on the counter to release any bubbles and create a smooth and evenly dispersed surface.
- Test the texture of the soap in the bottles. You want the soap to be thin enough to pour easily. But, you don't want it to be so thin that it runs everywhere. If the soap is too thin, shake each bottle for several seconds to help thicken. But don't wait too long! You don't want the white soap base to get too thick. Once you're happy with the texture of the colored soap in the bottles, begin making dots of each color in random spots on the surface of the soap.
- Continue placing dots of each color on the surface of the soap. Don't worry about making them perfectly spaced.
- Once you have filled the soap with lots of rainbow dots, it’s time to make hearts! For this step, I recommend using a thin chopstick, dowel or skewer. Drag the chopstick through the squirted dots in a connect-the-dots pattern without lifting the tool. Be sure the tool you’re using is only swirling the top of the soap, not the white base underneath.
- Continue until all the dots have been swirled and connected.
- Sprinkle the top of the soap with fine iridescent glitter. Once you're happy with the amount of glitter. Spritz the top of the soap with 99% isopropyl alcohol to prevent soda ash. Cover the mold and insulate for 24 hours. Allow the soap to stay in the mold for 3-4 days before unmolding. Because this recipe has a lot of soft oils, it may require more time in the mold to harden. Remove from the mold and cut into bars. Allow to cure for 4-6 weeks and enjoy!
- NOTE: You can use dividers for this soap if you’d like. Just keep in mind that the dividers will “drag” the pattern down the sides of the soap. It will still look petty, it will just look different. If using dividers, place them into the mold before spraying the alcohol.
- You will have extra soap in the squeeze bottles. I recommend having a mold nearby to pour the extra soap into. I chose to squeeze each color into cavities of the Large 9 Ball Silicone Mold. I will be using these soaps as embeds for a later project!