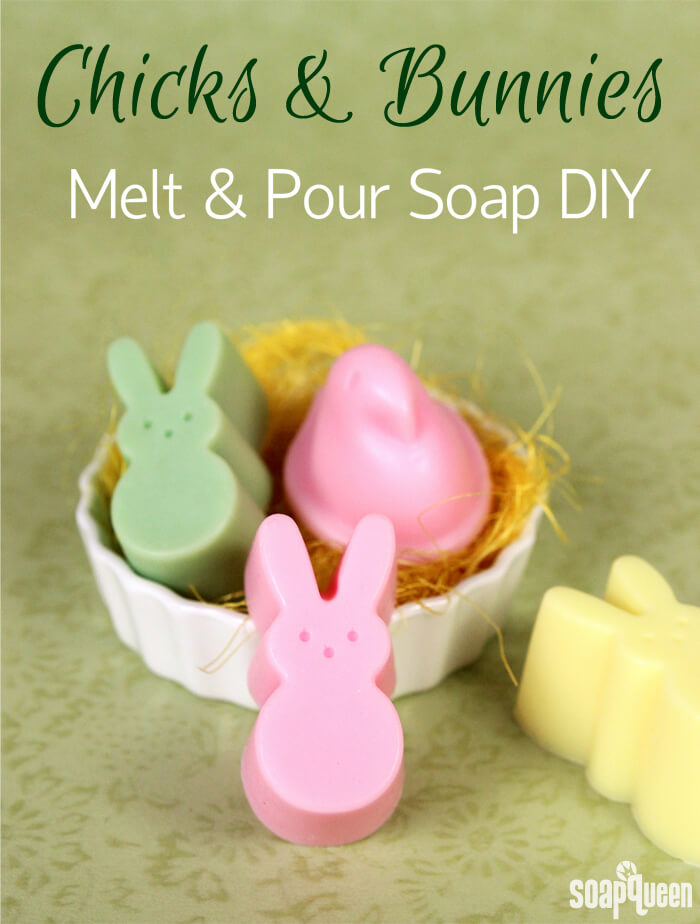
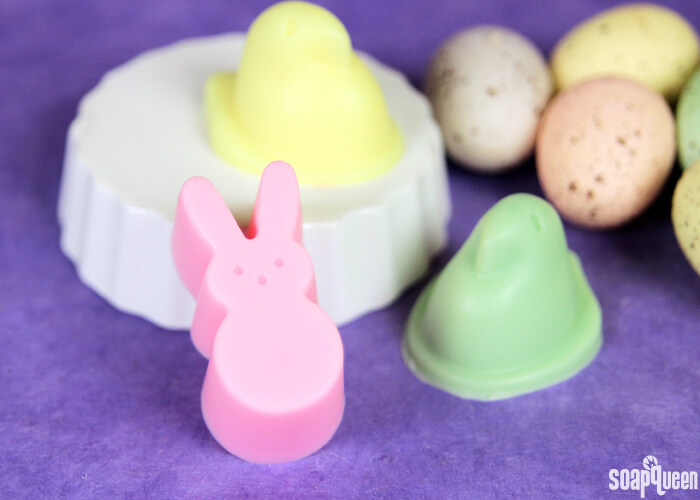
Spring officially starts on March 20th. I can’t wait for warmer weather, vibrant blooms and longer days. These adorable Chicks and Bunnies Melt and Pour Soaps are the perfect way to celebrate the upcoming season. In particular, I’m going to give them to family and friends on Easter. The kids will love to help me make them and pop them into friends’ Easter baskets. =) Made with the limited edition Chicks and Bunnies Silicone Mold, they look just like classic Easter treats. These molds are now sold out. You can find Easter mold options here.
This project is ideal for beginners, and is a great project to make with kids (with adult supervision, of course). Made with creamy Goat Milk Melt and Pour Soap and scented with the crisp Green Fig Fragrance Oil, they lather up and smell as good as they look. The soft pastel colors are achieved by adding shavings of Color Blocks. If you’ve never used Color Blocks before, check out this Soap Queen TV video to learn how.
What You’ll Need:
Chicks and Bunnies Silicone Mold (Sold out)
18.6 oz. Goat Milk Melt and Pour Base
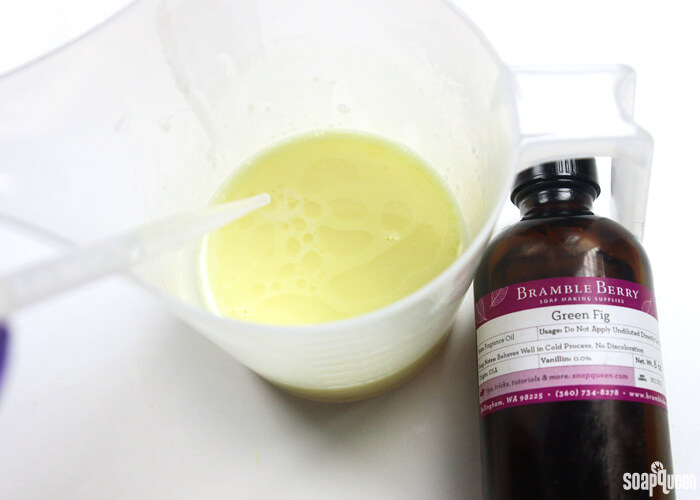
15 mL Green Fig Fragrance Oil
Chrome Green Color Block
Fizzy Lemonade Color Block
Electric Bubble Gum Color Block
99% Isopropyl Alcohol
Dropper

Click here to add everything you need for this project to your Bramble Berry shopping cart!
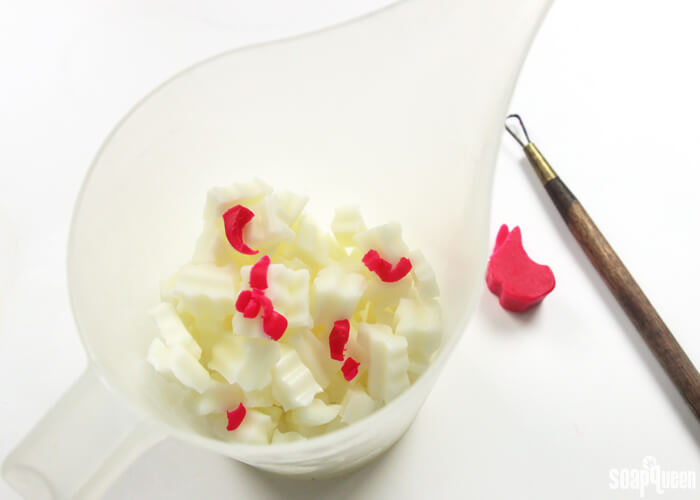
ONE: Cut 18.6 oz. of Goat Milk Melt and Pour Base into small, even pieces. Put 6.2 oz. of soap in three separate heat-safe containers. In one container, add shavings of the Electric Bubble Gum Color Block for a soft pink color. Melt the container on 10 second bursts. Using short bursts prevents the soap from scorching. Read more about burnt melt and pour and how to prevent it here.
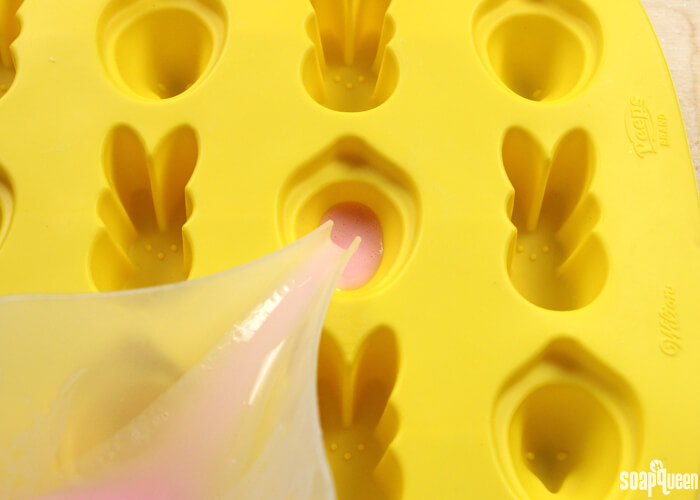
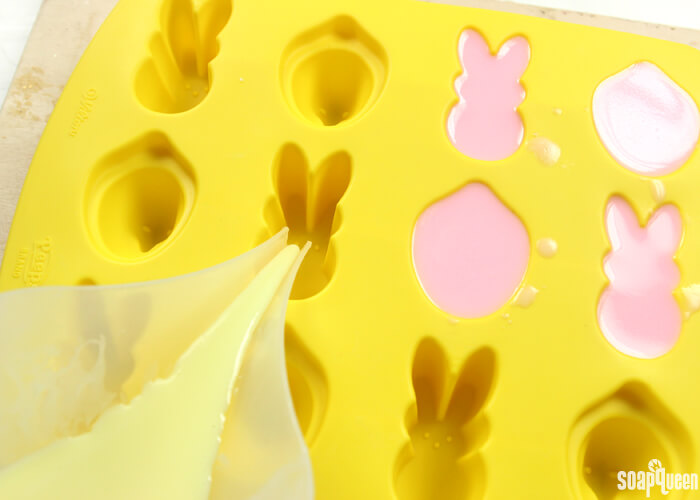
 TWO: Add 5 mL of Green Fig Fragrance Oil and stir to fully incorporate. Pour the soap into 4 of the mold cavities and spritz with alcohol to pop any air bubbles.
Note: These molds are now sold out. You can find Easter mold options here.
 THREE: In the second container, add shavings of the Fizzy Lemonade Color Block for a soft yellow color. Melt in the microwave on 10 second bursts. Add 5 mL of Green Fig Fragrance Oil and stir to fully incorporate. Pour into 4 cavities of the mold and spritz with alcohol.
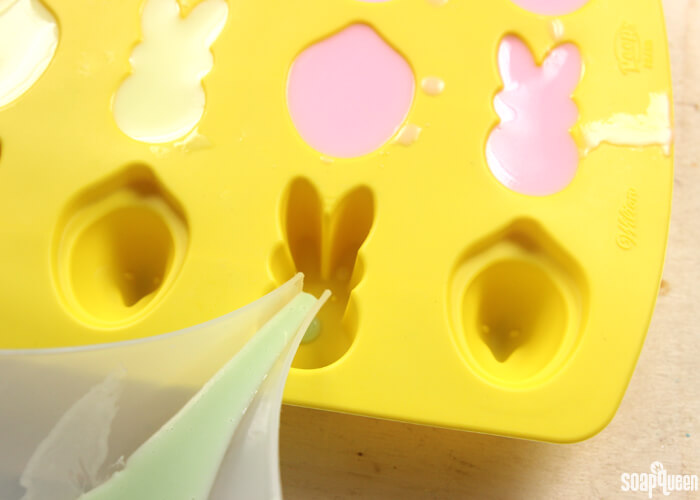
 FOUR: In the last container, add shavings of the Chrome Green Color Block for a soft green color. Melt the soap on 10 second bursts. Add 5 mL of Green Fig Fragrance Oil and stir well. Pour the soap into the last four cavities and spritz with alcohol.
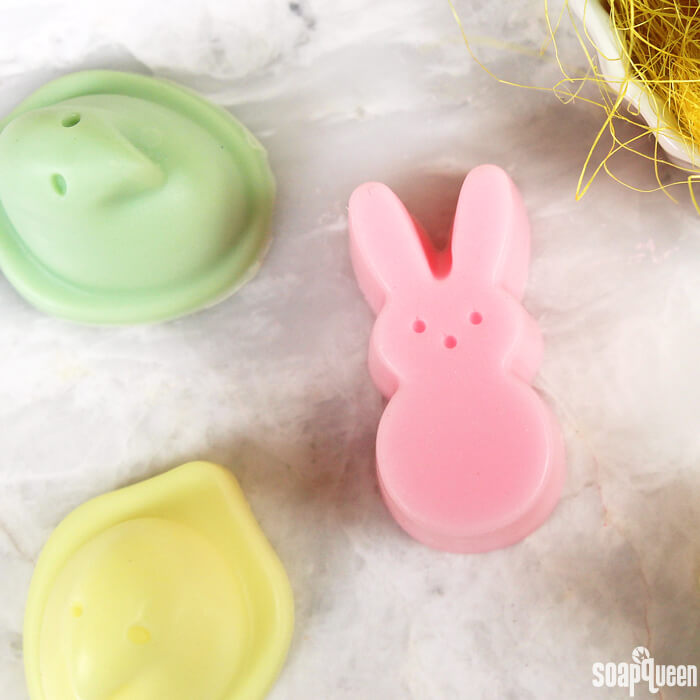
 Allow the soap to fully cool and harden, which takes about 2-3 hours. To remove the soap, flip the mold over and press gently on the back of each cavity. Enjoy right away, or wrap the soap tightly in plastic wrap to prevent glycerin dew. Read more about how to store melt and pour soap here.
Are you crafting for Easter? I’d love to see your projects! Share them on the Bramble Berry Facebook page or on Instagram with the hashtag #SoapShare!

Chicks and Bunnies Melt & Pour Soap DIY
Ingredients
- Chicks and Bunnies Silicone Mold
- 18.6 oz. Goat Milk Melt and Pour Base
- 15 mL Green Fig Fragrance Oil
- Chrome Green Color Block
- Fizzy Lemonade Color Block
- Electric Bubble Gum Color Block
- 99 % Isopropyl Alcohol
- Dropper
Instructions
- Cut 18.6 oz. of Goat Milk Melt and Pour Base into small, even pieces. Put 6.2 oz. of soap in three separate heat-safe containers. In one container, add shavings of the Electric Bubble Gum Color Block for a soft pink color. Melt the container on 10 second bursts. Using short bursts prevents the soap from scorching. Read more about burnt melt and pour and how to prevent it here.
- Add 5 mL of Green Fig Fragrance Oil and stir to fully incorporate. Pour the soap into 4 of the mold cavities and spritz with alcohol to pop any air bubbles. These molds are now sold out. You can find Easter mold options on BrambleBerry.com.
- In the second container, add shavings of the Fizzy Lemonade Color Block for a soft yellow color. Melt in the microwave on 10 second bursts. Add 5 mL of Green Fig Fragrance Oil and stir to fully incorporate. Pour into 4 cavities of the mold and spritz with alcohol.
- In the last container, add shavings of the Chrome Green Color Block for a soft green color. Melt the soap on 10 second bursts. Add 5 mL of Green Fig Fragrance Oil and stir well. Pour the soap into the last four cavities and spritz with alcohol.
- Allow the soap to fully cool and harden, which takes about 2-3 hours. To remove the soap, flip the mold over and press gently on the back of each cavity. Enjoy right away, or wrap the soap tightly in plastic wrap to prevent glycerin dew. Read more about how to store melt and pour soap here.