
Valentine’s Day is exactly one month away. These Classic Heart Melt & Pour Soaps are the perfect way to spread love to the special people in your life. They’re ready in just a few hours, and one batch makes about 8-10 bars.
They’re scented with Crisp Apple Rose Fragrance Oil. It’s one of our top-rated scents with more than 40 reviews and 5 stars.

Once you’re ready to gift these bars, check out the tutorials below from Tania of Soapish and Linda O’Sullivan. Both came up with adorable packaging options that make your gift feel truly special.
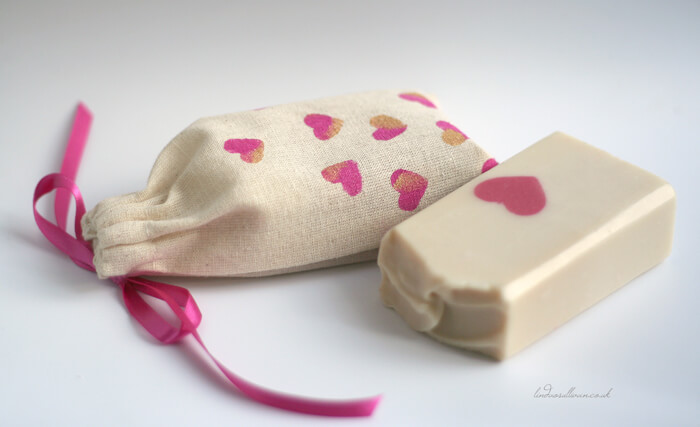
How to Make Stenciled Muslin Bags with Linda O’Sullivan
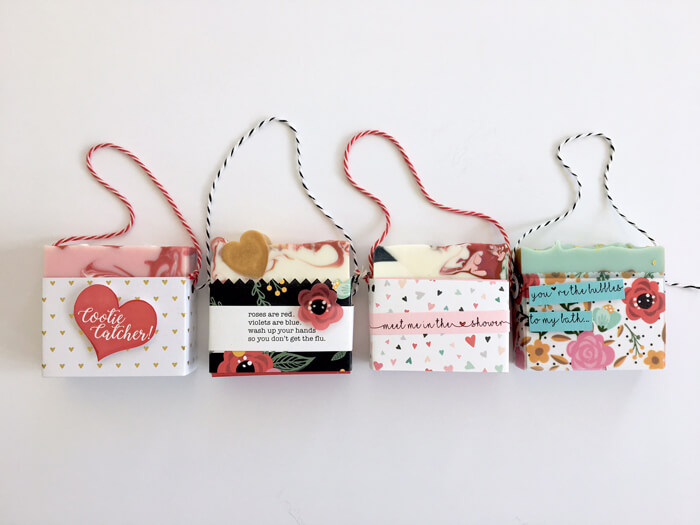
How to Make Hangable Valentine Soap Packaging with Tania of Soapish
Classic Heart Melt & Pour Soap
What You Need:
10″ Silicone Loaf Mold
Mini Heart Silicone Column Mold
48 oz. Goat Milk Melt & Pour Soap Base
15 oz. Clear Melt & Pour Soap Base
Perfect Red Color Block
1.3 oz. Crisp Apple Rose Fragrance Oil
99% Isopropyl Alcohol in a Spray Bottle
Click below to add everything you need for this project to your Bramble Berry shopping cart!

ONE: Chop 15 ounces of Clear Melt and Pour Soap Base into small, uniform pieces. Place them in a small heat-safe container along with a chunk of the Perfect Red Color Block. Melt in the microwave using 15 second bursts. Once melted, stir thoroughly to mix in the color. If the color isn’t saturated enough, add more small chunks of the Perfect Red Color Block.
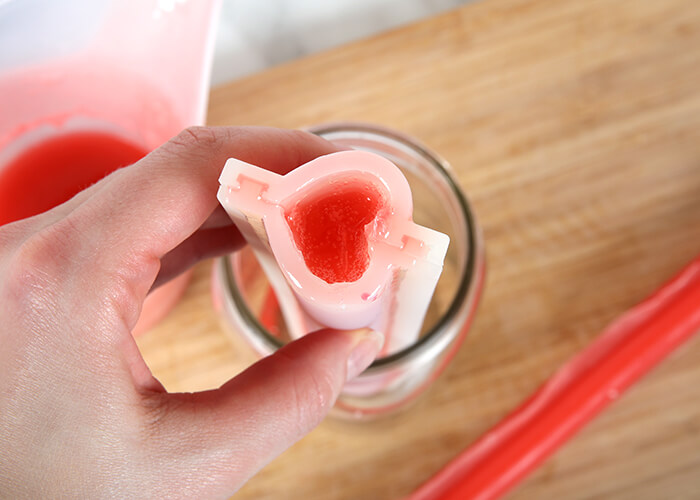
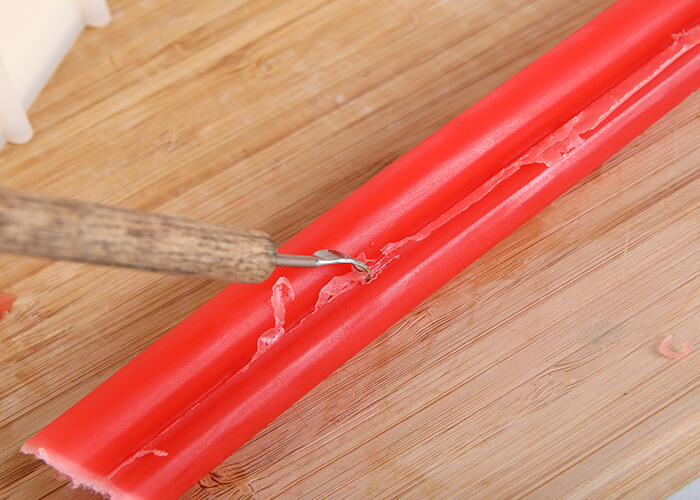
TWO: Place the Mini Heart Column Mold into a tall container to keep it upright. Pour the soap into the mold until filled, and set the rest of the red soap aside. Allow the soap in the mold to fully cool and harden. Remove the soap from the mold and trim off any imperfections. Cut the embed to a length that will fit inside the 10″ Silicone Loaf Mold.
TIP: You can place the soap in the fridge to help speed up the cooling process. If you live in a humid area, this can increase the chance of glycerin dew.
THREE: Remelt the red soap using 10 second bursts. Pour more of the soap into the Mini Heart Column Mold. Allow to fully cool and harden. Remove from the mold, trim any imperfections, and cut to a size that will fit inside the 10″ Silicone Loaf Mold.
FOUR: Remelt the red soap using 10 second bursts. Pour the remaining red soap into the Mini Heart Column Mold and allow to harden. Unmold, trim any imperfections, and cut to a size that will fit inside the 10″ Silicone Loaf Mold. You now have 3 heart embeds – set them aside.
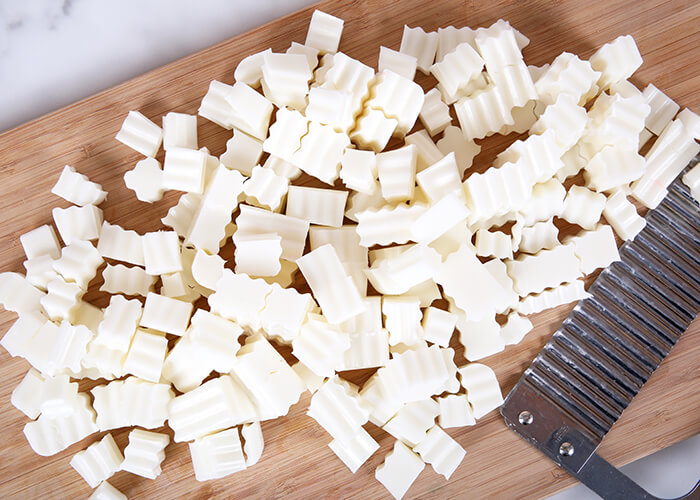
FIVE: Chop 48 ounces of Goat Milk Melt and Pour Soap into small, uniform pieces. Place them in a large heat-safe bowl and melt in the microwave using 30-60 second bursts.
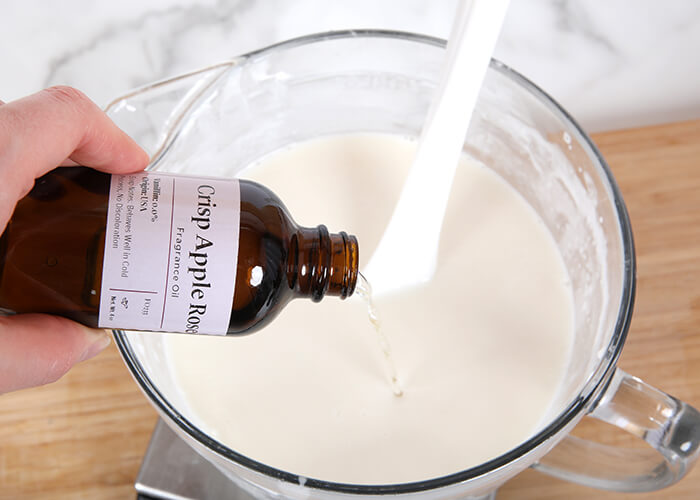
SIX: Add 1.3 ounces of Crisp Apple Rose Fragrance Oil. Stir to thoroughly combine. Allow the soap to cool to about 130°F – if the soap is too hot for the following steps, it can melt the heart embed.
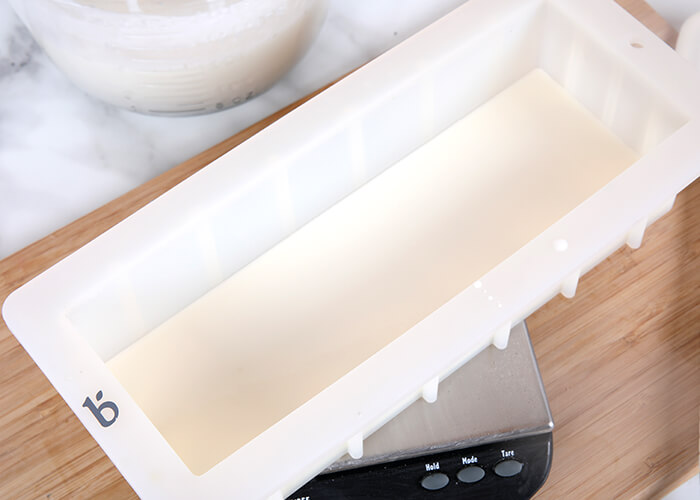
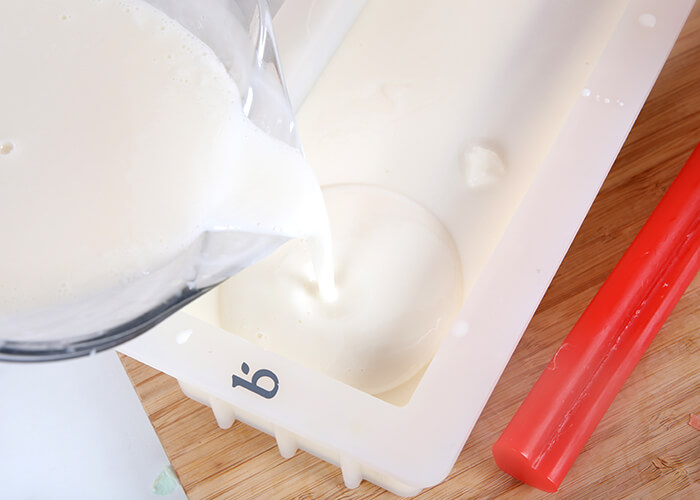
SEVEN: Pour enough white soap into the mold to completely cover the bottom – about 10 ounces. Spritz with 99% isopropyl alcohol to get rid of bubbles.
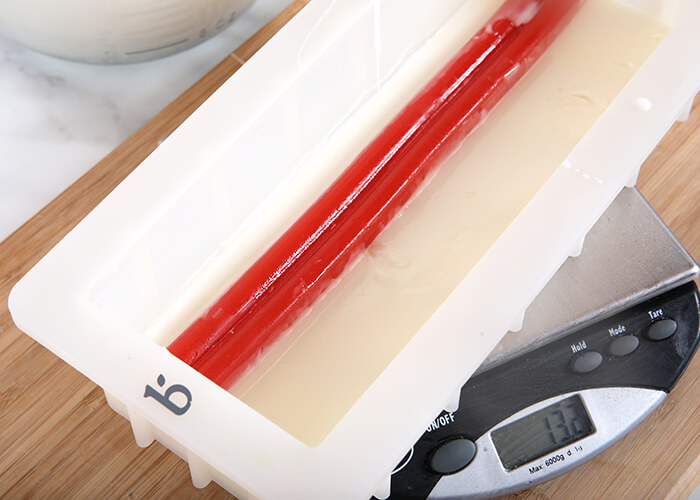
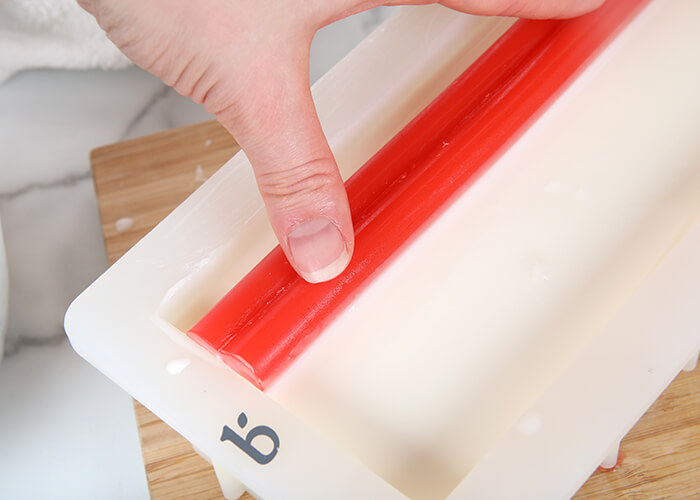
EIGHT: Place one of the heart embeds into the soap toward one side of the mold. Hold the embed in place for several minutes until the white soap hardens enough to keep it steady.
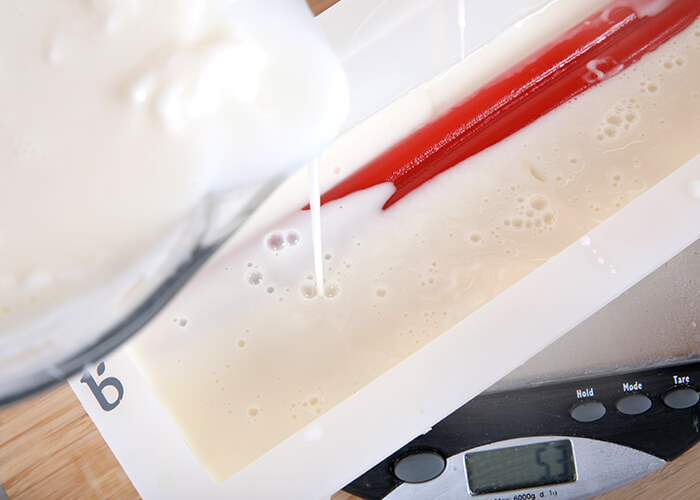
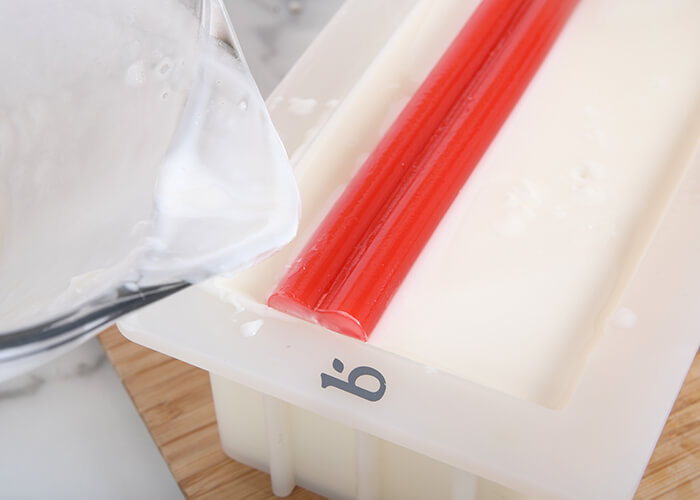
NINE: Spritz the soap in the mold with 99% isopropyl alcohol, then pour more white soap into the mold. Pour enough to completely cover the heart embed. Spritz with 99% isopropyl alcohol to get rid of bubbles. Allow to cool and harden for about 5-10 minutes.
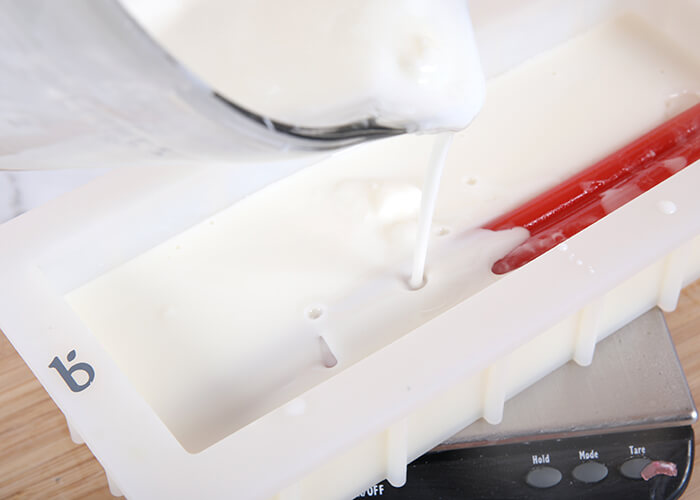
TEN: If necessary, remelt the white soap in the microwave using 10-15 second bursts. Once the soap is fluid but below 130°F, spritz the soap in the mold with 99% isopropyl alcohol. Pour a small amount of white soap into the mold – enough to completely cover the bottom embed. Place another heart embed into the soap on the opposite side of the mold from the first one. Hold the embed in place for several minutes until the white soap can hold on its own.
ELEVEN: Spritz the soap again with 99% isopropyl alcohol and pour more white soap into the mold until the heart embed is covered. Spritz with 99% isopropyl alcohol to get rid of bubbles. Allow the soap to cool and harden for about 10-15 minutes.
TWELVE: If necessary, remelt the remaining white soap using 10-15 second bursts. Once the soap is fluid but below 130°F, spritz the soap in the mold with 99% isopropyl alcohol. Pour a portion of the white soap into the mold and place the last embed into the soap on the opposite side of the mold as the second embed. Hold in place for several minutes until the soap cools and hardens enough to hold the embed on its own.
THIRTEEN: Spritz again with 99% isopropyl alcohol and pour the remaining white soap into either sides of the embed. Try your best to make both sides level. Spritz with alcohol to get rid of bubbles.
TIP: If you dribble a bit of white soap on the top embed, don’t fret. You can clean that off once the soap is hard with the Clean Up Tool. If you pour a little too much white soap into the mold (like we did) and it begins to flow outside the mold, this can also be cleaned up once the soap is cool and unmolded.
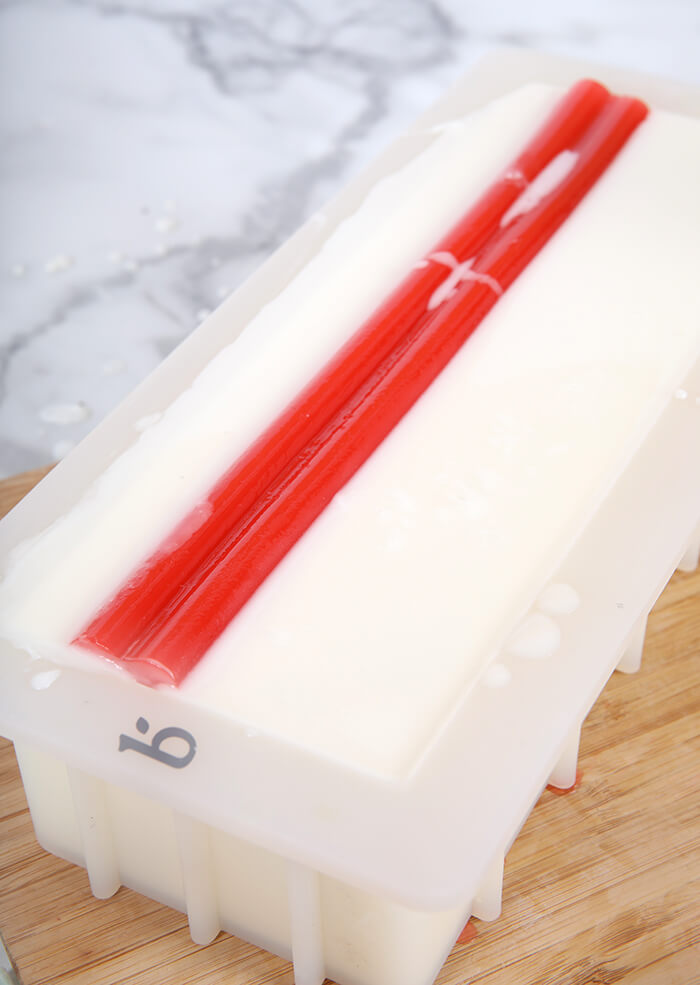
FOURTEEN: Allow the soap to fully cool and harden. Remove from the mold and use a non-serrated knife to cut into bars. If you live in a very humid area, wrap the bars in plastic wrap to prevent glycerin dew. Enjoy!


Classic Heart Melt & Pour Soap
Ingredients
- 10 ″ Silicone Loaf Mold
- Mini Heart Silicone Column Mold
- 48 oz. Goat Milk Melt & Pour Soap Base
- 15 oz. Clear Melt & Pour Soap Base
- Perfect Red Color Block
- 1.3 oz. Crisp Apple Rose Fragrance Oil
- 99 % Isopropyl Alcohol in a Spray Bottle
Instructions
- Chop 15 ounces of Clear Melt and Pour Soap Base into small, uniform pieces. Place them in a small heat-safe container along with a chunk of the Perfect Red Color Block. Melt in the microwave using 15 second bursts. Once melted, stir thoroughly to mix in the color. If the color isn’t saturated enough, add more small chunks of the Perfect Red Color Block.
- Place the Mini Heart Column Mold into a tall container to keep it upright. Pour the soap into the mold until filled, and set the rest of the red soap aside. Allow the soap in the mold to fully cool and harden. Remove the soap from the mold and trim off any imperfections. Cut the embed to a length that will fit inside the 10″ Silicone Loaf Mold. TIP: You can place the soap in the fridge to help speed up the cooling process. If you live in a humid area, this can increase the chance of glycerin dew.
- Remelt the red soap using 10 second bursts. Pour more of the soap into the Mini Heart Column Mold. Allow to fully cool and harden. Remove from the mold, trim any imperfections, and cut to a size that will fit inside the 10″ Silicone Loaf Mold.
- Remelt the red soap using 10 second bursts. Pour the remaining red soap into the Mini Heart Column Mold and allow to harden. Unmold, trim any imperfections, and cut to a size that will fit inside the 10″ Silicone Loaf Mold. You now have 3 heart embeds – set them aside.
- Chop 48 ounces of Goat Milk Melt and Pour Soap into small, uniform pieces. Place them in a large heat-safe bowl and melt in the microwave using 30-60 second bursts.
- Add 1.3 ounces of Crisp Apple Rose Fragrance Oil. Stir to thoroughly combine. Allow the soap to cool to about 130°F – if the soap is too hot for the following steps, it can melt the heart embed.
- Pour enough white soap into the mold to completely cover the bottom – about 10 ounces. Spritz with 99% isopropyl alcohol to get rid of bubbles.
- Place one of the heart embeds into the soap toward one side of the mold. Hold the embed in place for several minutes until the white soap hardens enough to keep it steady.
- Spritz the soap in the mold with 99% isopropyl alcohol, then pour more white soap into the mold. Pour enough to completely cover the heart embed. Spritz with 99% isopropyl alcohol to get rid of bubbles. Allow to cool and harden for about 5-10 minutes.
- If necessary, remelt the white soap in the microwave using 10-15 second bursts. Once the soap is fluid but below 130°F, spritz the soap in the mold with 99% isopropyl alcohol. Pour a small amount of white soap into the mold – enough to completely cover the bottom embed. Place another heart embed into the soap on the opposite side of the mold from the first one. Hold the embed in place for several minutes until the white soap can hold on its own.
- Spritz the soap again with 99% isopropyl alcohol and pour more white soap into the mold until the heart embed is covered. Spritz with 99% isopropyl alcohol to get rid of bubbles. Allow the soap to cool and harden for about 10-15 minutes.
- If necessary, remelt the remaining white soap using 10-15 second bursts. Once the soap is fluid but below 130°F, spritz the soap in the mold with 99% isopropyl alcohol. Pour a portion of the white soap into the mold and place the last embed into the soap on the opposite side of the mold as the second embed. Hold in place for several minutes until the soap cools and hardens enough to hold the embed on its own.
- Spritz again with 99% isopropyl alcohol and pour the remaining white soap into either sides of the embed. Try your best to make both sides level. Spritz with alcohol to get rid of bubbles. TIP: If you dribble a bit of white soap on the top embed, don’t fret. You can clean that off once the soap is hard with the Clean Up Tool. If you pour a little too much white soap into the mold (like we did) and it begins to flow outside the mold, this can also be cleaned up once the soap is cool and unmolded.
- Allow the soap to fully cool and harden. Remove from the mold and use a non-serrated knife to cut into bars. If you live in a very humid area, wrap the bars in plastic wrap to prevent glycerin dew. Enjoy!