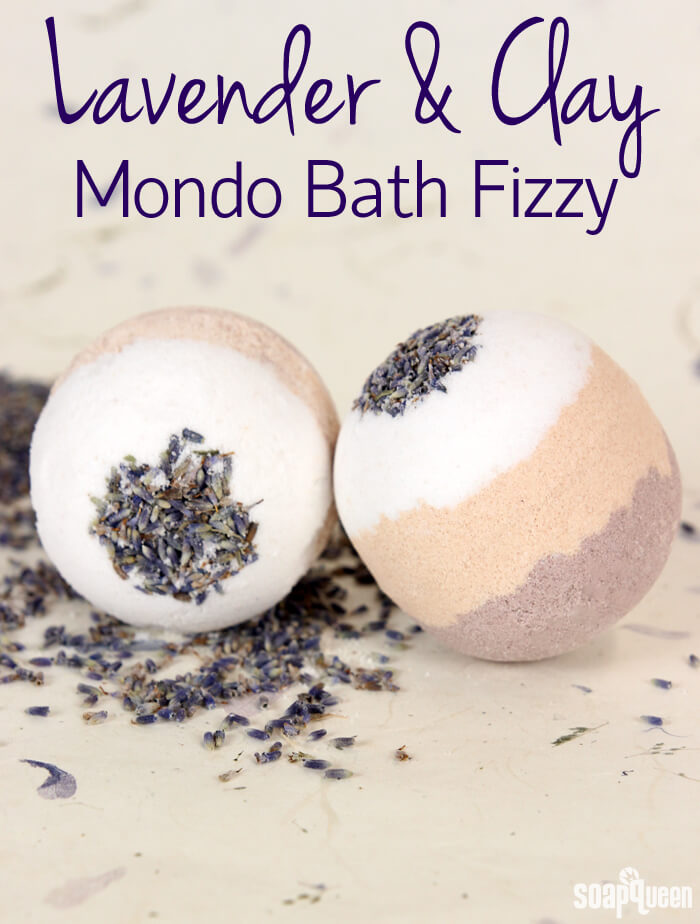
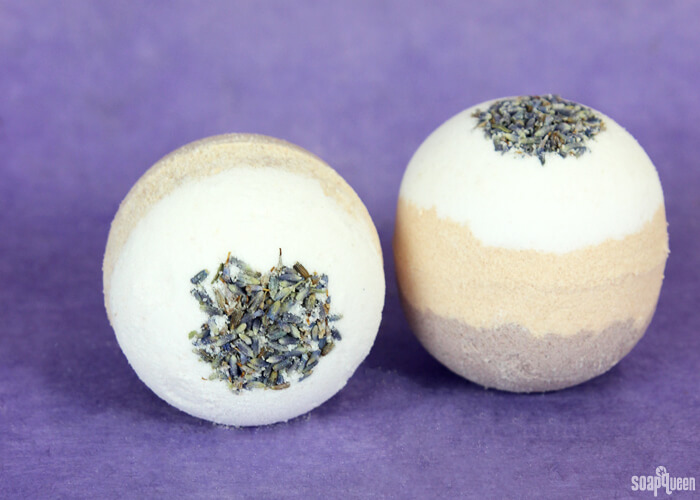
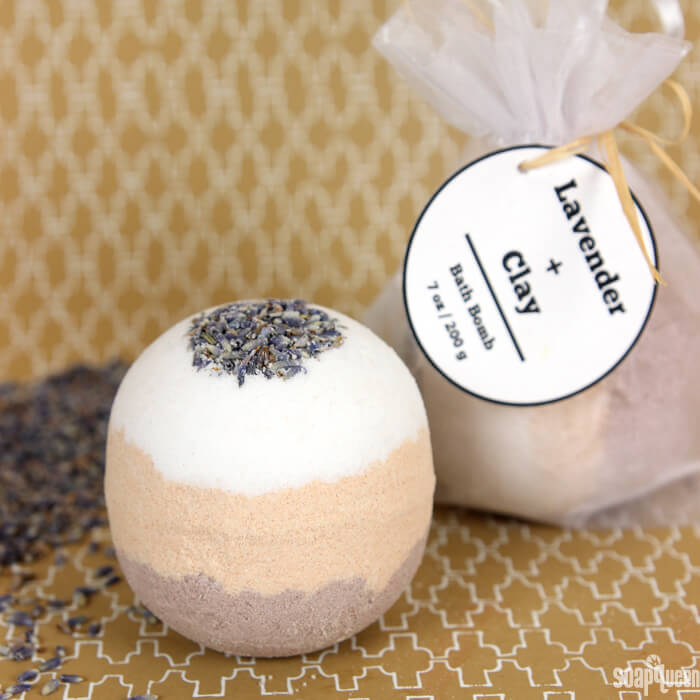
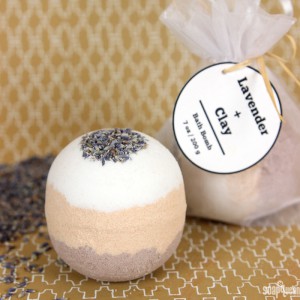
Lavender is a classic scent that conjures images of serene fields of purple-hued flowers. Created with Lavender 40/42 essential oil, drop one of these mondo bombs into your tub to create a relaxing and luxurious bath experience. Pink Brazilian clay and purple Brazilian clay give these bath bombs a subtle ombré effect, while giving the fizzy a firmer texture.
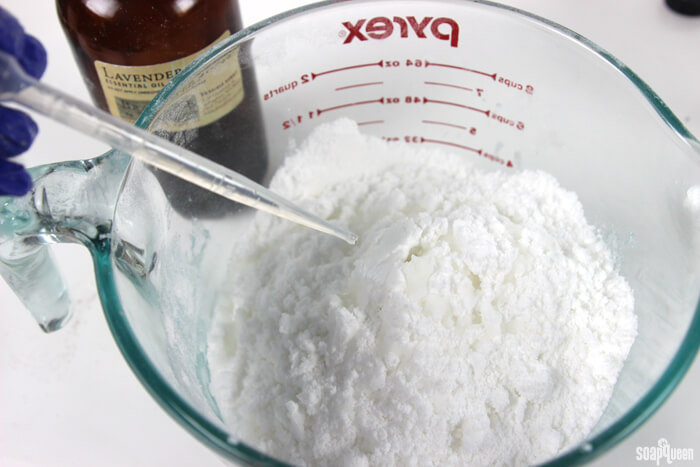
Melted shea butter gives your bath water extra moisturizing properties. It also helps the bath bomb hold its shape. When making bath bombs, witch hazel is a great ingredient to have on hand. In order for the bath bomb to hold its shape, you must achieve a texture similar to wet sand, but adding water can set off the fizz reaction. Spritzing the dry mixture with witch hazel gives a moist, moldable texture without setting off the reaction. You can learn more about witch hazel in the Sunday Night Spotlight: Witch Hazel post.
What You’ll Need:
3 cups Sodium Bicarbonate (baking soda)
1.5 cups Citric Acid
1 oz. Shea Butter
1.5 tsp. Purple Brazilian Clay
1.5 tsp. Pink Brazilian Clay
6 mL Lavender 40/42 Essential Oil
Lavender Buds, Grade 1
Witch Hazel
Stainless Steel Bath Bomb Mold

Click here to add everything you need for this project to your Bramble Berry shopping cart!
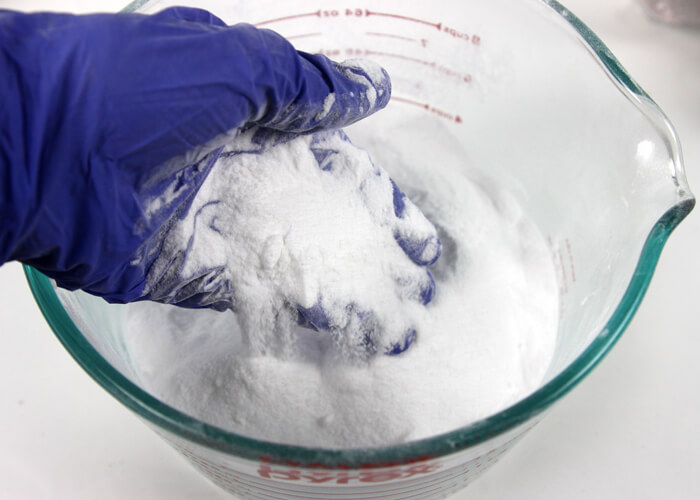
ONE: In a large bowl, combine sodium bicarbonate and citric acid. Use your hands or a mesh strainer to remove any clumps.
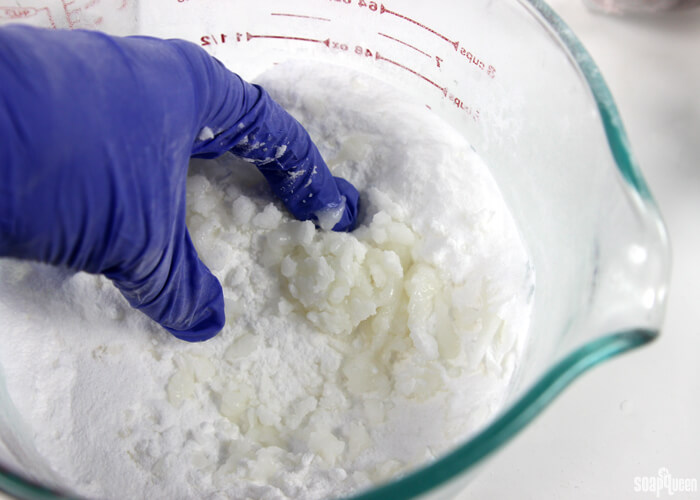
 TWO: Once the mixture is smooth, place the shea butter into a heat safe container and melt in the microwave using 30 second bursts. Once completely melted, add to the citric acid and baking soda mixture. Use your hands to fully incorporate the butter into the dry ingredients.
 THREE: Add the Lavender 40/42 Essential Oil, and use your hands or a spatula to fully incorporate the essential oil.
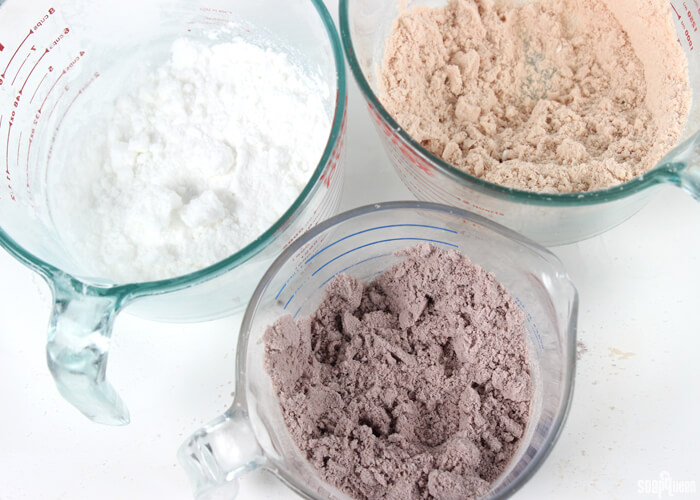
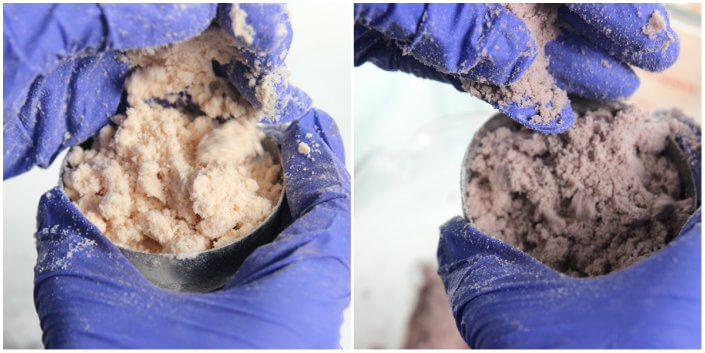
 FOUR: Split the mixture evenly into three containers, it’s okay to eyeball it. To one container, add the pink Brazilian clay and use your hands or spatula to fully incorporate. To another container, add the purple Brazilian Clay and use your hands or spatula to fully mix in.
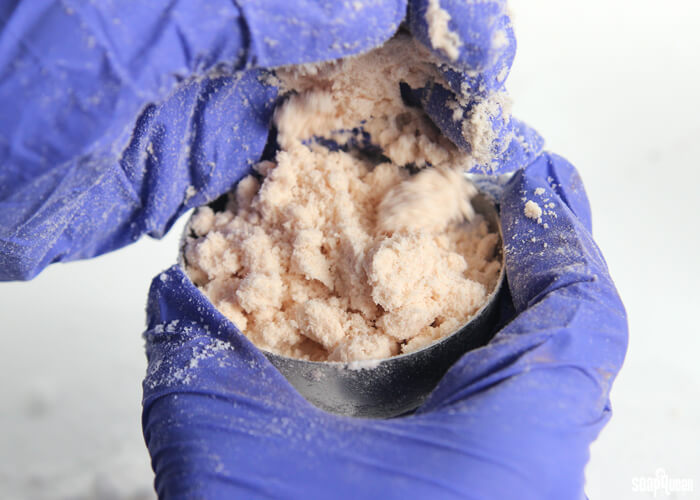
 FIVE: Depending on the moisture level of the current mixture, spritz the bath bombs with witch hazel. It usually takes between 7-10 spritzes, and the mixture should be wet enough so when you squeeze the powder in your palm, it will stick together. If you don’t have witch hazel, adding extra shea butter will help the dry ingredients stick.
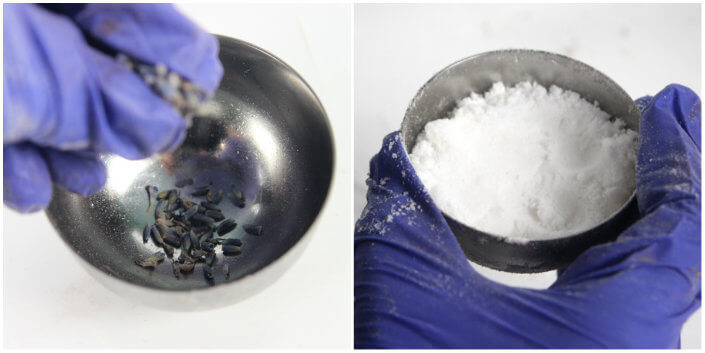
 SIX: Once all the colors have reached a mold-able consistency, place a small amount of lavender buds into a half of the bath bomb mold. Just a pinch does the trick! Then place some white bath bomb mixture into the mold, covering the lavender buds. Fill the bath bomb mold about half way full with the white mixture.
 SEVEN: Cover the white layer with the pink bath bomb mixture. Once full, set aside that half of the bath bomb mold.
 EIGHT: Fill the other half of the bath bomb mold half way with purple bath bomb mixture and pack down. Fill the remainder of the mold with pink bath bomb mixture. Slightly overfill this half with the pink mixture, and squeeze the two halves of the mold together firmly.
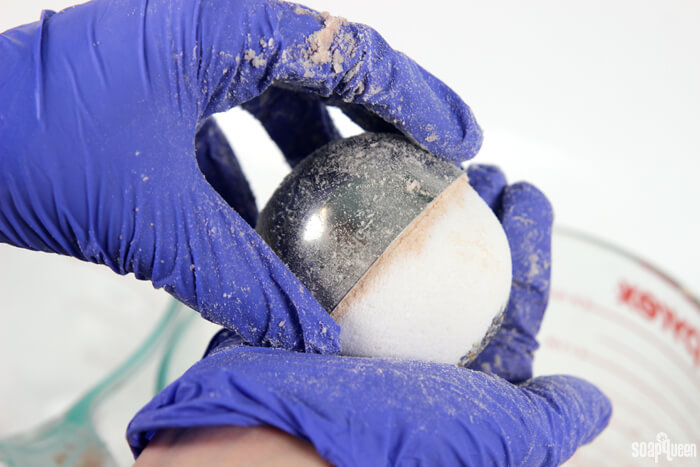
 NINE: Very gently, pull one half of the mold away. Slightly twisting while pulling away can make this process smoother. It can be a little tricky to get the fizzies to stick together…but practice makes perfect! If they do not stick together the first time, you can try again a few times if they begin to crumble.
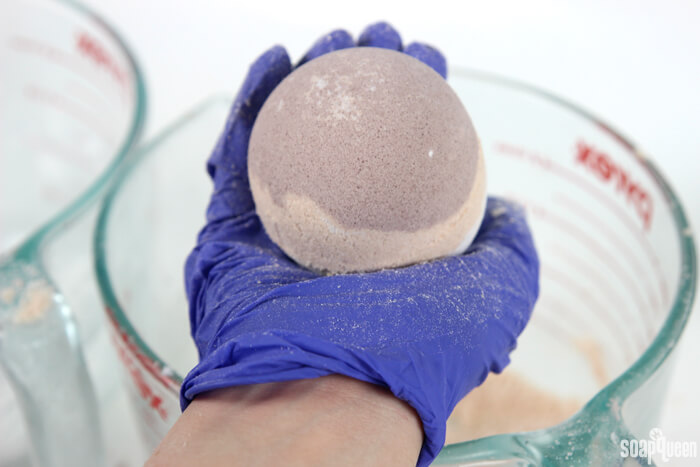
 TEN: Once one half of the mold is removed, you can leave the bomb in the mold for an hour or so to harden and then gently tip it over and remove the other half of the mold.
 ELEVEN: Allow to harden for at least 24 hours. Then package in in cellophane or plastic wrap to protect them against excess moisture and enjoy!
What scent do you find particularly calming and relaxing? One of my favorites is the Relaxing Fragrance Oil, which is a blend of lavender, vanilla and musk.
Lavender & Clay Mondo Bath Fizzy
Ingredients
- 3 cups Sodium Bicarbonate baking soda
- 1.5 cups Citric Acid
- 1 oz. Shea Butter
- 1.5 tsp. Purple Brazilian Clay
- 1.5 tsp. Pink Brazilian Clay
- 6 mL Lavender 40/42 Essential Oil
- Lavender Buds Grade 1
- Witch Hazel optional
- Stainless Steel Bath Bomb Mold
Instructions
- In a large bowl, combine sodium bicarbonate and citric acid. Use your hands or a mesh strainer to remove any clumps.
- Once the mixture is smooth, place the shea butter into a heat safe container and melt in the microwave using 30 second bursts. Once completely melted, add to the citric acid and baking soda mixture. Use your hands to fully incorporate the oils into the dry ingredients.
- Add the lavender 40/42 essential oil, and use your hands or a spatula to fully in the essential oil.
- Split the mixture evenly into three containers, it’s okay to eyeball it. To one container, add the pink Brazilian clay and use your hands or spatula to fully incorporate. To another container, add the purple Brazilian Clay and use your hands or spatula to fully mix in.
- Depending on the moisture level of the current mixture, spritz the bath bombs with witch hazel. It usually takes between 7-10 spritzes, and the mixture should be wet enough so when you squeeze the powder in your palm, it will stick together. If you don’t have witch hazel, adding extra shea butter will help the dry ingredients stick.
- Once all the colors have reached a mold-able consistency, place a small amount of lavender buds into a half of the bath bomb mold. Just a pinch does the trick! Then place some white bath bomb mixture into the mold, covering the lavender buds. Fill the bath bomb mold about half way full with the white mixture.
- Cover the white layer with the pink bath bomb mixture. Once full, set aside that half of the bath bomb mold.
- Fill the other half of the mold half way with purple bath bomb mixture and pack down. Fill the remainder of the mold with pink bath bomb mixture. Slightly overfill this half with the pink mixture, and squeeze the two halves of the mold together firmly.
- Very gently, pull one half of the mold away. Slightly twisting while pulling away can make this process smoother.
- Allow to harden for at least 24 hours. Then package in in cellophane or plastic wrap to protect them against excess moisture and enjoy!