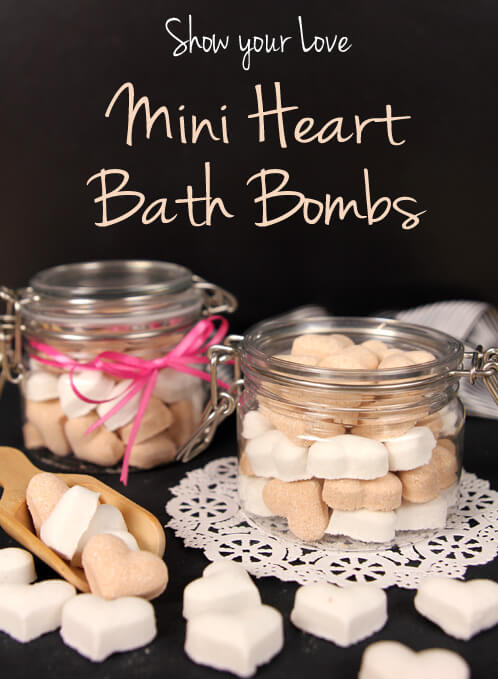
This Valentine’s Day, skip the chocolates and the roses in favor of some handcrafted goodies. From now until February 5, we’re rolling out several special tutorials and discounts as part of Show Your Love, our special treat for you and your special someone. Keep your eye on the blog and subscribe to our newsletter to be first in the know about special deals, discounts and lovely soapy tutorials!
What You’ll Need:
1 cup Sodium Bicarbonate (baking soda)
1/2 cup Citric Acid
1/4 cup Extra Fine Epsom Salt
1/2 tablespoon Jojoba Oil
1 tablespoon Pink Brazilian Clay
Optional (not in kit automatically): Witch Hazel

Click here to add everything you need for this project to your Bramble Berry shopping cart!
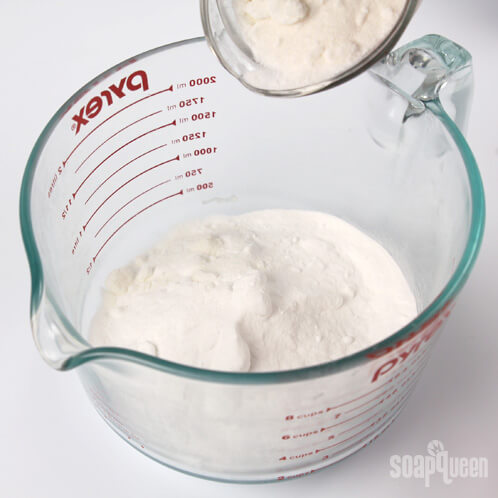
ONE: Add baking soda, citric acid and epsom salt in large bowl and mix to combine.
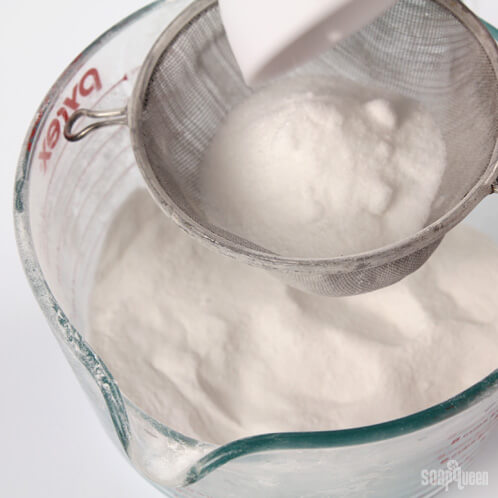
Note: The baking soda, citric acid and epsom salts may form clumps. Sift them through a strainer to break them up.
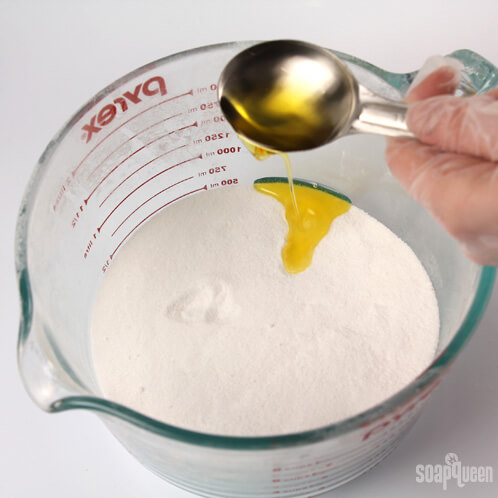
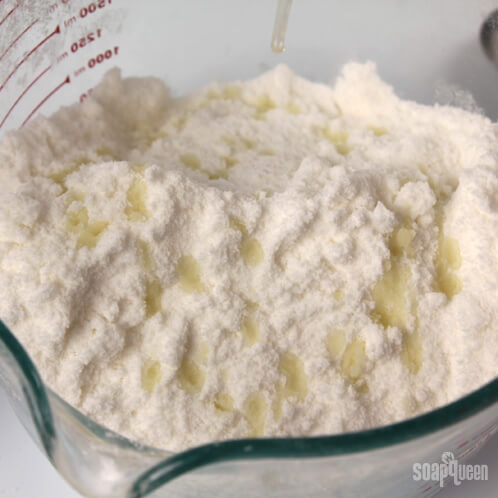
TWO: Add the Jojoba Oil and essential oil. You may want to put gloves on and work the liquids into the powders with your hands.
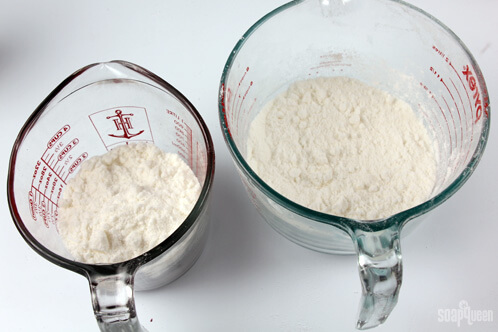
THREE: Now split the batch in half. It’s okay to eye ball it!
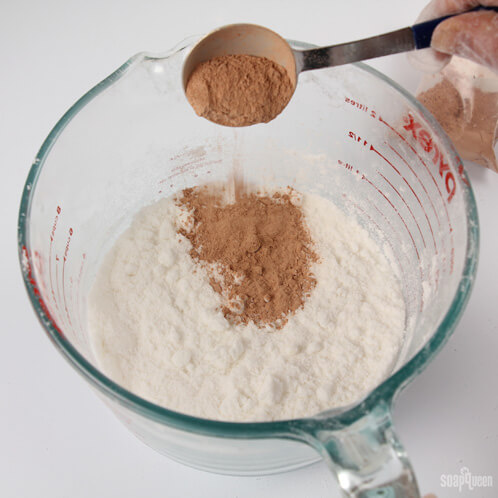
FOUR: To one container, add the Pink Brazilian Clay. Again, it may be easier to mix in with your hands. Leave the other container uncolored.
FIVE: Depending on the moisture level of the current mixture, spritz the bath bombs with witch hazel. It should take between 8 – 10 spritzes, and the mixture should be wet enough so when you squeeze the powder in your palm, it will stick together. If you don’t have witch hazel, adding a few extra drops of jojoba oil will also help the powders stick.

You want to spray enough so that the powders stick together and aren’t crumbly. Be careful though because spraying too much can cause the mixture to fizz prematurely and ruin your bath bombs!

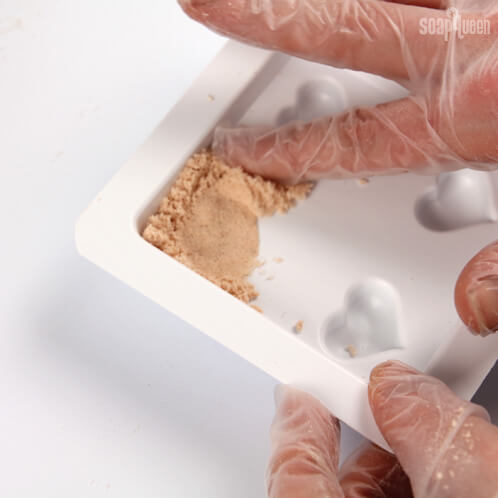
SIX: Press the mixture into all six of the Tiny Hearts molds and pack it as tight as you can. You want these bath bombs to stick together!
SEVEN: Unmold the hearts after about a half an hour by forcefully hitting the mold on the table. Don’t be afraid about hitting it too hard! Without enough force the hearts won’t pop out. After they’re out of the mold, let them sit overnight to fully harden up.
EIGHT: Once one color of bath bomb is unmolded, repeat steps 5 – 7 with the second color.
NINE: We filled our jars with alternating layers of pink and white hearts, but you can package them however you’d like. Enjoy!

Check back over the next week for more ideas for Valentine projects as well as more discounts and deals!