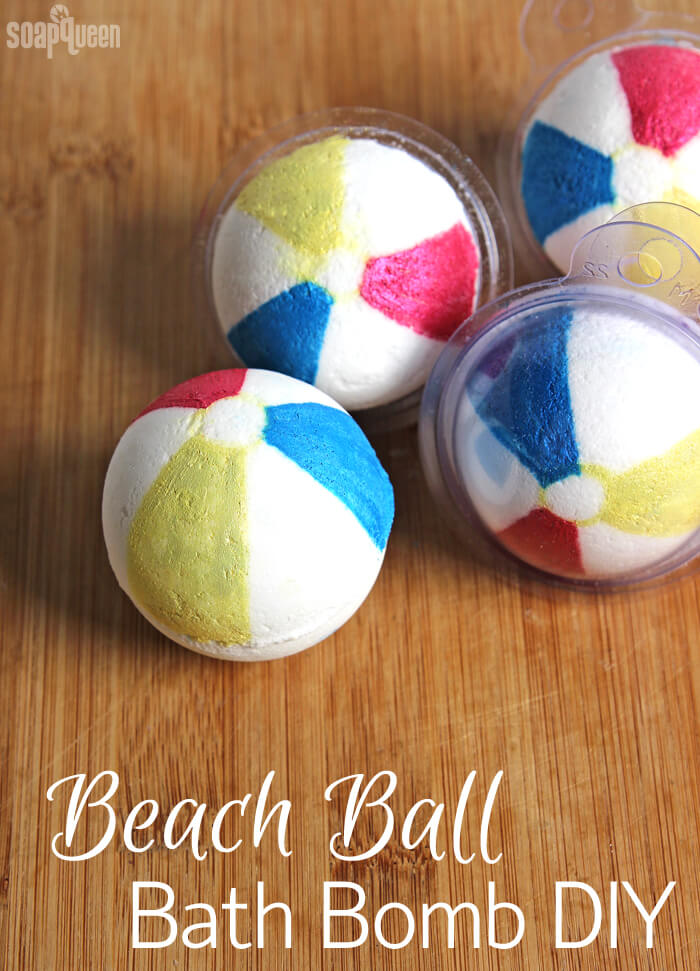
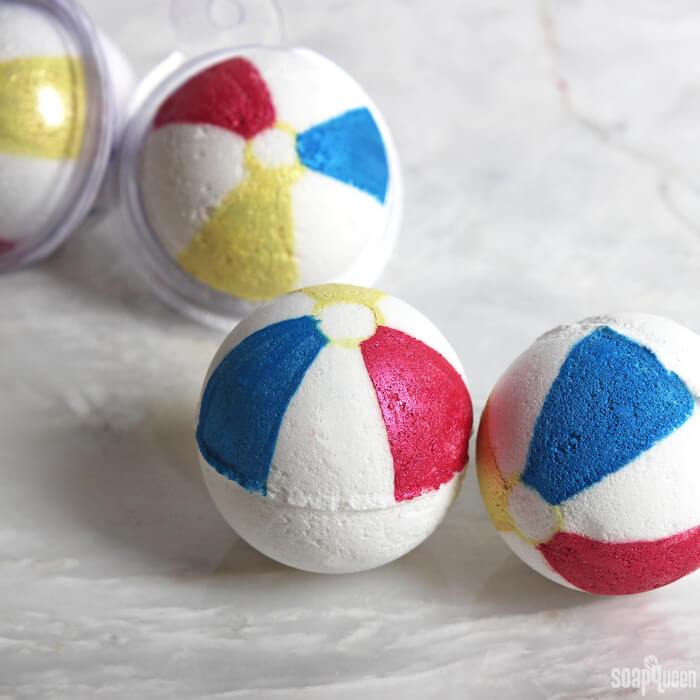
With the summer heat on its way, I have beaches on the brain. If you don’t live close to a body of water, your bathtub is the next best thing. These Beach Ball Bath Bombs bring a little summer fun to the tub. They are created in the Bath Bomb Mold & Package. Once fully hardened, they are decorated to resemble beach balls with various shades of mica “paint.” The paint is created with mica and 99% isopropyl alcohol. The alcohol dries in about 15 minutes, leaving behind the cute beach ball stripes.
I scented these bath bombs with a combination of Flower Child Fragrance Oil and Grapefruit Bellini Fragrance Oil. Flower Child is a unique and sophisticated floral scent with notes of bergamot, amber and jasmine. To lighten it up a bit for summer, I paired it with the bubbly and citrusy Grapefruit Bellini Fragrance Oil. It smells amazing!
When you use micas to color your bath fizzies, they may leave some color on the tub. This will depend on how big your tub is, and can vary depending on the color. For example, if you use Luster Black Mica, you may notice more color on the tub than with a lighter color. I recommend giving your bath a light wipe down before taking a bath so the oil around the tub won’t attract color. This always helps avoid a ring around the tub later on. Also, I like to have a wet rag to wipe off any color right off the tub. It comes off easily that way but don’t use a white wash rag for this. =) You can see how these fizzies looked in a veryyyyyy teeeeeeeeennnnnsy bit water in the video below!
What You’ll Need:
5-6 Bath Bomb Mold & Packages
1 1/2 cups Sodium Bicarbonate (Baking Soda)
3/4 cups Citric Acid
4 mL Flower Child Fragrance Oil
1 mL Grapefruit Bellini Fragrance Oil
9 mL Avocado Oil
Buttercup Mica
Magenta Mica
Cellini Blue Mica
99% Isopropyl Alcohol
Witch Hazel in 8 oz. Spray Bottle
Droppers

Click here to add everything you need for this project to your Bramble Berry shopping cart!
[sq_products]
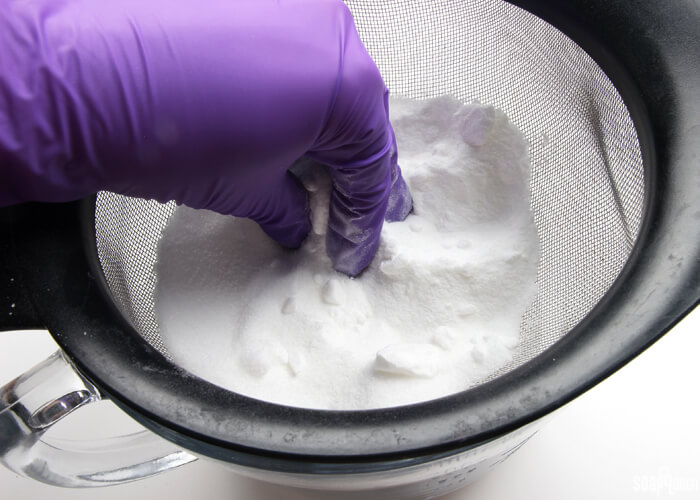
ONE: In a bowl, measure out 1 1/2 cups of sodium bicarbonate and 3/4 cup of citric acid. If there are any clumps in the mixture, you can push the powder through a sifter or break up the clumps with your fingers. Citric acid has a tendency to take off nail polish, so wear gloves to protect your manicure. =)
TWO: Add the Grapefruit Bellini and Flower Child Fragrance Oils. Add the avocado oil and use your hands to mix the oils into the powder.
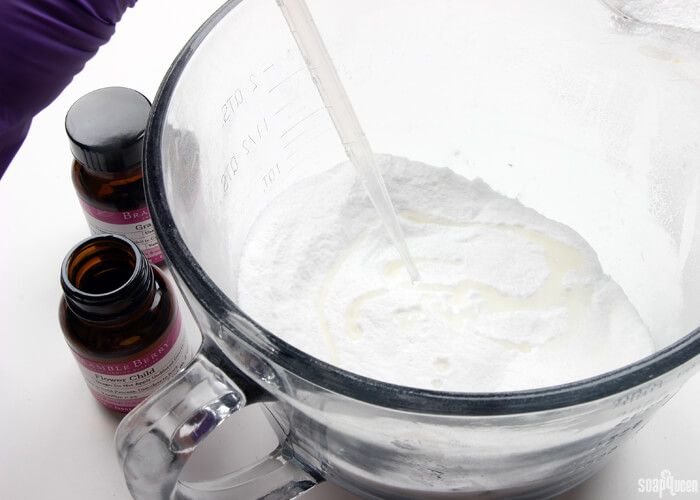
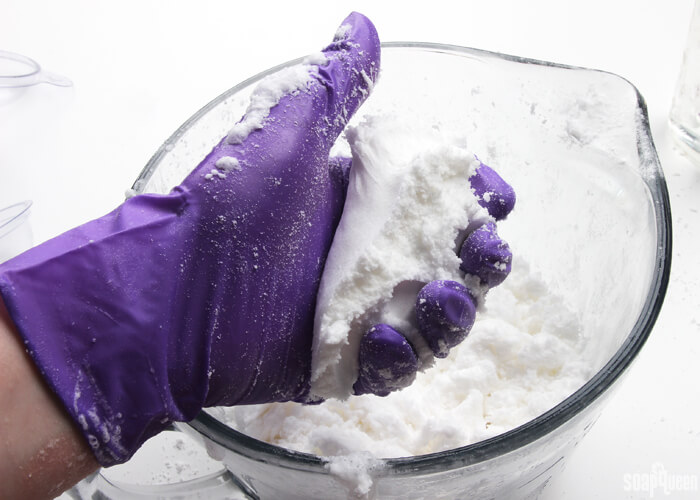
THREE: Once the oils and dry ingredients are fully incorporated, check the moisture of your fizzies. When squeezed with your hand, the mixture should hold its shape. Add spritzes of witch hazel into each container, mixing between every couple sprays, until each container has a texture similar to wet sand.
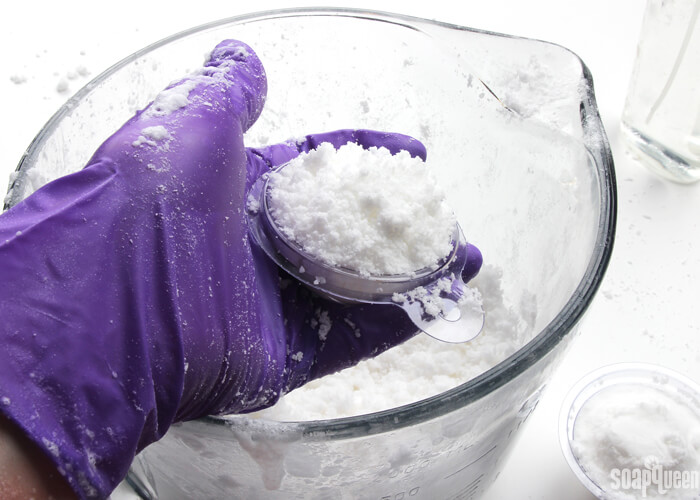
FOUR: Fill two halves of the bath bomb molds, gently pressing the mixture in each to make sure they hold their shape. Mound a little extra powder in the center of one half of the mold. Match the eyelets of each side up, and press together. To avoid any imperfections on your bath bomb, make sure to direct pressure to the edges of the mold rather than the center. Continue until all the mixture is used up. Allow the fizzies to stay in the mold to dry and harden overnight.
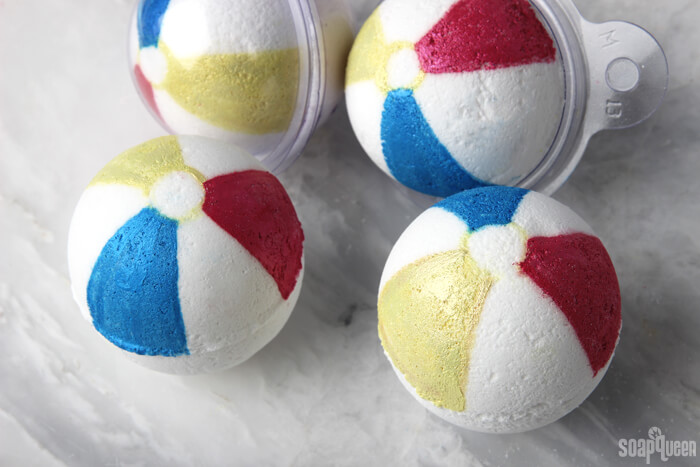
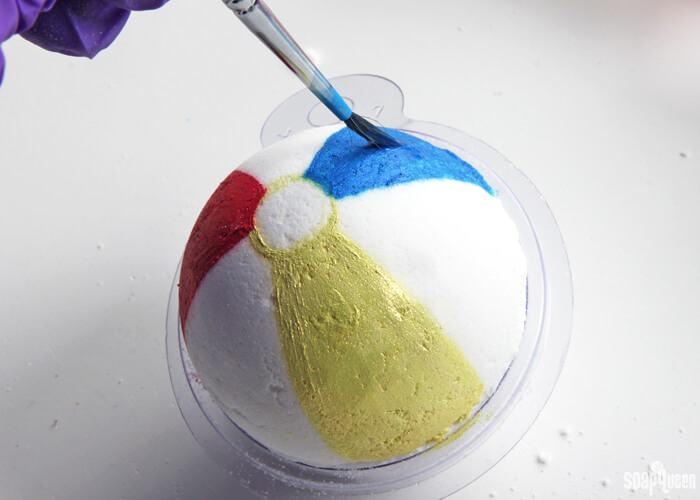
FIVE: Once the fizzies have hardened, remove the top half of the mold. In small separate containers, mix 1 tablespoon 99% isopropyl alcohol with 1 teaspoon of Cellini Blue Mica, Buttercup Mica and Magenta Mica to create a “mica paint” of the three colors. Using a fine-pointed paint brush, draw a small circle with the yellow paint directly in the center. Then paint large stripes of the yellow, blue and red down the sides of the bath bomb.
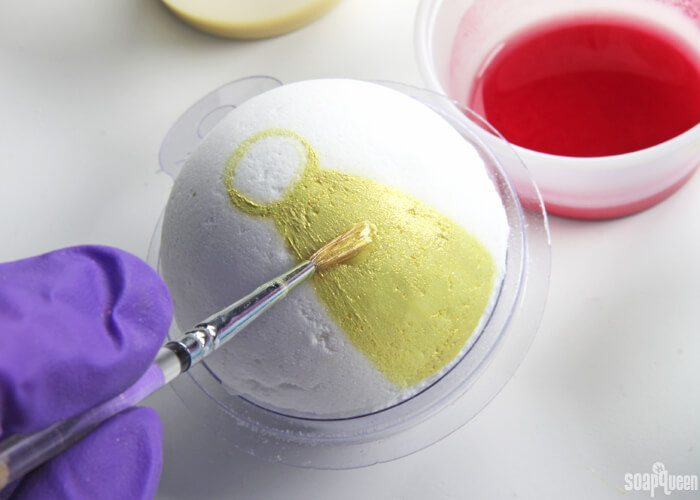
I chose to only paint one half of the bath bomb to make them easier to handle. But if you’d like, you could certainly paint the whole thing! Just keep in mind that doing so also adds more mica to the tub, so you may want to test one to make sure it doesn’t color your water too much. =)
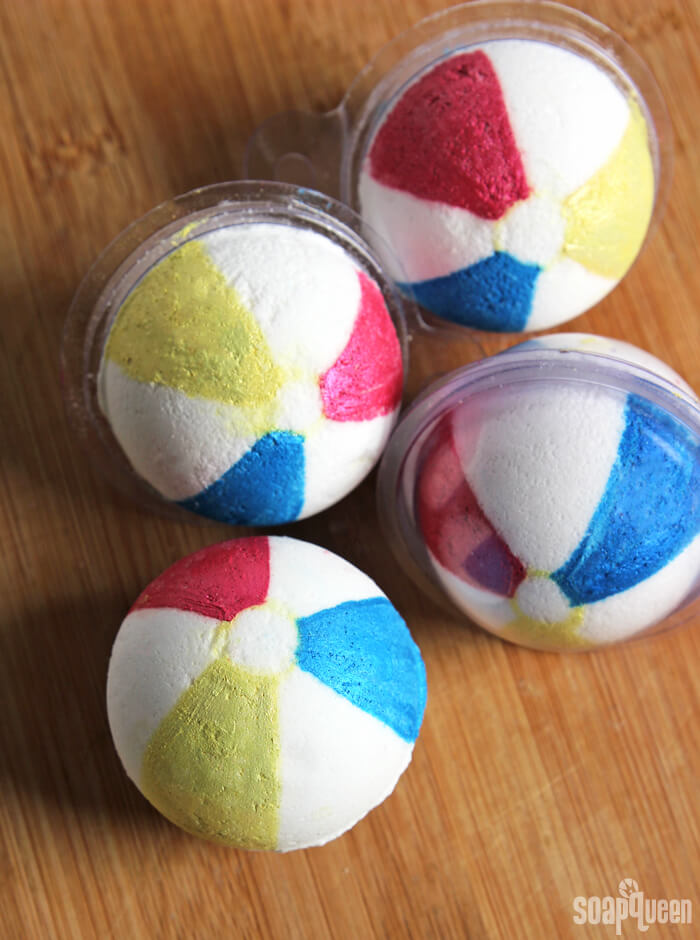
SIX: Once you’re done painting, allow the bath bombs to dry with the top half of the mold off for about 15-20 minutes. Then place the mold and package back on bath fizzies until you’re ready to use. Because these bath bombs contain some oil, they may make your bath tub a little slippery, so be careful when exiting the tub. Enjoy!
What kind of summer projects are you making?

Beach Ball Bath Bomb DIY
Ingredients
- 5-6 Bath Bomb Mold & Packages
- 1 1/2 cups Sodium Bicarbonate Baking Soda
- 3/4 cups Citric Acid
- 4 mL Flower Child Fragrance Oil
- 1 mL Grapefruit Bellini Fragrance Oil
- 9 mL Avocado Oil
- Buttercup Mica
- Magenta Mica
- Cellini Blue Mica
- 99 % Isopropyl Alcohol
- Witch Hazel in 8 oz. Spray Bottle
- Droppers
Instructions
- In a bowl, measure out 1 1/2 cups of sodium bicarbonate and 3/4 cup of citric acid. If there are any clumps in the mixture, you can push the powder through a sifter or break up the clumps with your fingers. Citric acid has a tendency to take off nail polish, so wear gloves to protect your manicure. =)
- Add the Grapefruit Bellini and Flower Child Fragrance Oils. Add the avocado oil and use your hands to mix the oils into the powder.
- Once the oils and dry ingredients are fully incorporated, check the moisture of your fizzies. When squeezed with your hand, the mixture should hold its shape. Add spritzes of witch hazel into each container, mixing between every couple sprays, until each container has a texture similar to wet sand.
- Fill two halves of the bath bomb molds, gently pressing the mixture in each to make sure they hold their shape. Mound a little extra powder in the center of one half of the mold. Match the eyelets of each side up, and press together. To avoid any imperfections on your bath bomb, make sure to direct pressure to the edges of the mold rather than the center. Continue until all the mixture is used up. Allow the fizzies to stay in the mold to dry and harden overnight.
- Once the fizzies have hardened, remove the top half of the mold. In small separate containers, mix 1 tablespoon 99% isopropyl alcohol with 1 teaspoon of Cellini Blue Mica, Buttercup Mica and Magenta Mica to create a “mica paint” of the three colors. Using a fine pointed paint brush, draw a small circle with the yellow paint directly in the center. Then paint large stripes of the yellow, blue and red down the sides of the bath bomb.
- I chose to only paint one half of the bath bomb to make them easier to handle. But if you’d like, you could certainly paint the whole thing! Just keep in mind that doing so also adds more mica to the tub, so you may want to test one to make sure it doesn’t color your water too much. =)
- Once you’re done painting, allow the bath bombs to dry with the top half of the mold off for about 15-20 minutes. Then place the mold and package back on bath fizzies until you’re ready to use. Because these bath bombs contain some oil, they may make your bath tub a little slippery, so be careful when exiting the tub. Enjoy!