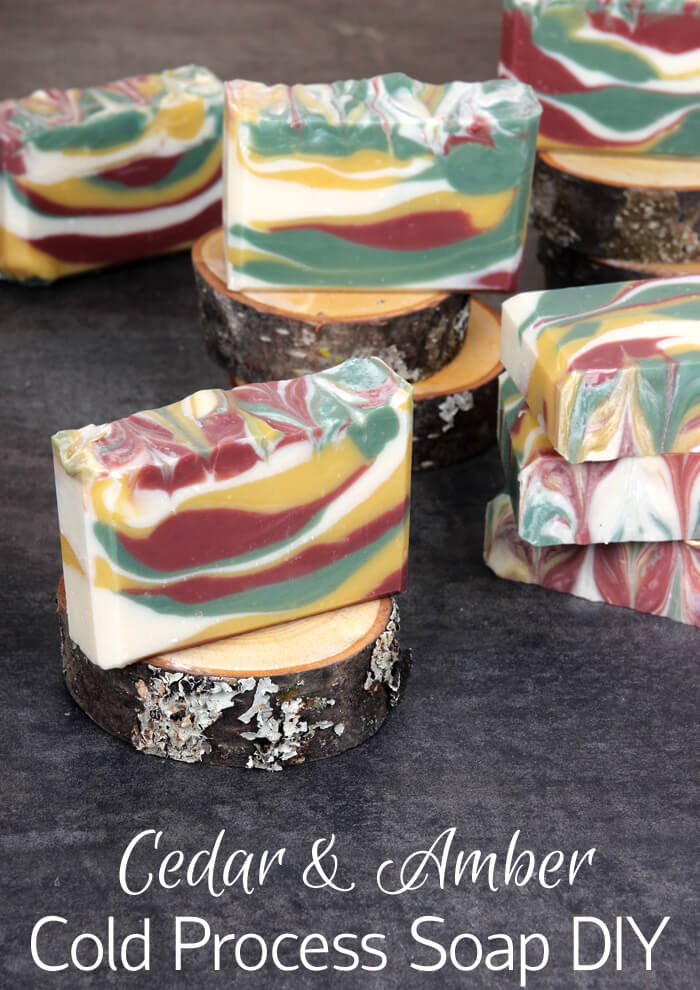
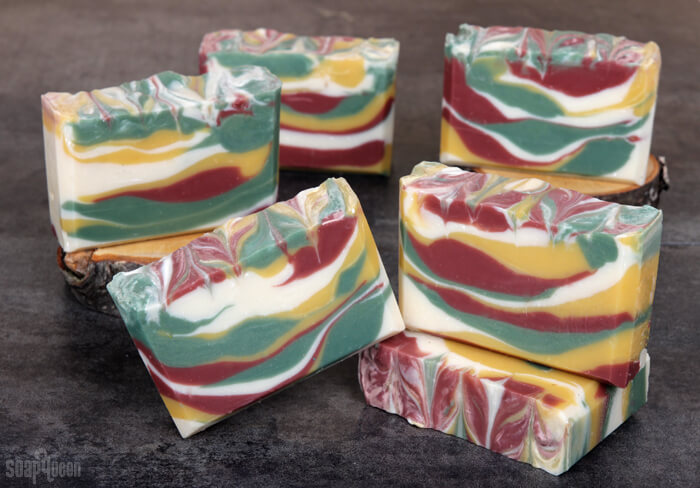
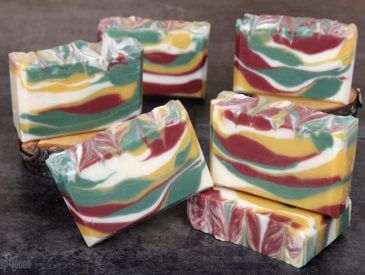
Washington state is known as “The Evergreen State” for the abundance of trees in the area. They have a fresh scent and vivid green color throughout the year. These Cedar & Amber Cold Process Soaps were inspired by the evergreen scenery of the Pacific Northwest. Classic fall colors are layered upon each other using the “spoon-plop” technique. The spoon plop technique is perfect for beginners. All you have to do is spoon in random colors of soap. It creates a unique look in every bar.
The new Cedar and Amber Fragrance Oil gives these bars an earthy, rustic scent. It’s a great unisex fragrance oil with notes of pine, cedar, clove and amber. It’s the perfect complement to the earthy colors in this bar. The soap feels great as well, thanks to moisturizing oils like meadowfoam, olive and sweet almond.
What You’ll Need:
10″ Silicone Loaf Mold
8.8 oz. Coconut Oil (25%)
8.8 oz. Palm Oil (25%)
8.8 oz. Olive Oil (25%)
3.5 oz. Meadowfoam Oil (10%)
3.5 oz. Sweet Almond Oil (10%)
1.8 oz. Castor Oil (5%)
11.5 oz. Distilled Water
4.8 oz. Sodium Hydroxide Lye
2 oz. Cedar and Amber Fragrance Oil
Yellow Oxide
Evergreen Mica
Burgundy Pigment
Titanium Dioxide

Click here to add everything you need for this project to your Bramble Berry shopping cart!
If you’ve never made cold process soap before, stop here! I highly recommend checking out our FREE four part SoapQueen.tv series on Cold Process Soapmaking, especially the episode on lye safety. And if you’d rather do some reading, Bramble Berry carries a wide range of books on the topic, including my newest book, Pure Soapmaking. You can also checkout the digital downloads for that instant gratification factor.
SAFETY FIRST: Suit up for safe handling practices! That means goggles, gloves and long sleeves. Make sure kids, pets, and other distractions and tripping hazards are out of the house or don’t have access to your soaping space. Always soap in a well-ventilated area.
COLOR PREP: To ensure that the Titanium Dioxide blends smoothly into the soap batter, we recommend micronizing it before dispersing it in oil. Please note this is an optional tip but it does help with the titanium dioxide clumping in the soap. =) To micronize colorant, simply use a coffee grinder to blend the colorant to break up any clumps of color and prevent streaks of white from showing in the final soap. We like to use a coffee grinder that has a removable, stainless steel mixing area for easy cleaning. Disperse 1 teaspoon of the colorant into 1 tablespoon of sunflower or sweet almond oil (or any other liquid oil). Then in a separate containers, disperse 1/2 teaspoon Yellow Oxide and Burgundy Pigment into 1/2 tablespoon of oil. Disperse 1 teaspoon of Evergreen Mica into 1 tablespoon of oil. Use a mini mixer to help get rid of any clumps.
FRAGRANCE OIL PREP: In a glass, fragrance oil safe container, measure 2 ounces of Cedar & Amber Fragrance Oil. Set aside.
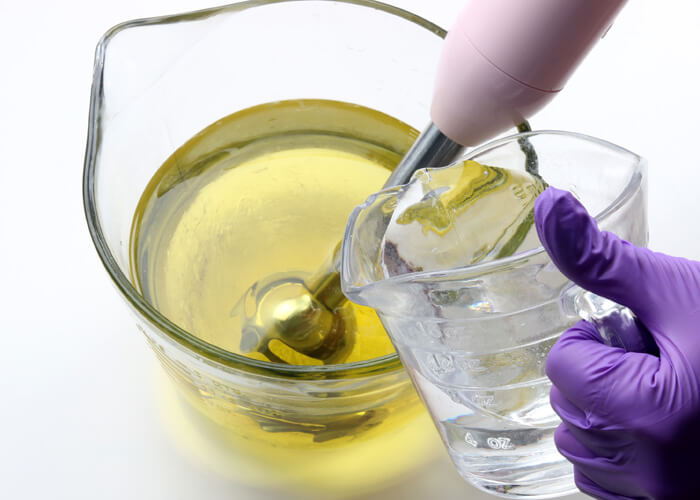
ONE: Slowly and carefully add the lye to the water and gently stir until the lye has fully dissolved and the liquid is clear. Set aside to cool.
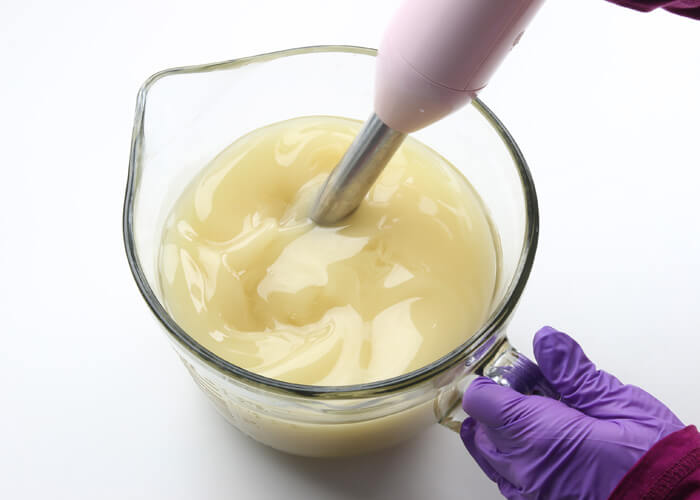
TWO: Fully melt and combine the coconut oil, olive oil, palm oil, castor oil, sweet almond oil and meadowfoam oil (remember to fully melt then mix your entire container of palm oil before portioning). Once the lye water and the oils have cooled to 130 degrees or below (and are ideally within 10 degrees of each other), add the lye water to the oils and stick blend until thin trace. If you’d like a harder bar of soap that releases faster from the mold, you can add sodium lactate to the cooled lye water. Use 1 teaspoon of sodium lactate per pound of oils in the recipe. For this recipe, you’d add about 2 teaspoons sodium lactate.
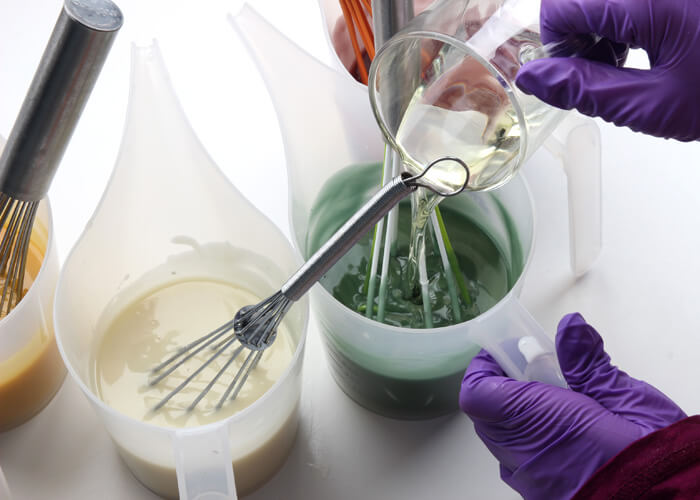
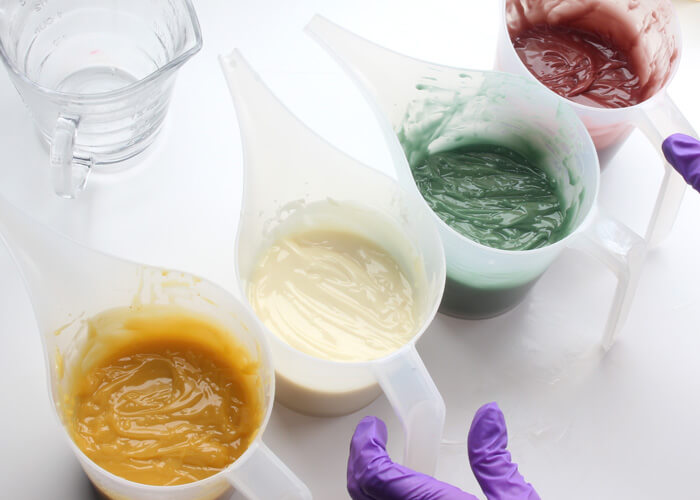
THREE: Once you’ve reached thin trace, split the soap into four even containers. Add the following amounts of dispersed colorants into each container. Use a whisk to fully mix in the colorants.
- Container A (white): 2 teaspoons dispersed titanium dioxide
- Container B (yellow): 1/4 teaspoon dispersed Yellow Oxide
- Container C (green): All dispersed Evergreen Mica
- Container D (red): 1/4 teaspoon dispersed Burgundy Pigment
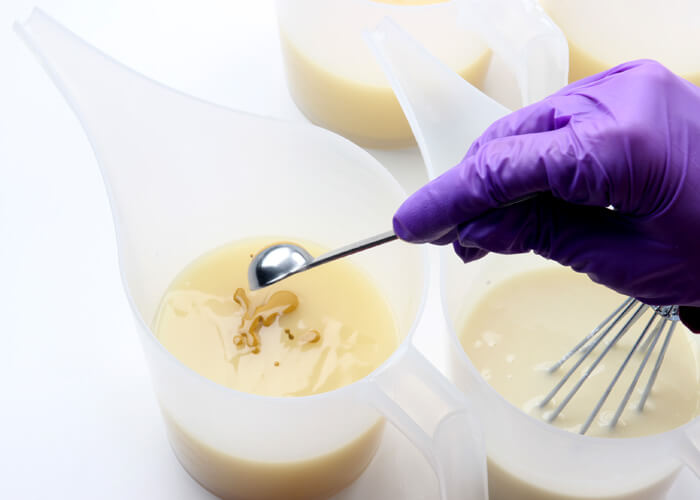
FOUR: Add the measured Cedar & Amber Fragrance Oil evenly into each container. It’s okay to eyeball it! Use a whisk to fully mix in the fragrance oil.
FIVE: If the soap is still a thin trace, use the stick blender and pulse each container to thicken slightly. The spoon-plop technique works best with medium trace soap.
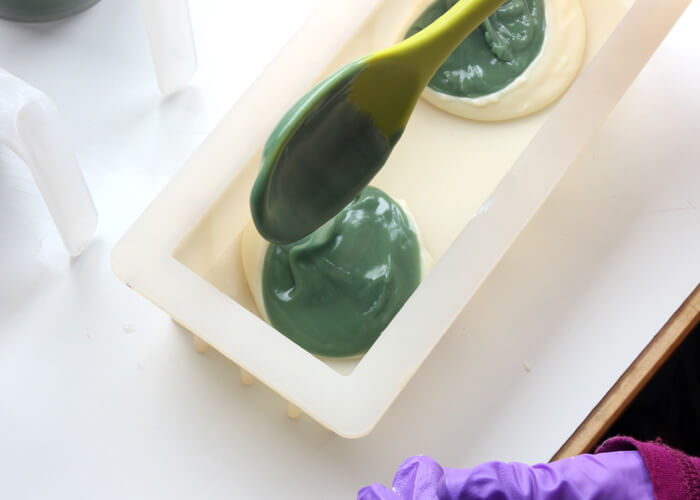
SIX: Grab a large spoon for each color. Spoon the soap into the mold, one color at a time, layering them in three different spots. Don’t worry about being too precise with your “plops.”
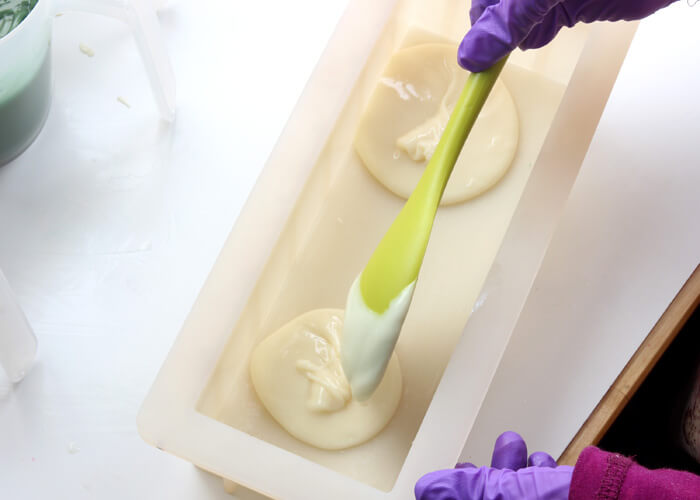
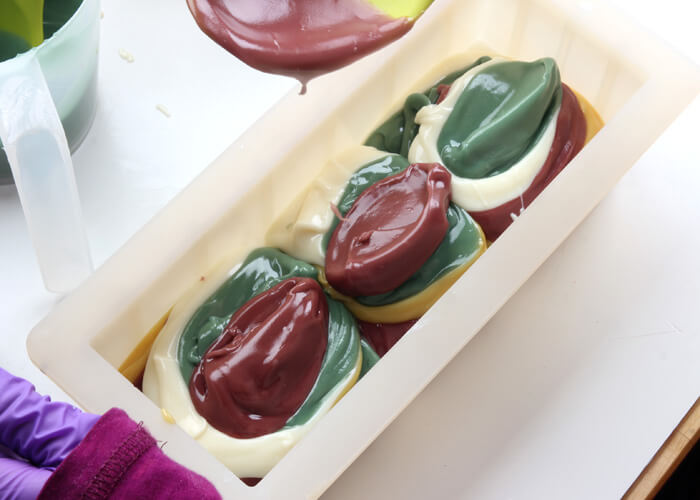
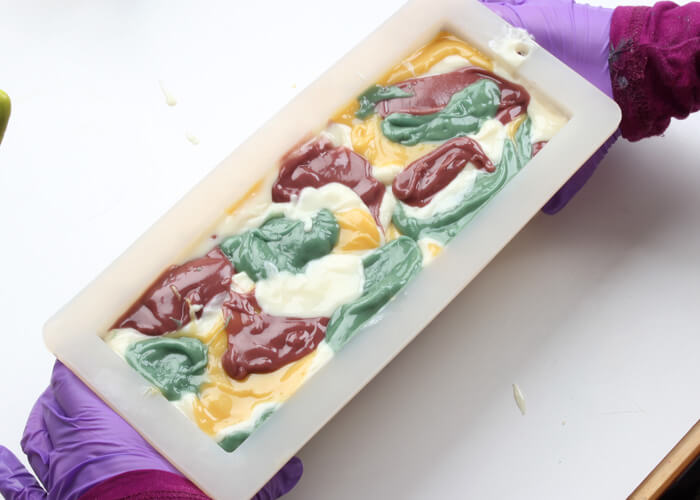
SEVEN: Continue plopping each color into the mold in various areas. You can keep a consistent color pattern or shake it up! For this project, I didn’t keep a consistent pattern. Instead I placed various colors in the mold, being careful to not layer the same color twice. Every now and then, tap the mold firmly on the counter to help level the soap and get rid of bubbles.
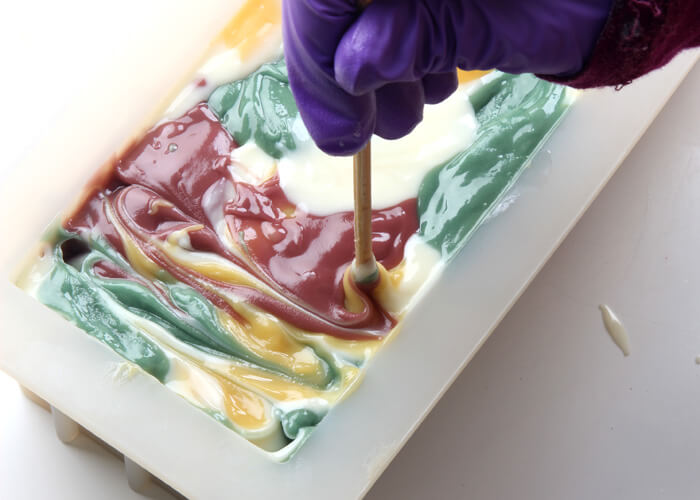
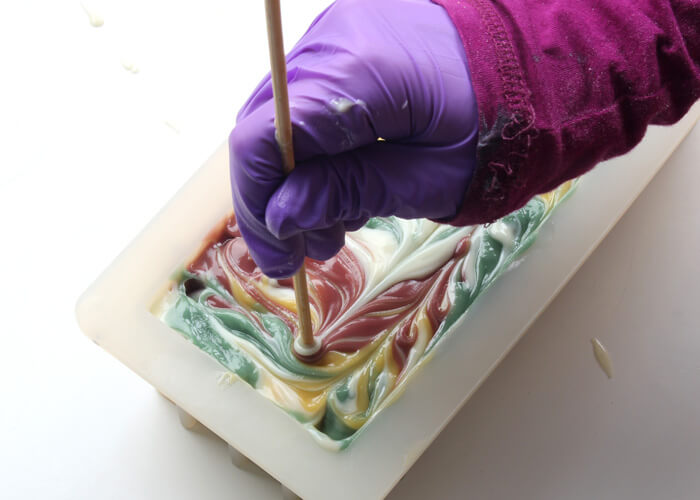
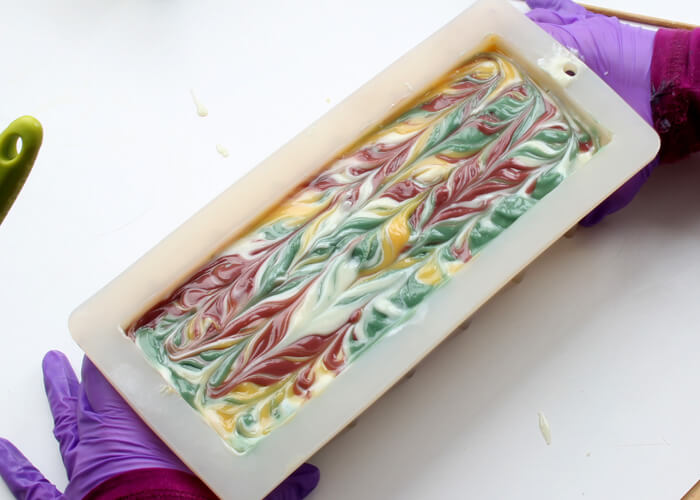
EIGHT: Once all the soap is in the mold, insert a chopstick or dowel into the very top of the soap and create “S” shaped curves down the length of the mold. Then, insert the dowel or chopstick into the very top of the soap again, and create large “S” shaped curves in the opposite direction down the length of the mold.
NINE: Spritz the top of the soap with 99% isopropyl alcohol, and cover to insulate for 24 hours. Allow to stay in the mold for 2-3 days. Remove from the mold and cut into bars. Allow the soap to cure for 4-6 weeks. Enjoy!
Even with insulating and spritzing with alcohol, we got some soda ash on this soap. It’s starting to get colder here in Bellingham, so this is something we deal with every year. Learn more about soda ash and how to handle it here.

Cedar & Amber Cold Process Soap
Ingredients
- 10 ″ Silicone Loaf Mold
- 8.8 oz. Coconut Oil 25%
- 8.8 oz. Palm Oil 25%
- 8.8 oz. Olive Oil 25%
- 3.5 oz. Meadowfoam Oil 10%
- 3.5 oz. Sweet Almond Oil 10%
- 1.8 oz. Castor Oil 5%
- 11.5 oz. Distilled Water
- 4.8 oz. Sodium Hydroxide Lye
- 2 oz. Cedar and Amber Fragrance Oil
- Yellow Oxide
- Evergreen Mica
- Burgundy Pigment
- Titanium Dioxide
Instructions
SAFETY FIRST: Suit up for safe handling practices! That means goggles, gloves and long sleeves. Make sure kids, pets, and other distractions and tripping hazards are out of the house or don’t have access to your soaping space. Always soap in a well-ventilated area.
COLOR PREP: To ensure that the Titanium Dioxide blends smoothly into the soap batter, we recommend micronizing it before dispersing it in oil. Please note this is an optional tip but it does help with the titanium dioxide clumping in the soap. =) To micronize colorant, simply use a coffee grinder to blend the colorant to break up any clumps of color and prevent streaks of white from showing in the final soap. We like to use a coffee grinder that has a removable, stainless steel mixing area for easy cleaning. Then, disperse 1 teaspoon of the colorant into 1 tablespoon of sunflower or sweet almond oil (or any other liquid oil). Then in a separate containers, disperse 1/2 teaspoon Yellow Oxide and Burgundy Pigment into 1/2 tablespoon of oil. Disperse 1 teaspoon of Evergreen Mica into 1 tablespoon of oil. Use a mini mixer to help get rid of any clumps.
FRAGRANCE OIL PREP: In a glass, fragrance oil safe container, measure 2 ounces of Cedar & Amber Fragrance Oil. Set aside.
- Slowly and carefully add the lye to the water and gently stir until the lye has fully dissolved and the liquid is clear. Set aside to cool.
- Fully melt and combine the coconut oil, olive oil, palm oil, castor oil, sweet almond oil and meadowfoam oil (remember to fully melt then mix your entire container of palm oil before portioning). Once the lye water and the oils have cooled to 130 degrees or below (and are ideally within 10 degrees of each other), add the lye water to the oils and stick blend until thin trace. If you’d like a harder bar of soap that releases faster from the mold, you can add sodium lactate to the cooled lye water. Use 1 teaspoon of sodium lactate per pound of oils in the recipe. For this recipe, you’d add about 2 teaspoons sodium lactate.
- Once you’ve reached thin trace, split the soap into four even containers. Add the following amounts of dispersed colorants into each container. Use a whisk to fully mix in the colorants.<br>Container A (white): 2 teaspoons dispersed titanium dioxide<br>Container B (yellow): 1/4 teaspoon dispersed Yellow Oxide<br>Container C (green): All dispersed Evergreen Mica<br>Container D (red): 1/4 teaspoon dispersed Burgundy Pigment
- Add the measured Cedar & Amber Fragrance Oil evenly into each container. It’s okay to eyeball it! Use a whisk to fully mix in the fragrance oil.
- If the soap is still a thin trace, use the stick blender and pulse each container to thicken slightly. The spoon-plop technique works best with medium trace soap.
- Grab a large spoon for each color. Spoon the soap into the mold, one color at a time, layering them in three different spots. Don’t worry about being too precise with your “plops.”
- Continue plopping each color into the mold in various areas. You can keep a consistent color pattern or shake it up! For this project, I didn’t keep a consistent pattern and instead just placed various colors in the mold, being careful to not layer the same color twice. Every now and then, tap the mold firmly on the counter to help level the soap and get rid of bubbles.
- Once all the soap is in the mold, insert a chopstick or dowel into the very top of the soap, and create “S” shaped curves down the length of the mold. Then, insert the dowel or chopstick into the very top of the soap again, and create large “S” shaped curves in the opposite direction down the length of the mold.
- Spritz the top of the soap with 99% isopropyl alcohol, and cover to insulate for 24 hours. Allow to stay in the mold for 2-3 days. Remove from the mold and cut into bars. Allow the soap to cure for 4-6 weeks. Enjoy!