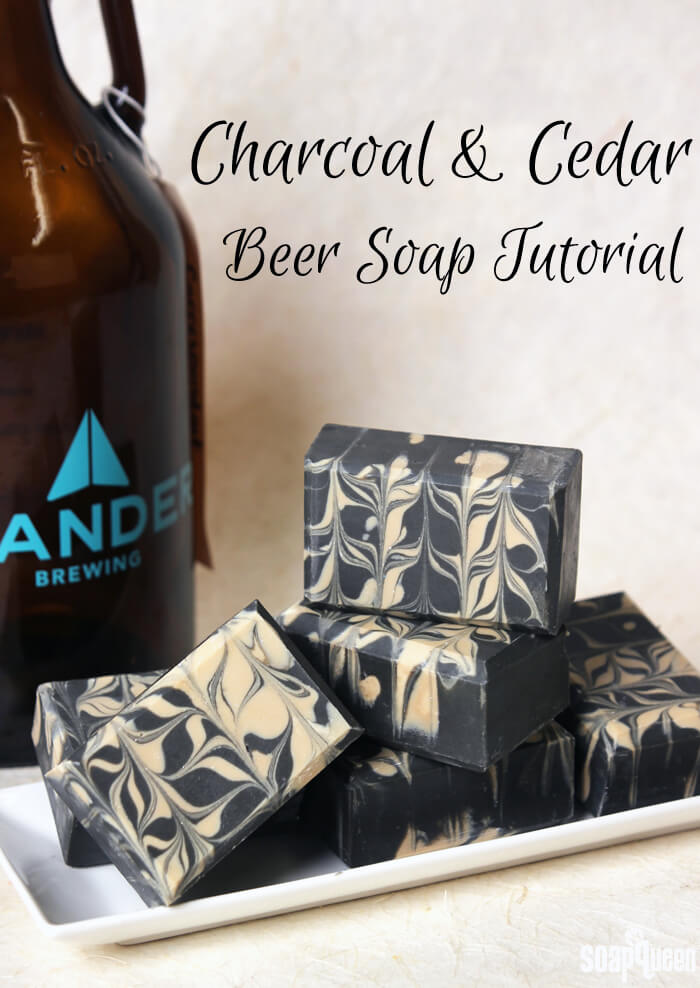
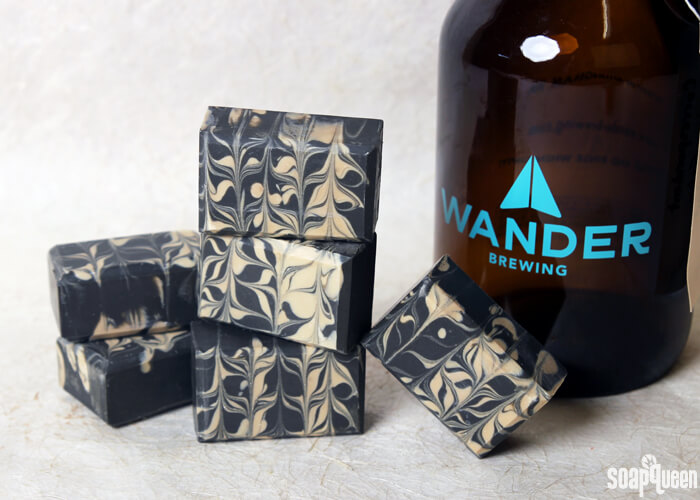
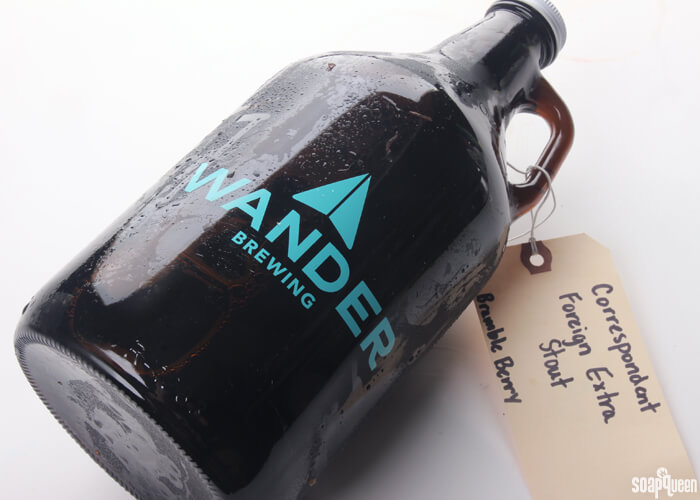
Of all the alternative liquids to make cold process soap with, beer may be one of the most popular. The natural sugars in beer add lather to the final bar, and are great from a marketing standpoint. If you’re a beer fan, who wouldn’t want to bathe with their favorite brew? For these Charcoal and Cedar Stout Bars, I teamed up with a local brewery, Wander Brewing. Wander is just a few blocks away from the Bramble Berry warehouse and is popular in the Bellingham community. I used their rich Correspondent Foreign Extra Stout for this project, and it served as the perfect base for these woodsy bars.
If you’ve never made cold process soap with beer before, it does require some extra prep. First, the alcohol and carbonation in beer needs to be boiled out for 10-15 minutes. Then, the beer needs to thoroughly cool before the lye can be added. Some soapers prefer to freeze the boiled beer and add the lye directly to the frozen beer to keep temperatures cool. If you’d like to read more about using alcoholic beverages in your cold process soap, check out this blog post.
For this project, activated charcoal and titanium dioxide are used to create a rich contrasting swirl. Due to the amount of charcoal, the lather of these bars is slightly gray, but I think they are worth it. You can always lessen the amount of charcoal to do away with the gray lather. =) The blend of cedarwood essential oil and fir needle essential oil is incredibly earthy and masculine. To help combat the acceleration that alcoholic beverages can cause in cold process soap, this recipe is palm oil free. To give the bars hardness, I added cocoa butter and coffee butter. Despite the butters, this is a soft recipe and will require extra time in the mold. I highly recommend using sodium lactate in this recipe to help the bars firm up in a timely manner.
If you can’t get your hands on some of Wander’s wonderful beer, any stout beer will work well. You can also use a lighter beer such as a pale ale. If you use a lighter beer for this project, the tan/creamy shade in the soap may be a bit lighter. Or, if you want to skip the beer all together you certainly can; simply use distilled water and soap as normal.
What You’ll Need:
18 Bar Birchwood Mold
Silicone Liner for 18 Bar Mold
5.8 oz. Cocoa Butter Pastilles (8.9%)
15.9 oz. Coconut Oil (24.5%)
2.9 oz. Coffee Butter (4.5%)
40.4 oz. Olive Oil (62.2%)
9 oz. Sodium Hydroxide Lye
21.5 oz. Prepared Beer
2 oz. Cedarwood Essential Oil
2 oz. Fir Needle Essential Oil
Activated Charcoal
Titanium Dioxide

Click here to add everything you need for this project to your Bramble Berry shopping cart!

If you’ve never made Cold Process soap before, stop here! I highly recommend checking out our FREE four part SoapQueen.tv series on Cold Process Soapmaking, especially the episode on lye safety. And if you’d rather do some reading, Bramble Berry carries a wide range of books on the topic, including my newest book, Soap Crafting. You can also checkout the digital downloads for that instant gratification factor.
SAFETY FIRST: Suit up for safe handling practices! That means goggles, gloves and long sleeves. Make sure kids, pets, and other distractions and tripping hazards are out of the house or don’t have access to your soaping space. Always soap in a well-ventilated area.
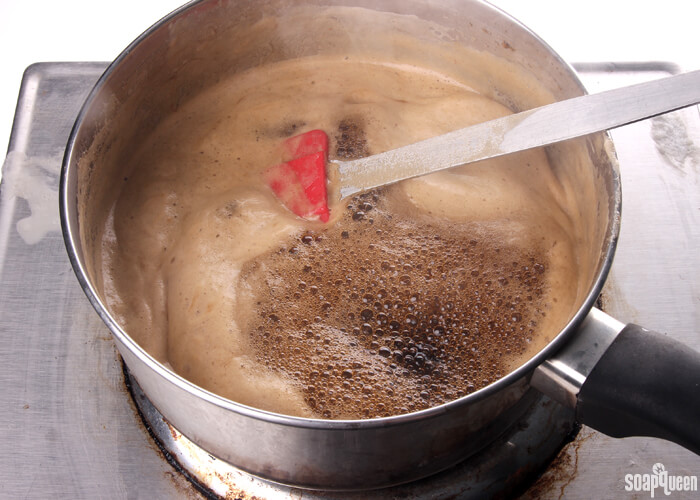
BEER PREP: To make soap with alcoholic liquid such as beer, the liquid first needs to be boiled in order to remove the alcohol and carbonation. Unboiled beer can react badly with lye and cause a bubbly volcano effect! For this tutorial, our neighbors at Wander Brewing generously donated some of their delicious Correspondent Stout. The wonderful dark color worked great for this recipe. If you prefer a different type of beer, I would recommend looking for another stout. Lighter beer works as well, but it will affect the colors of the final soap.
 First, measure out the beer by weight. I recommend weighing out about 7-8 extra ounces to make up for the amount that will be lost as the beer is boiled. For example, in this recipe, I weighed out 28 ounces of beer. I only need 21.5 ounces of liquid. Once you have weighed the beer, transfer it to a stove top and bring to a boil. Reduce the heat and allow the beer to boil for 15 minutes. Do not leave the boiling beer unattended as it may boil over. Stir occasionally.
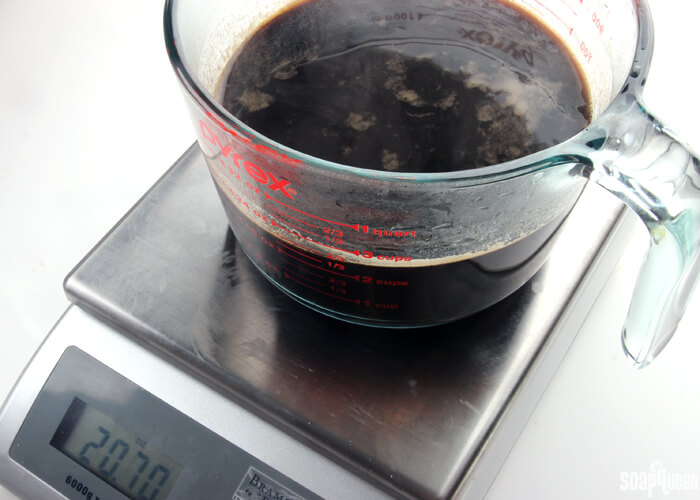
 Once the beer is done boiling, weigh the beer to see how much weight was lost. In this case, I was left with 20.7 ounces. The recipe calls for 21.5 ounces of liquid. The volume and weight measurements matched up so I decided to consider the amount missing as a small water discount. If you prefer to work with the full amount of liquid, add distilled water to your boiled beer to get the correct amount. Once the beer has been boiled, refrigerate it uncovered, overnight, to be sure that it loses as much alcohol and carbonation as possible. You may also choose to freeze the liquid and add the lye to the frozen beer.
 COLOR PREP: To ensure that the Titanium Dioxide blends smoothly into the soap batter, we recommend micronizing it before dispersing it in oil. Please note this is an optional tip but it does help with the titanium dioxide clumping in the soap. =) To micronize colorant, simply use a coffee grinder to blend the colorant to break up any clumps of color and prevent streaks of white from showing in the final soap. We like to use a coffee grinder that has a removable, stainless steel mixing area for easy cleaning. Then, disperse 1.5 tablespoons of the colorant into 1.5 tablespoons of sunflower or sweet almond oil (or any other liquid oil). Then in a separate container, disperse 2 tablespoons of activated charcoal into 4 tablespoons lightweight liquid oil. Use a mini mixer to help get rid of any clumps. Both of these dispersions are a little bit more concentrated than usual.
FRAGRANCE PREP: Measure 2 ounces of the cedarwood essential oil and 2 ounce of the fir needle essential oil in a glass, essential oil safe container. Set aside.
ONE: Remove the prepared beer from the fridge and begin to slowly add the lye to the beer. Gently stir until the lye has fully dissolved and the liquid is clear. My beer was quite cold (around 40 degrees) when I added the lye to it. As you can see below, it still got quite hot! Set aside to cool. The beer will smell unpleasant after adding the lye, but this scent will not be present in the final soap. The lye will also cause the beer to become darker. Because the stout is already quite dark, I did not try to prevent this from happening.
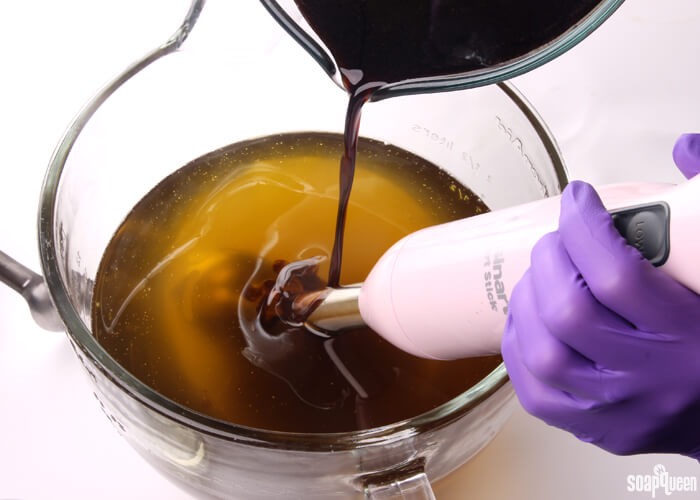
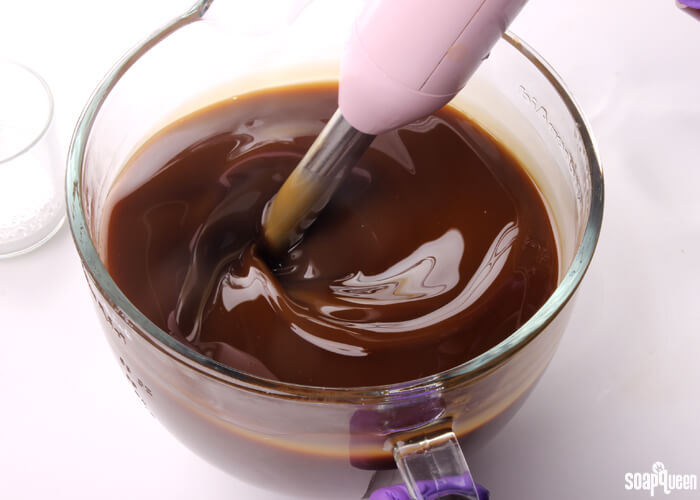
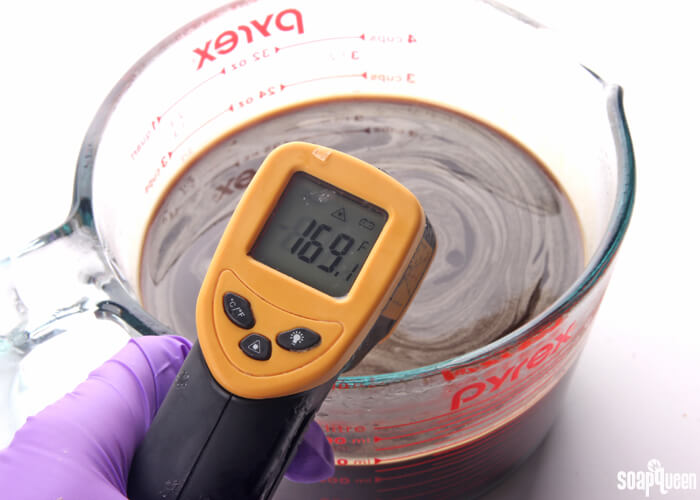 TWO: Melt and combine the coconut oil, cocoa butter, coffee butter and olive oil. Once the lye water and the oils have cooled to 130 degrees or below (and are ideally within 10 degrees of each other), add the lye water to the oils and stick blend until a very thin trace. If you’d like a harder bar of soap that releases faster from the mold, you can add sodium lactate to the cooled lye water. Use 1 teaspoon of sodium lactate per pound of oils in the recipe. For this recipe, you’d add about 4 teaspoons sodium lactate.
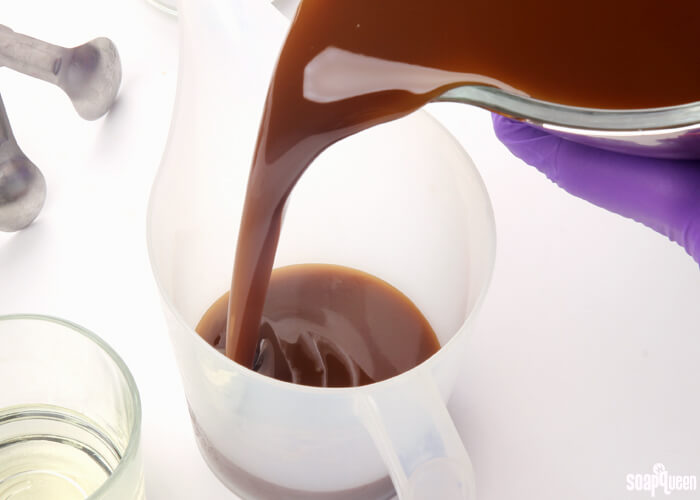
 THREE: Pour about 600 mL of the soap batter into a separate container. To this small container, add 1 tablespoon dispersed titanium dioxide and use a whisk to blend in the colorant.
 FOUR: To the large container of soap, add 2 tablespoons of dispersed activated charcoal and use a whisk to fully mix in.
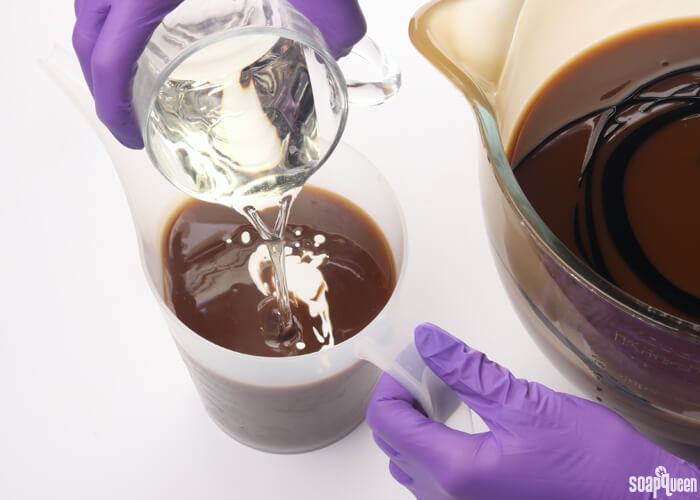
 FIVE: Add the essential oil blend to the soap containers proportionately, it’s okay to eyeball it! Use a whisk to fully blend in the essential oils.
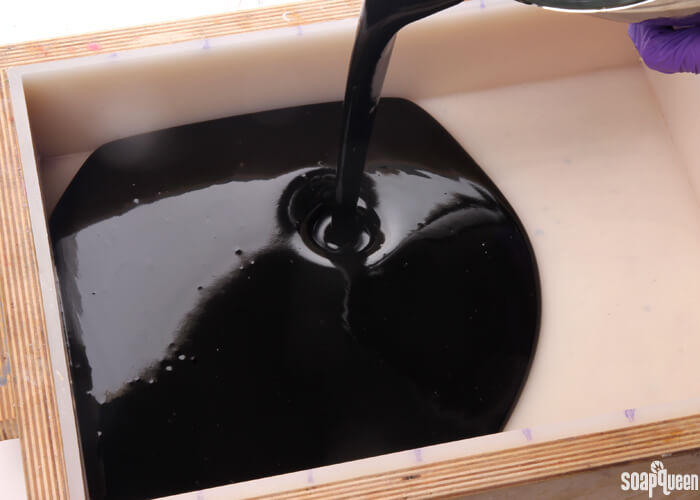
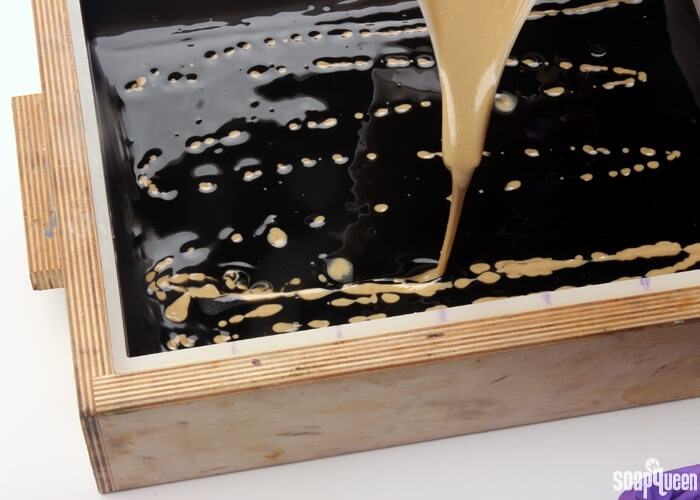
 SIX: Pour all of the black soap into the mold, and tap the mold firmly on the counter to help eliminate bubbles.
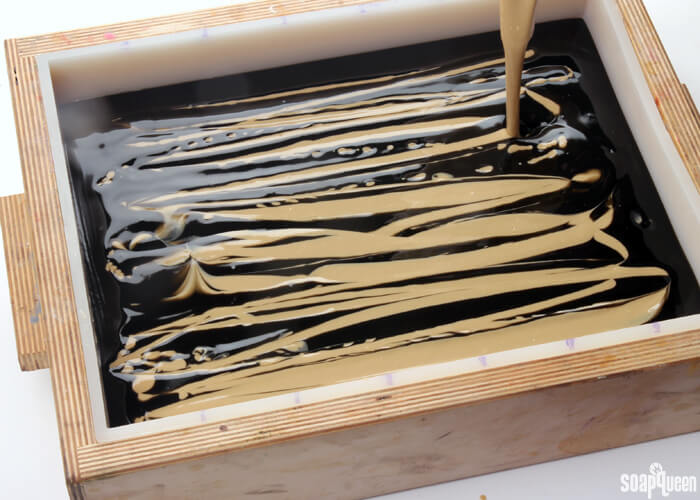
 SEVEN: Begin to pour the cream-colored soap across the length of the mold, going back and forth. For the first few pours, don’t worry if the soap breaks through into the black. After the first few initial passes, pour more gently into the soap to ensure the cream soap is staying on top of the black. Continue to pour in the same lengthwise direction until all the cream soap has been poured.
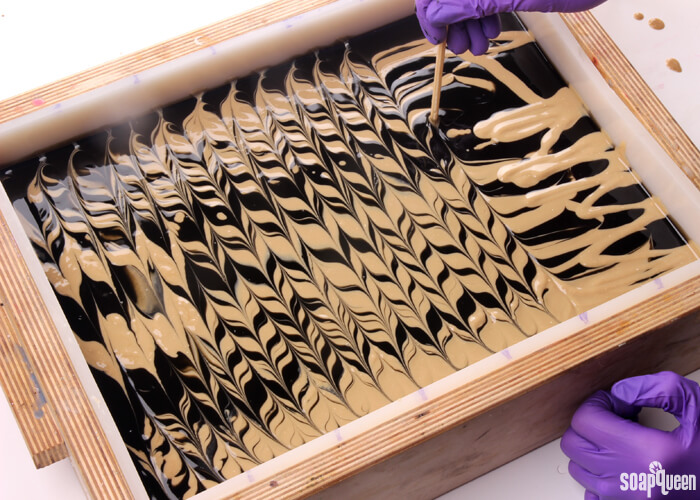
 EIGHT: Insert a dowel or chopstick into the very top of the soap (about 1/4 inch into the soap), and drag it back and forth in the opposite direction of the cream soap lines using a S-shaped curve.
 Continue this pattern down the mold, until you reach the other end.
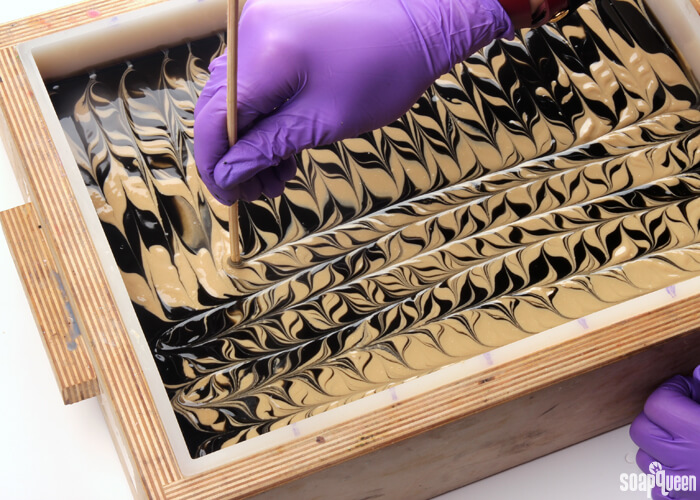
 NINE: Clean off the dowel or chopstick, then insert it into the very top of the soap and drag the tool in an S-shaped curve down the length of the mold. Continue this pattern until you reach the other side of the mold.
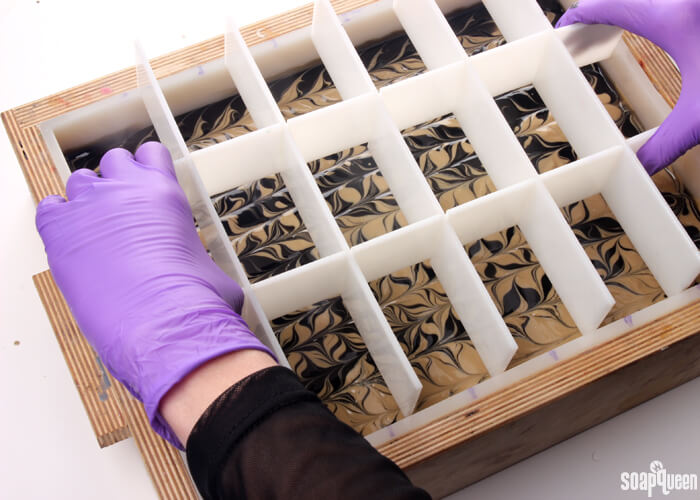
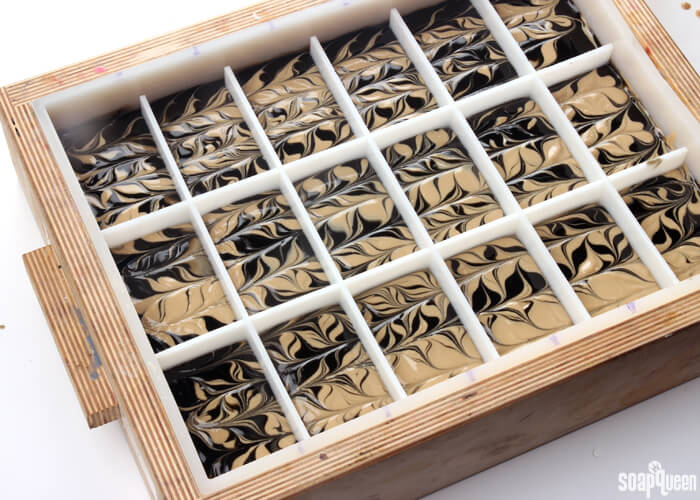
 TEN: Insert the dividers into the soap. Spritz the top of the soap with 99% isopropyl alcohol to help prevent soda ash. Allow this soap to harden in the mold for about 5-7 days before unmolding. Because this recipe is palm oil free and contains a lot of liquid oil, it requires more time to harden in the mold. Once ready to unmold, gently remove from the dividers and allow to cure for 4-6 weeks. Enjoy!
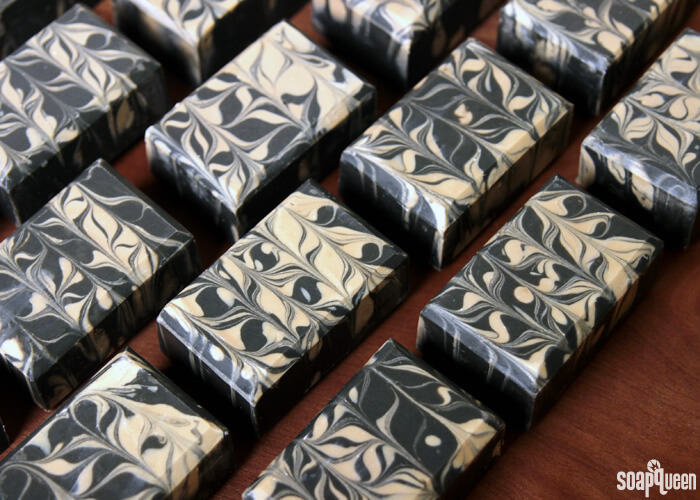
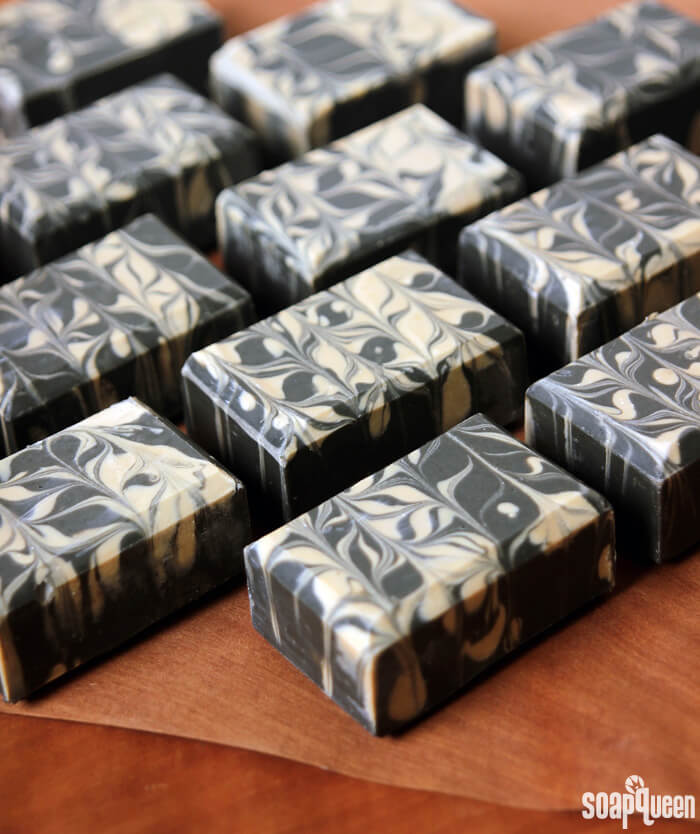
 To give these bars a more polished look, I used the Soap Shaver to create a smooth top and the Soap Beveller to create smooth edges. I waited about one week after unmolding to use these tools, because the soap was still on the soft side.
Have you ever used beer, or another alcoholic liquid in your soap before? While it does require an extra step, beer, wine and champagne soap are such crowd pleasers!

Charcoal & Cedar Beer Cold Process Soap Tutorial
Ingredients
- 18 Bar Birchwood Mold
- Silicone Liner for 18 Bar Mold
- 5.8 oz. Cocoa Butter Pastilles 8.9%
- 15.9 oz. Coconut Oil 24.5%
- 2.9 oz. Coffee Butter 4.5%
- 40.4 oz. Olive Oil 62.2%
- 9 oz. Sodium Hydroxide Lye
- 21.5 oz. Prepared Beer
- 2 oz. Cedarwood Essential Oil
- 2 oz. Fir Needle Essential Oil
- Activated Charcoal
- Titanium Dioxide
Instructions
SAFETY FIRST: Suit up for safe handling practices! That means goggles, gloves and long sleeves. Make sure kids, pets, and other distractions and tripping hazards are out of the house or don’t have access to your soaping space. Always soap in a well-ventilated area.
BEER PREP: To make soap with alcoholic liquid such as beer, the liquid first needs to be boiled in order to remove the alcohol and carbonation. Unboiled beer can react badly with lye and cause a bubbly volcano effect! For this tutorial, our neighbors at Wander Brewing generously donated some of their delicious Correspondent Stout. The wonderful dark color worked great for this recipe. If you prefer a different type of beer, I would recommend looking for another stout. Lighter beer works as well, but it will affect the colors of the final soap. First, measure out the beer by weight. I recommend weighing out about 7-8 extra ounces to make up for the weight that will be lost as the beer is boiled. For example, in this recipe, I weighed out 28 ounces of beer. I only need 21.5 ounces of liquid. Once you have weighed the beer, transfer it to a stove top and bring to a boil. Reduce the heat and allow the beer to boil for 15 minutes. Do not leave the boiling beer unattended as it may boil over. Stir occasionally. Once the beer is done boiling, weigh the beer to see how much weight was lost. In this case, I was left with 20.7 ounces. The recipe calls for 21.5 ounces of liquid. I decided to consider the amount missing as a small water discount. If you prefer to work with the full amount of liquid, add distilled water to your boiled beer to get the correct amount. Once the beer has been boiled, refrigerate it uncovered, overnight, to be sure that it loses as much alcohol and carbonation as possible.
COLOR PREP: To ensure that the Titanium Dioxide blends smoothly into the soap batter, we recommend micronizing it before dispersing it in oil. Please note this is an optional tip but it does help with the titanium dioxide clumping in the soap. =) To micronize colorant, simply use a coffee grinder to blend the colorant to break up any clumps of color and prevent streaks of white from showing in the final soap. We like to use a coffee grinder that has a removable, stainless steel mixing area for easy cleaning. Then, disperse 1.5 tablespoons of the colorant into 1.5 tablespoons of sunflower or sweet almond oil (or any other liquid oil). Then in a separate container, disperse 2 tablespoons of activated charcoal into 4 tablespoons lightweight liquid oil. Use a mini mixer to help get rid of any clumps. Both of these dispersions are a little bit more concentrated than usual.
FRAGRANCE PREP: Measure 2 ounces of the cedarwood essential oil and 2 ounce of the fir needle essential oil in a glass, essential oil safe container. Set aside.
- Remove the prepared beer from the fridge and begin to slowly add the lye to the beer. Gently stir until the lye has fully dissolved and the liquid is clear. My beer was quite cold (around 40 degrees) when I added the lye to it. As you can see below, it still got quite hot! Set aside to cool. The beer will smell unpleasant after adding the lye, but this scent will not be present in the final soap. The lye will also cause the beer to become darker. Because the stout is already quite dark, I did not try to prevent this from happening.
- Melt and combine the coconut oil, cocoa butter, coffee butter and olive oil. Once the lye water and the oils have cooled to 130 degrees or below (and are ideally within 10 degrees of each other), add the lye water to the oils and stick blend until a very thin trace. If you’d like a harder bar of soap that releases faster from the mold, you can add sodium lactate to the cooled lye water. Use 1 teaspoon of sodium lactate per pound of oils in the recipe. For this recipe, you’d add about 4 teaspoons sodium lactate.
- Pour about 600 mL of the soap batter into a separate container. To this small container, add 1 tablespoon dispersed titanium dioxide and use a whisk to blend in the colorant.
- To the large container of soap, add 2 tablespoons of dispersed activated charcoal and use a whisk to fully mix in.
- Add the essential oil blend to the soap containers proportionately, it’s okay to eyeball it! Use a whisk to fully blend in the essential oils.
- Pour all of the black soap into the mold, and tap the mold firmly on the counter to help eliminate bubbles.
- Begin to pour the cream-colored soap across the length of the mold, going back and forth. For the first few pours, don’t worry if the soap breaks through into the black. After the first few initial passes, pour more gently into the soap to ensure the cream soap is staying on top of the black. Continue to pour in the same lengthwise direction until all the cream soap has been poured.
- Insert a dowel or chopstick into the very top of the soap, and drag it back and forth in the opposite direction of the cream soap lines using a S-shaped curve. Continue this pattern down the mold, until you reach the other end.
- Clean off the dowel or chopstick, then insert it into the very top of the soap (about 1/4 inch into the soap), and drag the tool in an S-shaped curve down the length of the mold. Continue this pattern until you reach the other side of the mold.
- Insert the dividers into the soap. Spritz the top of the soap with 99% isopropyl alcohol to help prevent soda ash. Allow this soap to harden in the mold for about 5 days before unmolding. Because this recipe is palm oil free and contains a lot of liquid oil, it may require more time to harden in the mold. Once ready to unmold, gently remove from the dividers and allow to cure for 4-6 weeks. Enjoy!