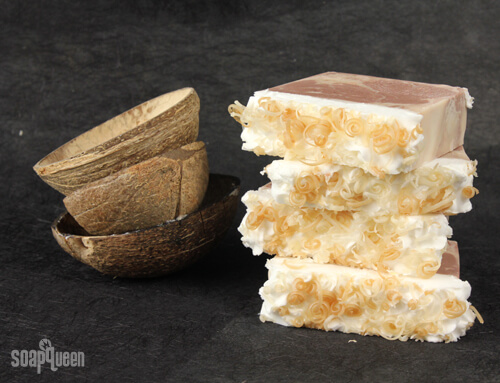
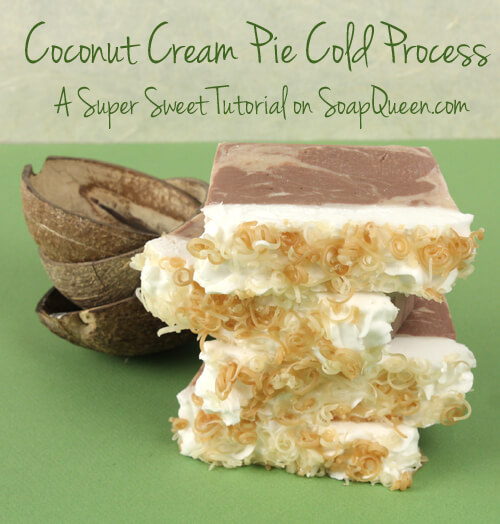
If you’ve been dreaming of an exotic vacation, this is the soap for you. This Coconut Cream Cold Process tutorial is all the fun of a tropical beach getaway without the sand in your shoes!
Made with 100% coconut water instead of distilled water, and featuring our brand new Coconut Cream Fragrance Oil, it’s a unique soap that smells as good as it looks. The top is finished off with melt & pour soap frosting and cold process “coconut flakes” to make this a truly decadent dessert soap.
Speaking of sunshine, this week we’ve been showing you all kinds of tutorials to give your skin that radiant glow perfect for a summer get away. Check out the Beautiful Bronze Lip Tint, Bronze Goddess Nail Polish and Magical Bronze Shimmer Stick. As a bonus, a few of the ingredients in the tutorials are 20% off as part of this month’s web specials!
What You’ll Need:
9.9 oz. Coconut Oil
9.9 oz. Olive Oil
9.9 oz. Palm Oil
3.3 oz. Shea Butter
4.7 oz. Sodium Hydroxide
10.9 oz. 100% pure coconut water (choose a brand with no additional sugars or flavors)
4 oz. White Melt and Pour Base
2 oz. Coconut Cream Fragrance Oil
2 oz. Chipotle Caramel Fragrance Oil

Click here to add everything you need for this project to your Bramble Berry shopping cart!
If you’ve never made Cold Process soap before, stop here! I highly recommend checking out our FREE four part SoapQueen.tv series on Cold Process Soapmaking, especially the episode on lye safety. And if you’d rather do some reading, Bramble Berry carries a wide range of books on the topic, including my newest book, Soap Crafting. You can also checkout the digital downloads for that instant gratification factor.
SAFETY FIRST: Suit up for safe handling practices! That means goggles, gloves and long sleeves. Make sure kids, pets, and other distractions and tripping hazards are out of the house or don’t have access to your soaping space. Always soap in a well-ventilated area.
COLOR PREP: To ensure that the Titanium Dioxide blends smoothly into the soap batter, we recommend micronizing it before dispersing it in oil. To micronize colorant, simply use a coffee grinder to blend the colorant to break up any clumps of color and prevent streaks of white from showing in the final soap. I like to use a coffee grinder that has a removable, stainless steel mixing area for easy cleaning. Then, disperse 2 teaspoons of micronized Titanium Dioxide into 2 tablespoon of Sunflower or Sweet Almond Oil (or any other liquid oil). Finally, 1 teaspoon of Brown Oxide into 1 tablespoon of Sunflower or Sweet Almond Oil. Use a mini mixer to get the clumps of color worked out smoothly.
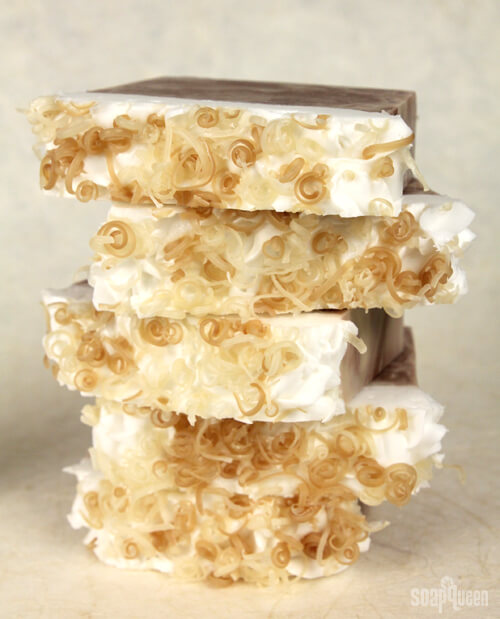
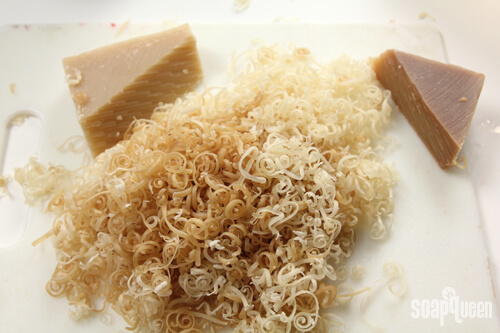
TOPPING PREP: To achieve the look of toasted coconut flakes on top, grate two different leftover bars of brown & tan cold process soap with a cheese grater. This step is optional and completely up to you, but the shavings do add a nice pop!
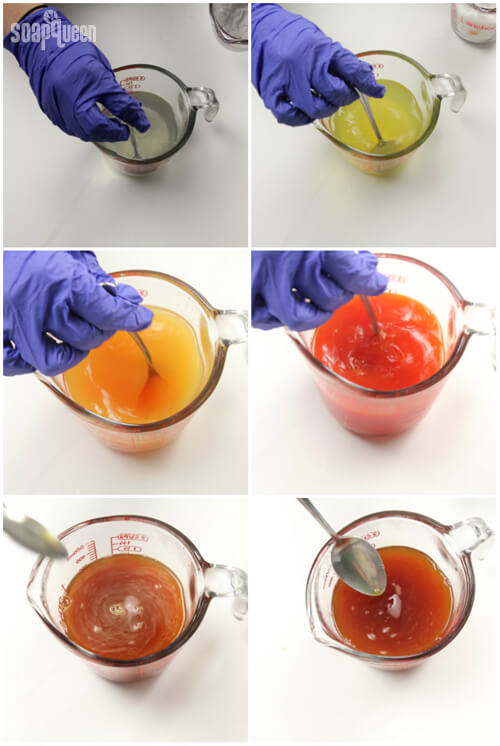
ONE: Slowly and carefully add the lye to the coconut water and gently stir until the lye has fully dissolved. Set aside to cool. Be aware: the lye will do some strange things! Check out this awesome progression of color as we added the lye to the liquid. You are watching the lye react with the sugars in the coconut water right before your eyes!
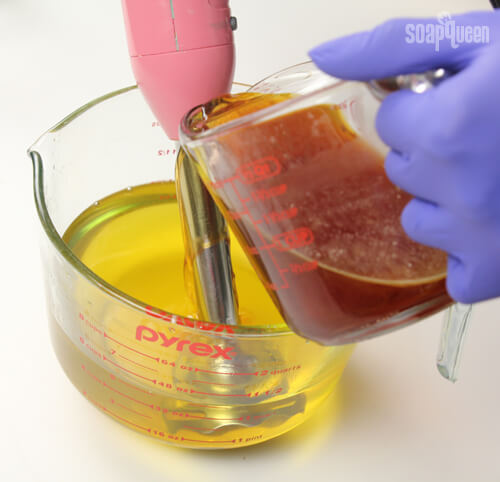
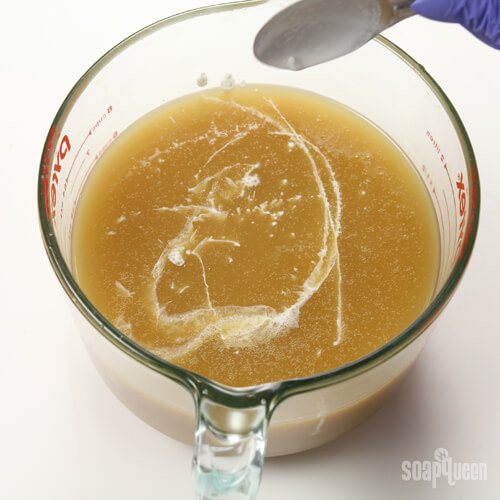
TWO: Fully melt and combine the Olive, Coconut, Palm and Shea Butter. Once the lye water and the oils have cooled to 130 degrees or below (and are ideally within 10 degrees of each other), add the lye water to the oils and stick blend until thin trace. For a harder bar of soap that releases faster from the mold, add Sodium Lactate to the cooled lye water. Use 1 teaspoon of Sodium Lactate per pound of oils in the recipe. For this recipe, add about 2 tsp. Sodium Lactate.
THREE: Once the batter has reached a light trace, add all of the Titanium Dioxide mixture. Stir with a whisk.
FOUR: Split off two cups of batter into a separate container. Set aside.
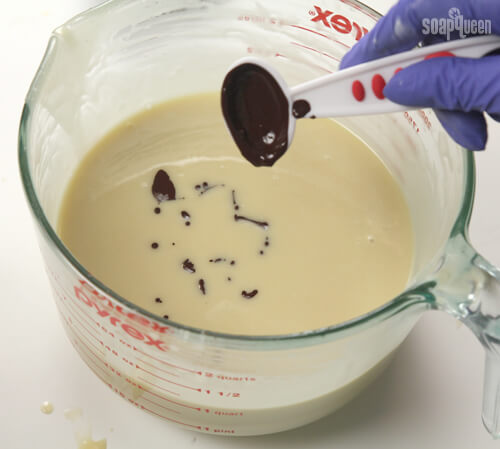
FIVE: To the original batter, add all of the Brown Oxide mixture. Stir with a whisk.
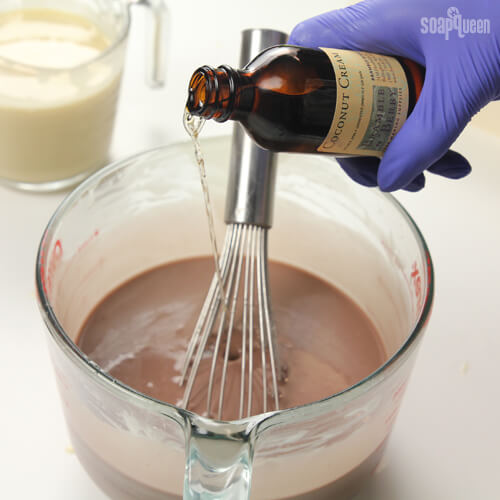
FIVE: The Coconut Cream Fragrance Oil will discolor soap to a light tan, so only add it to the dark brown soap to retain contrasting colors. Add 2 ounces (by weight) of Coconut Cream Fragrance Oil. Stir with a whisk to incorporate.
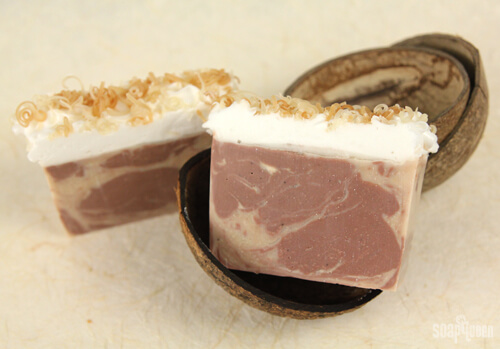
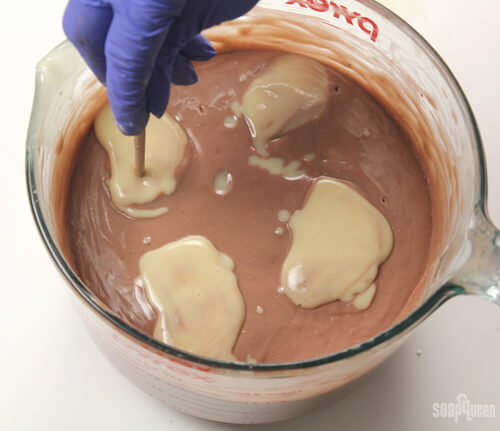
SIX: Now for the in-the-pot-swirl! Pour the white soap into the brown soap in four places: 12 o’clock, 3 o’clock, 6 o’clock and 9 o’clock. Pour steadily from a high point to get the color all the way to the bottom of the container.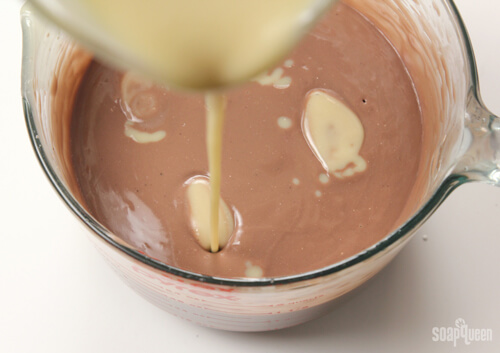
SEVEN: Run a chopstick or dowel just once through the soap, hitting each entry point. Only swirl once because you don’t want to overmix!
EIGHT: Hold and pour the soap steadily into the mold. Do not move the bowl as you pour. Tamp the mold on the table several times to disperse air bubbles. If you’d like, you can do a fun design on top, but be aware it will soon be covered by soapy frosting! 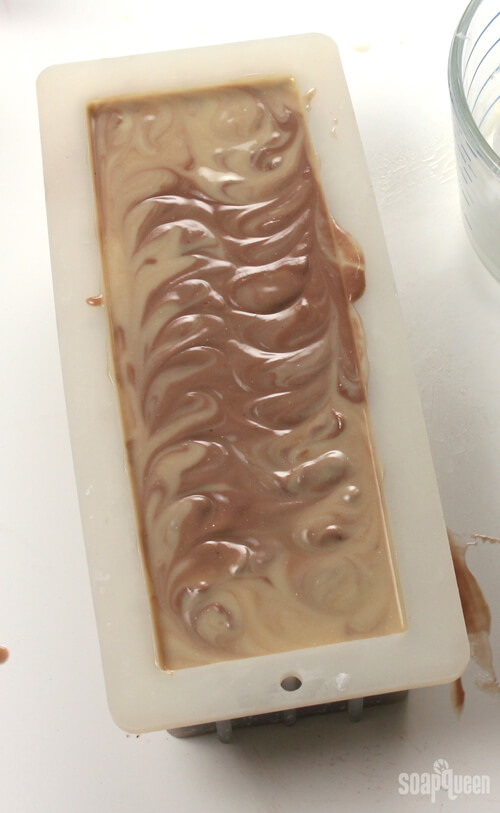
NINE: Now make the soapy frosting. Cut and melt 4 oz. of White Melt and Pour base in the microwave on 10 second bursts. Once melted, add 3 mL of Chipotle Caramel Fragrance Oil and 3 mL Vanilla Color Stabilizer. Stir to incorporate.

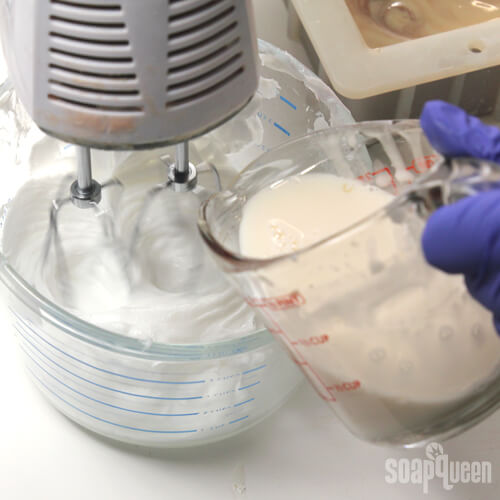
TEN: Add the White Melt and Pour to 16 ounces of Foaming Bath Whip. Using a hand mixer or stand mixer, whip the mixture until it can form stiff peaks (usually about 3 – 6 minutes of mixing).

This is a good texture for the frosting. Notice that it’s stiff enough to hold its shape.
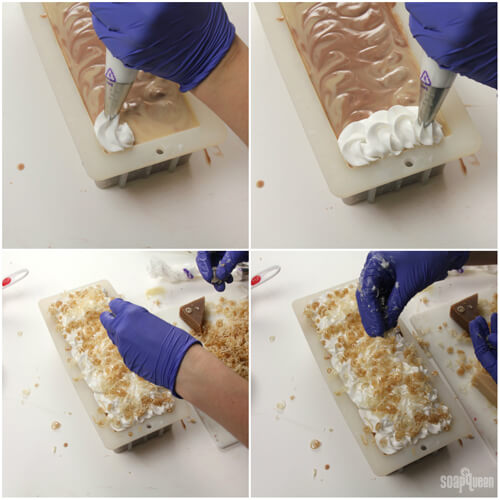
ELEVEN: Cut about an inch off the Disposable Frosting Bag and insert the 1M Frosting tip. Then, fill the bag with frosting. 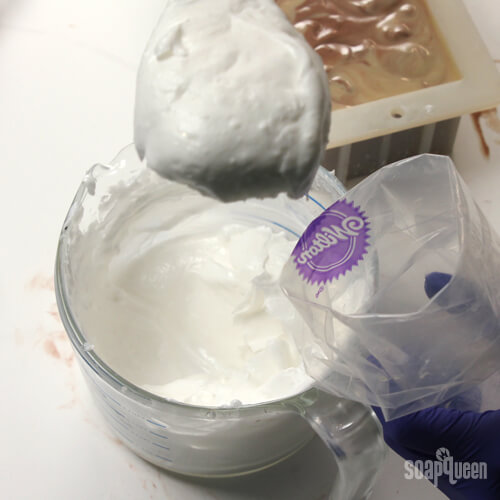
TWELVE: Frost the top of the loaf. Make short fluffy rows down the length of the mold. Garnish with your “coconut flake” soap shreds. Don’t be afraid to push them into the frosting to secure them.
Allow the soap to sit in the mold for 3-4 days before unmolding. Keep in mind, the melt and pour frosting will not get as hard as cold process frosting. It won’t be sticky or tacky, but you will be able to push and dent the frosting so handle with care! After unmolding, cut into bars and allow to cure for 4-6 weeks and enjoy!