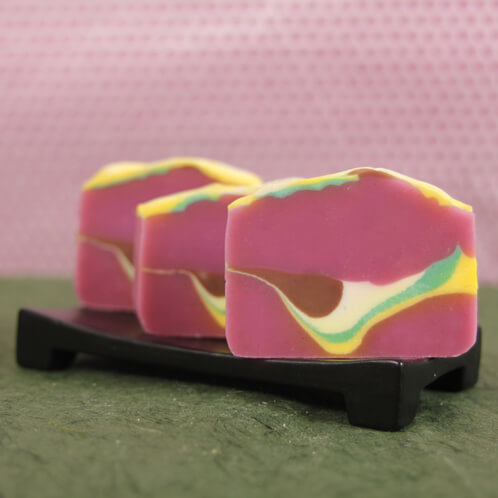
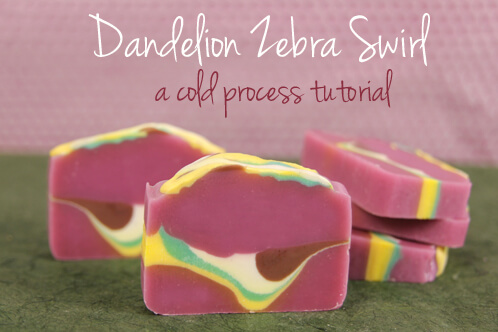
For everyone in the throes of the winter cold snap, today’s cold process recipe offers a little taste of spring. I made this Dandelion Zebra Swirl for a Great Cakes Soapworks Challenge. The colors are reminiscent of warm days, green grass and freshly sprouted tulips. The key to this technique is having a recipe that moves slowly and stays at a thin trace to get a beautiful layered swirl in the middle.
What You’ll Need:
. 9 oz. Argan Oil
9 oz. Canola Oil
3.6 oz. Castor Oil
13.5 oz. Coconut Oil
9 oz. Palm Oil
9 oz. Sunflower Seed Oil
6.3 oz. Sodium Hydroxide
14.8 oz. water
Fired Up Fuchsia
Ultramarine Violet
Hydrated Chrome Green
Aqua Pearl Mica
Fizzy Lemonade Colorant
Titanium Dioxide Pigment
Brown Oxide Pigment
2.8 oz. Sweet Pea Fragrance Oil
4 lb. Wood Loaf Mold

Click here to add everything you need for this project to your Bramble Berry shopping cart!
If you’ve never made Cold Process soap before, stop here! I highly recommend checking out our FREE four part SoapQueen.tv series on Cold Process Soapmaking, especially the episode on lye safety. And if you’d rather do some reading, Bramble Berry carries a wide range of books on the topic, including my newest book, Soap Crafting. You can also checkout the digital downloads for that instant gratification factor.
SAFETY FIRST: Suit up for safe handling practices! That means goggles, gloves and long sleeves. Make sure kids, pets, and other distractions and tripping hazards are out of the house or don’t have access to your soaping space. Always soap in a well-ventilated area.
COLOR PREP: Disperse 1 teaspoon of each colorant except the Titanium Dioxide into 1 tablespoon of Sunflower or Sweet Almond Oil (or any other liquid oil). Prep a double batch of the Titanium Dioxide by mixing 2 teaspoons of colorant into 2 tablespoons of liquid oil. Use a mini mixer to get clumps worked out smoothly. Prepping your colors in the beginning will allow you to work quickly and give you more time to work with your soap.
TOOL PREP: This swirl is achieved by pouring colored layers of soap diagonally down a flat piece of cardboard or other surface. We used a stiff piece of poster board and cut it about 15″ in length to fit snugly into our mold.
MOLD PREP: Before you begin, be sure to line the mold with freezer paper (we’re always looking to add products to our line, and a silicone liner for this mold is definitely on the list!). For now, click here to learn how to line the mold yourself.
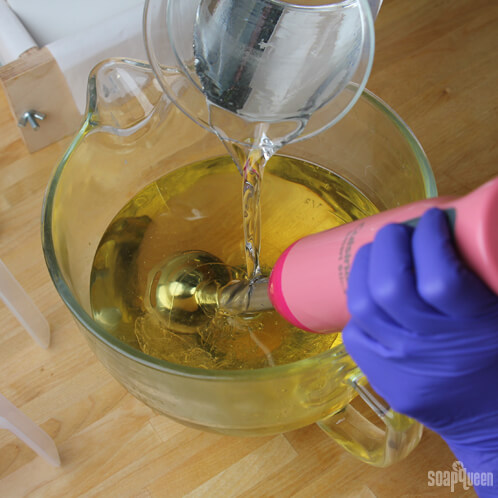
ONE: Slowly and carefully add the lye to the water and gently stir until the lye has fully dissolved and the liquid is clear. Set aside to cool.
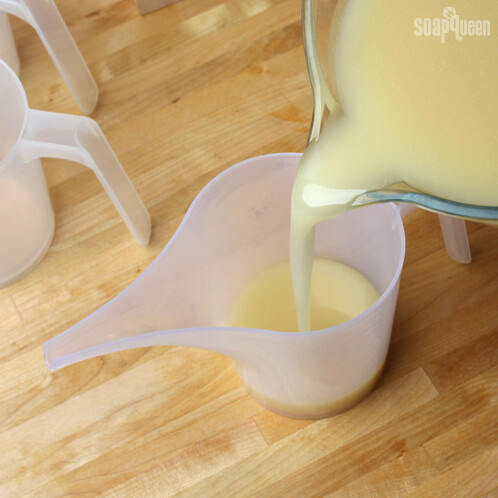
TWO: Combine the Argan, Canola, Castor, Coconut, Sunflower and Palm oils (remember to fully melt then mix your entire container of Palm Oil before portioning). Once the lye water and the oils have cooled to 130 degrees or below (and are ideally within 10 degrees of each other), add the lye water to the oils and stick blend until thin trace. If you’d like a harder bar of soap that releases faster from the mold, you can add Sodium Lactate to the cooled lye water. Use 1 teaspoon of Sodium Lactate per pound of oils in the recipe.
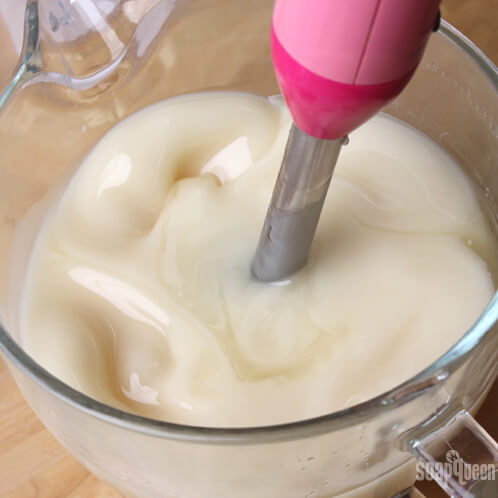
THREE: Once the batter has reached a thin trace, pour off one half cup each into four containers.
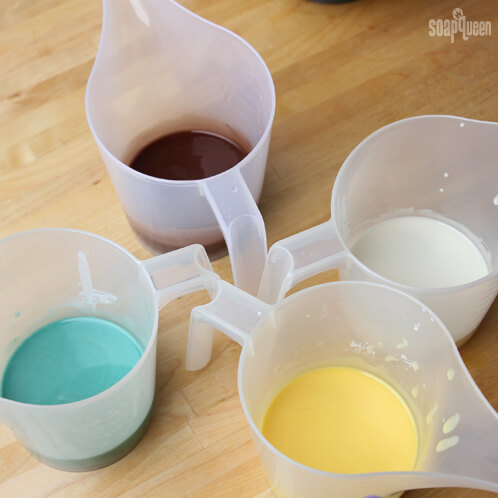
FOUR: Add the dispersed colorants to the cups at the following rate:
- 1/2 tsp. dispersed Hydrated Chrome Green plus 1/2 tsp. Aqua Pearl plus 1/2 tsp. dispersed Titanium Dioxide in one cup
- 3 tsp. of dispersed Titanium Dioxide in a second cup
- 1 tsp. dispersed Titanium Dioxide plus 2 tsp. dispersed Fizzy Lemonade Colorant
- 1/4 tsp. dispersed Brown Oxide in the fourth container
Mix in the colorants with a wire whisk or spoon.
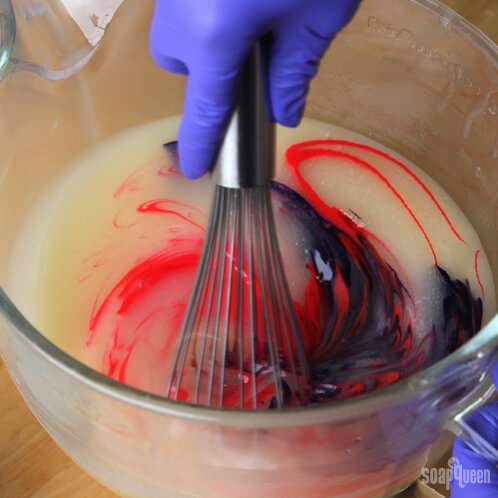
FIVE: In the main batch, add 3 tsp. dispersed Ultramarine Violet and 2 tsp. Fired Up Fuchsia. Mix in with a wire whisk or spoon.
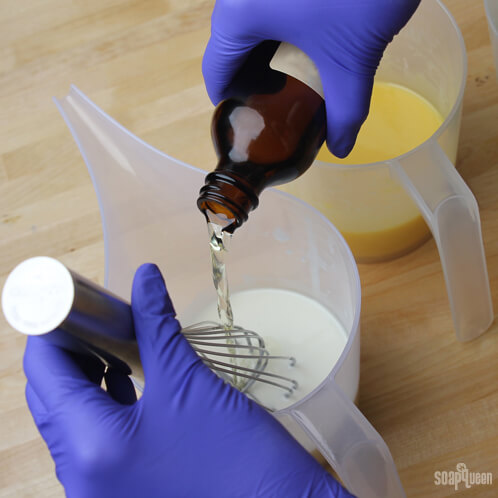
SIX:Roughly divide the fragrance between the five containers. Eye balling is okay! Mix in with a wire whisk or spoon.
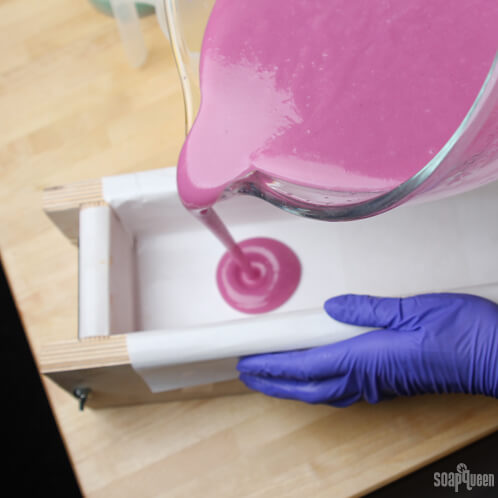
SEVEN: Pour about 2/3 of the the pink batter into the mold. Tamp the mold on the surface several times to disperse bubbles.
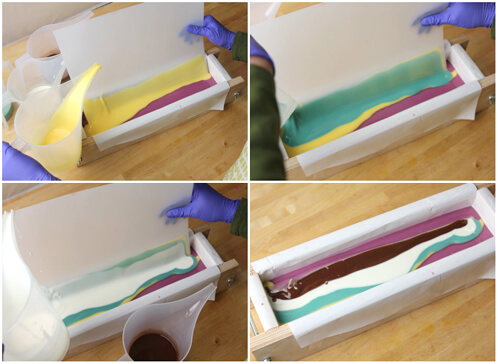
EIGHT: Insert the tool into the soap. We leaned ours at an angle for a more interesting effect. Then pour each color down the board, allowing it to run down into the pink soap below. Experiment pouring from different heights as that will affect the thickness of the layers. We poured yellow first, green second, white third and brown fourth. When you’re done pouring, slowly pull the board up and out at the same angle so as not to disturb the swirl. Keep a small amount (1/4 cup) of each colored batter for the top design at the end.
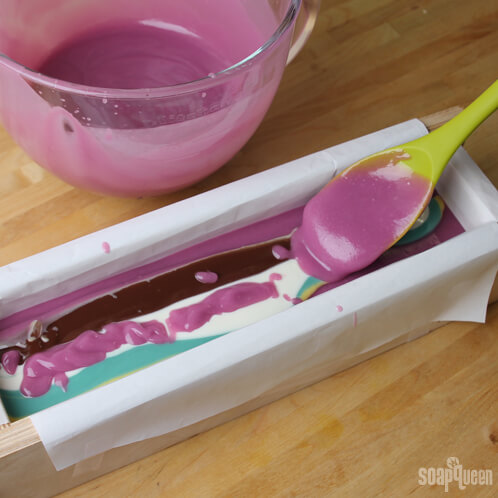
NINE: Use a square silicone spoon or round silicone spoon to gently plop the remaining pink soap into the mold over your swirl. Be careful! You don’t want to break through the colored layers below.
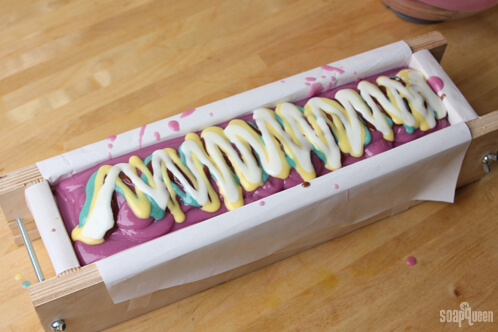
TEN: Using the colored batter you saved from the swirl, drizzle the colors vertically in a zig-zag pattern down the length of the mold.
Insulate the soap and place on a heating pad for 15 – 20 minutes. Then remove from heat and let it remain covered overnight. Allow the soap to cure for 4 – 6 weeks and then enjoy!