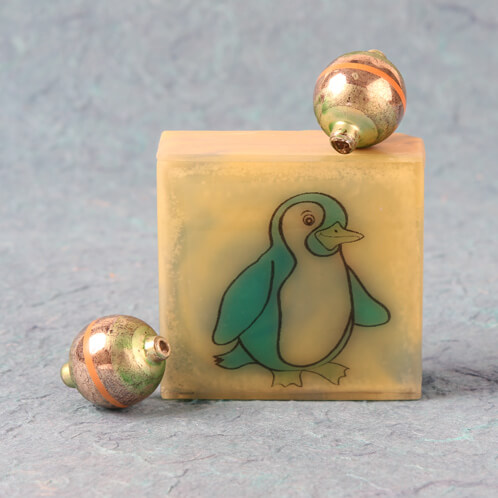
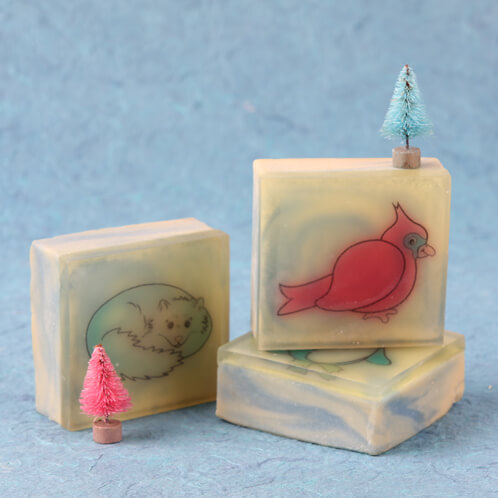
This project combines the beautiful swirls you can achieve easily with cold process soap and the ability to layer designs in melt & pour. You can print out these cute holiday creatures from this template on water soluble paper and layer them on your soap to give your finished soaps some whimsical character.
What You’ll Need:
7.5 oz. Coconut Oil
7.5 oz. Olive Oil
7.5 oz. Palm Oil
2.5 oz. Sweet Almond Oil
3.5 oz. Sodium Hydroxide
8.2 oz. Distilled Water
1 oz. Santa Spruce Fragrance Oil
1 Sheet Water Soluble Paper
18 oz. Clear Melt & Pour Soap Base
Free Winter Animal PDF Clipart

Click here to add everything you need for this project to your Bramble Berry shopping cart!
Part 1 – Melt & Pour Design
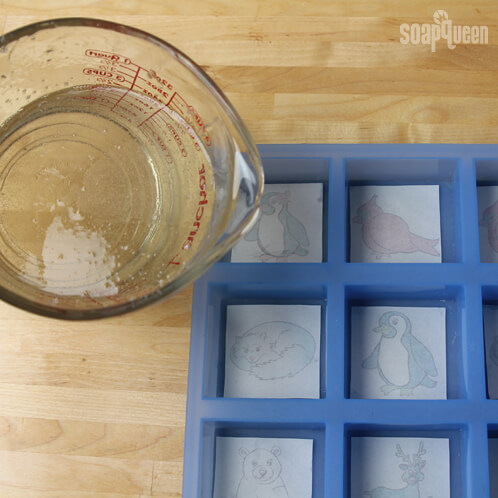
PREP: Print out the Holiday Animal Design on water soluble paper. If using an inkjet printer, print out the design a couple of days before you intend to make the soap. Then lightly spray the design with an aerosol hair spray to help prevent the colors from bleeding.
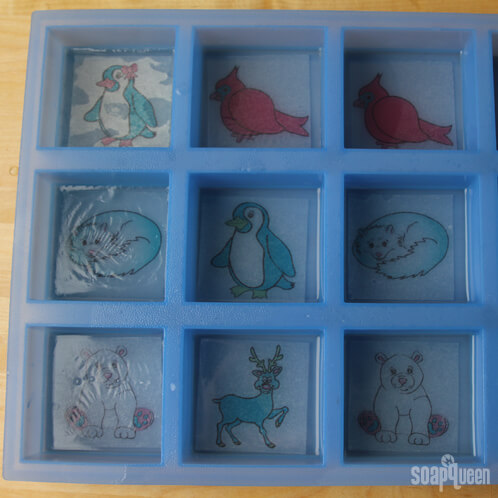
ONE: Cut and melt 18 oz. of Clear Melt and Pour Base. Pour a small amount (about 1 oz.) into each cavity. Spray with isopropyl alcohol and place 1 cut out animal design into each cavity after the soap has just formed a skin but before it has set-up. Pour a small amount of the clear soap (.5 oz) over the paper and then spray with alcohol.
TWO: Let the melt and pour harden for 5-6 minutes.
Part 2 – Cold Process Soap Swirl
If you’ve never made Cold Process soap before, stop here! I highly recommend checking out our FREE four part SoapQueen.tv series on Cold Process Soapmaking, especially the episode on lye safety. If you’d rather do some reading, Bramble Berry carries a wide range of books on the topic, including my newest book, Soap Crafting.
SAFETY FIRST: Suit up for safe handling practices! That means goggles, gloves and long sleeves. Make sure kids, pets, and other distractions and tripping hazards are out of the house or don’t have access to your soaping space. Always soap in a well-ventilated area.
COLOR PREP: Disperse 1 teaspoon of 1982 Blue into 1 tablespoon of liquid oil (we like Sweet Almond or Sunflower oils). Disperse two teaspoons of Super Pearly White in 2 tablespoons of liquid oil. Prepping your colors in the beginning will allow you to work quickly and give you more time to work with your soap. Use the mini mixer to get all those clumps worked out smoothly.
ONE: Slowly and carefully add the lye to the water, and stir until clear. Set aside to cool. If you’d like a harder bar of soap that lasts longer in the shower, you can add Sodium Lactate to the cooled lye water. Use 1 teaspoon of Sodium Lactate per pound of oils in the recipe.
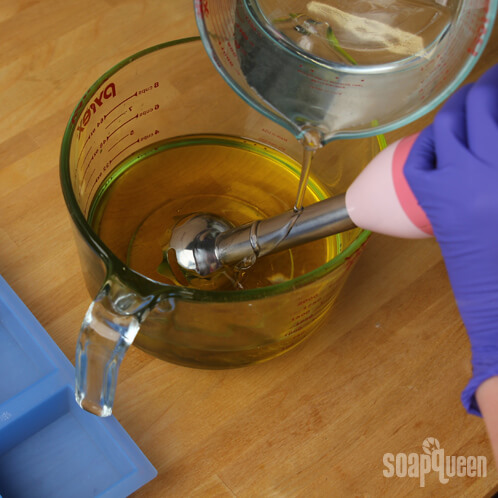
TWO: Melt and combine the coconut, olive, palm and sweet almond oil in a large glass container. Once the lye water and the oils have cooled to 130°F or below (and are ideally within 10 degrees of each other), add the lye water to the oils and stick blend until thin trace.
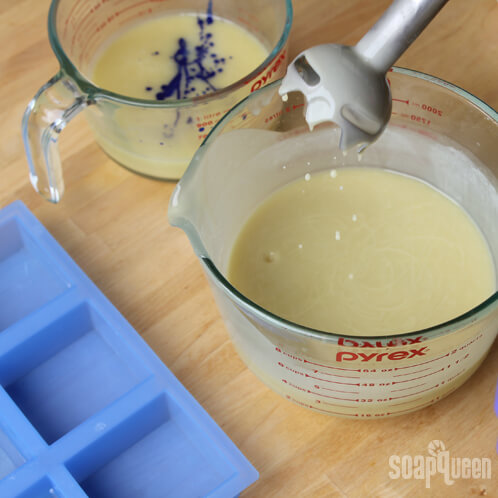
THREE: Split off about about 1 ¼ cups of batter into a separate container and add 3 teaspoons of dispersed 1982 Blue and mix in with a wire whisk. In the original container, add 6 teaspoons of dispersed Super Pearly White and mix with a wire whisk.
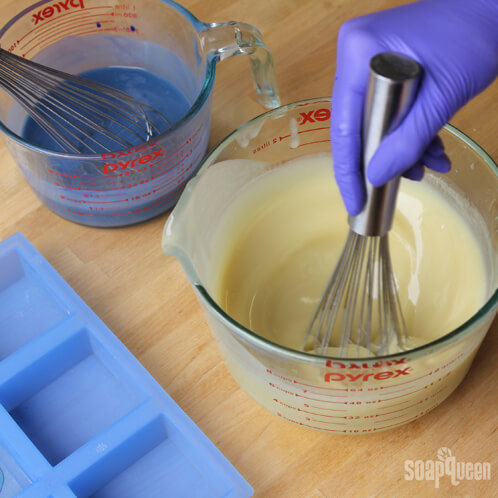
FOUR: Add approximately half the fragrance to each container and stir in with a wire whisk.
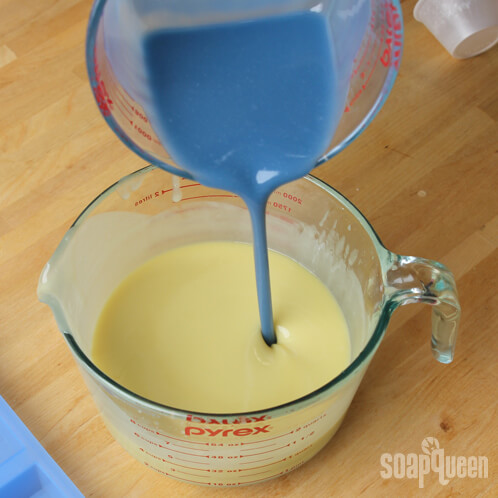
FIVE: For the in-the-pot swirl, start by pouring the 1982 Blue colored soap into the Super Pearly White colored soap beginning on the outer edge of the soap container and spiraling in towards the center. Pour from a high point so that the soap penetrates the entire depth of the soap in the pot, which will create a swirl throughout the soap.
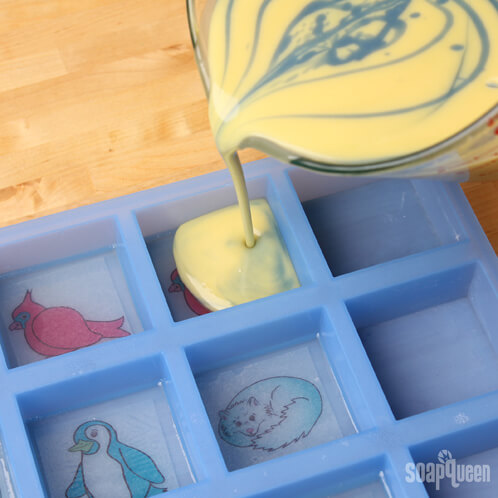
SIX: Slowly pour the batter in the mold, filling it to the top (about 2 – 3 oz. of batter). Generously spray with 99% rubbing alcohol and then unmold after 2 – 3 days. Allow to cure for 4 – 6 weeks. Enjoy!