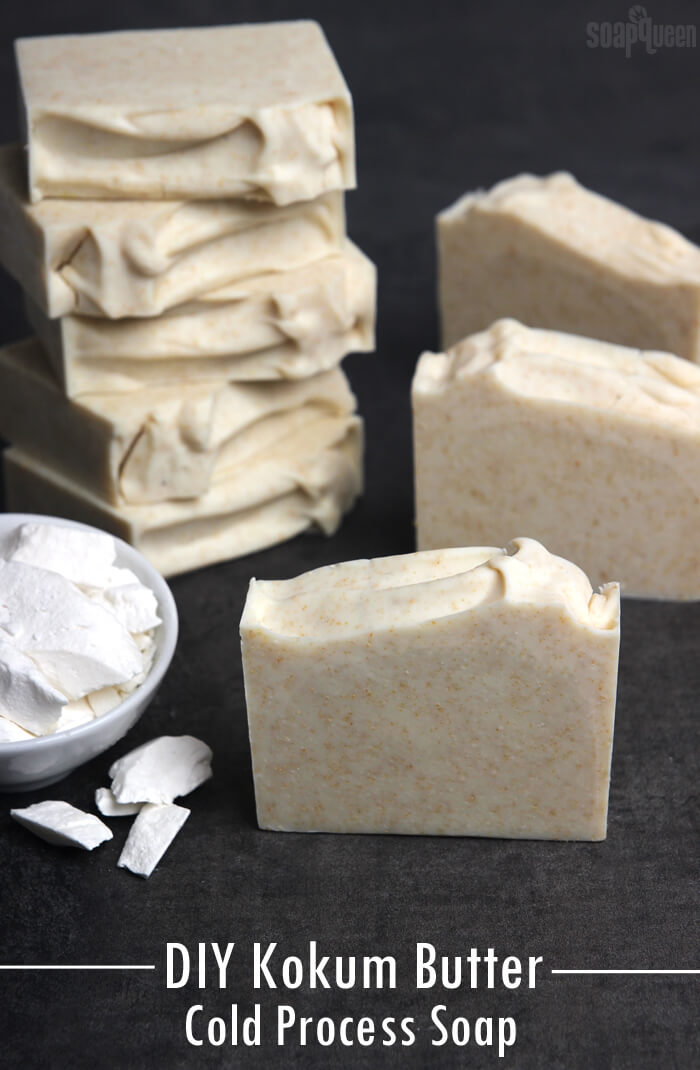
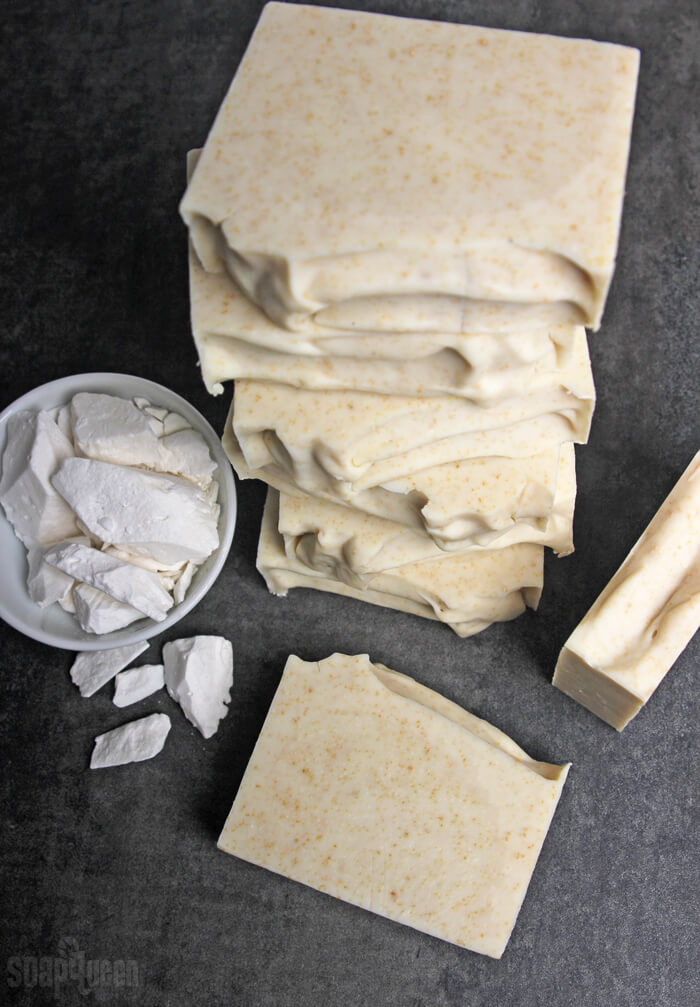
We are excited to introduce kokum butter to the Bramble Berry line! If you’re unfamiliar with kokum butter, it’s a hard butter that is most comparable to cocoa butter. Kokum butter melts slightly above body temperature and is known for its light, non-greasy feel on the skin. In cold process soap, kokum butter adds firmness. Read more about kokum butter here. Soapers have also found that kokum butter adds a bit more lather than cocoa butter; Amy Warden of Great Cakes Soapworks has a great kokum butter lather test here.
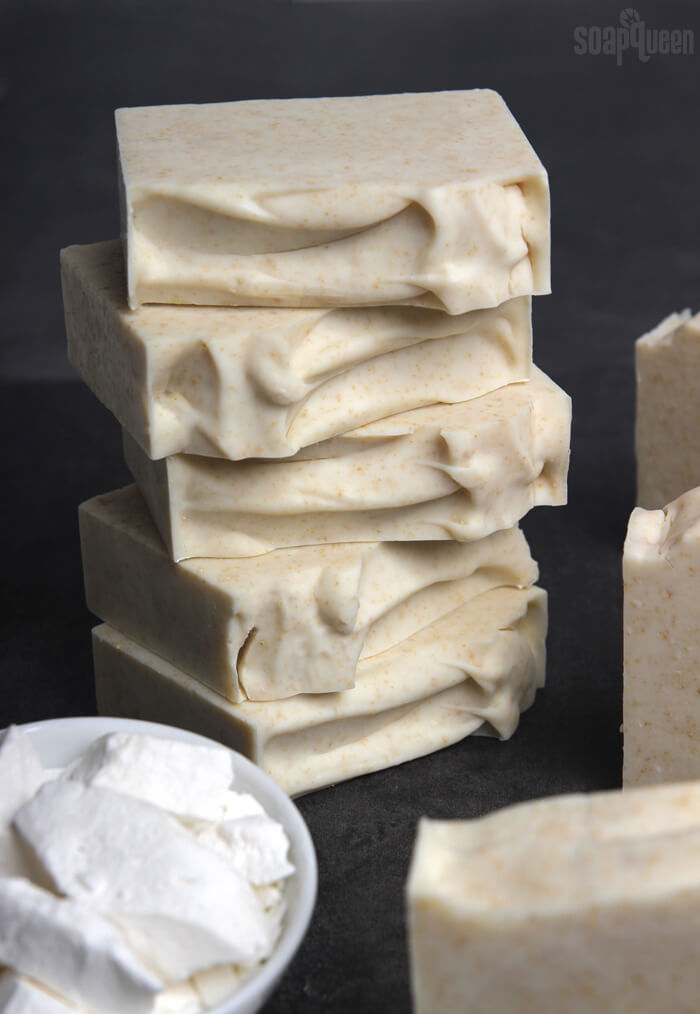
For this recipe, I kept things simple to let the creamy texture of the soap stand out. It’s scented with eucalyptus essential oil for a refreshing scent. The smell is great during the cold winter months. Titanium dioxide is added to lighten the color, while ground pumpkin seeds add exfoliation. Because this recipe contains plenty of olive oil, a small water discount helps it pop out of the mold a bit quicker and prevents glycerin rivers. Learn more about water discounting in this post.
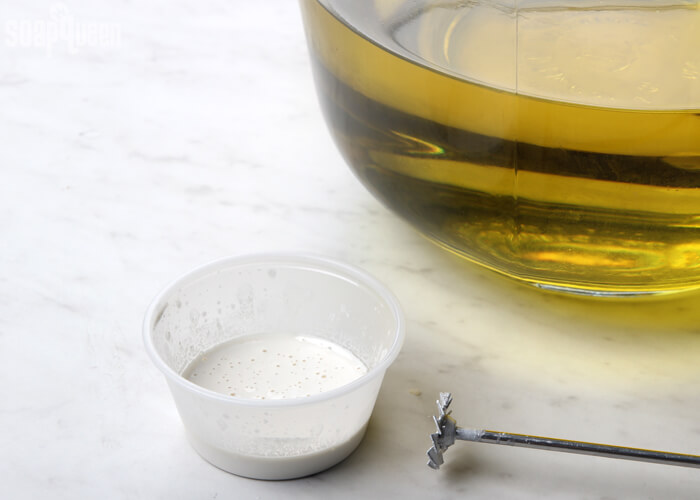
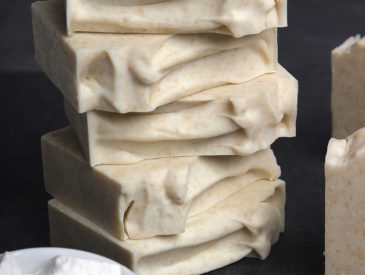
Below, you can see one of the test batches for this soap that I made on Facebook Live. The recipe has been tweaked a little bit, but it gives you an idea of what this project looks like in action!
What You’ll Need:
10″ Silicone Loaf Mold
0.7 oz. Castor Oil (2%)
8.5 oz. Coconut Oil (25%)
1.7 oz. Kokum Butter (5%)
23.1 oz. Olive Oil (68%)
4.7 oz. Sodium Hydroxide Lye
10.3 oz. Distilled Water (8% water discount)
2 oz. Eucalyptus Essential Oil
Titanium Dioxide
3 Tbsp. Ground Pumpkin Seeds

Click here to add everything you need for this project to your Bramble Berry shopping cart!
If you’ve never made Cold Process soap before, stop here! I highly recommend checking out our FREE four part SoapQueen.tv series on Cold Process Soapmaking, especially the episode on lye safety. And if you’d rather do some reading, Bramble Berry carries a wide range of books on the topic, including my newest book, Pure Soapmaking. You can also checkout the digital downloads for that instant gratification factor.
SAFETY FIRST: Suit up for safe handling practices! That means goggles, gloves and long sleeves. Make sure kids, pets, and other distractions and tripping hazards are out of the house or don’t have access to your soaping space. Always soap in a well-ventilated area.
COLOR PREP: To ensure that the titanium dioxide blends smoothly into the soap batter, we recommend micronizing it before dispersing it in oil. Please note this is an optional tip but it does help with the titanium dioxide clumping in the soap. =) To micronize colorant, simply use a coffee grinder to blend the colorant to break up any clumps of color and prevent streaks of white from showing in the final soap. We like to use a coffee grinder that has a removable, stainless steel mixing area for easy cleaning. Disperse 1 teaspoon of titanium dioxide into 1 tablespoon of lightweight liquid oil, like sweet almond oil or sunflower oil. Use the mini mixer to help break up any clumps.
FRAGRANCE PREP: Measure 2 ounces of Eucalyptus Essential Oil into a glass, essential oil safe container. Set aside.
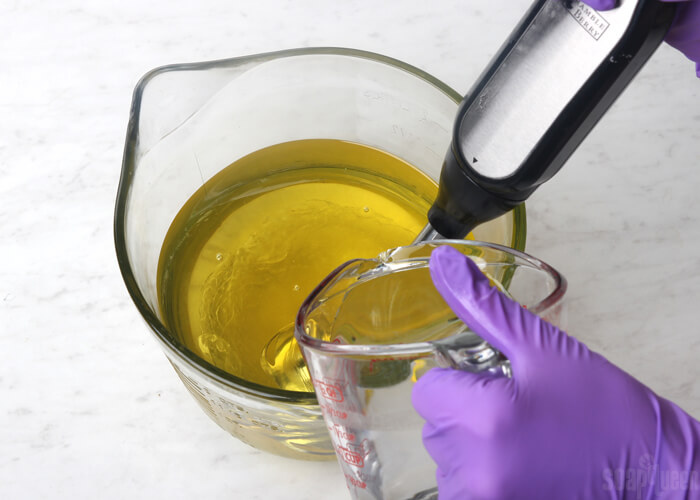
ONE: Slowly and carefully add the lye to the water and gently stir until the lye has fully dissolved and the liquid is clear. Set aside to cool.
TWO: Combine and fully melt the coconut oil, olive oil, castor oil, and kokum butter. Once the lye water and the oils have cooled to 130 degrees or below (and are ideally within 10 degrees of each other), add the lye water to the oils and stick blend until thin trace. If you’d like a harder bar of soap that releases faster from the mold, you can add sodium lactate to the cooled lye water. Use 1 teaspoon of sodium lactate per pound of oils in the recipe. For this recipe, you’d add about 2 teaspoons sodium lactate.
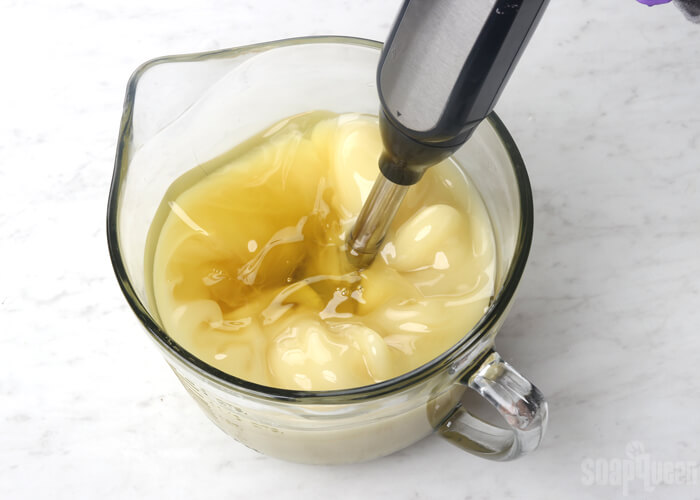
THREE: Once you have reached a thin trace, add all of the dispersed titanium dioxide and stick blend the colorant in.
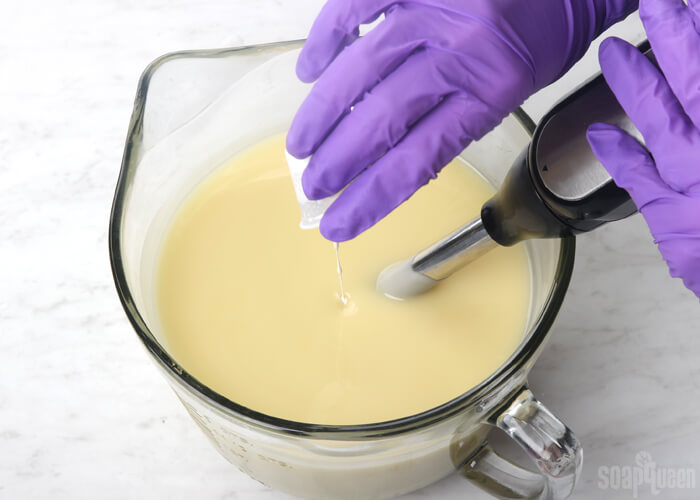
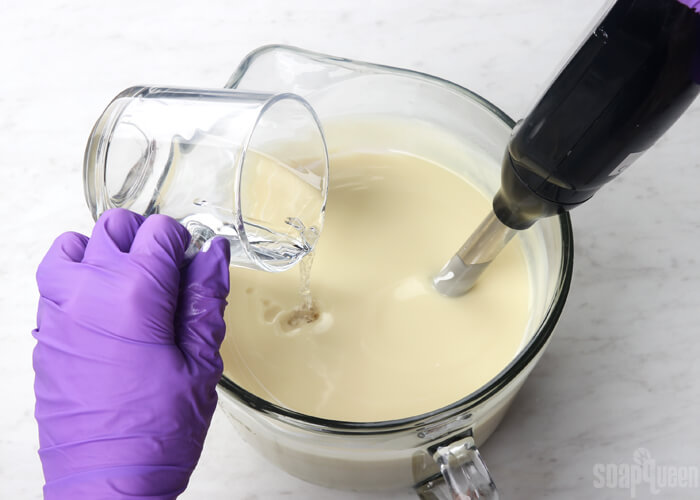
FOUR: Add the 2 ounces of eucalyptus essential oil into the batter and stick blend until completely combined.
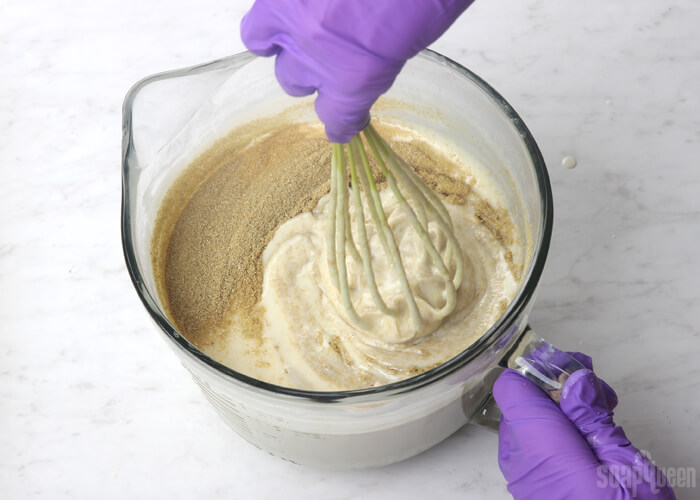
FIVE: Continue stick blending until you reach a medium to thick trace. Add the ground pumpkin seeds and use a whisk to combine.
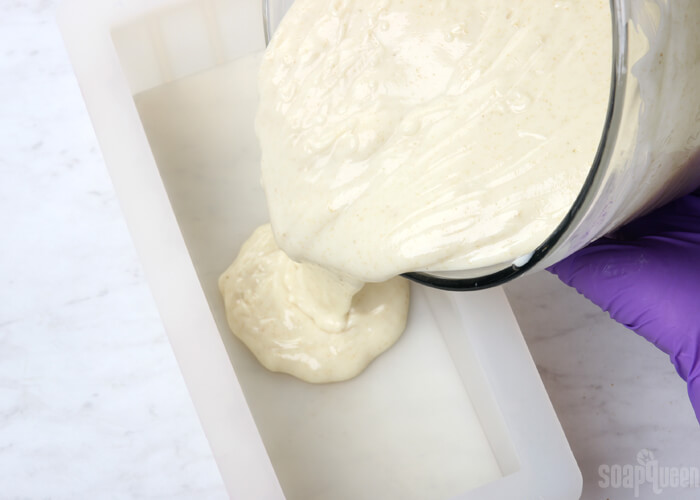
SIX: Once completely combined, pour the soap into the mold and tap firmly on the counter to get rid of bubbles.
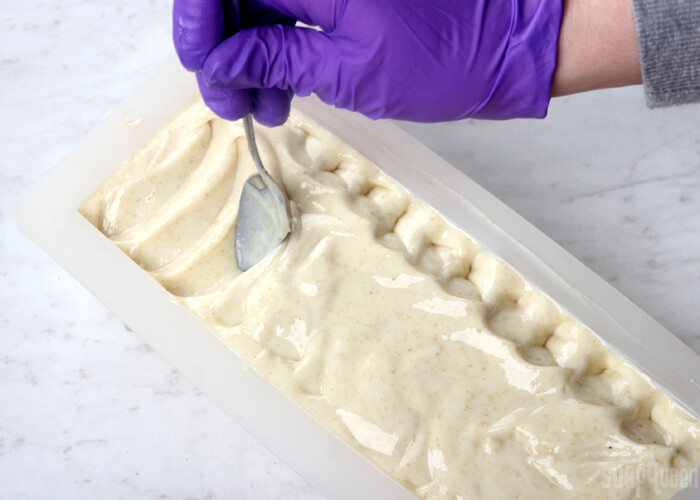
SEVEN: Use a spoon to texture the top of the soap. I used a “wave” motion in the soap to create a peak on one side. Feel free to texture the soap however you like – there is no right or wrong way! If you find that the soap is not quite thick enough to hold its shape, let it sit in the mold for several minutes to firm up, then texture the top.
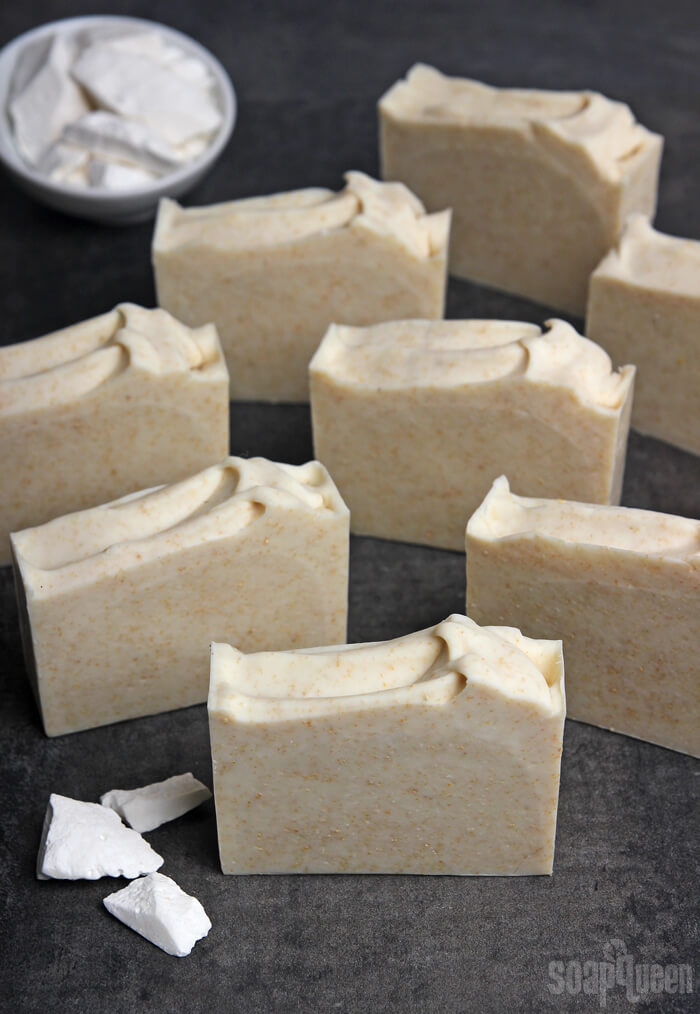
EIGHT: Spritz the top of the soap with 99% isopropyl alcohol to help prevent soda ash. Leave at room temperature. Because kokum butter is a hard butter, you may want to keep eye on the soap. If it becomes warm and goes through gel phase, it can crack (I got a few). If this happens, stick the soap in the freezer to cool it down and prevent larger cracks. Allow the soap to sit in the mold for about 3 days (longer if you did not use sodium lactate). Unmold and cut into bars. Allow the bars to cure for 4-6 weeks. Because this soap contains a large amount of olive oil, I recommend curing the soap for the full 6 weeks. Enjoy!

Kokum Butter Cold Process Soap Tutorial
Ingredients
- 10 " Silicone Loaf Mold
- 0.7 oz. Castor Oil 2%
- 8.5 oz. Coconut Oil 25%
- 1.7 oz. Kokum Butter 5%
- 23.1 oz. Olive Oil 68%
- 4.7 oz. Sodium Hydroxide Lye
- 10.3 oz. Distilled Water 8% water discount
- 2 oz. Eucalyptus Essential Oil
- Titanium Dioxide
- 3 Tbsp. Ground Pumpkin Seeds
Instructions
SAFETY FIRST: Suit up for safe handling practices! That means goggles, gloves and long sleeves. Make sure kids, pets, and other distractions and tripping hazards are out of the house or don’t have access to your soaping space. Always soap in a well-ventilated area.
COLOR PREP: To ensure that the Titanium Dioxide blends smoothly into the soap batter, we recommend micronizing it before dispersing it in oil. Please note this is an optional tip but it does help with the titanium dioxide clumping in the soap. =) To micronize colorant, simply use a coffee grinder to blend the colorant to break up any clumps of color and prevent streaks of white from showing in the final soap. We like to use a coffee grinder that has a removable, stainless steel mixing area for easy cleaning. Disperse 1 teaspoon of titanium dioxide into 1 tablespoon of lightweight liquid oil. Use the mini mixer to help break up any clumps.
- FRAGRANCE PREP: Measure 2 ounces of Eucalyptus Essential Oil into a glass, essential oil safe container. Set aside.
- Slowly and carefully add the lye to the water and gently stir until the lye has fully dissolved and the liquid is clear. Set aside to cool.
- Combine and fully melt the coconut oil, olive oil, castor oil, and kokum butter. Once the lye water and the oils have cooled to 130 degrees or below (and are ideally within 10 degrees of each other), add the lye water to the oils and stick blend until thin trace. If you’d like a harder bar of soap that releases faster from the mold, you can add sodium lactate to the cooled lye water. Use 1 teaspoon of sodium lactate per pound of oils in the recipe. For this recipe, you’d add about 2 teaspoons sodium lactate.
- Once you have reached a thin trace, add all of the dispersed titanium dioxide and stick blend the colorant in.
- Add the 2 ounces of Eucalyptus Essential Oil into the batter and stick blend until completely combined.
- Continue stick blending until you reach a medium to thick trace. Add the ground pumpkin seeds and use a whisk to combine.
- Once completely combined, pour the soap into the mold and tap firmly on the counter to get rid of bubbles.
- Use a spoon to texture the top of the soap. I used a “wave” motion in the soap to create a peak on one side. Feel free to texture the soap however you like – there is no right or wrong way! If you find that the soap is not quite thick enough to hold its shape, let it sit in the mold for several minutes to firm up, then texture the top.
- Spritz the top of the soap with 99% isopropyl alcohol to help prevent soda ash. Leave at room temperature. Because kokum butter is a hard butter, you may want to keep eye on the soap. If it becomes warm and goes through gel phase, it can crack (I got a few). If this happens, stick the soap in the freezer to cool it down and prevent larger cracks. Allow the soap to sit in the mold for about 3 days (longer if you did not use sodium lactate). Unmold and cut into bars. Allow the bars to cure for 4-6 weeks. Because this soap contains a large amount of olive oil, I recommend curing the soap for the full 6 weeks. Enjoy!