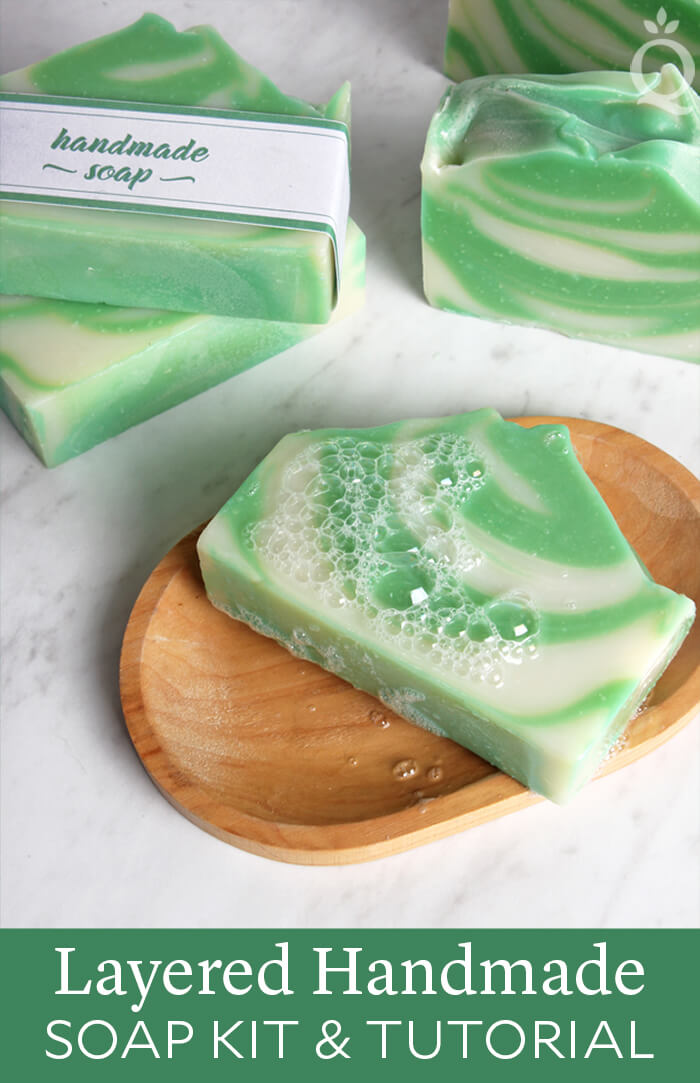
Layered soap is a classic design. Depending on the technique, creating layers can be easy or difficult. This recipe is made using a technique known as the “spoon plop.” The soap is plopped into the mold, which is easy to do and creates a completely different bar each time.
To make the process even easier, the Layered Handmade Soap Kit includes all the ingredients and tools necessary for this soap. It was designed with complete beginners in mind, and includes everything from oils and lye to a stick blender and safety gear. It also SHIPS FREE to the lower 48 United States. Learn more about the kit here.
Layered Handmade Soap Kit
Ingredients:
33 oz. Basic Quick Mix
10.9 oz. Distilled Water*
4.7 oz. Sodium Hydroxide Lye
2 tsp. Sodium Lactate
2.4 oz. Apple Sage Fragrance Oil
1 tsp. Kelly Green Mica
Tools You’ll Need:
10” Silicone Loaf Mold
Mini Mixer
Pair of Goggles
Pair of Disposable Gloves
Stick Blender
2 Quart Glass Bowl
Easy Pour Container
8 oz. Glass Measuring Cup
Spatula
Whisk
Thermometer
Scale
Measuring Spoons*
Two Stainless Steel Spoons*
Non-Serrated Knife*
The * indicates items not included in the kit
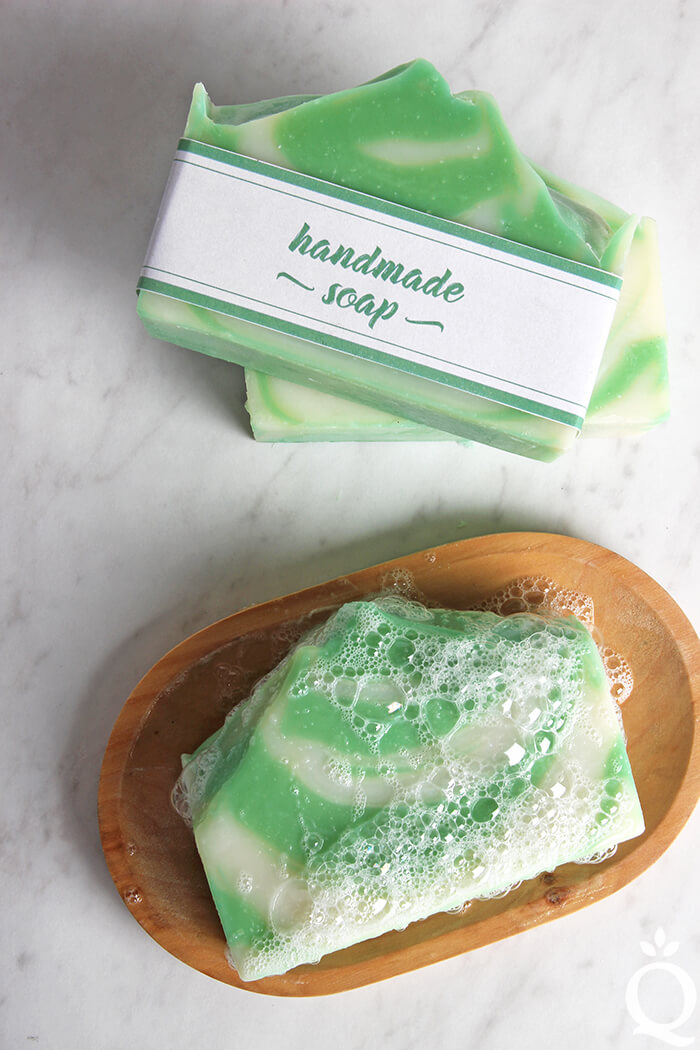
In the video below, you can see the spoon plop technique in action. The great thing about the technique is how imprecise it is. By layering uneven plops of soap into the mold, each bar comes out unique.
Once you make the recipe, you can order the Original Refill Kit, which includes more oil, fragrance, and colorant to complete another batch. If you’d like to make a slightly different bar, the Lavender Refill Kit includes a different colorant and fragrance oil for a new look and scent.
Exfoliating Handmade Soap Kit
Swirl Handmade Soap Kit
Layered Handmade Soap Kit & Tutorial
Ingredients
- 33 oz. Basic Quick Mix
- 10.9 oz. Distilled Water
- 4.7 oz. Sodium Hydroxide Lye
- 2 tsp. Sodium Lactate
- 2.4 oz. Apple Sage Fragrance Oil
- 1 tsp. Kelly Green Mica
Instructions
Lye prep: With your safety gear on, measure out 4.7 oz. of sodium hydroxide lye flakes in the 8 oz. Glass Measuring Cup. In one of the Easy Pour Containers, measure out 10.9 oz. of room temperature distilled water. Slowly and carefully add the lye to the water and gently stir with the spoon until the lye has fully dissolved. Never add the water to the lye or it may boil over. As you stir, the mixture will emit fumes; do not breathe them in. The lye mixture will heat to about 180-190 ° F. Label the container “DANGER: LYE” and place in a safe space to cool until about 120-130 ° F. This takes about an hour. Wash and dry the 8 oz. Glass Measuring Cup to weigh out the fragrance and wash and dry the spoon to plop soap into the mold.
Oil prep: While the lye solution cools, prep the oils. Fully melt the entire bag of Basic Quick Mix in the microwave or in a double boiler. If melting the oils in a double boiler, do not let the bag touch the sides or bottom of the pot or it can melt. You’ll know the oils are melted when there are no chunks or cloudiness in the bag. Once the oils are completely melted, give the bag a good shake. Weigh 33 oz. into the 2 Quart Glass Bowl.
Fragrance prep: This kit includes 4 ounces of fragrance oil. If you like a medium to strong scent, weigh out 2.4 oz. of fragrance into the 8 oz. Glass Measuring Cup. If you prefer a lighter scent, weigh 1.3-2 oz. Undiluted fragrance oils can degrade plastic, so it’s important to use a glass container.
Color prep: Add 1 tsp. of the green colorant into the disposable cup. Then, take 1 Tbsp. of melted oil from the Basic Quick Mix and blend the two together with the Mini Mixer. Don’t prep the color too soon, otherwise the oils can thicken. You’ll want to prep and use the color within about 30 minutes.
Temperatures: Check the temperature of your lye solution and oils. You want the oils and lye to be 110-130° F. If you took off your safety goggles and gloves, place them back on. When your oils and lye are in the correct temperature range, carefully add 2 tsp. of sodium lactate to the lye solution and use the spoon to gently stir in. Wash off spoon immediately. Sodium lactate is a liquid salt that helps the soap harden and unmold faster
Suit Up for Safety! Once all your ingredients are prepped, it’s time to make soap! Before starting, put back on your safety goggles and gloves. Wear a long-sleeved shirt, long pants, and close-toed shoes. It’s important to leave on your safety gear during the entire soaping process.
- Slowly and carefully add the lye solution to the oils. Set the Easy Pour Container to the side to use again to hold soap. Don’t worry about cleaning it out. Pulse the stick blender on and off to begin blending the oils and lye together. Continue to pulse the stick blender for 15-20 seconds and use the stick blender to stir the mixture.
- Once you start blending, the mixture will begin to look creamy. After about 1 minute of blending and stirring, the oils and lye are combined and the soap will be the texture of thin pudding.
- Add the fragrance oil to the soap batter. Use your whisk to combine thoroughly.
- Split half of the soap into the Easy Pour Container previously used for lye. To this container, add all of the dispersed green colorant and whisk in. It turns a mossy/army green at first, but don’t worry! It will turn bright green after 24 hours.
- You now have a container of uncolored soap and a container of green soap. You want the soap to be slightly thick - it should look like cake batter. If it’s still the consistency of thin pudding, stick blend each container from lightest to darkest color for 5-10 seconds. The thicker texture allows you to get defined layers.
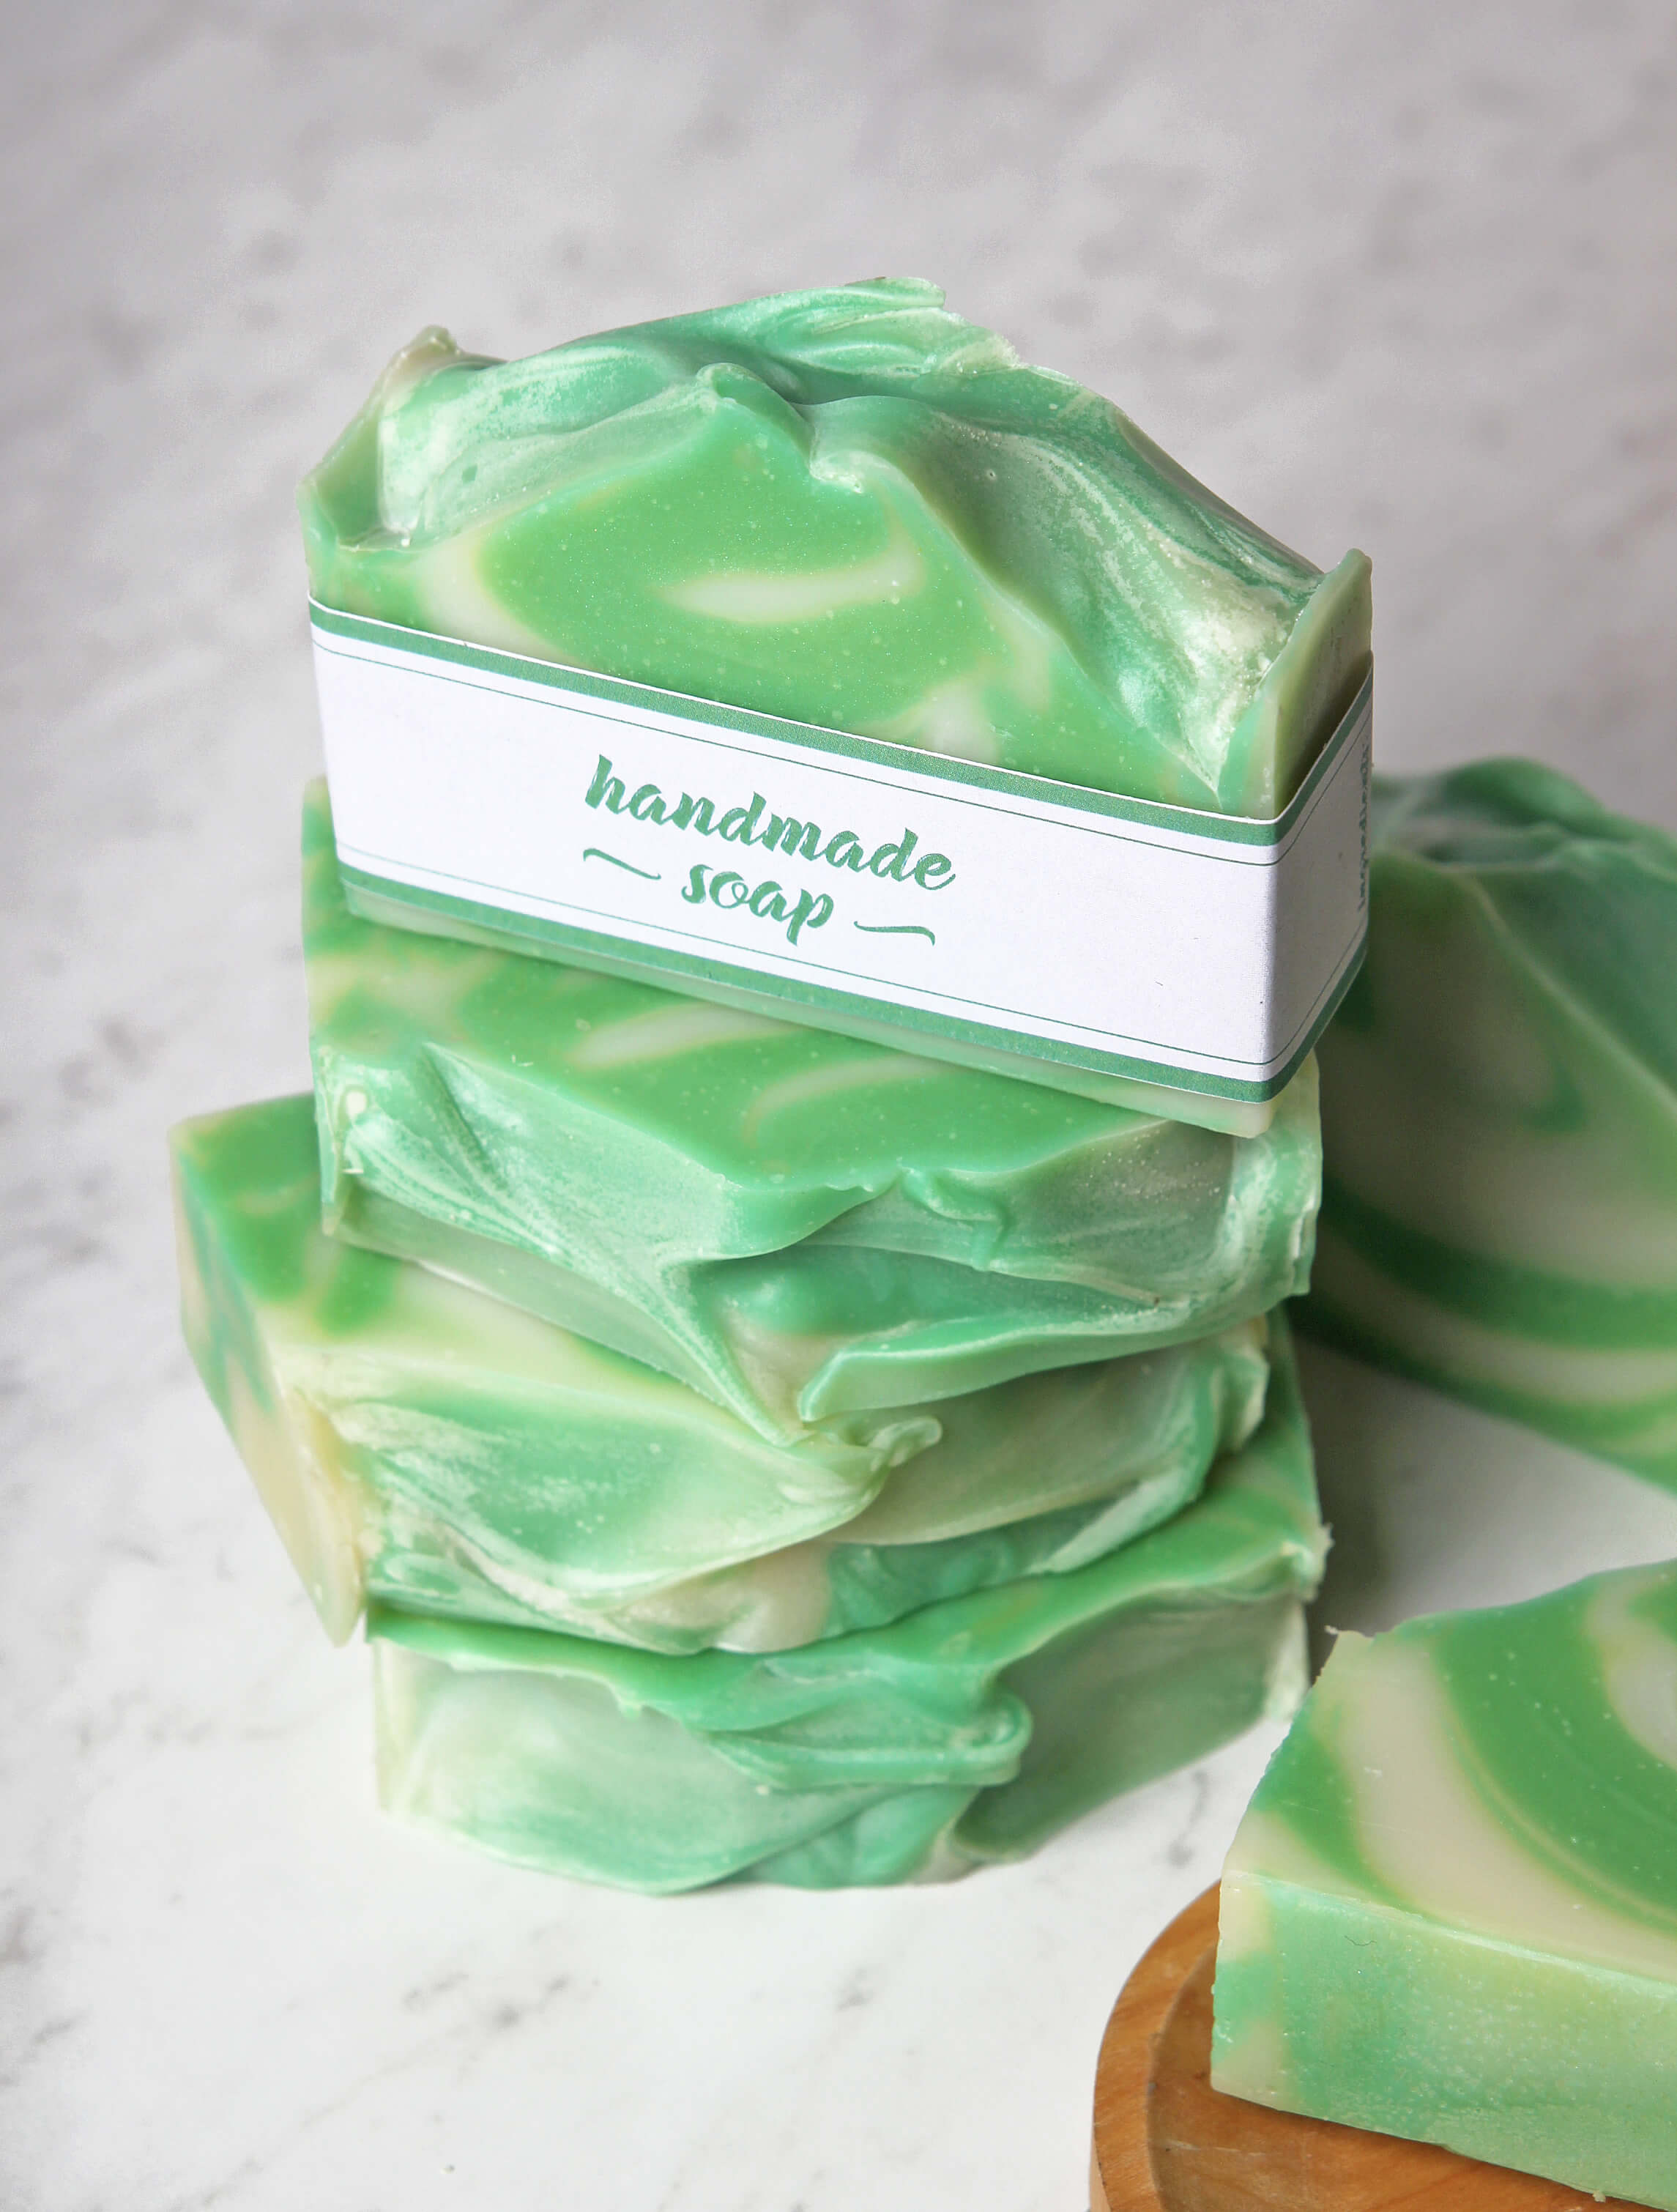
- With one of spoons, place 3-4 large dollops of green soap in the mold. Then, place 3-4 dollops of uncolored soap on top of the green soap. Keep plopping green and uncolored soap into the mold in this pattern until it is used up. Every once in awhile, tap the mold on the counter to get rid of air bubbles. Vary the size of dollops to create interest.
- When the mold is full, tap it firmly on the counter again to release bubbles. Then, take a spoon and start pulling soap toward the center to create peaks. You can also create swirls or divots with the spoon. There is no right way to do this, so have fun with it!
- Once all the soap is in the mold, tap it on the counter to help get rid of bubbles. If you'd like the soap to go through gel phase, cover and insulate the soap for 24 hours.
- Allow the soap to stay in the mold for 3-4 days. To remove, pull the sides of the mold away from the soap to break the airlock. Push from the bottom to remove the soap. Cut into bars, and allow the bars to cure for 4-6 weeks. Enjoy!