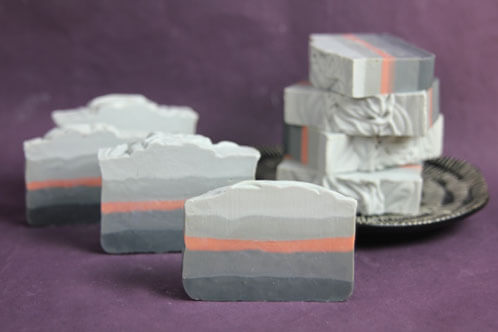
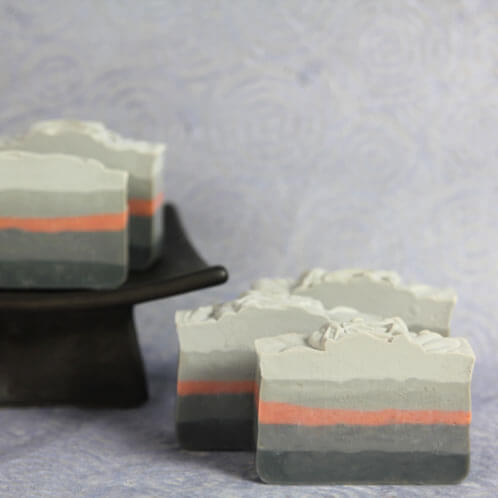
For this sensuous soap, we may or may not have been inspired by a certain best-selling book that references multiple (or 50) shades of grey in its name. This Smoky Bay soap features clean, straight layers colored with four perfect gradients of grey. The orange in the middle provides the perfect burst of color!
This soap is scented with Indian Sandalwood Cybilla Fragrance Oil, which is remarkably strong in cold process soap. It does not discolor or accelerate trace and keeps its scent brilliantly. For a robust scent on the masculine side, this is a go-to stand by.
What You’ll Need:
4.5 oz. Apricot Kernel Oil
13.5 oz. Canola Oil
9 oz. Coconut Oil
9 oz. Palm Oil
2.2 oz. Palm Kernel Flakes
6.7 oz. Rice Bran Oil
6.2 oz. Sodium Hydroxide
14.8 oz. distilled water
2.8 oz. Indian Sandalwood Cybilla Fragrance Oil

Click here to add everything you need for this project to your Bramble Berry shopping cart!
If you’ve never made Cold Process soap before, stop here! I highly recommend checking out our FREE four part SoapQueen.tv series on Cold Process Soapmaking, especially the episode on lye safety. And if you’d rather do some reading, Bramble Berry carries a wide range of books on the topic, including my newest book, Soap Crafting. You can also checkout the digital downloads for that instant gratification factor.
SAFETY FIRST: Suit up for safe handling practices! That means goggles, gloves and long sleeves. Make sure kids, pets, and other distractions and tripping hazards are out of the house or don’t have access to your soaping space. Always soap in a well-ventilated area.
COLOR PREP: Disperse 2 teaspoons of Titanium Dioxoide and 2 teaspoons of Black Oxide into 2 tablespoon of liquid oil each (we like Sweet Almond or Sunflower). Disperse 1 teaspoon of Tangerine Wow and 1 teaspoon of Brick Red into 1 tablespoon of oil each. Prepping your colors in the beginning will allow you to work quickly and give you more time to work with your soap. Use the mini mixer to get all those clumps worked out smoothly.
ONE: Slowly and carefully add the lye to the water, and stir until clear. Set aside to cool. If you’d like a harder bar of soap that lasts longer in the shower, you can add Sodium Lactate to the cooled lye water. Use 1 teaspoon of Sodium Lactate per pound of oils in the recipe.
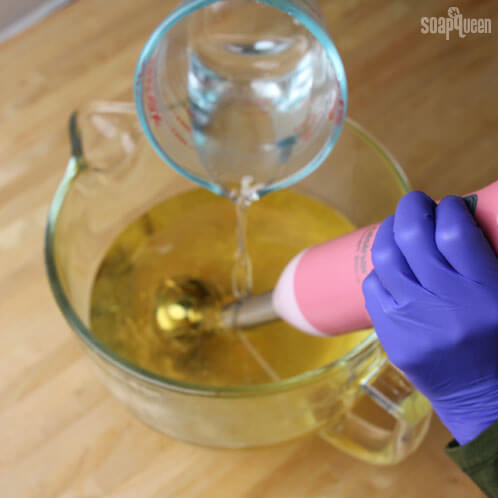
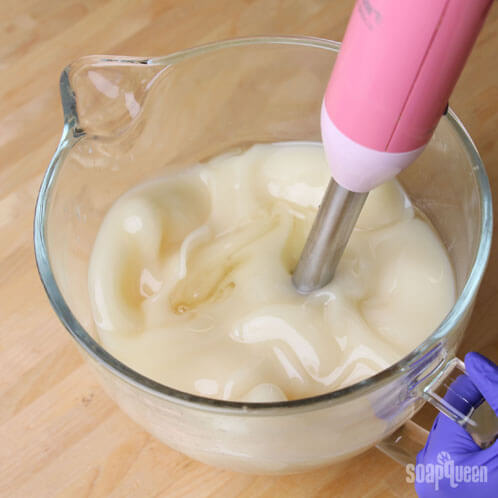
TWO: Melt and combine the Apricot Kernel, Canola, Coconut, Palm, Palm Kernel Flakes and Rice Bran oils in a large glass container. Once the lye water and the oils have cooled to 130 degrees or below (and are ideally within 10 degrees of each other), add the lye water to the oils and stick blend until thin trace.
THREE: Separate the batter into 5 containers. In 4 containers, pour off about 400 mL (13.5 oz). These containers will be colored with the shades of grey. In the fifth container, pour the remaining 200 mL (about 6.7 oz.) of batter. This will be colored with orange.
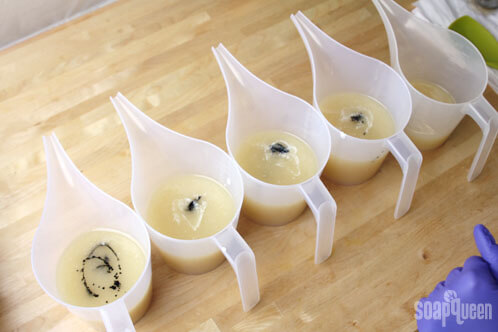
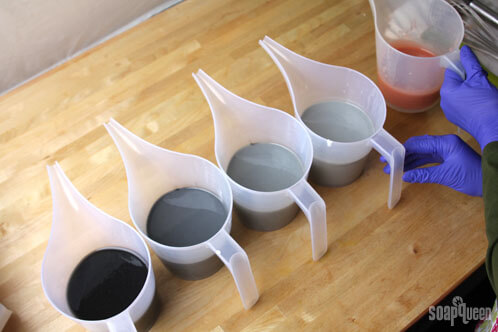
FOUR: Add the following colors in the following amounts (from left to right). Mix them in with a wire whisk or spoon:
- 1/2 tsp. dispersed Black Oxide
- 1/2 tsp. dispersed Black Oxide + 1/2 tsp. dispersed Titanium Dioxide
- 1/4 tsp. dispersed Black Oxide + 1 tsp. dispersed Titanium Dioxide
- 1/8 tsp dispersed Black Oxide + 2.5 tsp. dispersed Titanium Dioxide
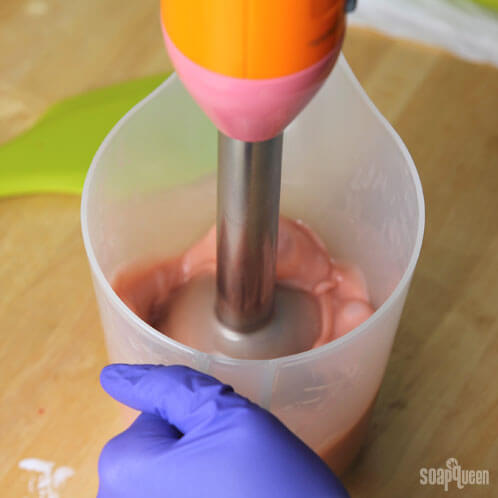
- Orange: 1 tsp. dispersed Tangerine Wow + 1/8 tsp. dispersed Brick Red + 1/8 tsp. dispersed Titanium Dioxide
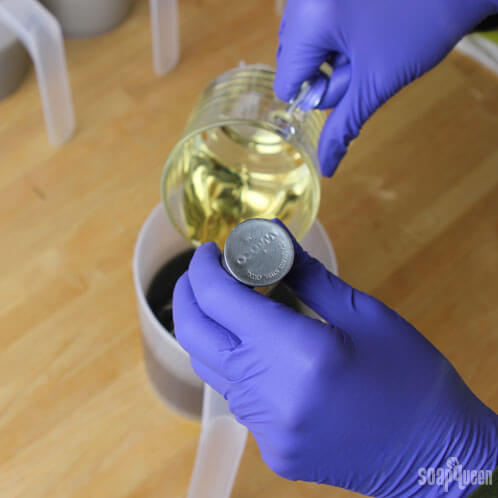
FIVE: Using a whisk or spoon, stir in your fragrance oil to the 5 containers. You don’t have to be exact and eyeballing it is okay.
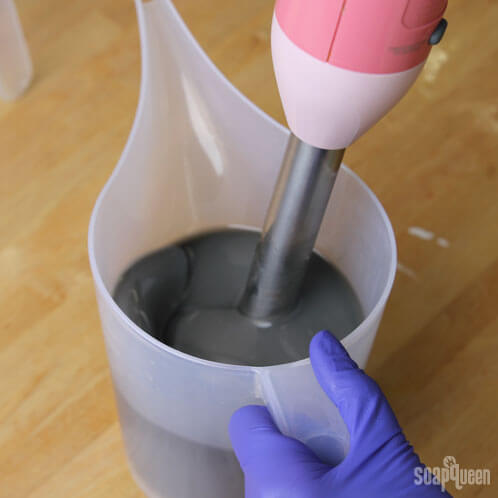
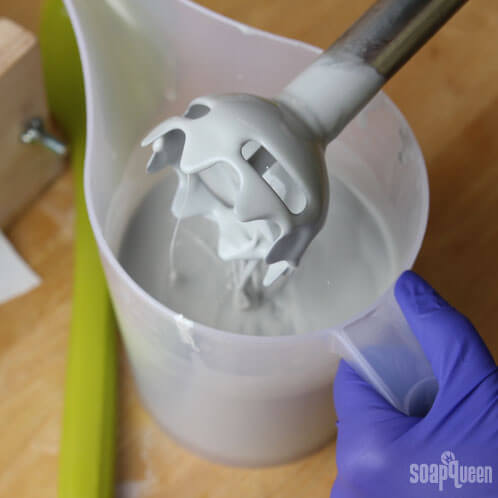
SIX: Stick blend the darkest grey color for a few seconds to thicken it up. You want this layer to reach a thick trace so it can hold up the following layers.
SEVEN: Repeat the process of stick blending the batter and then pouring into the mold. If you need, gently spoon plop the soap into the mold so as to not break though the later below. (Why yes, that is my favorite silicone giant square spoon spatula awesome tool playing a starring role).
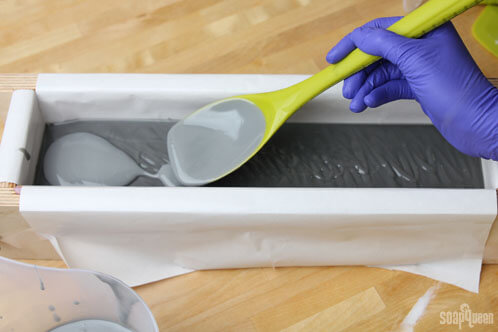
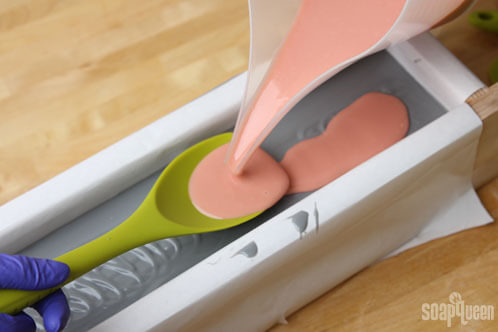
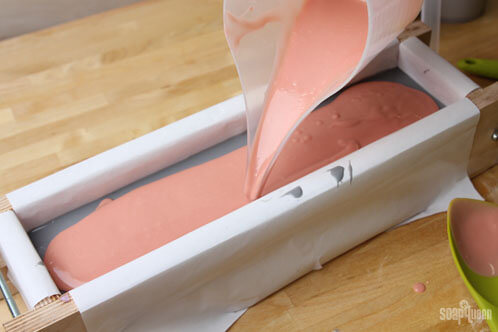
EIGHT: After you’ve poured two grey layers, pour the orange layer. Stick blend to thick trace.
NINE: Gently pour the orange soap into the mold. You might also want to pour over a spatula or spoon so as to not break through the layers below.
TEN: Resume pouring the grey layers. Stick blend the third grey container to thick trace and then pour.
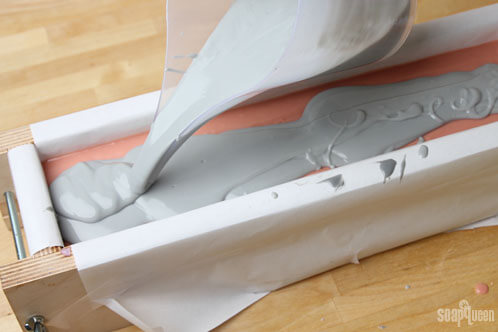
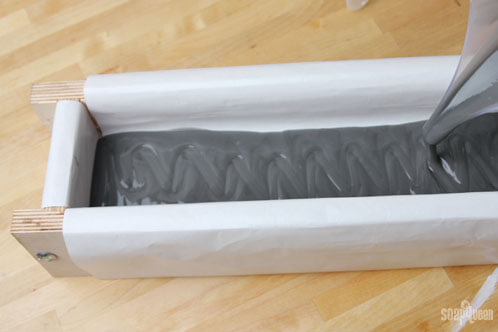
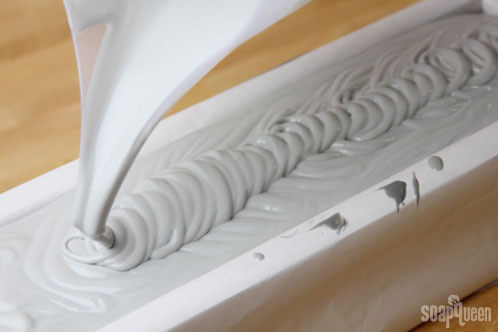
ELEVEN: Gently pour the final grey later over a spatula to finish off the top.
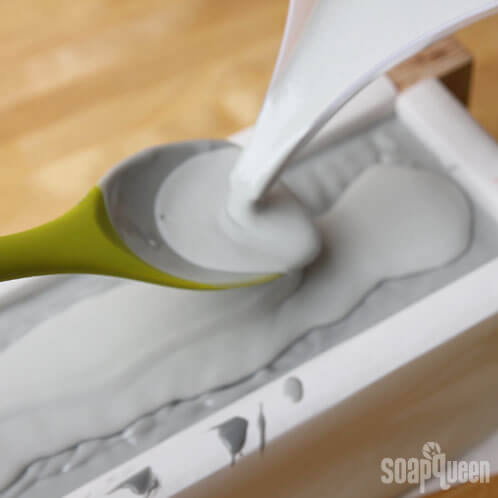
TWELVE: We didn’t stick blend this layer so our batter was liquid enough to do a fun swirl design. We obtained this top design by making small loops horizontally down the length of the mold.
Spray the entire top with 91 or 99% Isopropyl Alcohol to reduce soda ash. Cover and insulate for 24 hours and unmold after 3-4 days, and allow to cure for 4-6 weeks. Enjoy!