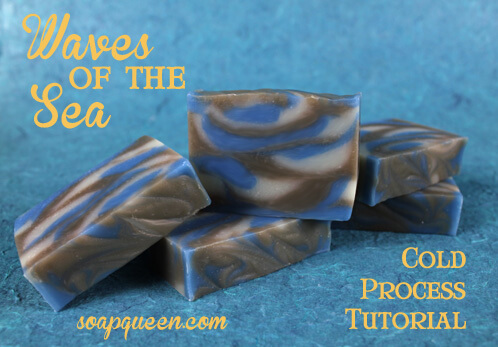
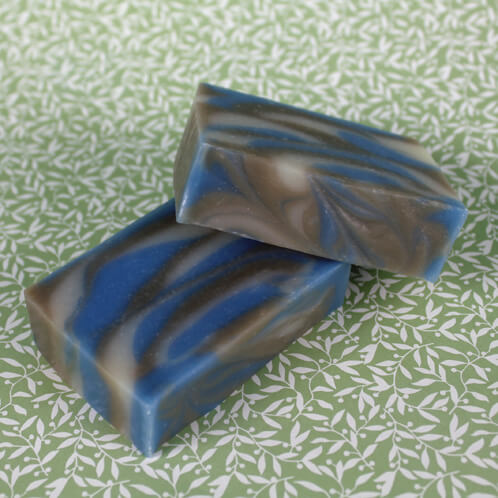
This soap reminds me of relaxing ocean waves gently lapping against a luscious, soft sand beach. Strategic use of uncolored soap along with cool blue and gray-green create an abstract scene. If you’re loving this soap, stay tuned next week to find out how to get a free gift with purchase containing ingredients to make this very project! Looks like April Showers are on the horizon…
Recipe:
23 oz Basic Quick Mix Oil
3.3 oz Sodium Hydroxide (lye)
7.6 oz Distilled Water
1.4 oz Herbal Essences type Fragrance Oil
Chopstick or Skewer (for swirling)

Click here to add everything you need for this project to your Bramble Berry shopping cart!
Psst: Want to create your own recipe and not use a Quick Mix blend? I’d go with a 25% Coconut, 25% Palm, 40% Canola or Rice Bran, 7% Shea or another butter, 3% Castor. The reason I’m not using Olive Oil is because I want to avoid the more green or yellow look that often comes with Olive Oil for our perfect beachy color scene.
COLOR PREP: For easy mixing, disperse the Ultramarine Blue Pigment in oil and Sea Clay in water. For the Ultramarine Blue, disperse 1/2 teaspoon pigment in 1/2 Tablespoon Sweet Almond Oil (or any liquid oil). For the Sea Clay, disperse 1 teaspoon clay in 1/2 Tablespoon water. Mix both using a mini-mixer, but be sure to saturate the powder in the liquid by pushing it under with the mini-mixer turned off or you’ll get a messy cloud of pigment or clay. You use water for the Sea Clay so the water wicks up the water and doesn’t pull it out of your recipe, causing your soap to accelerate or crack.
SAFETY FIRST: Suit up for safe handling practices! Long sleeves, gloves, and eye protection are necessary when making cold process soap. Be sure that kids, pets, and other tripping/distraction hazards are out of the house or don’t have access to your soaping space. Always soap in a well-ventilated area.
If you’ve never made Cold Process soap before, this is a great recipe for getting your feet wet! However, I still highly recommend checking out our FREE four part SoapQueen.tv series on Cold Process Soapmaking, especially the episode on lye safety. And if you’d rather do some reading, Bramble Berry carries a wide range of books on the topic, as well as digital downloads for that instant gratification factor.
ONE: Slowly and carefully add the lye to the water and stir until clear. Set aside to cool.
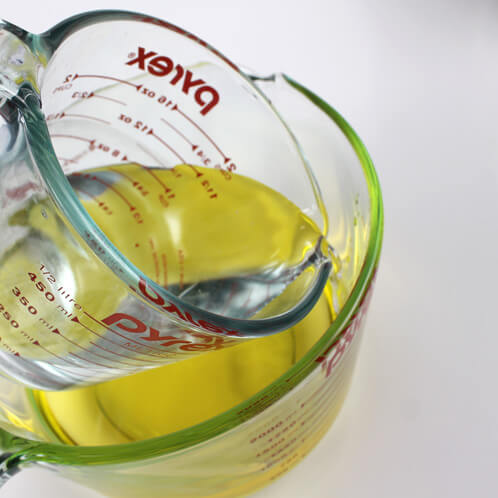
TWO: Melt the entire container of Basic Quick Mix Oil and shake to evenly distribute oils. Measure 23 ounces into a heat-safe container. If you’re using a traditional recipe and not a Quick Mix Oil blend, just measure and blend your oils at this point.
THREE: Once the oils and lye water have cooled to 120 degrees or below (and are ideally within 10 degrees of each other), slowly and carefully pour the lye water into the oils and stir gently with your stick blender turned off. Turn on the stick blender and bring the soap to light trace.
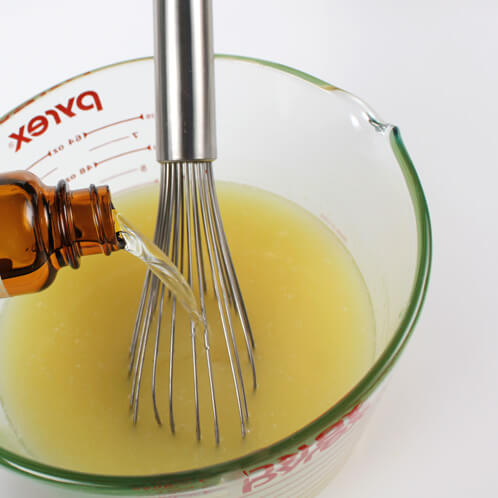
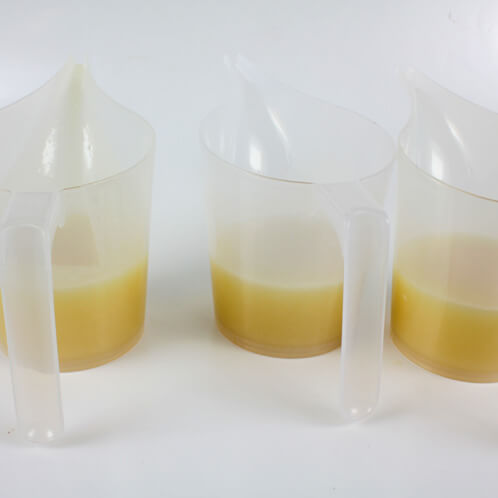
FOUR: Add the Herbal Essences type Fragrance Oil and stir in with a whisk. Split the batch into three about-equal parts (it’s okay to eyeball it).
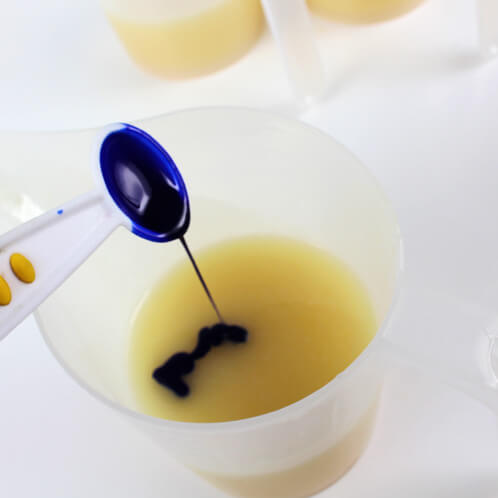
FIVE: Color one of the split batches with 1 teaspoon of dispersed Ultramarine Blue, another of the batches with all of the dispersed Sea Clay, and leave the third batch uncolored. Use a whisk to mix in the colorants.
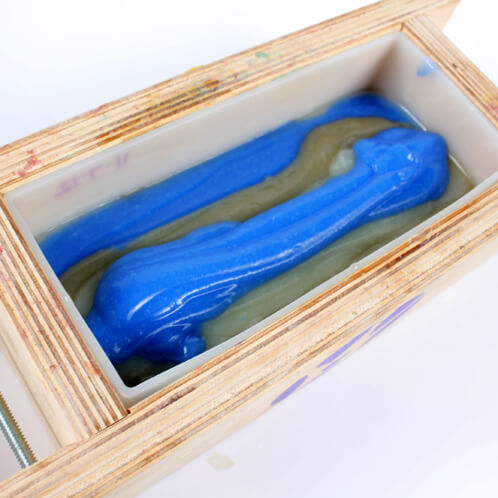
SIX: Decide on a color order and line up your containers accordingly. I went blue, green gray, white. Starting with blue, pour a single line of soap down the center of the mold. Repeat with green gray, pouring right down the center of mold and the line created by the blue soap. Follow the green with the white soap. Pour from a high vantage point so that each subsequent layer of soap is breaking through, and periodically tamp the mold on the table to spread out the soap and fill the mold. Repeat the process until most of the soap has been poured, continuously pouring down the center line created by the previous soap. Don’t worry if your aim is a little off, it will just add more interest! Reserve about 1/8 cup of soap of each color for a top swirl.
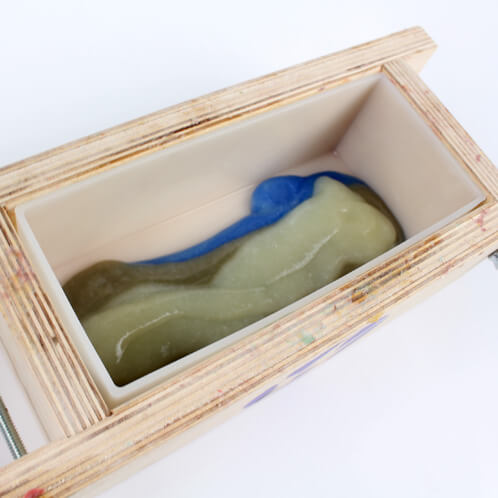
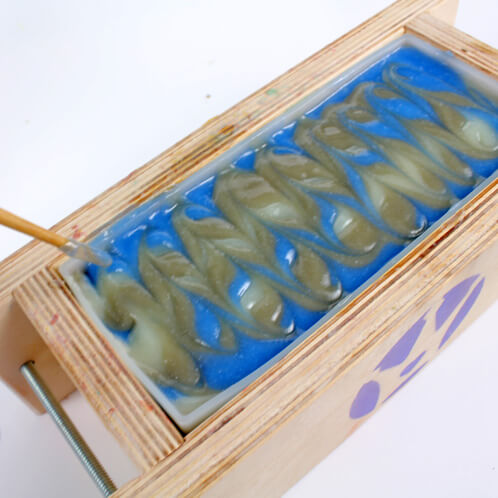
SEVEN: Using the reserved blue soap, create an “S” curve going lengthwise down the mold. Just next to the blue “S” curve, create a green “S” curve, and next to the green, a white “S” curve. Repeat until all of the reserved soap is in the mold.
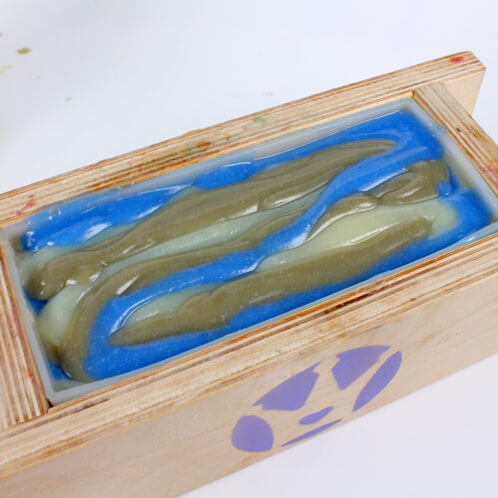
EIGHT: Using a chopstick or skewer inserted into just the top portion of the soap, drag the swirl perpendicularly to the lines created by the soap “S” curves. Without removing the chopstick from the soap, curve back up toward the side of the mold you started at, staying parallel to the first line. Repeat this motion, going back and forth down the short side of the mold without removing the chopstick or skewer to create the swirl. Spray the top with 91% Isopropyl (Rubbing) Alcohol to prevent soda ash. Cover and insulate the soap for 24 hours, and unmold after 2-3 days. Enjoy!