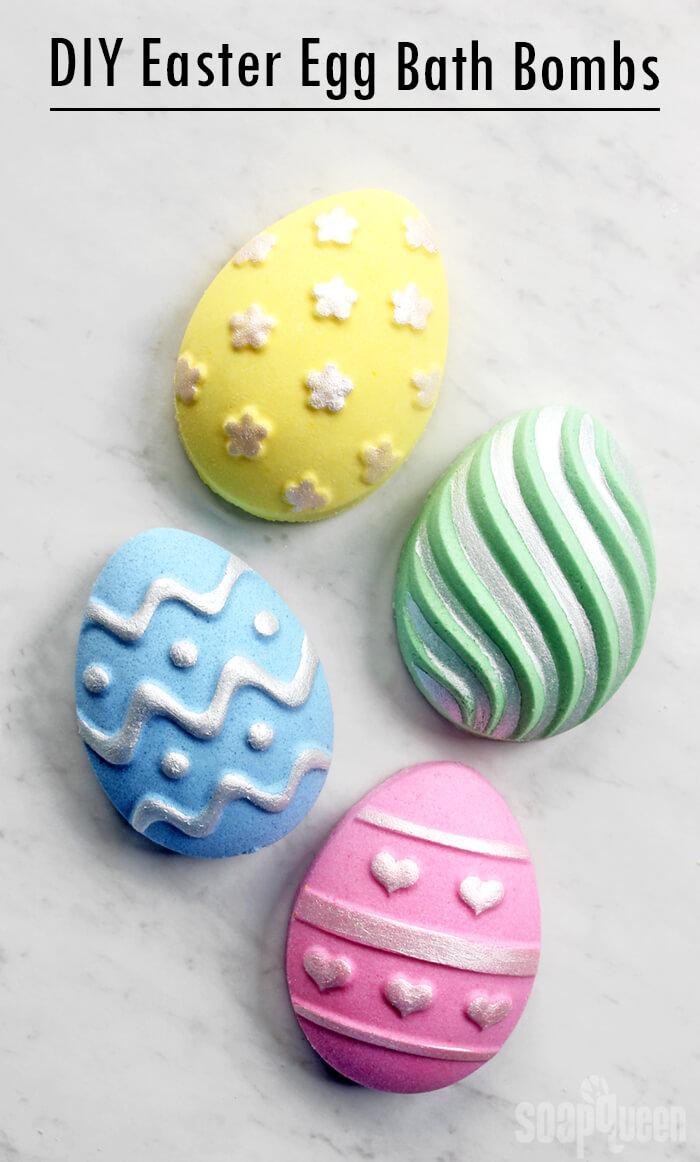
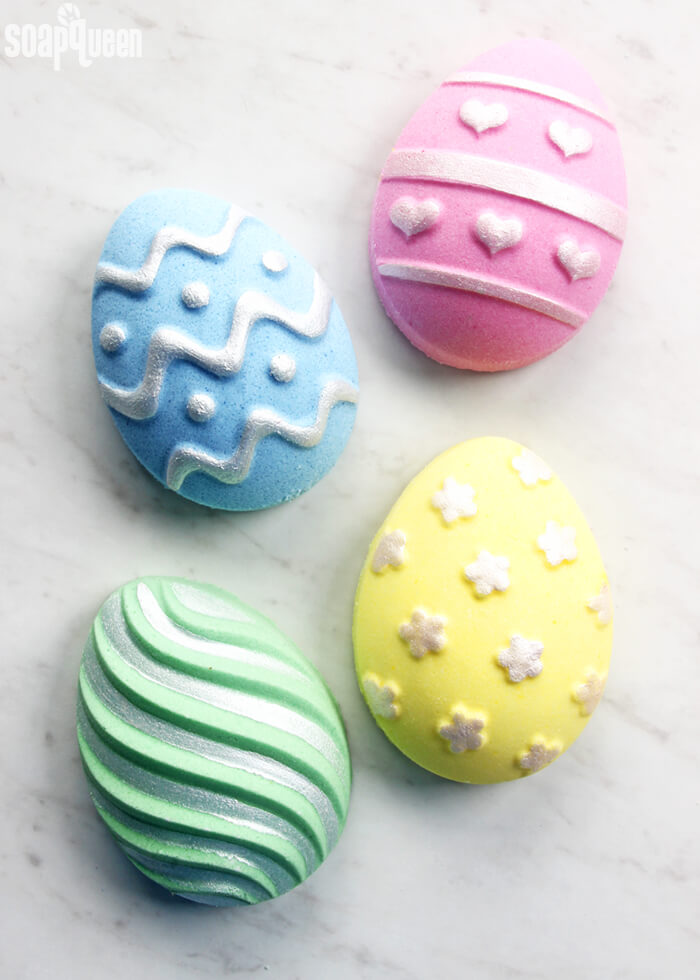
After what feels like the longest winter in recent years, I’m ready for spring-inspired colors and scents. And since spring is officially here (warm weather, where are you!?), Easter is right around the corner. These Easter Egg Bath Bombs are a colorful way to celebrate the holiday. They make great gifts; I guarantee friends and family will be thrilled to receive something other than chocolate bunnies!
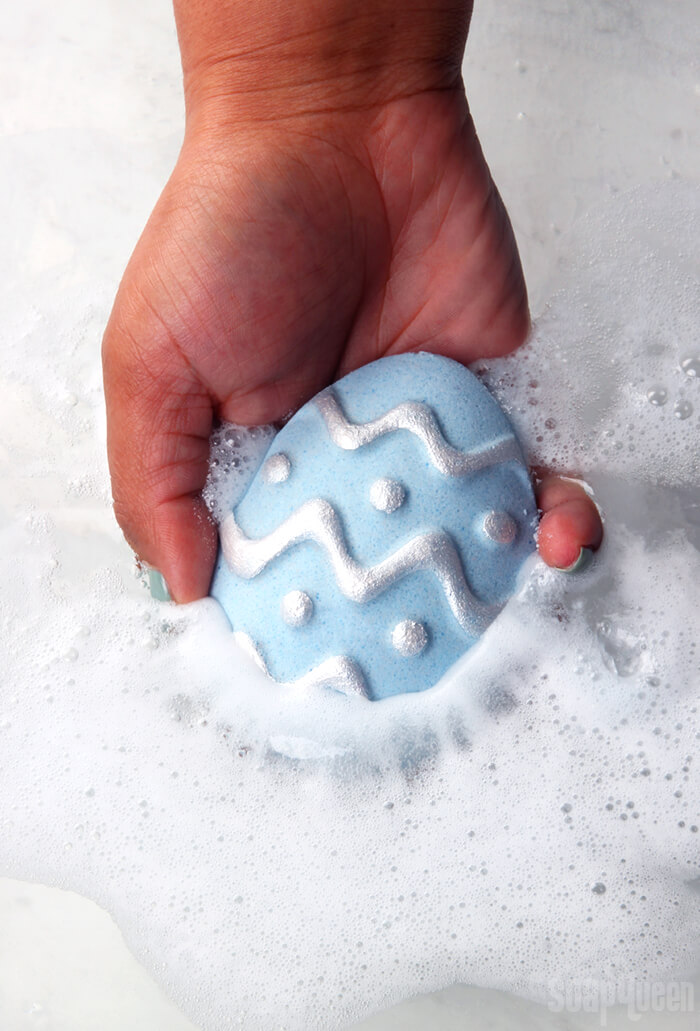
This basic bath bomb recipe contains baking soda and citric acid to create the fizzing reaction in the tub. Coconut oil adds hydration to the water, and also helps the bath bombs retain their shape. Polysorbate 80 is added to help the coconut oil disperse evenly in the water rather than pooling at the top. It’s an optional ingredient, but I love the way it makes the water feel. Peach Fragrance Oil adds a sweet and juicy scent.
Once the main mixture of bath bombs is created, it’s split into four containers and colored with La Bomb Colorants. La Bomb Colorants are specially formulated bath bombs. They don’t leave any color on your tub and won’t set off the fizzing reaction early like water-based colorants can. Learn more about La Bomb Colorants here.
What You’ll Need:
Easter Egg Mold
2 cups Sodium Bicarbonate (Baking Soda)
1 cup Citric Acid
2 oz. Coconut Oil
2 mL Polysorbate 80
9 mL Peach Fragrance Oil
Bath Bomb Colorants: Rosy Pink La Bomb, Irish Green La Bomb, Cornflower Blue La Bomb, Daisy Yellow La Bomb
Witch Hazel in Spray Bottle
99 % Isopropyl Alcohol
Super Pearly White Mica
Droppers

Click here to add everything you need for this project to your Bramble Berry shopping cart!
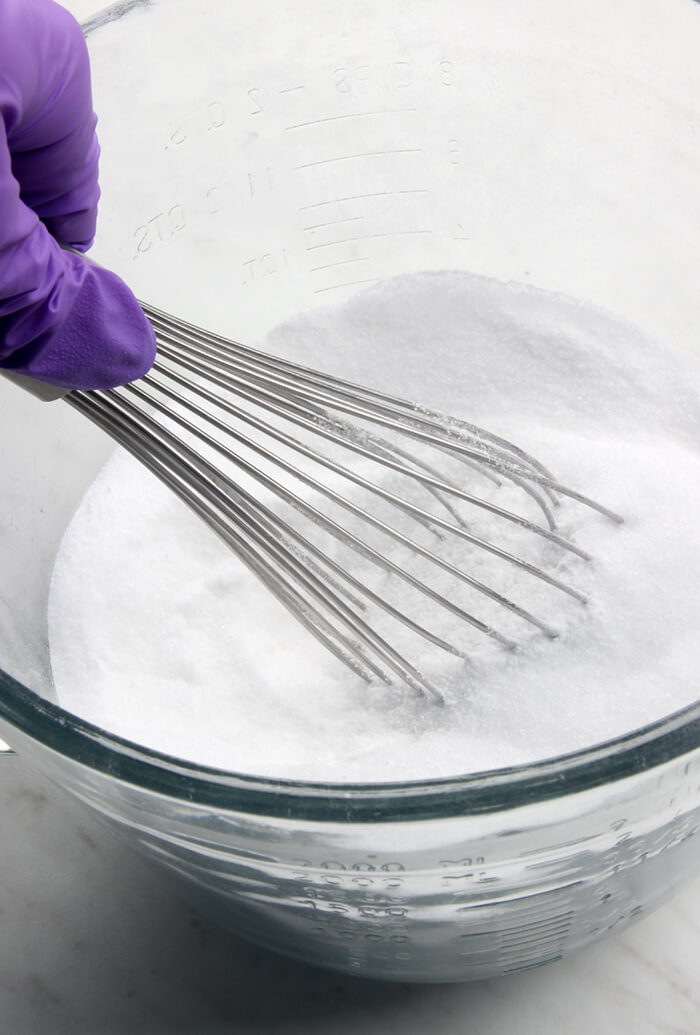
ONE: In a large bowl, combine the baking soda and citric acid. To get rid of clumps in the mixture, you can break them up with your hands or push the powders through a sifter. Citric acid has a tendency to take off nail polish, so wear gloves to protect your manicure. Thoroughly stir the ingredients together.
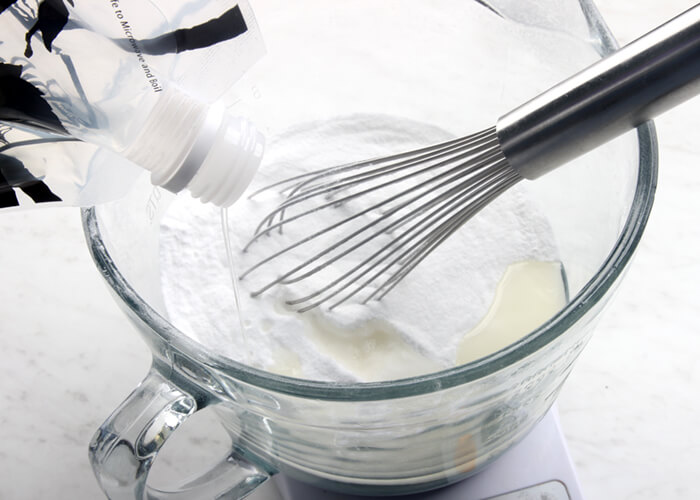
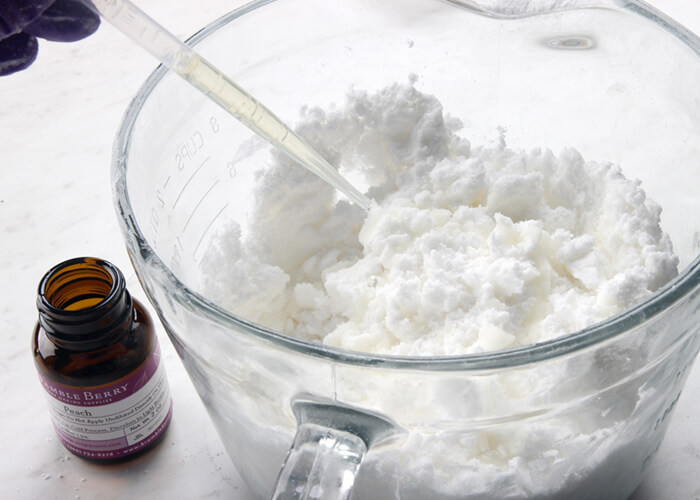
TWO: Add the coconut oil, polysorbate 80, and Peach Fragrance Oil. Use your hands to thoroughly mix the wet and dry ingredients together.
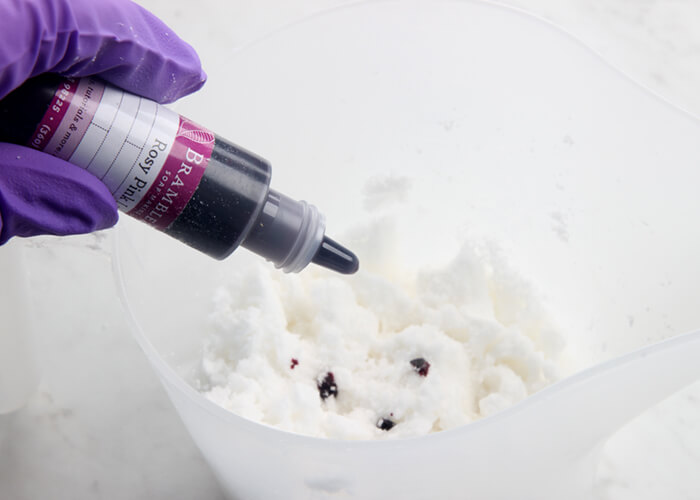
THREE: Once the ingredients are completely mixed, split the mixture evenly into four containers. You can eyeball it or weigh about 7.5-8 oz. in each container. To one container, add 2-3 drops of the Rosy Pink La Bomb Colorant. Use your hands to thoroughly mix until there are no streaks of color.
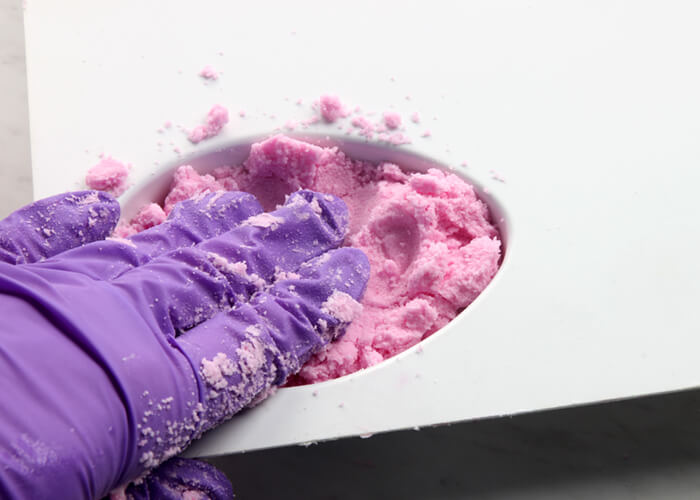
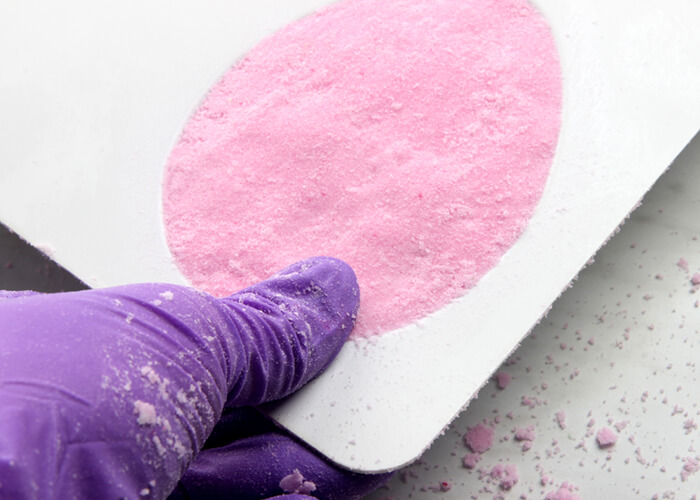
FOUR: Check the moisture level of the mixture. It should hold its shape when squeezed in your hand. If it doesn’t, spritz the bath bomb mixture with witch hazel and mix after every couple sprays. How much witch hazel you need depends on the humidity level in your area. Once you reach the correct texture, fill one cavity with the pink bath bomb mixture. Pack it firmly into the mold. Use your fingers to smooth the back of the fizzy.
NOTE: You may have a very small amount of each color leftover. Have an extra mold ready to use up the extra and make a tester bath bomb!
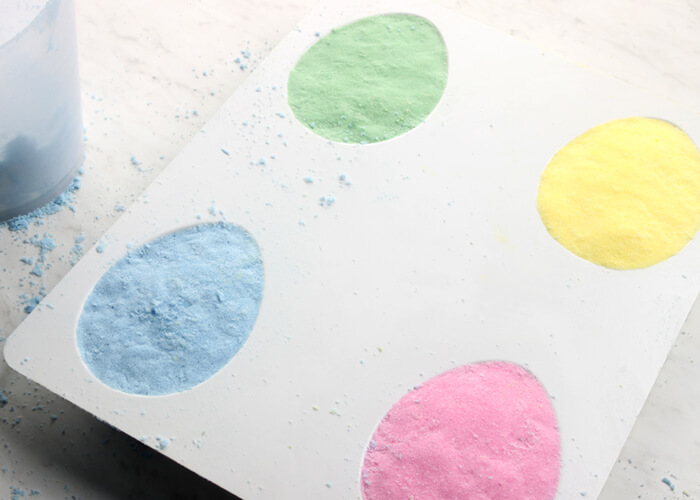
FIVE: Repeat this process with each container, adding 2-3 drops of the Daisy Yellow La Bomb, Irish Green La Bomb, and Cornflower Blue to each. After the color is mixed, add spritzes of witch hazel if necessary. Then, firmly pack each color into the separate cavities. Place any extra bath bomb mixture into a separate mold. We found there was enough leftover to create one multi-colored bath bomb in the 6 Cavity Heart Silicone Mold.
SIX: Let the bath bombs dry in the mold for at least 3-4 hours or up to overnight. If they are unmolded too early, they may crumble and lose their shape. To unmold, pull on the sides of each cavity to break the airlock. Then, flip the mold over and press each cavity with your thumbs. Tapping the back of the mold firmly can also help! Once removed, you can leave the bath bombs as is or continue to the next step.
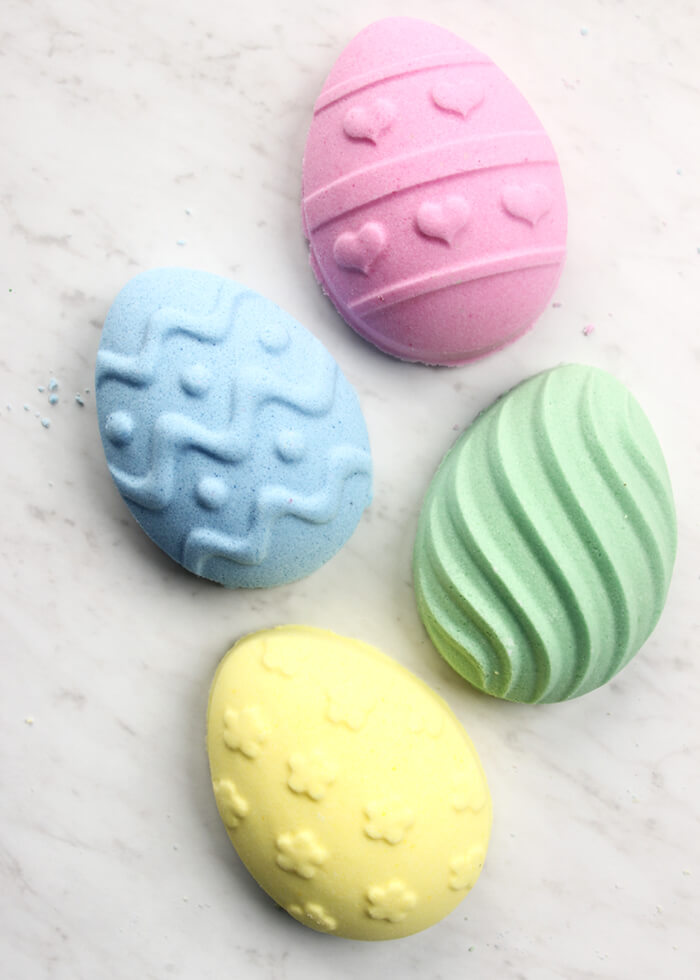
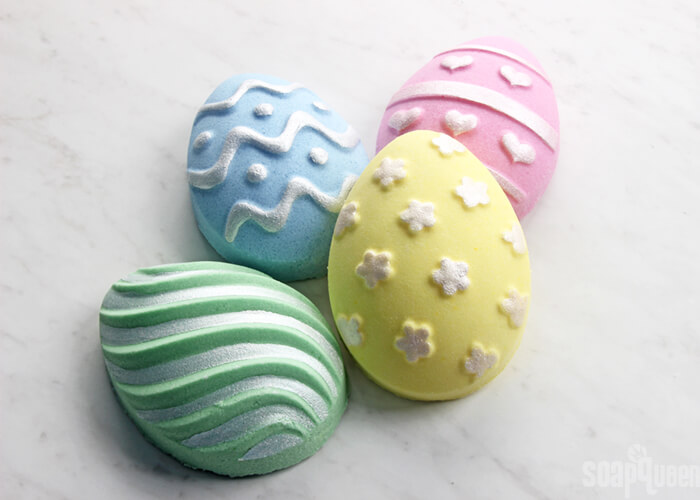
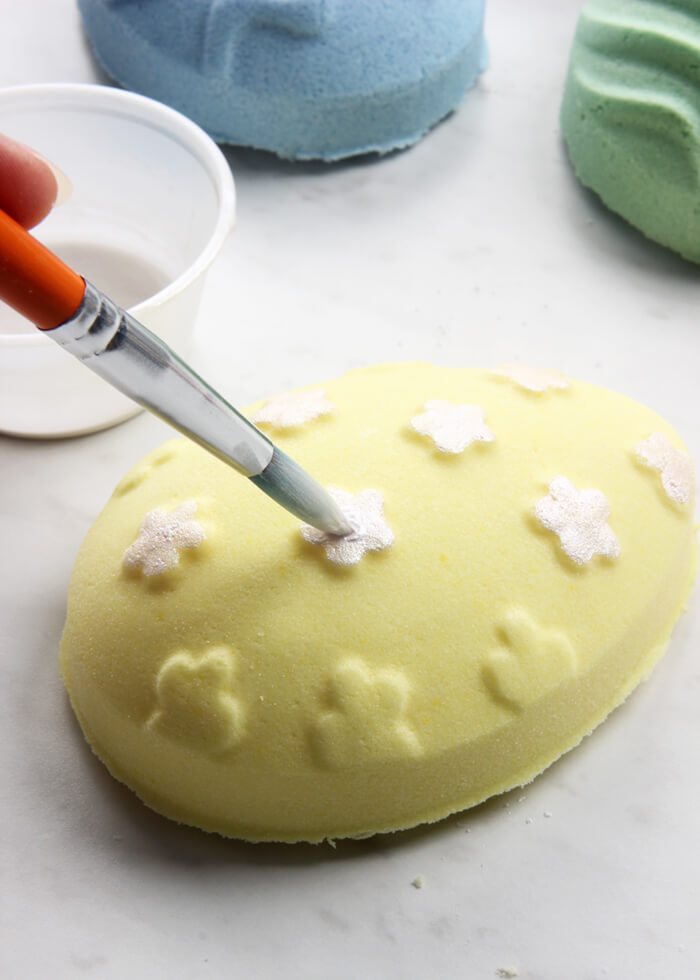
SEVEN: To give the bath bombs a special touch, the details can be painted with a mixture of mica and 99% isopropyl alcohol. We mixed 1/2 tsp. Super Pearly White Mica with 1/2 tsp. 99% isopropyl alcohol and used a small brush to paint the details on each bath bomb. The alcohol dries quickly, leaving the mica behind. You can swap the mica for whatever color you like, but oxides and pigments are not recommended because they’re too large and clumpy. Once you’re done painting, the bath bombs are ready to enjoy!

DIY Easter Egg Bath Bombs
Ingredients
- Easter Egg Mold
- 2 cups Sodium Bicarbonate Baking Soda
- 1 cup Citric Acid
- 2 oz. Coconut Oil
- 2 mL Polysorbate 80
- 9 mL Peach Fragrance Oil
- Bath Bomb Colorants: Rosy Pink La Bomb
- Irish Green La Bomb
- Cornflower Blue La Bomb
- Daisy Yellow La Bomb
- Witch Hazel in Spray Bottle
- 99 % Isopropyl Alcohol
- Super Pearly White Mica
- Droppers
Instructions
- In a large bowl, combine the baking soda and citric acid. To get rid of clumps in the mixture, you can break them up with your hands or push the powders through a sifter. Citric acid has a tendency to take off nail polish, so wear gloves to protect your manicure. Thoroughly stir the ingredients together.
- Add the coconut oil, polysorbate 80, and Peach Fragrance Oil. Use your hands to thoroughly mix the wet and dry ingredients together.
- Once the ingredients are completely mixed, split the mixture evenly into four containers. You can eyeball it or weigh about 7.5-8 oz. in each container. To one container, add 2-3 drops of the Rosy Pink La Bomb Colorant. Use your hands to thoroughly mix until there are no streaks of color.
- Check the moisture level of the mixture. It should hold its shape when squeezed in your hand. If it doesn’t, spritz the bath bomb mixture with witch hazel and mix after every couple sprays. How much witch hazel you need depends on the humidity level in your area. Once you reach the correct texture, fill one cavity with the pink bath bomb mixture. Pack it firmly into the mold. Use your fingers to smooth the back of the fizzy. NOTE: You may have a very small amount of each color leftover. Have an extra mold ready to use up the extra and make a tester bath bomb!
- Repeat this process with each container, adding 2-3 drops of the Daisy Yellow La Bomb, Irish Green La Bomb and Cornflower Blue to each. After the color is mixed, add spritzes of witch hazel if necessary. Then, firmly pack each color into the separate cavities. Place any extra bath bomb mixture into a separate mold. We found there was enough leftover to create one multi-colored bath bomb in the 6 Cavity Heart Silicone Mold.
- Let the bath bombs dry in the mold for at least 3-4 hours or up to overnight. If they are unmolded too early, they may crumble and lose their shape. To unmold, pull on the sides of each cavity to break the airlock. Then, flip the mold over and press each cavity with your thumbs. Tapping the back of the mold firmly can also help! Once removed, you can leave the bath bombs as is or continue to the next step.
- To give the bath bombs a special touch, the details can be painted with a mixture of mica and 99% isopropyl alcohol. We mixed 1/2 tsp. Super Pearly White Mica with 1/2 tsp. 99% isopropyl alcohol and used a small brush to paint the details on each bath bomb. The alcohol dries quickly, leaving the mica behind. You can swap the mica for whatever color you like, but oxides and pigments are not recommended because they’re too large and clumpy. Once you’re done painting, the bath bombs are ready to enjoy!