Have you started crafting for the holidays? They will be here before you know it, so now is the time! In particular, if you’re planning on making soap for holiday gifts…start soaping! =) Today I’m switching gears from soap to a fun DIY project that will fill your house with Christmas cheer. If you’ve never counted down the days until Christmas with an advent calendar, they are a fun way to build excitement and anticipation! In particular, kiddos love opening a small surprise everyday.
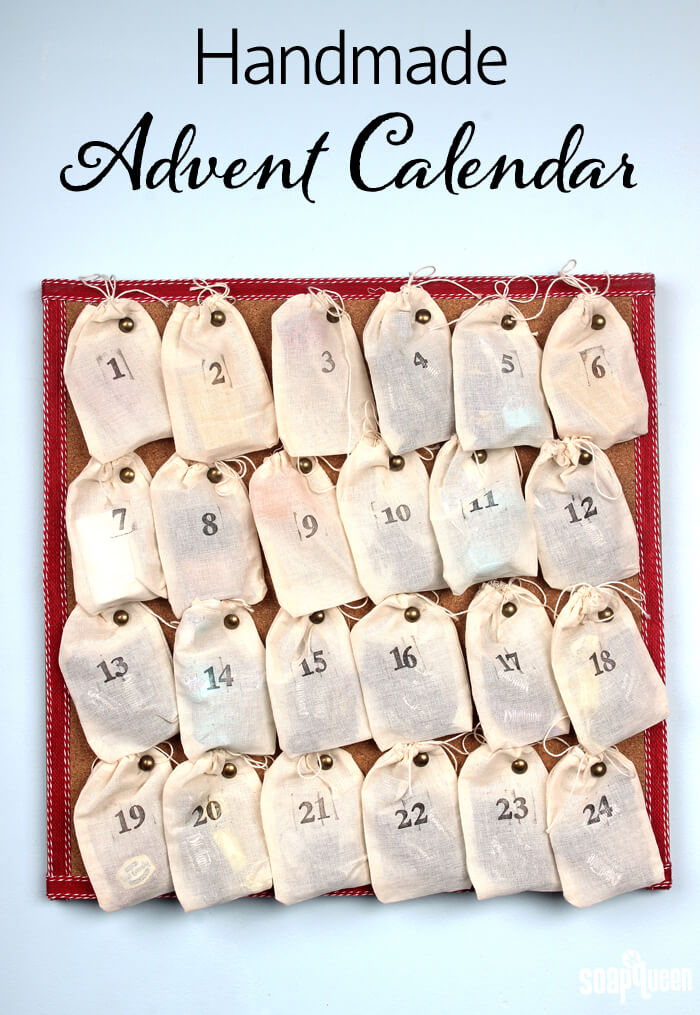
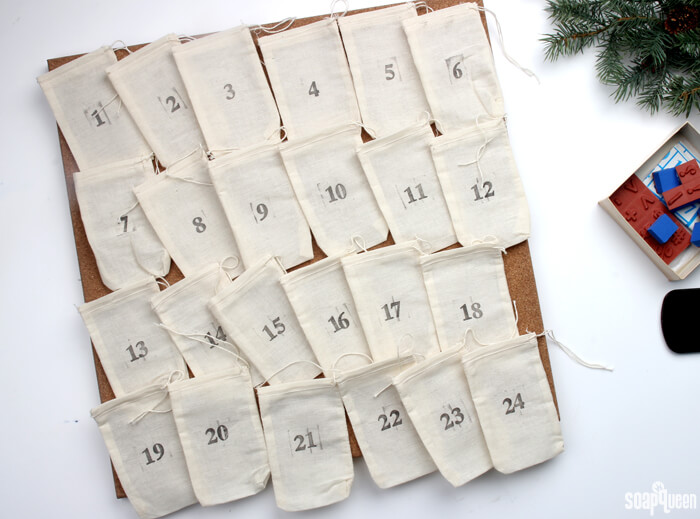
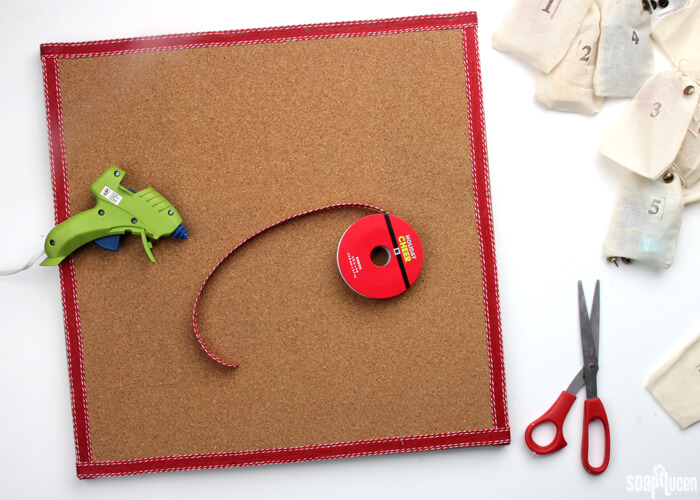
The great thing about this DIY is that it’s surprisingly easy to make. I bought a corkboard from the craft store, along with some simple red ribbon and push pins. Each muslin bag is stamped with a number to represent the days until Christmas. Then, you can fill each bag with whatever small goodies you’d like! For the kids, small candies and dollar store items are fun and cost effective. You could also give the advent calendar as a gift itself, and fill each bag with small gifts. They are so easy to customize depending on the person and their interests. =)
 One thing I love about this advent calendar DIY is that it’s reusable. Many store bought calendars must be thrown away after each day is opened, but this can be used year after year. You could also remove the bags and use the cork board all year round. =)
What You’ll Need:
24 Muslin Herb Bags
17×17 Cork Board/Bulletin Board (I used this one)
Push Pins
Ribbon
Hot Glue (or other type of strong glue)
Number Stamps & Ink
Advent Calendar Goodies
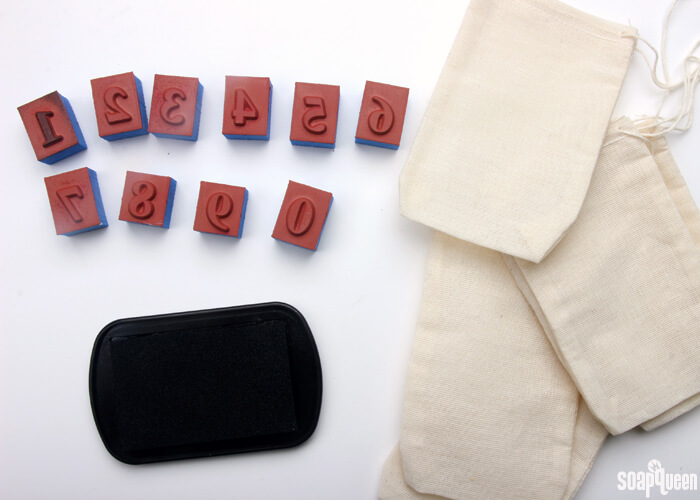
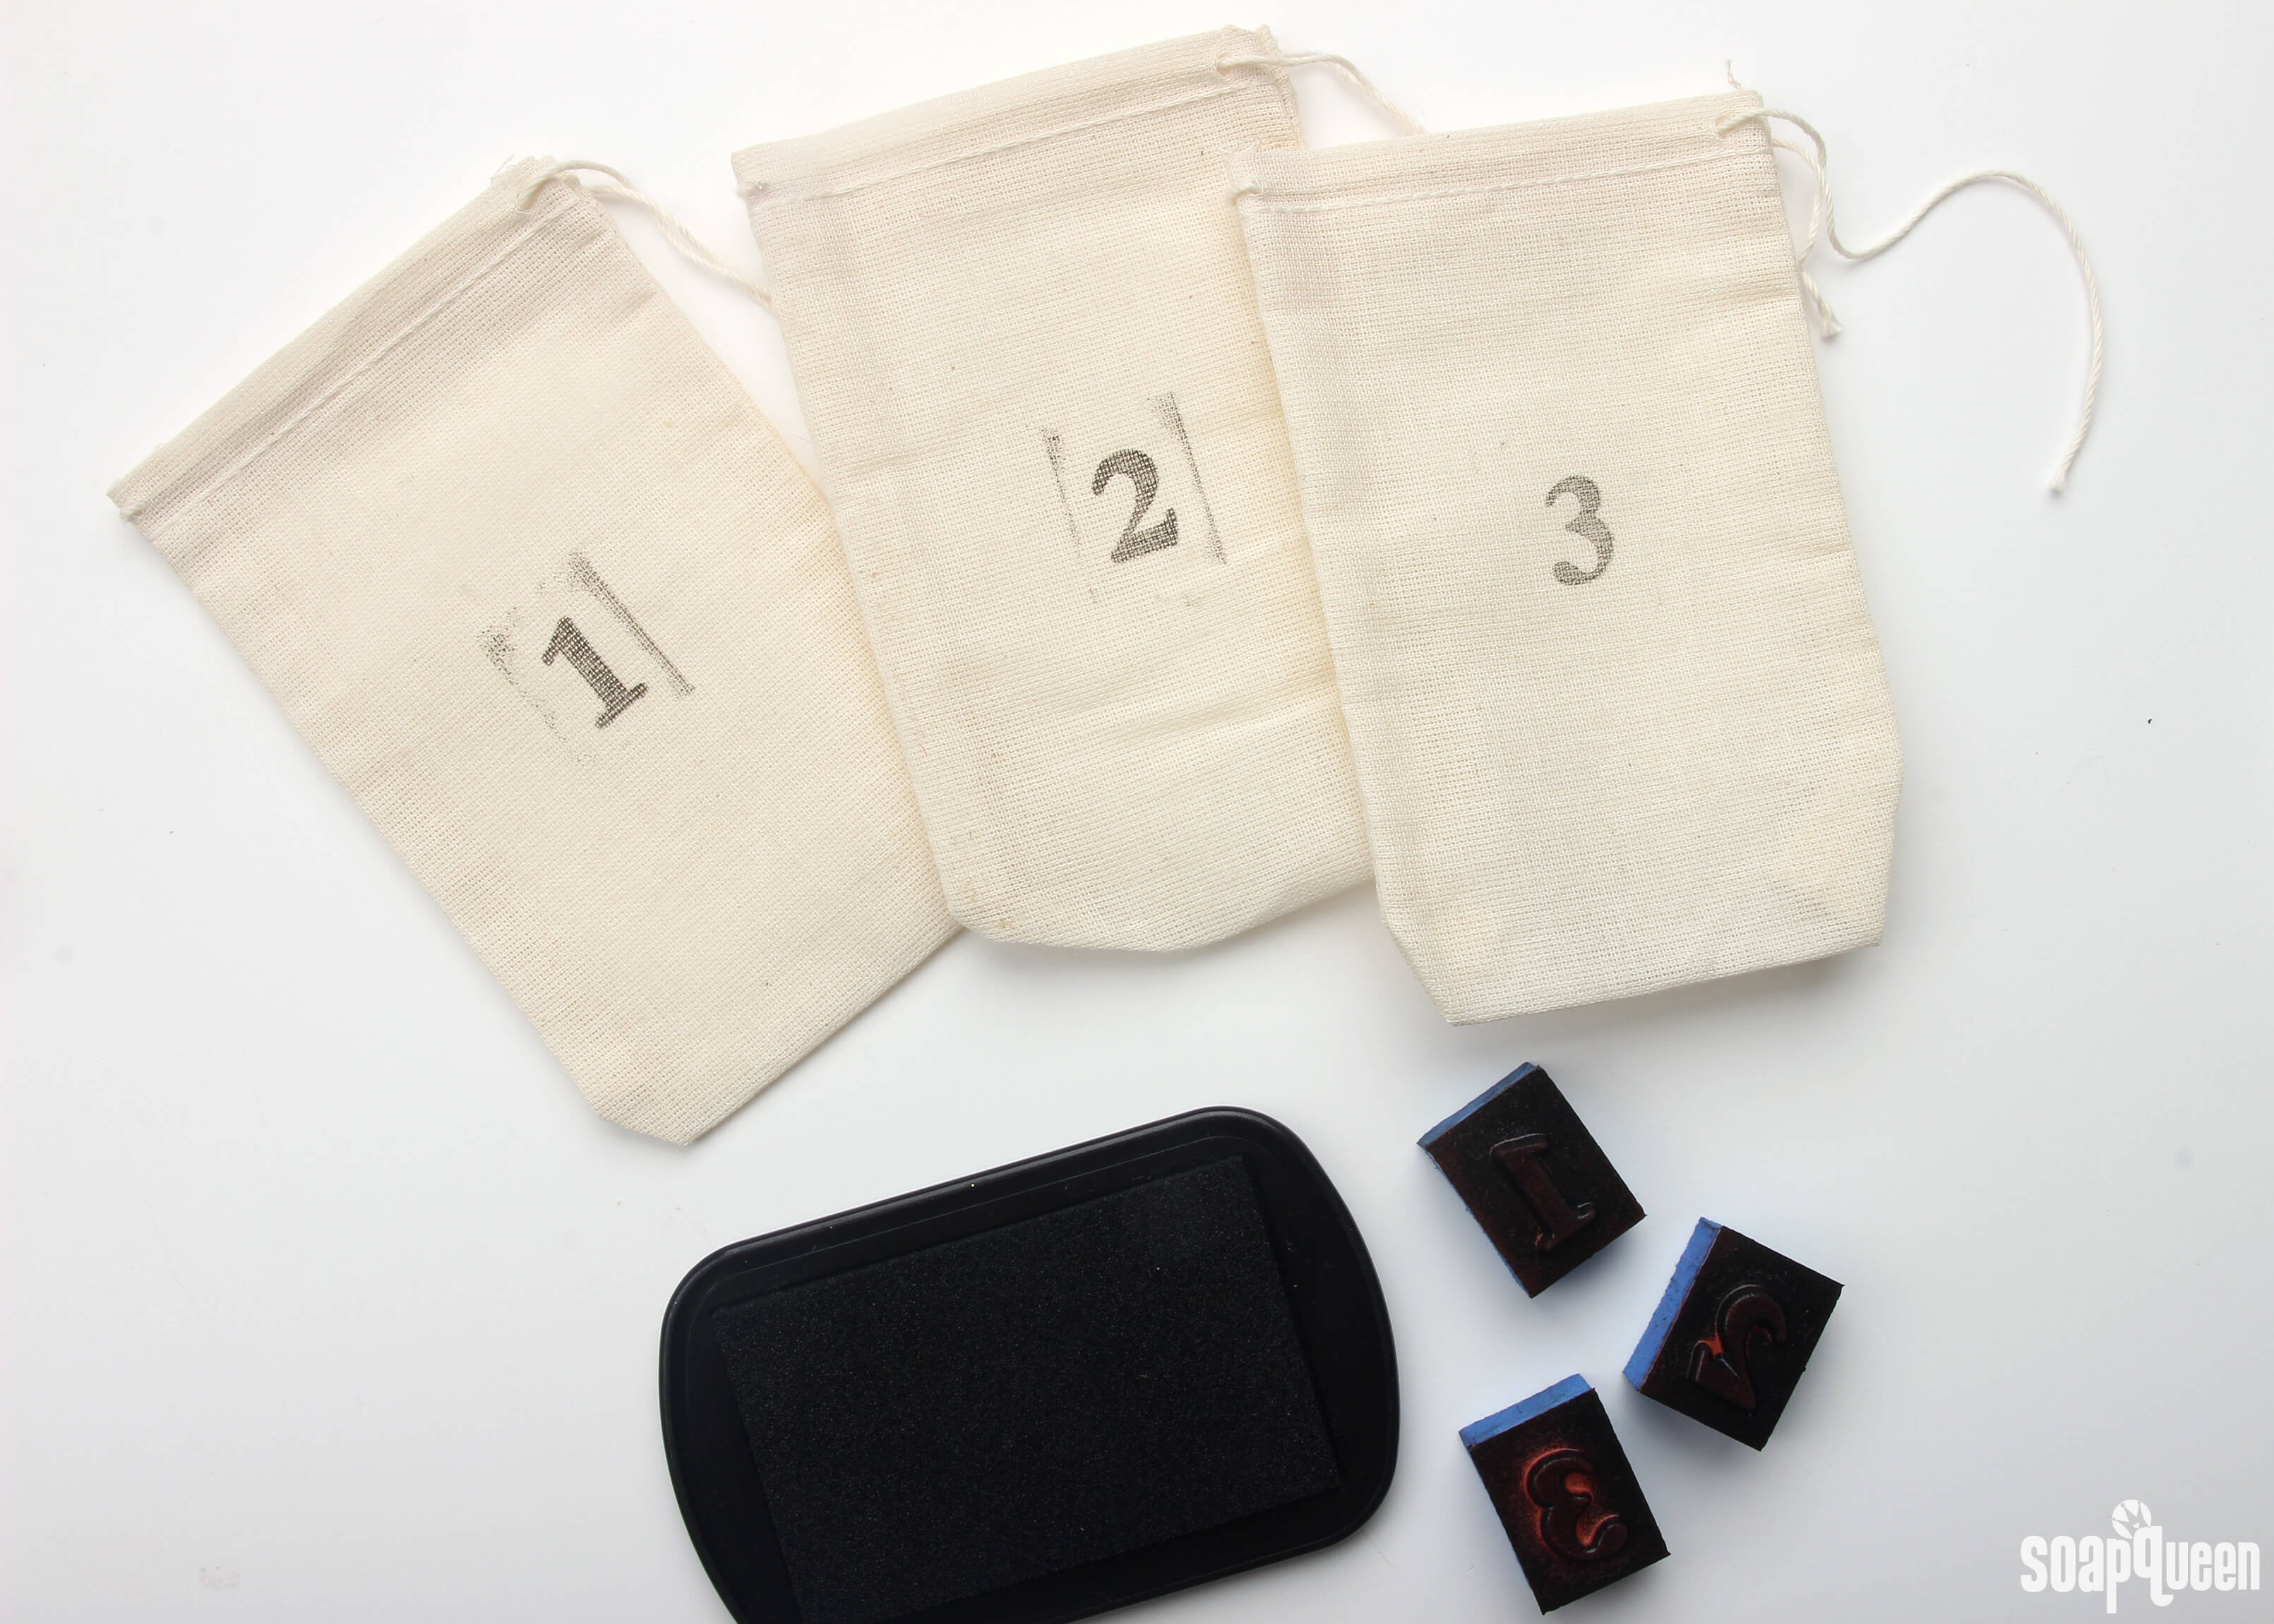
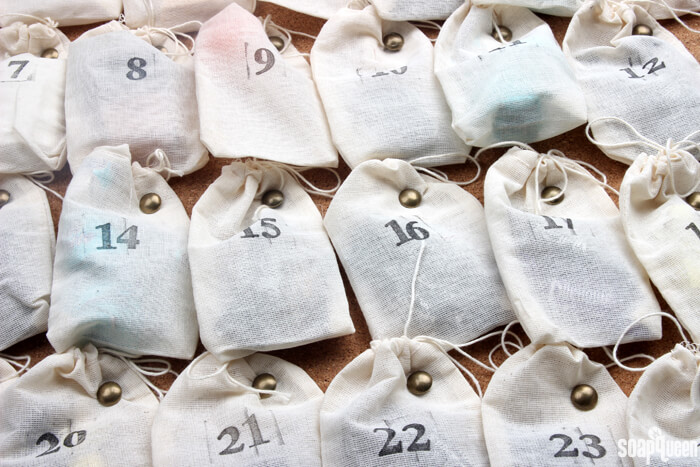
ONE: First, prepare the bags. I used basic ink from the craft store along with numbered stamps to stamp each bag with numbers 1-24. If you feel confident with your handwriting, you could also write the number on the bag with a permanent marker.
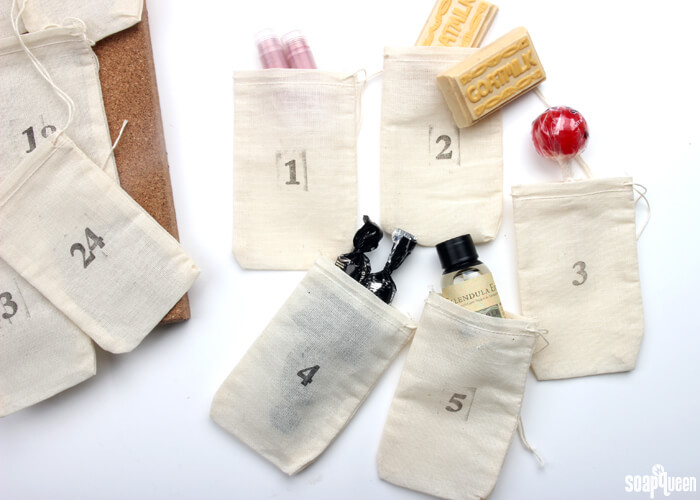
 TWO: Fill each bag with small items of your choice. Guest sized soap, nail polish and lip balm make a great advent calendar goodies! Set bags aside.
 THREE: Time to decorate the board! Cut four pieces of ribbon to frame the border. Cut the ribbon about an inch longer than each side of the board. For my board, I cut four pieces of ribbon that were about 18-19″ inches long.
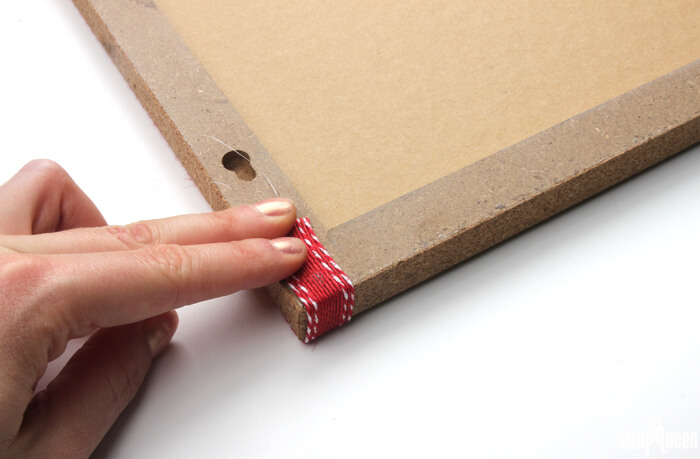
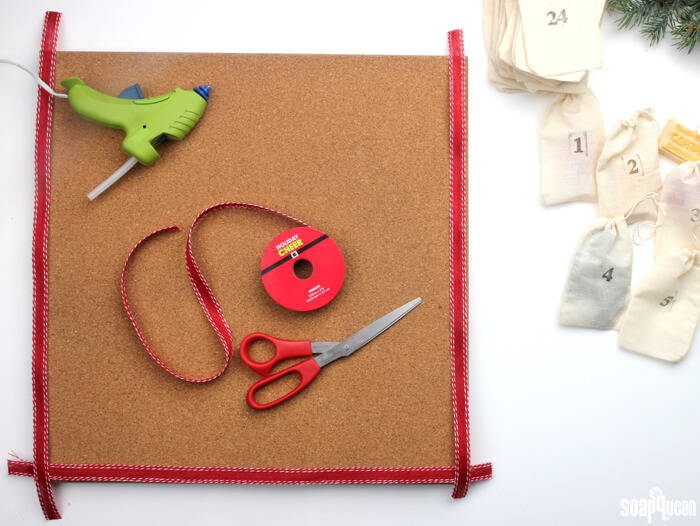 THREE: If you’re using hot glue, plug in your hot glue gun and allow to heat up. Place a small dollop of hot glue on each corner, and begin gluing the ribbon to the sides of the board.
 FOUR: Allow the glue to fully cool and dry. The time the glue takes to dry will depend on what type of glue you are using.
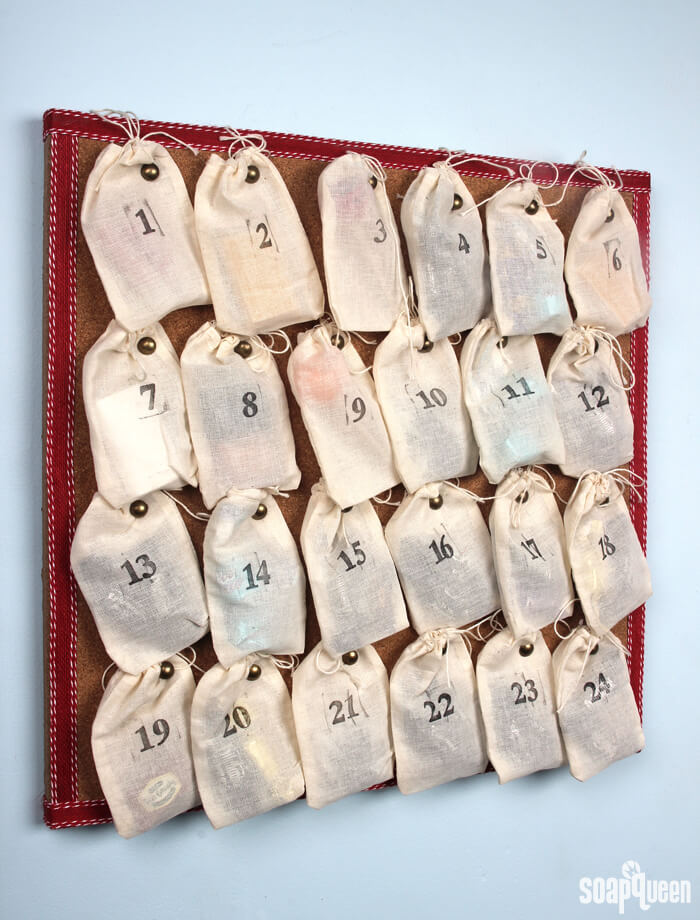
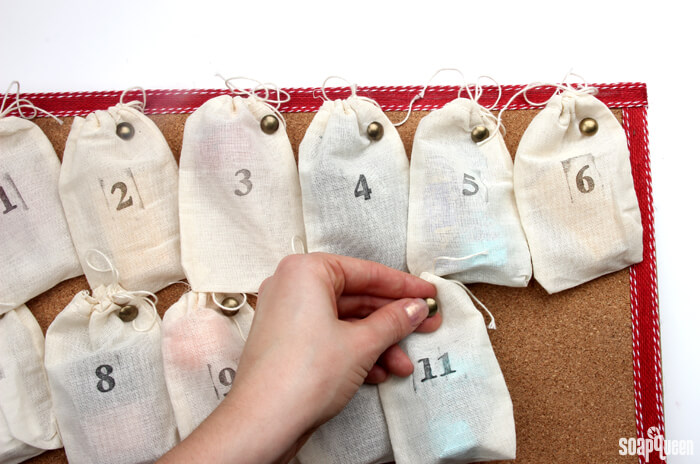
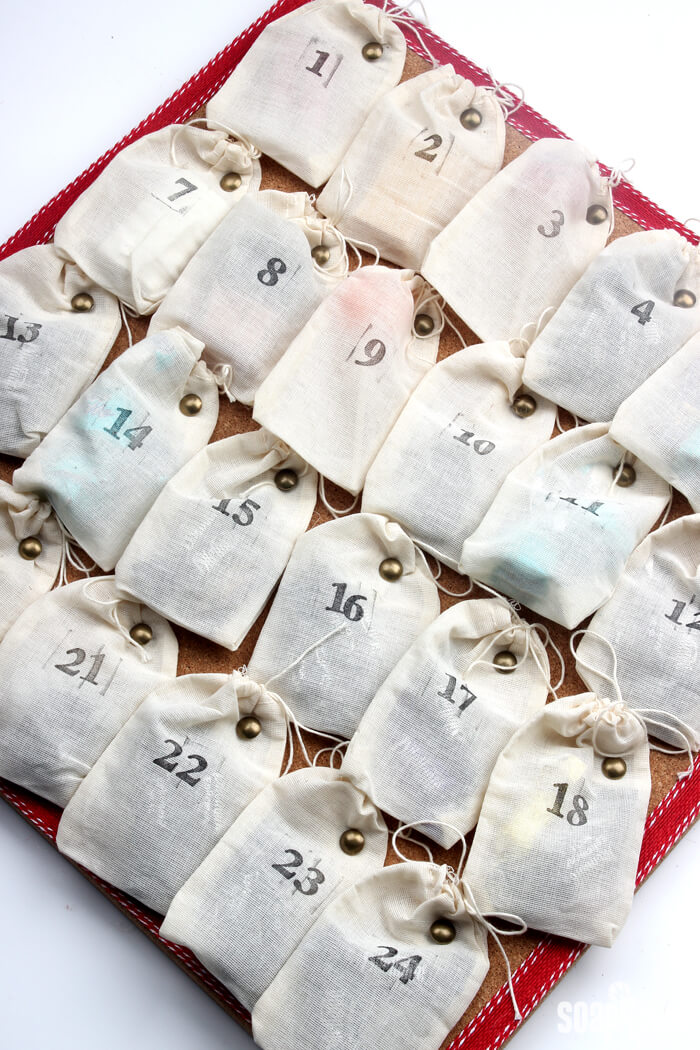
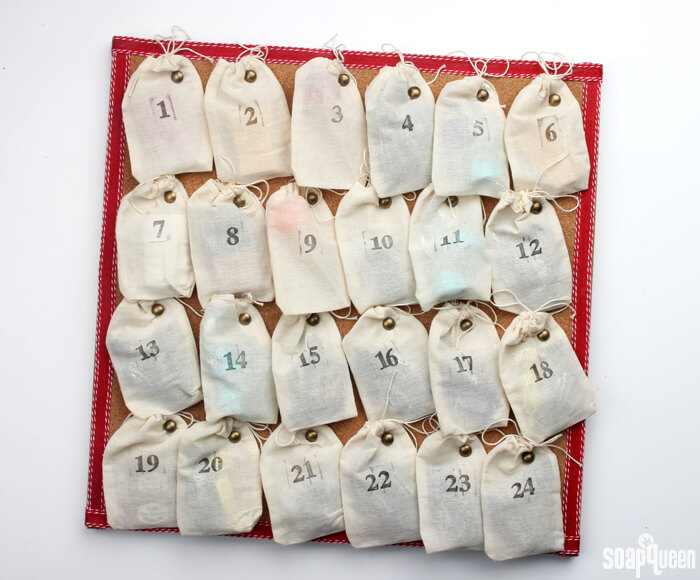
 FIVE: Begin pinning the filled muslin herb bags to the board. I placed six bags across to create four rows, but you can place them on your board however you’d like. The placement of your bags will depend on the size of board.
 SIX: Hang up your board and enjoy!
So easy, right? I can’t wait to show my kids the board, and introduce the concept of an advent calendar to them this season. They are going to have so much fun opening up each bag to find a surprise. The great thing about this advent calendar is that it’s reusable, so it can become a yearly Christmas tradition. =)
Do you have a family holiday tradition? I’d love to hear about it! Soon, I’ll be bring out the Elf on a Shelf…the kids loved it last year =)