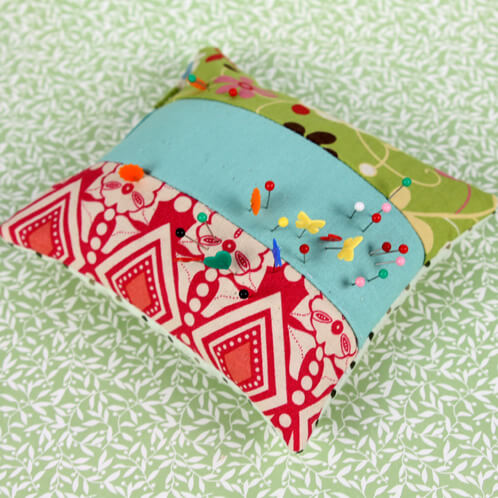
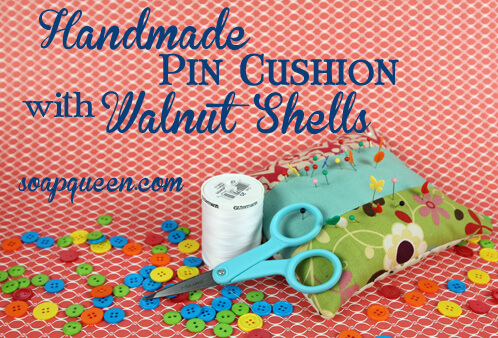
After my first ever project involving a fabric picture book for Jamisen (which he loves; proof right here), I’m definitely hooked on sewing! I can’t get enough of browsing Etsy for pretty fabrics and dreaming of coordinating them in a beautiful way. One thing I decided I wanted to try was a variation on this tutorial for a walnut-shell stuffed pin cushion from the Quilt Taffy blog. I made mine GIANT; the finished size is 5.5″ X 6″, which is perfect for me and my habit of misplacing tools next to my sewing machine. You can easily make any size pin cushion you’d like with this tutorial.
What you need:
3 – 2.5″ X 7″ strips of fabric (I used quilting weight cotton) in coordinating colors and/or prints
1 – 6″ X 6.5″ backing fabric (I used quilting weight cotton again)
1 pound Crushed Walnut Shells
Rotary Cutter, Rulers and Matt
Coordinating Thread
Sewing Machine
Optional: Hand Sewing Needles
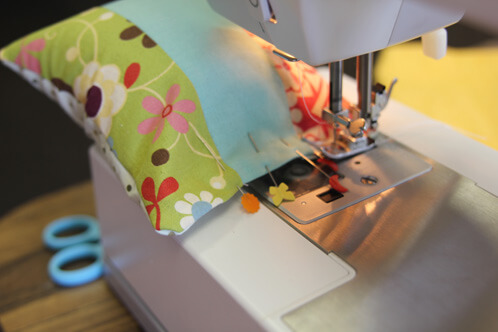
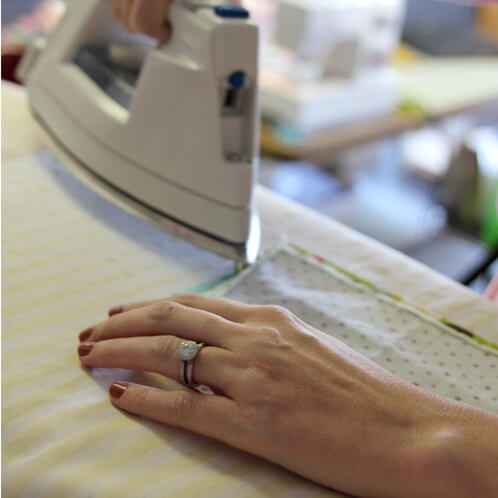
ONE: Sew together the three strips of coordinating cotton using 1/4″ seam allowance. Press the seams to the side, and true up (or square) the piece using the rotary cutter.
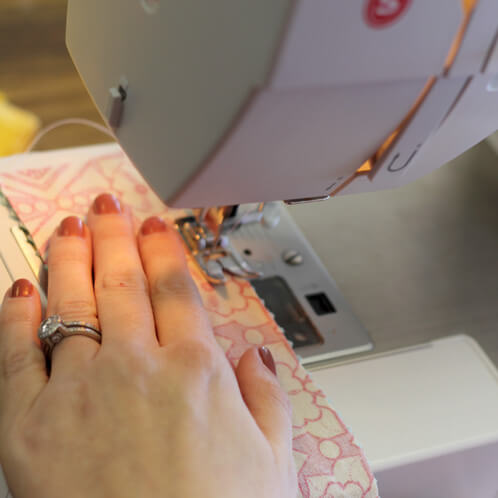
TWO: Sew the pieced together front to the backing fabric, right sides to right sides, using a 1/4″ seam allowance. Leave a 2″ hole on one side, and back-tack at the beginning and end of the seam.
THREE: Press the seams open by pressing toward the center of the square on each side.
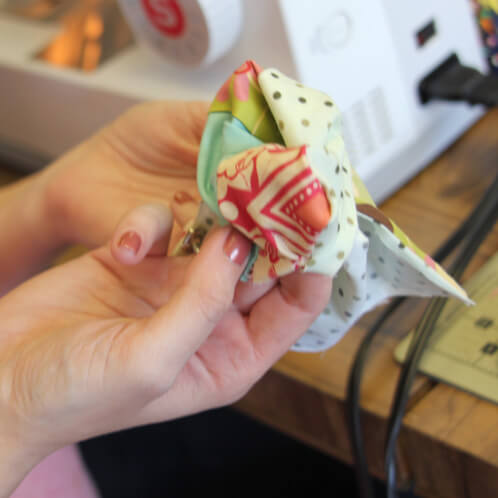
FOUR: Turn the square inside-out using the hole left in the seam. Push out corners using a chopstick.
FIVE: Fill the inside of the pin cushion with crushed walnut shells as full as you an fill it. Fun fact! Crushed walnut shells will sharpen your needles (supposedly) as you use your pincushion.
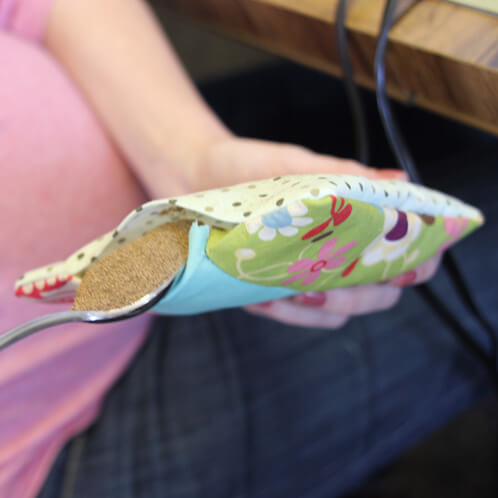
SIX: Close the hole by either machine sewing or hand sewing it.