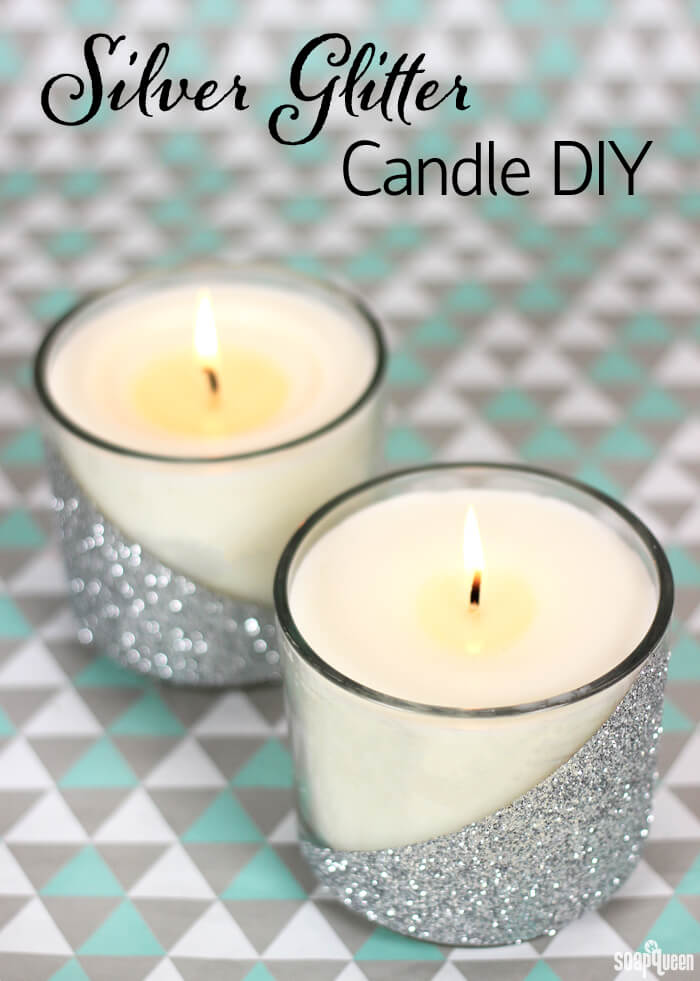
 With temperatures dropping, it’s officially candle season! I love lighting candles around my home to create a warm and cozy atmosphere. Candles are also great design elements, and these Silver Glitter Candles will add interest to any room. This project only requires painters tape, glue and glitter in addition to basic candle supplies. Simply lay down the tape in the pattern you’d like, apply glue and cover in glitter. Once dry, remove the tape to reveal a crisp and clean design.
I used Christmas Tree Cybilla Fragrance Oil for a classic holiday scent, but you can customize with any fragrance oil. The only thing to keep in mind is that while all Bramble Berry fragrance oils are safe to use in candles, not all fragrances have been tested in candles and may smell a little different when burned. I recommend making a small test candle to see what you think of the fragrance first, just to be on the safe side. For a real life example of “it’s candle safe but smells terrible”, we don’t recommend Pink Grapefruit or Pineapple Cilantro – they smell unpleasant when burned. You can also use fragrances specifically made for candles if you’re looking for a tried-and-true option.

What You’ll Need:
Round Glass Candle Jar
Note: The candle jar shown in this tutorial has been discontinued; the kit now contains the 10 oz. Tapered Neck Candle Jar. The amounts of wax and fragrance may need to be adjusted accordingly.
16 oz. EcoSoya Advanced Soy Wax
Cd-20 Wick
1.3 oz. Christmas Tree Cybilla Fragrance Oil
Silver Nail Polish Glitter
Glue (Modge Podge, Tacky Glue, Elmer’s, etc)
Painters Tape

Click here to add everything you need for this project to your Bramble Berry shopping cart!
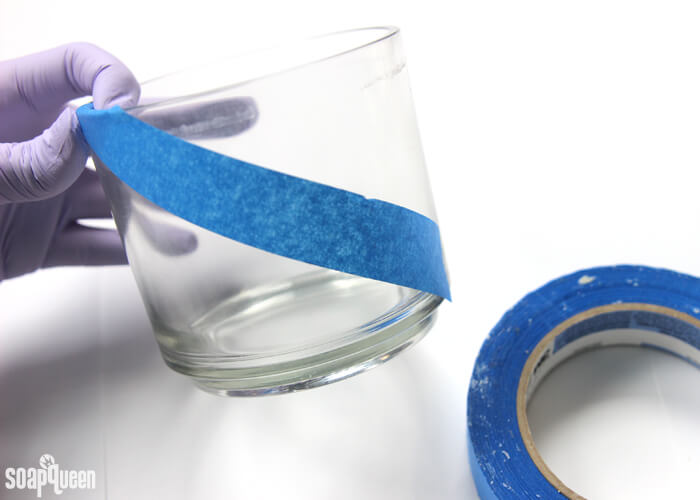
ONE: Place two strips of painters tape on the candle to create a diamond or triangle shape on one side. The two pieces of tape should intersect at the top of the candle jar. Keep in mind that the space below the tape will be covered in glitter, so place the tape where you’d like the glitter to end.
 TWO: Use a paintbrush to apply a thin layer of glue to the area below the painters tape. For this project we used Tacky Glue, but Modge Podge or Elmer’s also work.
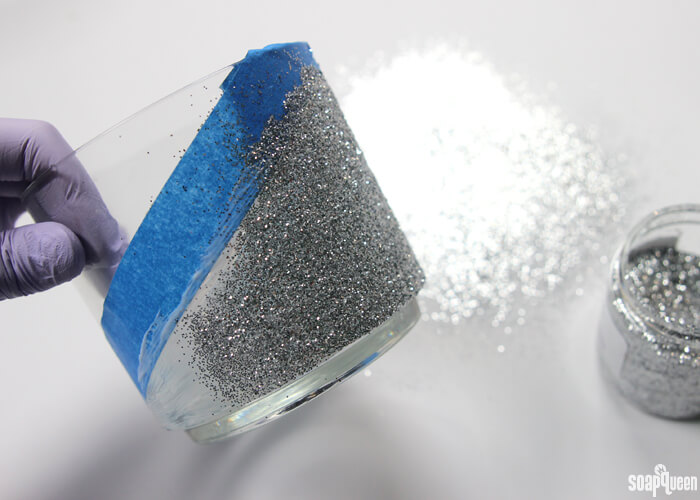
 THREE: Place the candle jar on a piece of paper (this will aid in cleanup). Then, pour glitter on the area of the candle covered in glue, making sure it is completely covered in glitter. Tap the candle on your work surface to allow excess glitter to fall off. Use the piece of paper to pour the excess glitter back into the container.
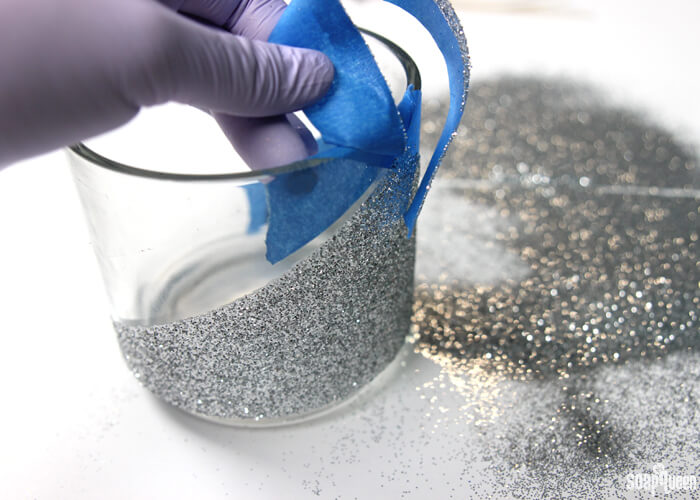
 FOUR: Allow the glue to dry for about 10 minutes. Gently peel away the tape. Allow the candle to dry completely overnight.
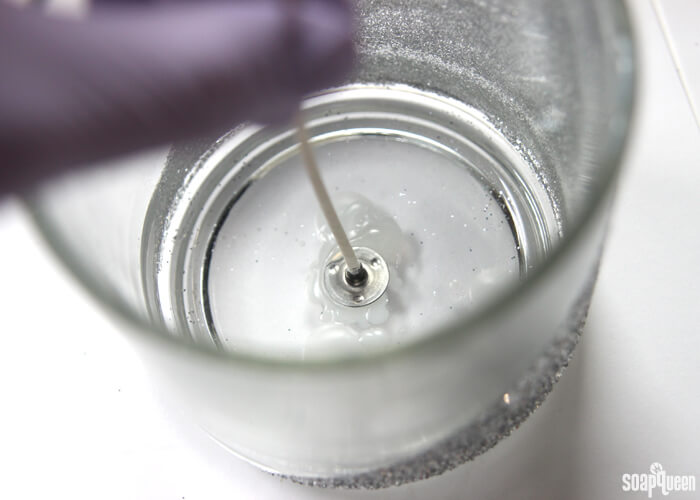
 FIVE: Melt down 16 oz. of EcoSoya Advanced Wax in the microwave using a heat safe container. Once melted, add a few drops of wax into the bottom of the candle jar, and place the wick into the center of the candle. Cover the bottom of the wick with more wax to steady the wick to the bottom of the container.
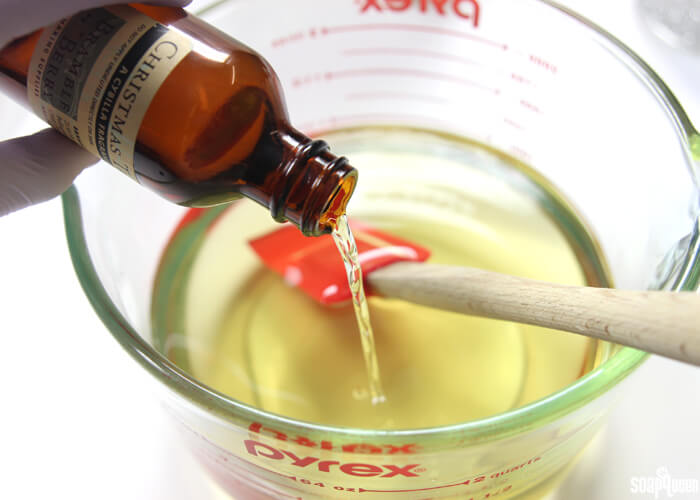
 SIX: Add the Christmas Tree Cybilla Fragrance Oil to the melted wax and stir to combine. Allow the wax to cool to around 110 ° F. This will help prevent the wax from cooling too quickly in the jar, frosting, and from melting the wax under the wick.
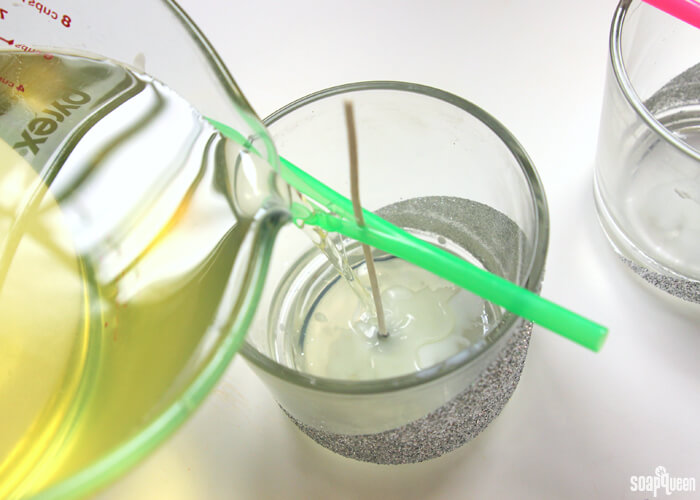
 SEVEN: Once the wax has cooled, pour into the candle jar. To help steady the wick in the center of the jar, cut a straw in half and slide the wick into the straw.
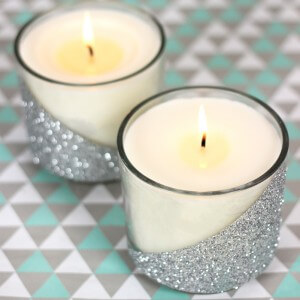
 EIGHT: Allow the wax to completely cool in the jar. Then, trim the wick and it’s ready to use!


What is your favorite type of candle scent? Personally, I gravitate to foodie or spa type fragrances for candles.
Silver Glitter Candle DIY
Ingredients
- Round Glass Candle JarNote: The candle jar shown in this tutorial has been discontinued; the kit now contains the 10 oz. Tapered Neck Candle Jar. The amounts of wax and fragrance may need to be adjusted accordingly.
- 16 oz. EcoSoya Advanced Soy Wax
- Cd-20 Wick
- 1.3 oz. Christmas Tree Cybilla Fragrance Oil
- Silver Nail Polish Glitter
- Glue Modge Podge, Tacky Glue, Elmer’s, etc
- Painters Tape
Instructions
- Place two strips of painters tape on the candle to create a diamond or triangle shape on one side. The two pieces of tape should intersect at the top of the candle jar. Keep in mind that the space below the tape will be covered in glitter, so place the tape where you’d like the glitter to end.
- Use a paintbrush to apply a thin layer of glue to the area below the painters tape. For this project we used Tacky Glue, but Modge Podge or Elmer’s would also work great.
- Place the candle jar on a piece of paper (this will aid in cleanup). Then, pour glitter on the area of the candle covered in glue, making sure it is completely covered in glitter. Tap the candle on your work surface to allow excess glitter to fall off. Use the piece of paper to pour the excess glitter back into the container.
- Allow the glue to dry for about 10 minutes. Gently peel away the tape. Allow the candle to dry completely overnight.
- Melt down 16 oz. of EcoSoya Advanced Wax in the microwave using a heat safe container. Once melted, add a few drops of wax into the bottom of the candle jar, and place the wick into the center of the candle. Cover the bottom of the wick with more wax to steady the wick to the bottom of the container.
- Add the Christmas Tree Cybilla Fragrance Oil to the melted wax and stir to combine. Allow the wax to cool to around 110 ° F. This will help prevent the wax from cooling too quickly in the jar, frosting, and from melting the wax under the wick.
- Once the wax has cooled, pour into the candle jar. To help steady the wick in the center of the jar, cut a straw in half and slide the wick into the straw.
- Allow the wax to completely cool in the jar. Then, trim the wick and it’s ready to use!