When you pour your massage candles, you’ll want the wax to be a cool temperature, almost slushy. If you don’t pour the Container Wax Lotion Bar Hybrid cool enough, you will end up with pitted candles. Pitted candles work just fine – they just don’t look so great. If you end up with an uneven surface or cratered look on your candle, just zap the top of the candle with a heat gun to remelt the top layer of the candle to ensure a smooth look.
 For these candles, I prefer the WU250 wick over the 450. I find that the wax pool is much better with the 250. A large wax pool is a necessity for Massage Candles.
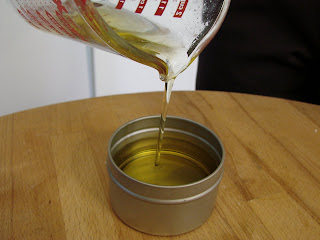
Pour the Wax Oil combination and center the wick. The wick has a tendency to flop over. You can easily prop up the wick in between two pens or chopstick.

Unlike yesterday’s recipe, which was a little oilier, today’s recipe is somewhat waxy and harder. It would do well as a travel candle or in warmer climates. The recipe below uses a larger portion of soy wax and absorbs into the skin more slowly than yesterday’s recipe.
For this Massage Candle, you will need:
1 oz. of Avocado Oil
2.5 ounces of NatureWax C-3 (container) Soy Wax
.75 oz. Cocoa Butter
.75 oz. Shea Butter
Skin Safe Fragrance
Candle Tin
Wick
Pyrex Container
Spoon
Hint: If you don’t have Avocado Oil (or just don’t like it), you can substitute another liquid oil such as Sweet Almond Oil or Olive Oil for the Avocado Oil.
Check back tomorrow for the final recipe.
Day One – Introduction
Day Two – The Fine Print
Day Three – The First Recipe