Who doesn’t love soaking in a warm bubble bath? It’s one of my favorite ways to relax after a long, stressful day. In the quest for the perfect bubble bath, I spent more than a year developing a great solid bubble bath recipe. I was inspired by so many great recipes and tutorials, and this video by Good Earth Spa in particular was incredibly helpful. These LoveSpell Bubble Bars are made with that very recipe, which is a combination of glycerin, castor oil and an array of dry ingredients. When combined they create a dough-like texture that you can roll and cut. The bars harden in about a week, and can be crumbled into your bath tub.
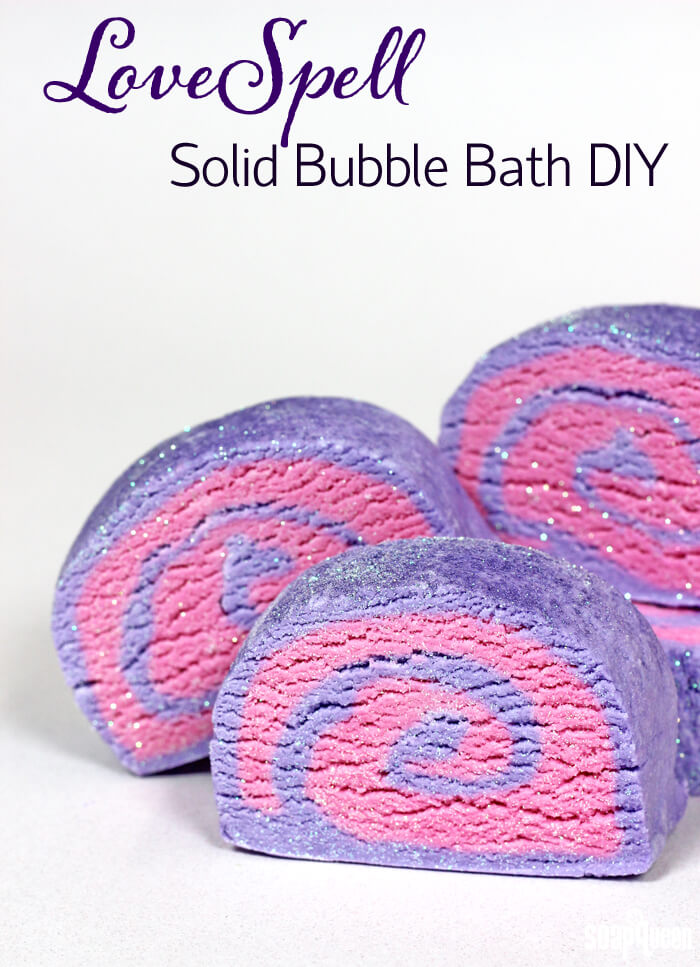
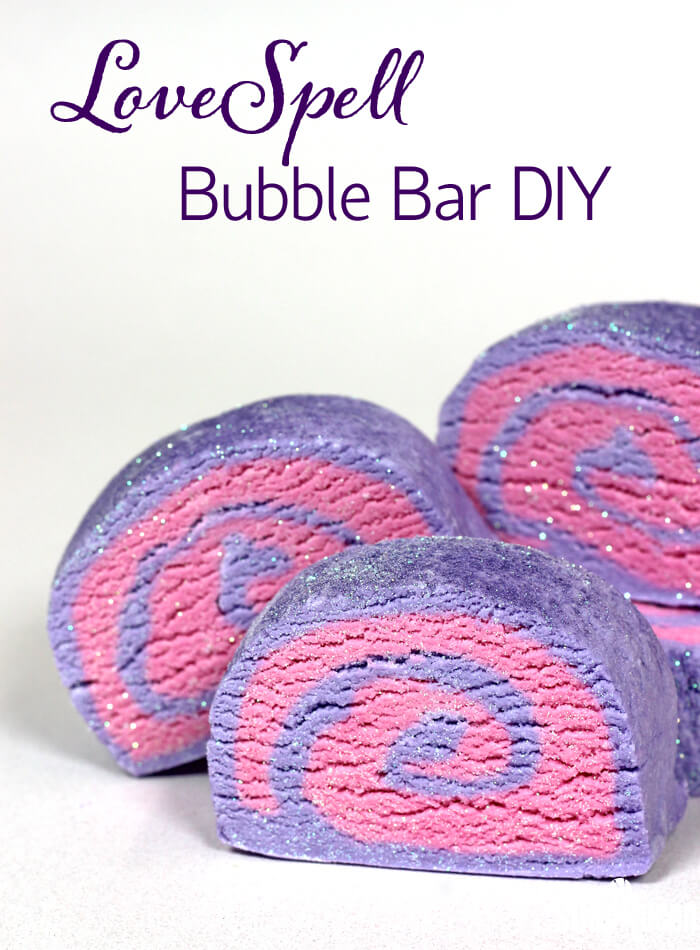
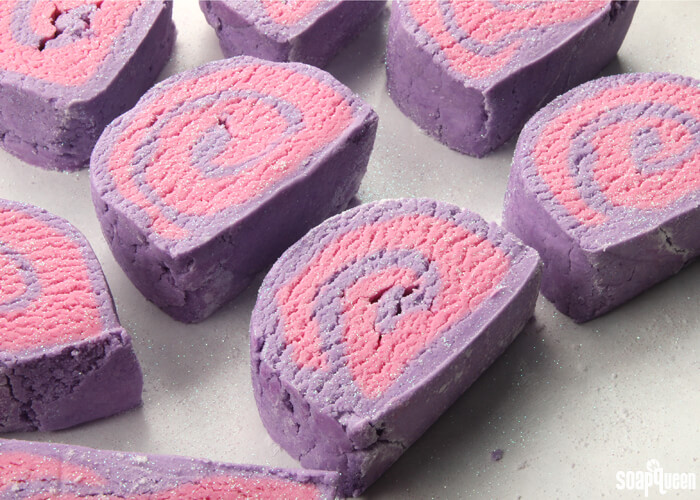
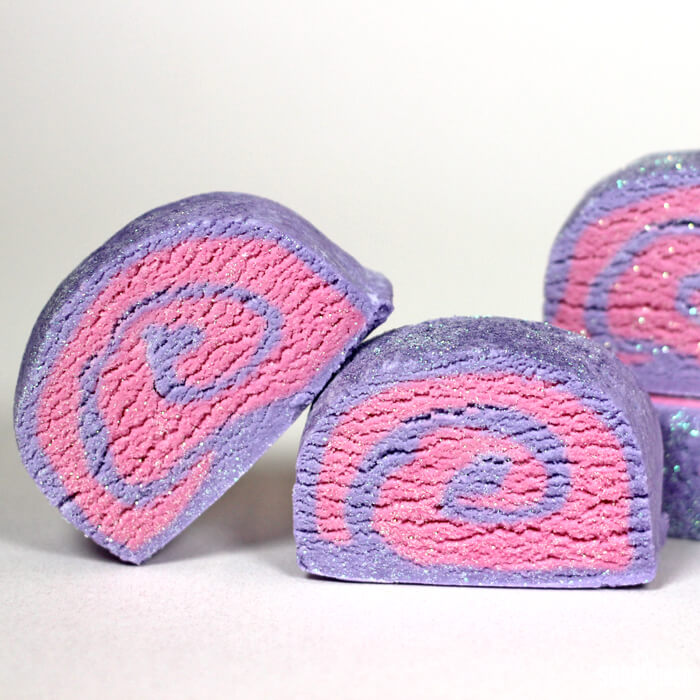
These LoveSpell Bubble Bars are super girly and fun. I used Eastern Purple and Pinkberry Sherbert LabColor for a wonderfully feminine color scheme. LoveSpell (Type) Fragrance Oil features notes of apple blossom, white musk and Italian bergamot. It smells wonderful. A heavy sprinkle of Lavender Mica and Fine Iridescent Glitter brings the wow factor. They would make wonderful Valentine’s Day gifts!
 If you have never made solid bubble bath before, I would highly recommend watching the Soap Queen TV video below. They are a little bit tricky. The dough is rather sticky and does take a gentle hand to roll evenly without tearing. If you have ever rolled sushi or a jelly roll cake, that experience will come in handy for this project! In the video below, I use a different color scheme and fragrance for a totally different feel. Feel free to add your choice of LabColor and skin-safe fragrance oil to create your own custom project. I don’t recommend making substitutions for the dry and wet ingredients in this recipe. It took a very long time to formulate, and replacing ingredients can greatly affect the texture of the dough or the bubbles.
What You’ll Need:
7 oz Liquid Glycerin
1.8 oz Castor Oil
0.7 oz Lovespell Type Fragrance Oil
10.1 oz Baking Soda
7.4 oz Cream of Tartar
2.7 oz Corn Starch
0.6 oz Modified Tapioca Powder
5.8 oz SLSA (Sodium Lauryl Sulfoacetate)
12 mL Diluted Eastern Purple High pH LabColor
6 mL Diluted Pinkberry Sherbert LabColor
Fine Iridescent Glitter
Lavender Mica

Click here to add everything you need for this project to your Bramble Berry shopping cart!
DILUTING LABCOLOR: You’ll need to premix your LabColors in order to use them in this project. We like diluting the small bottle of LabColor in 4 oz. of distilled water. For more on diluting LabColors, check out this blog post.
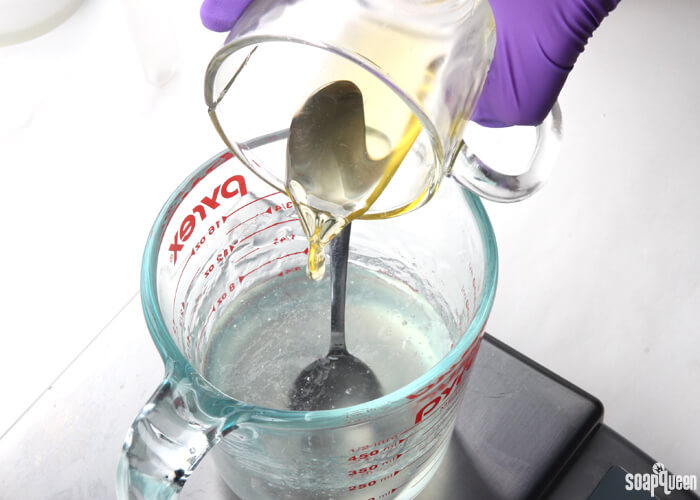
ONE: In a small container, mix together the liquid glycerin, castor oil, and LoveSpell Fragrance Oil. Stir until all the wet ingredients are completely combined.
 TWO: In a separate container, add the dry ingredients (baking soda, cream of tartar, corn starch, tapioca powder and SLSA) one by one through a fine mesh sifter and into a large bowl. The sifter ensures the mixture is completely smooth and clump free. I recommend adding the SLSA very last. SLSA is extremely fine and powdery, and can become airborne very easily. You may want to wear a mask during this step to avoid breathing in any SLSA. Once all the ingredients have been added, slowly mix together the dry ingredients.
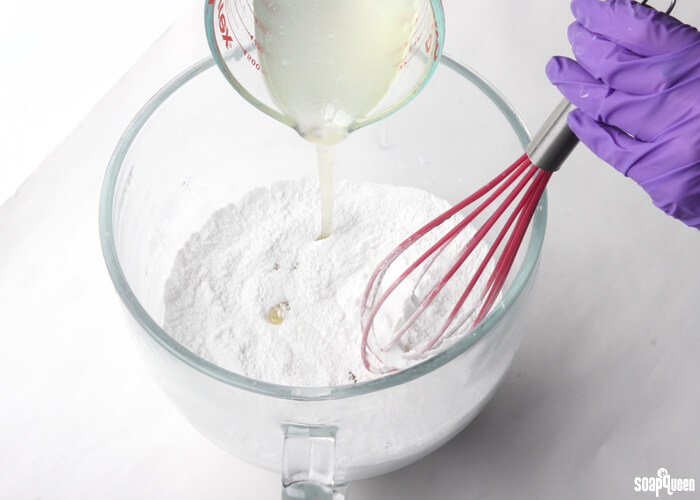
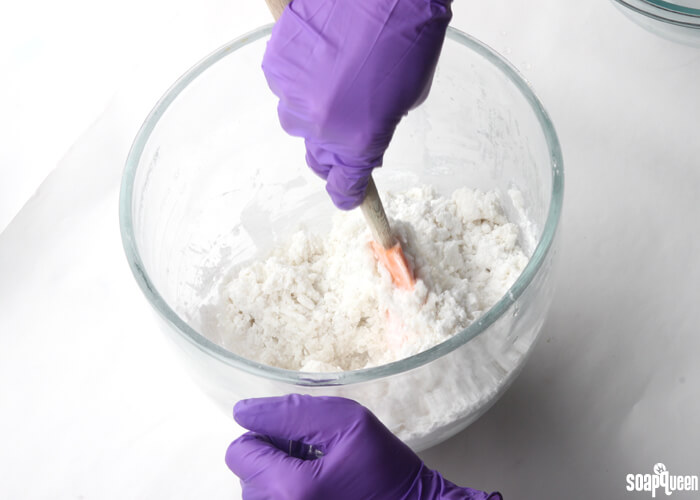
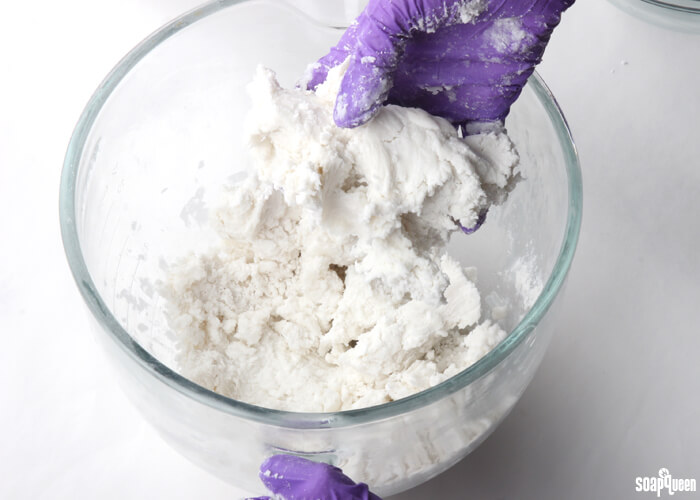
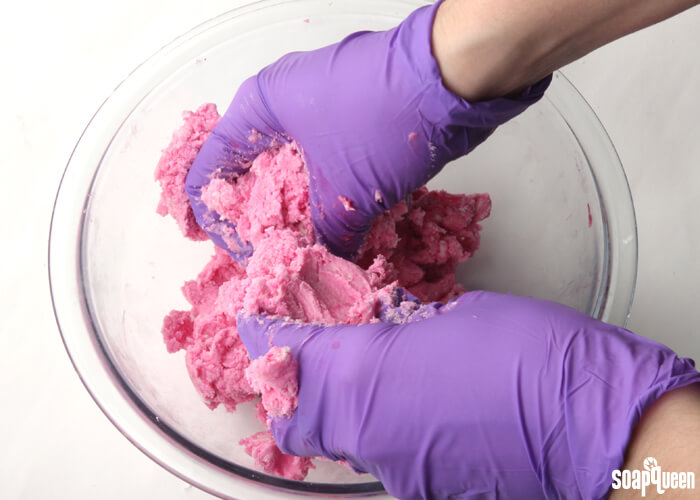
THREE: Pour the wet ingredients into the dry, and slowly work the ingredients together. A spatula or your hands is the best way to work in the wet ingredients.
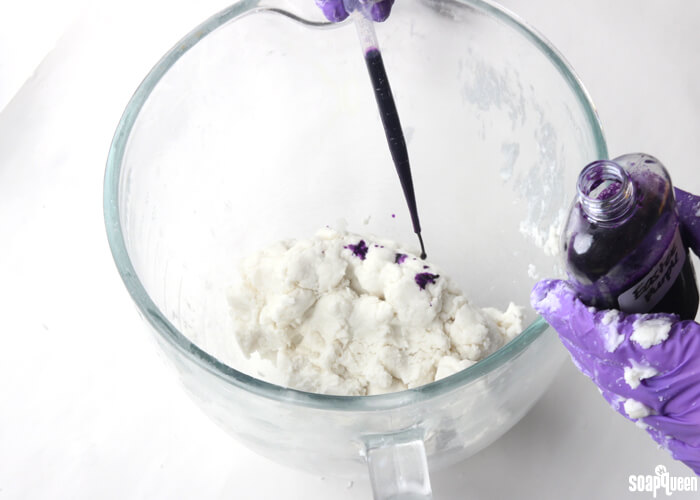
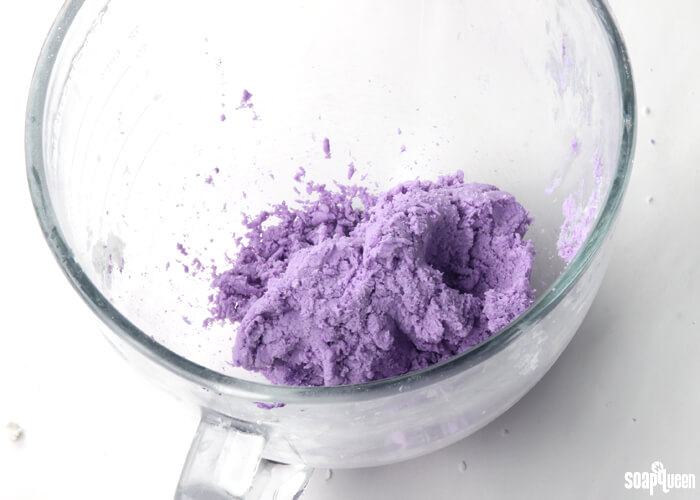
 FOUR: Once the dough is thoroughly mixed, divide it in half. To one half, add 12 mL Eastern Purple LabColor and use your gloved hands or spatula to thoroughly mix in.
 FIVE: To the other half, add 6 mL of the Pinkberry Sherbert diluted LabColor and use your gloved hands or spatula to thoroughly mix in the colorant.
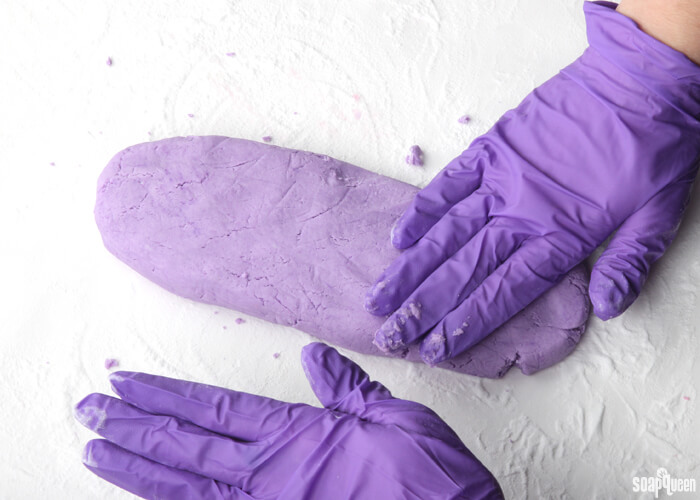
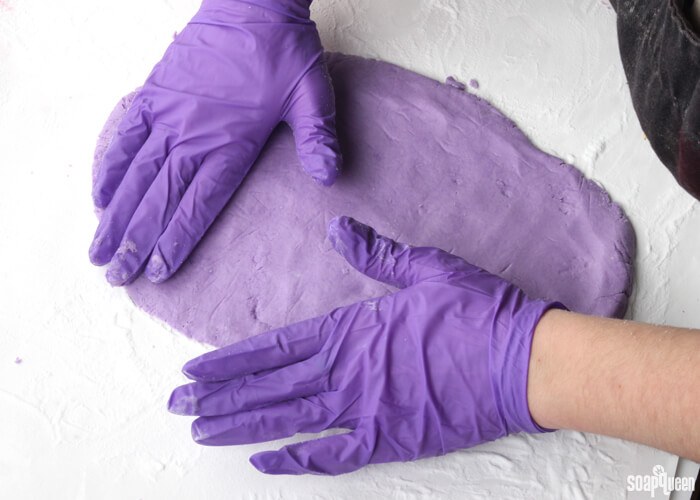
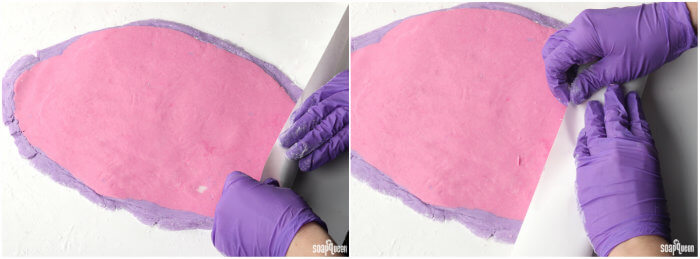
 SIX: Prepare your tabletop. Place a large piece of freezer or parchment paper on your work space. Then, lightly cover the paper with a dusting of baking soda. You don’t need a lot, just enough to keep the mixture from sticking to the paper. Then, take the purple “dough” and form a long log shape. Use your hands to flatten and spread the mixture.
 SEVEN: Place the pink dough on the top of the purple, and spread it out until it almost completely covers the purple. It’s okay if there is a little purple still sticking out!
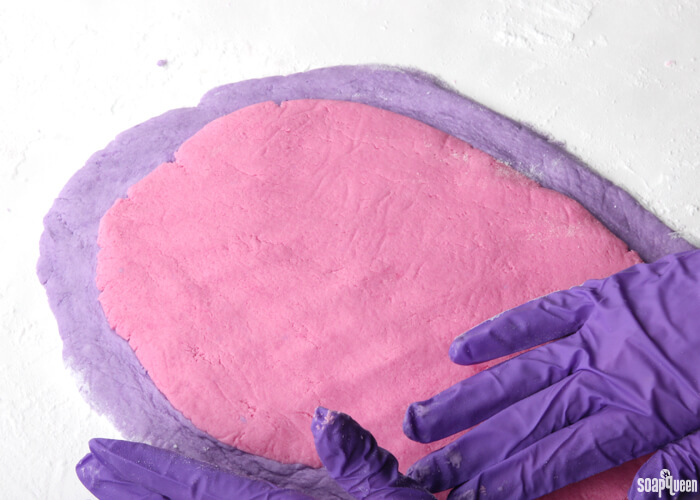 TIP: If you’d like the layers to be super smooth, cover the top with another piece of freezer or parchment paper, and use a rolling pin (or other round tool, like a Heavy Duty Column Mold!) to gently roll out and smooth the layers.
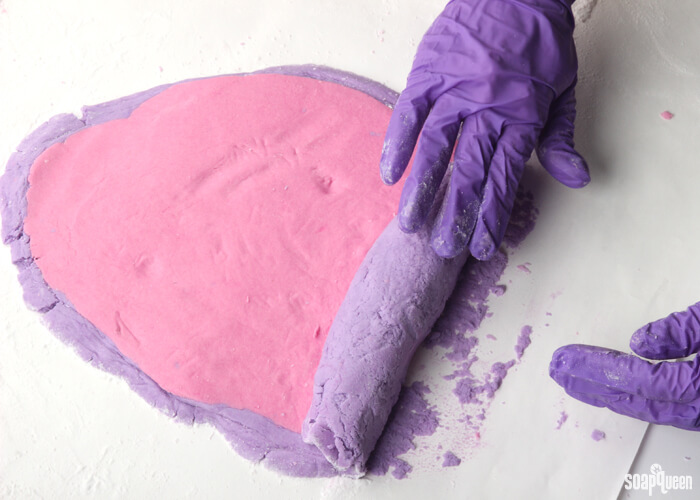
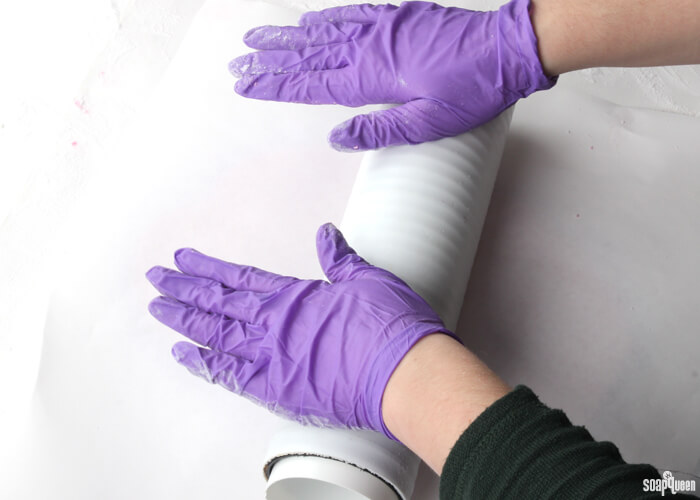 EIGHT: Now it’s time to roll! Starting on the side closest to you, begin to roll the dough up. With every roll, gently peel the paper back, then continue rolling. For this step, I would recommend checking out the Bubble Bath video on Soap Queen TV to get a better idea of this process.
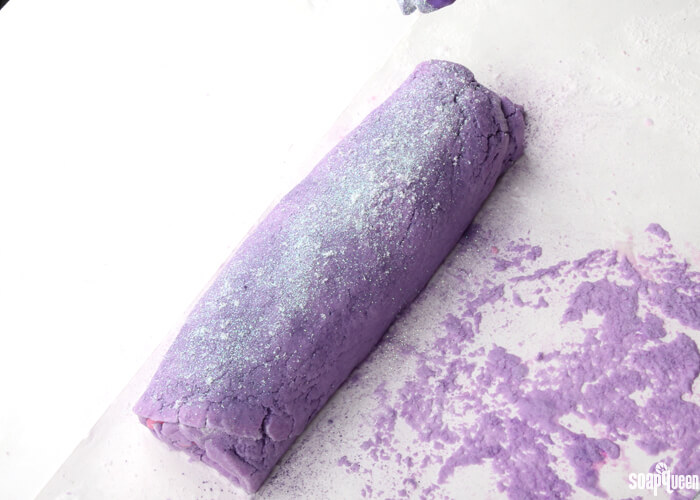
 NINE: Once the dough is completely rolled up, use your hands to gently press the layers together and compact the roll. You can also transfer the roll to a clean piece of parchment paper, and roll again as you shape it.
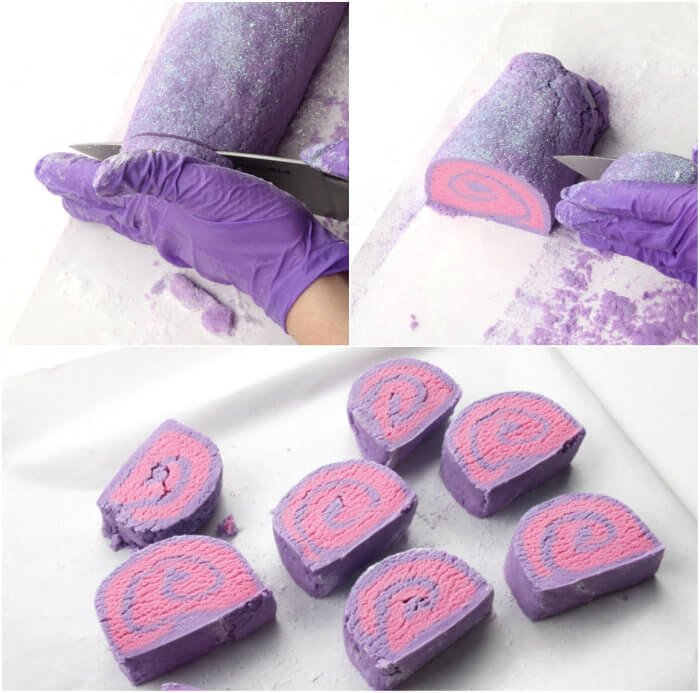
 TEN: Sprinkle the top of the roll with Lavender Mica and Fine Iridescent Glitter.
 ELEVEN: Use a sharp knife to carefully cut the roll into bars. Transfer the bars to a clean piece of parchment paper and sprinkle with more glitter. Be very careful when handling the bars, as they will be very soft and very delicate.
 Allow the bars to lay out for at least 3 days to harden. Depending on your climate, they may need over a week to fully harden. To use, crumble the bars and place them into the tub while the water is running to create the fluffiest bubbles. Enjoy!
Have you made bubble bars before? They are a little bit tricky, and definitely take some practice. But they make such wonderful gifts, and are so fun to use! If you have any bubble bar tips or tricks, I would love to hear them!

LoveSpell Solid Bubble Bath DIY
Ingredients
- 7 oz Liquid Glycerin
- 1.8 oz Castor Oil
- 0.7 oz Lovespell Type Fragrance Oil
- 10.1 oz Baking Soda
- 7.4 oz Cream of Tartar
- 2.7 oz Corn Starch
- 0.6 oz Modified Tapioca Powder
- 5.8 oz SLSA Sodium Lauryl Sulfoacetate
- 12 mL Diluted Eastern Purple High pH LabColor
- 6 mL Diluted Pinkberry Sherbert LabColor
- Fine Iridescent Glitter
- Lavender Mica
Instructions
DILUTING LABCOLOR: You’ll need to premix your LabColors in order to use them in this project. We like diluting the small bottle of LabColor in 4 oz. of distilled water. For more on diluting LabColors, check out this blog post.
- In a small container, mix together the liquid glycerin, castor oil, and LoveSpell Fragrance Oil. Stir until all the wet ingredients are completely combined.
- In a separate container, add the dry ingredients (baking soda, cream of tartar, corn starch, tapioca powder and SLSA) one by one through a fine mesh sifter and into a large bowl. The sifter ensures the mixture is completely smooth and clump free. I recommend adding the SLSA very last. SLSA is extremely fine and powdery, and can become airborne very easily. You may want to wear a mask during this step to avoid breathing in any SLSA. Once all the ingredients have been added, slowly mix together the dry ingredients.
- Pour the wet ingredients into the dry, and slowly work the wet into the dry. A spatula or your hands is the best way to work in the wet ingredients.
- Once the dough is thoroughly mixed, divide it in half. To one half, add 12 mL Eastern Purple LabColor and use your gloved hands or spatula to thoroughly mix in.
- To the other half, add 6 mL of the Pinkberry Sherbert diluted LabColor and use your gloved hands or spatula to thoroughly mix in the colorant.
- Prepare your tabletop. Place a large piece of freezer or parchment paper on your work space. Then, lightly cover the paper with a dusting of baking soda. You don't need a lot, just enough to keep the mixture from sticking to the paper. Then, take the purple "dough" and form a long log shape. Use your hands to flatten and spread the mixture.
- Place the pink dough on the top of the purple, and spread it out until it almost completely covers the purple. It’s okay if there is a little purple still sticking out! TIP: If you'd like the layers to be super smooth, cover the top with another piece of freezer or parchment paper, and use a rolling pin (or other round tool, like a Heavy Duty Column Mold!) to gently roll out and smooth the layers.
- Now it’s time to roll! Starting on the side closest to you, begin to roll the dough up. With every roll, gently peel the paper back, then continue rolling. For this step, I would recommend checking out the Bubble Bath video on Soap Queen TV to get a better idea of this process.
- Once the dough is completely rolled up, use your hands to gently press the layers together and compact the roll. You can also transfer the roll to a clean piece of parchment paper, and roll again as you shape it.
- Sprinkle the top of the roll with Lavender Mica and Fine Iridescent Glitter.
- Use a sharp knife to carefully cut the roll into bars. Transfer the bars to a clean piece of parchment paper and sprinkle with more glitter. Be very careful when handling the bars, as they will be very soft and very delicate.
- Allow the bars to lay out for at least 3 days to harden. Depending on your climate, they may need over a week to fully harden. Once you’re ready to use, crumble the bars and place them into the tub while the water is running to create the fluffiest bubbles.