 This is the most fun of the entire project, the reveal! This is when you see what all of your planning, preparation and soap placing hath wrought.

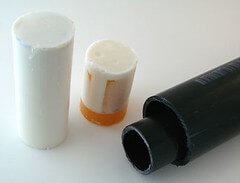
Tip: When using a plastic juice can, be sure to cut the bottom off before you fill it with soap. They’re much harder to saw through with a dull kitchen knife otherwise.

Use both hands, gently push the chilled soap out. The shorter the tube, the easier it is to push the soap out. Some of the sewer pipes I used were multiple feet and they were misery in a tube.
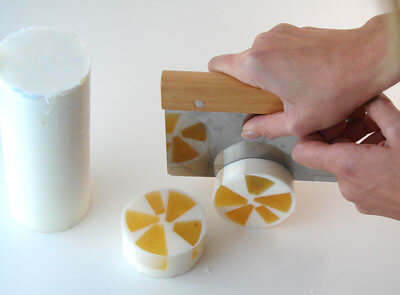
Cut the soap and gasp in horror (or awe if you’re not cutting and placement challenged) at the abstract citrus soap art. Here, I used Bramble Berry’s straight cutter (commonly used by pastry chefs to clean up flour and goo in commercial kitchens). You can also use a sharp knife or crinkle cutter.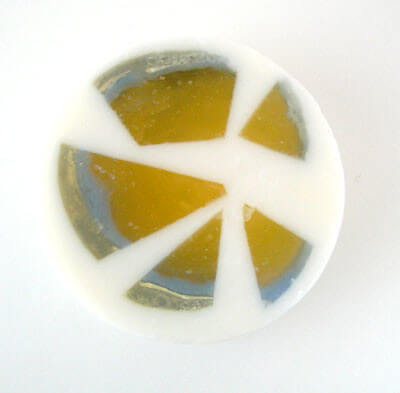 If you needed a reminder about why to use a funnel to pour your seal layer, the photo above should scare you straight. Hands are shaky, faulty things and a funnel helps to ensure a straight soap pour that doesn’t get rivulets of sealing soap down the sides of your tube. There’s another picture on yesterday’s tutorial showing a lovely streak of blue going down the side of the slice soap insert.
Look for the beautiful photograph later today proving that yes, good photography really does hide a multitude of sins. If you missed yesterday’s tutorial, you can find it here.