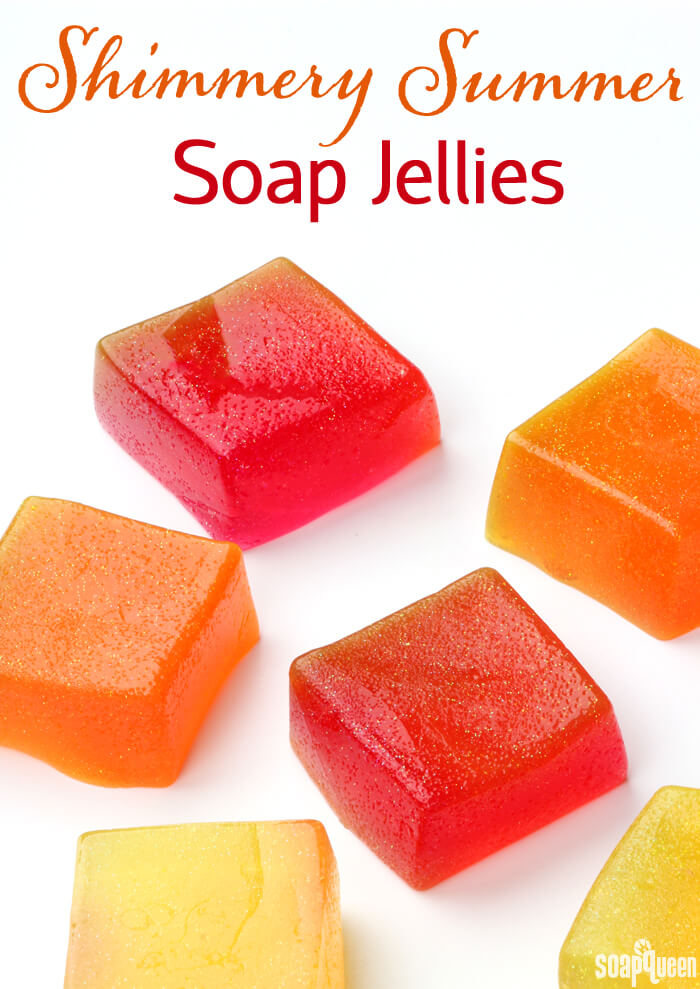
Have you used jelly soap before? It cleanses just like regular soap, except it’s wiggly, jiggly and guaranteed to entertain. The fun texture is perfect for kids. They’ll love the way it bounces all over the table. Although I have to admit, all the adults in our office had a lot of fun with it too. =)
These Shimmery Summer Soap Jellies use water soluble LabColors to create warm yellow, orange and red colors. They have a bit of sparkle from Fine Iridescent Glitter, and Summer Fling Fragrance Oil is added to complete the summery theme.
Once melted, the texture of the Stephenson Jelly Melt and Pour Base is much thicker than regular melt and pour soap. The texture is rather gloppy, and bubbles do not rise to the surface. To help avoid excess bubbles, stir the base as little as possible. The base also requires a little bit more time to melt. To use the soap, break off a small piece and lather it on a washcloth or loofah. We have heard of some soapers freezing the soap to make it harder and easier to handle. In our tests, the soap stayed soft and jiggly even after being frozen.

See the jellies in action in the video below!
https://instagram.com/p/5YC8NIA5oB/?taken-by=brambleberry
What You’ll Need:
9 Cube Soap Silicone Mold
32 oz. Stephenson Jelly Melt and Pour
10 mL Summer Fling Fragrance Oil
1/2 tsp. Fine Iridescent Glitter
Fuchsia Lab Color
Canary LabColor
Orange LabColor
Optional: Droppers

Click here to add everything you need for this project to your Bramble Berry shopping cart!
DILUTING LABCOLOR: You’ll need to dilute your LabColors in order to use them in this project. We like diluting the small bottle of LabColor in 4 oz. of distilled water. For more on diluting LabColors, check out this blog post.
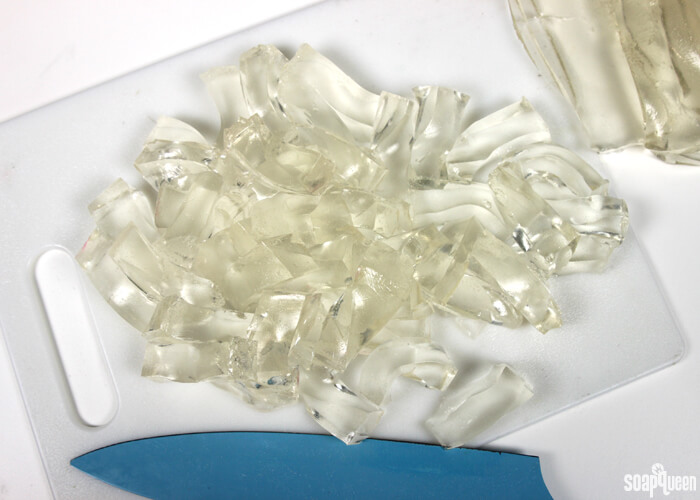
ONE: Cut the Stephenson Jelly Melt and Pour into small pieces. Place in a large heat safe container and melt using 1 minute bursts. This melt and pour base takes a little longer to melt than regular melt and pour soap, so longer bursts are needed. Keep stirring between each burst but only a few times; jelly soap has a tendency to create bubbles. Because the soap base is so thick, the bubbles do not rise to the top like regular melt and pour bases. Once melted, remove from the microwave. The base will be thick.
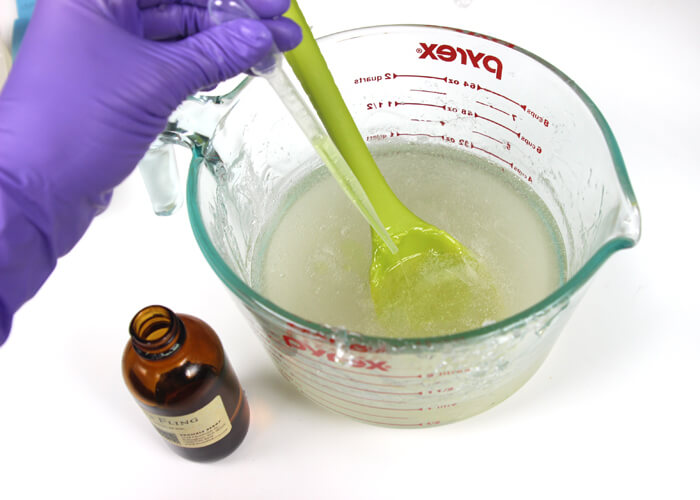
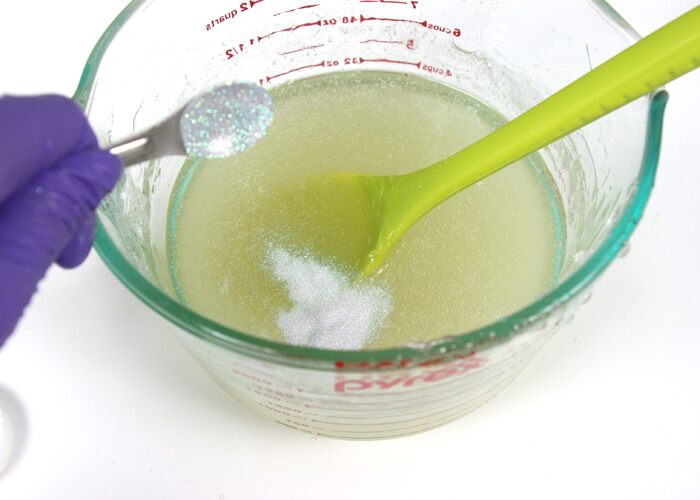
 TWO: Add the Summer Fling Fragrance Oil and glitter. Gently stir to thoroughly incorporate. Stirring gently and slowly will help prevent air bubbles.
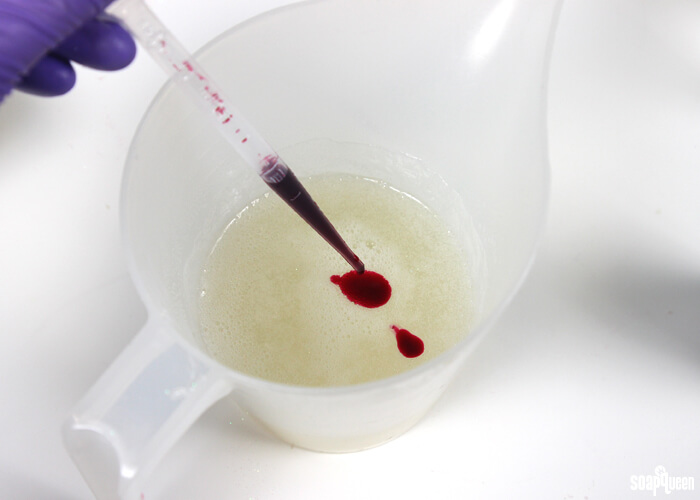
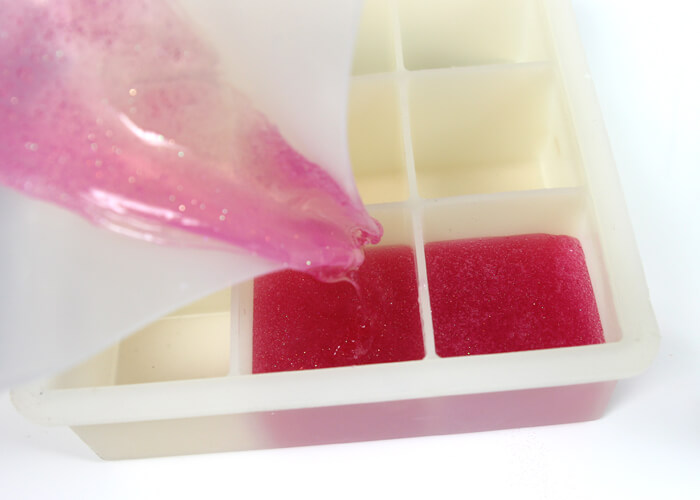
 THREE: Split the large batch into three separate containers, each weighing about 10.6 oz. The base will start to cool and thicken, this is fine. If necessary, place the containers back into the microwave and heat using 20 second bursts until the melt and pour base is thinner and more workable. Remember, it will always be a little bit thicker than normal melt and pour bases. =) To one container, add 1 mL of diluted Fuchsia Labcolor and gently stir to combine the color. Pour the pink soap into 3 cavities of the mold, filling each about 3/4 full. Oxides are more challenging to use in this soap base.
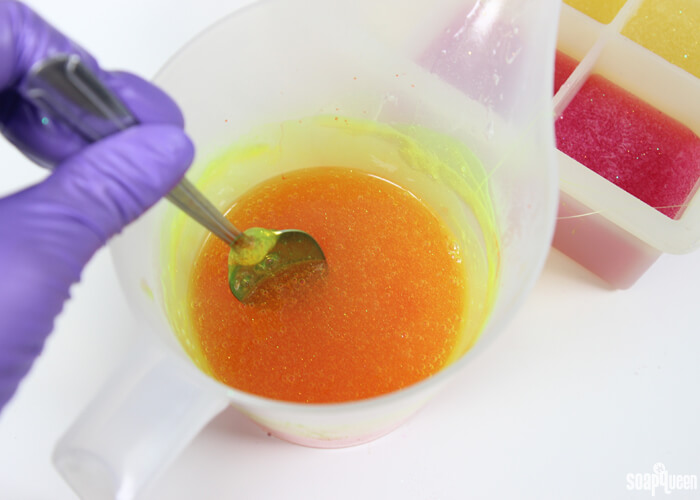
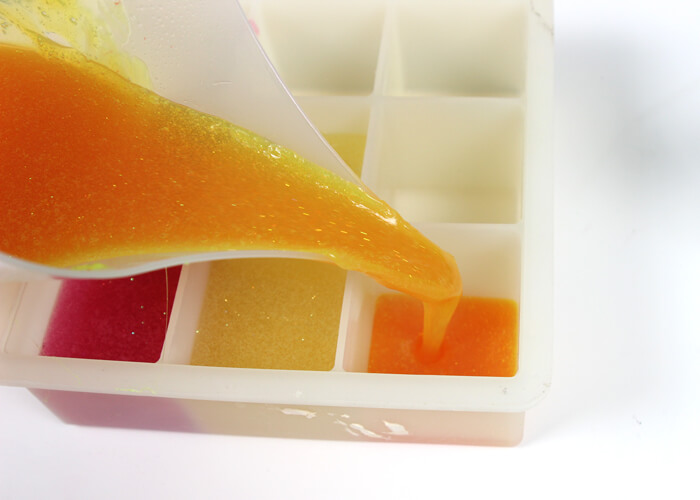
FOUR: To another container of soap, mix in 2 mL of diluted Canary LabColor and pour into three cavities of the mold. In another container, mix in 2 mL of the diluted Orange LabColor and pour into three cavities of the mold. Because the soap is so thick, spraying the top with 99% isopropyl alcohol is not needed. The alcohol does not work very well to disperse bubbles. Allow the soap to fully cool and harden for several hours. Gently remove from the mold.
During our tests, we found this base was fairly resistant to glycerin dew. Our soap was left in the open for a week and did not form glycerin dew. But to be on the safe side, I recommend wrapping the soap in plastic wrap to keep them in tip-top shape. Learn more about storing your soap here. To use, tear off a small piece of the soap and work it into a lather with a loofah, washcloth or sponge. Some like to freeze soap jellies to harden the product. In our tests, we found that placing the Stephenson Jelly Soap Base did not produce a completely hard soap; it was still quite wiggly and soft.

What’s your favorite craft to make with children?
Shimmery Summer Soap Jellies
Ingredients
- 9 Cube Soap Silicone Mold
- 32 oz. Stephenson Jelly Melt and Pour
- 10 mL Summer Fling Fragrance Oil
- 1/2 tsp. Fine Iridescent Glitter
- Fuchsia Lab Color
- Canary LabColor
- Orange LabColor
- Optional: Droppers
Instructions
- DILUTING LABCOLOR: You’ll need to dilute your LabColors in order to use them in this project. We like diluting the small bottle of LabColor in 4 oz. of distilled water. For more on diluting LabColors, check out this blog post.
- Cut the Stephenson Jelly Melt and Pour into small pieces. Place in a large heat safe container and melt using 1 minute bursts. This melt and pour base takes a little longer to melt than regular melt and pour soap, so longer bursts are needed. Keep stirring between each burst but only a few times; jelly soap has a tendency to create bubbles. Because the soap base is so thick, the bubbles do not rise to the top like regular melt and pour bases. Once melted, remove from the microwave. The base will be thick.
- Add the Summer Fling Fragrance Oil and glitter. Gently stir to thoroughly incorporate. Stirring gently and slowly will help prevent air bubbles.
- Split the large batch into three separate containers, each weighing about 10.6 oz. The base will start to cool and thicken, this is fine. If necessary, place the containers back into the microwave and heat using 20 second bursts until the melt and pour base is thinner and more workable. Remember, it will always be a little bit thicker than normal melt and pour bases. =) To one container, add 1 mL of diluted Fuchsia Labcolor and gently stir to combine the color. Pour the pink soap into 3 cavities of the mold, filling each about 3/4 full.
- To another container of soap, mix in 2 mL of diluted Canary LabColor and pour into three cavities of the mold. In another container, mix in 2 mL of the diluted Orange LabColor and pour into three cavities of the mold. Because the soap is so thick, spraying the top with 99% isopropyl alcohol is not needed. The alcohol does not work very well to disperse bubbles. Allow the soap to fully cool and harden for several hours. Gently remove from the mold. To use, tear off a small piece of the soap and work it into a lather with a loofah, washcloth or sponge.