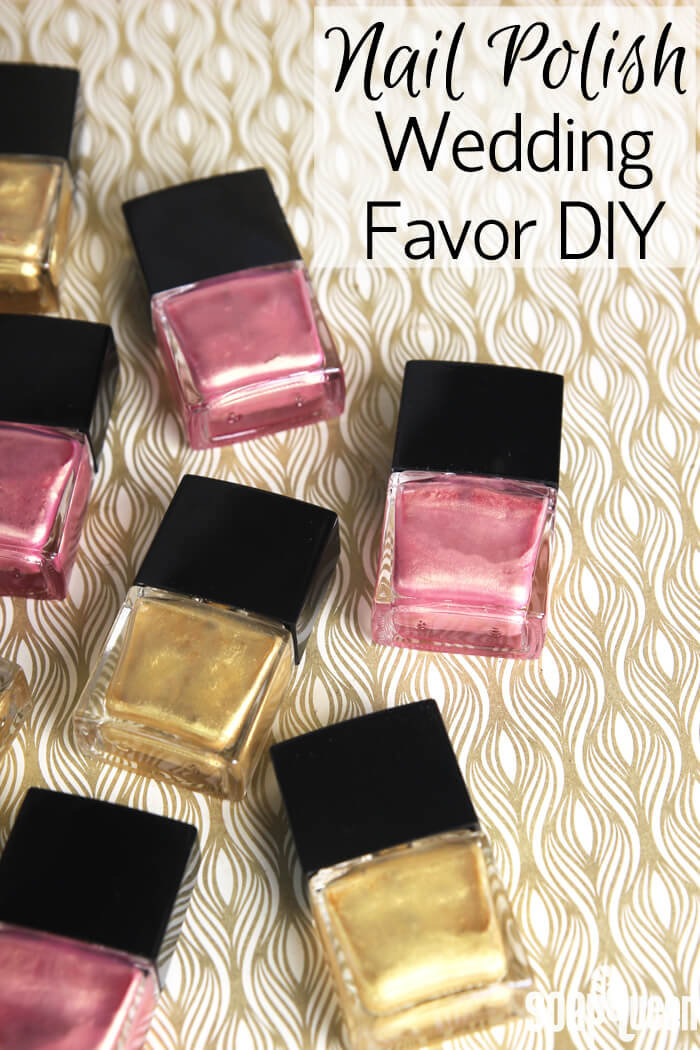
Nail polish is one of my favorite cosmetic products to make. It’s easy and customizable. If you’re getting married soon, custom nail polish makes a fantastic a wedding favor or bridesmaid gift. A nail polish party is also a great idea for a bridal shower or bachelorette party. Last year I threw a nail polish party for a few friends and we had a blast. Click here to see the fun, and my tips for throwing a nail polish party. Jen of Something Turquoise also created her own “Nail Polish Bar.” Click here to see her adorable set up and ideas.
If you’ve never made nail polish before, it couldn’t be easier. In a nail polish bottle, simply add the mica of your choice, a mixing ball and the Suspending Nail Polish Base. Then shake, shake, shake to disperse the color! Then it’s ready to use. You can also add pigments to the nail polish base as shown in the Anti-Pinch Nail Polish, but if using pigments, they do need to be mixed in isopropyl alcohol first to get rid of clumps.
What You’ll Need:
10 Rectangle Nail Polish Bottle
10 Nail Polish Mixing Balls
4 oz. Suspending Nail Polish Base
Gold Sparkle Mica
Rose Gold Mica
.15 CC Scoop

Click here to add everything you need for this project to your Bramble Berry shopping cart!
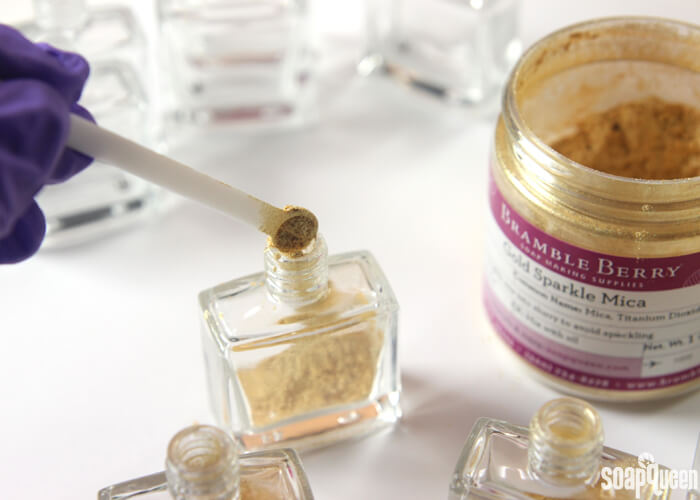
ONE: Place a nail polish mixing ball into each bottle. Then, to five of the bottles add 15 mini scoops of the Gold Sparkle Mica. If you’d like a more sheer color you can add less. Continue scooping the polish until each bottle contains Gold Sparkle Mica.
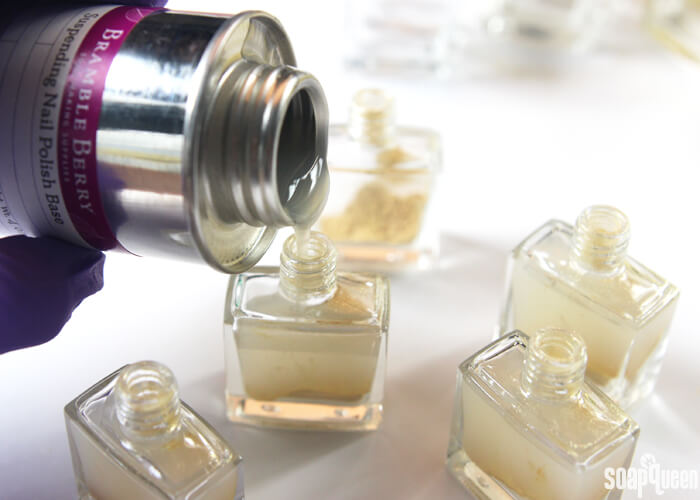
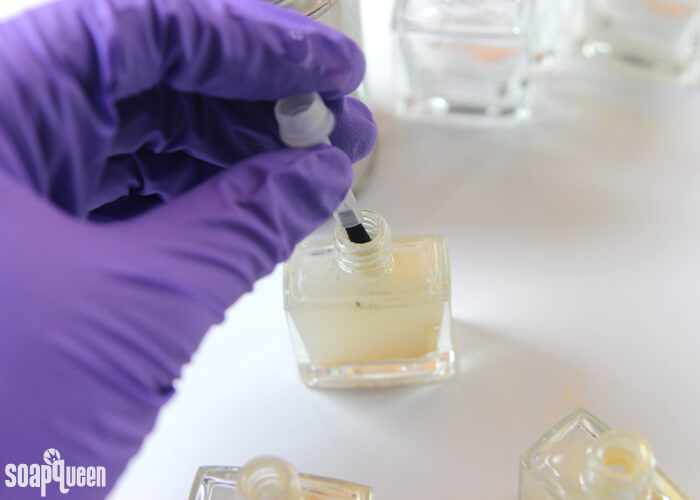
 TWO: In a well-ventilated space and nowhere near a significant heat source or flame, pour the nail polish base slowly into the nail polish bottles. Fill until just below the shoulder of the bottle to allow for mixing room. If you spill, use an old rag to wipe the neck of the bottle. If you forget to do this, your lid may “glue” itself to the bottle. Please note that nail polish is extremely flammable and should never be customized near any open flame or extremely hot heat source (say, a stove or something like that).
 THREE: Once each bottle is full, place the brush into the bottle and twist the black cap over it until you hear a “click.” Once the cap is securely on the bottle, start shaking! Shake the bottle for 3-5 minutes to fully disperse the colorant into the nail polish base.
 FOUR: Repeat this process for the pink polish. Add a mixing ball to each bottle, then add 15 scoops of the Rose Gold Mica. Carefully fill each bottle with nail polish base. Then insert the brush, cap and place the rectangle decorative outer cap. Then, shake until the mica is thoroughly mixed into the base.
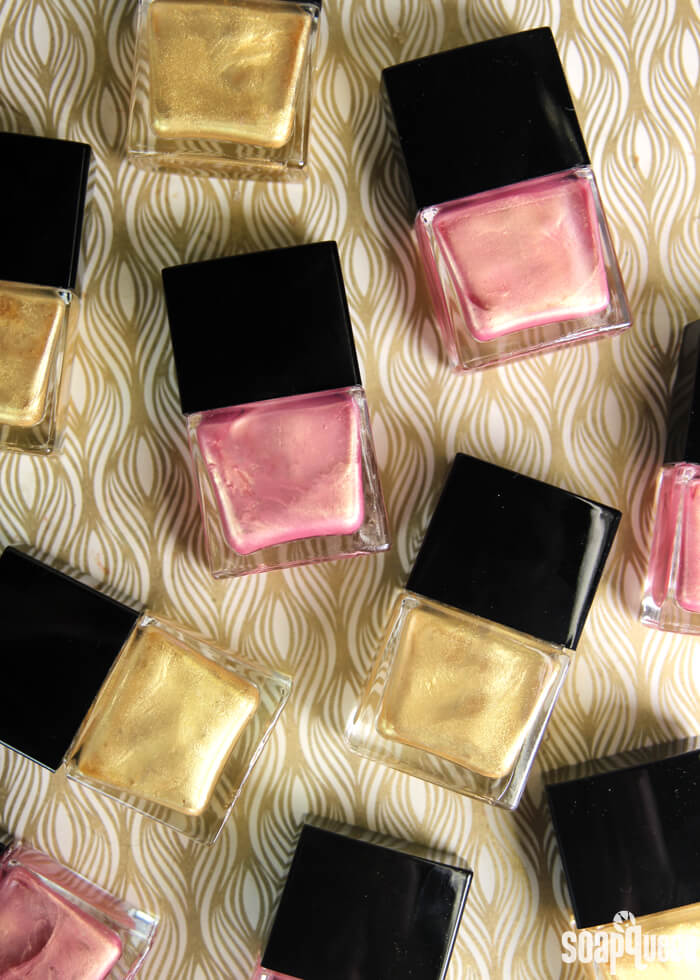
 When the colorant has been fully dispersed, you’re finished. Enjoy! Looking for more nail polish ideas? You can add cornstarch to polish for a matte finish, or a small amount of oil to help nourish your nails.
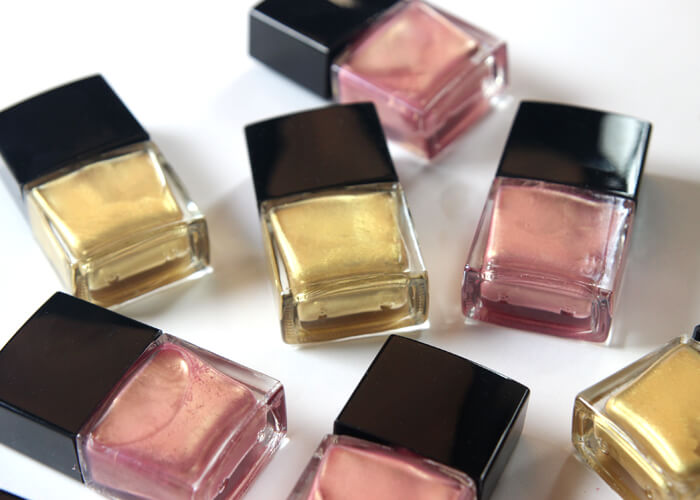
Nail polish is a great gift or favor, as each time your loved ones wear the polish they will be reminded of your special day. Have you ever made nail polish with friends before? It’s one of my favorite group crafting activities. =)
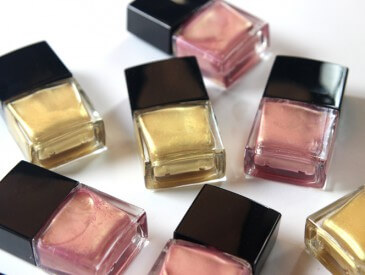
Nail Polish Wedding Favors DIY
Ingredients
- 10 Rectangle Nail Polish Bottle
- 10 Nail Polish Mixing Balls
- 4 oz. Suspending Nail Polish Base
- Gold Sparkle Mica
- Rose Gold Mica
- .15 CC Scoop
Instructions
- Place a nail polish mixing ball into each bottle. Then, to five of the bottles add 15 mini scoops of the Gold Sparkle Mica. If you’d like a more sheer color you can add less. Continue scooping the polish until each bottle contains Gold Sparkle Mica.
- In a well-ventilated space, pour the nail polish base slowly into the nail polish bottles. Fill until just below the shoulder of the bottle to allow for mixing room. If you spill, use an old rag to wipe the neck of the bottle. If you forget to do this, your lid may “glue” itself to the bottle. Please note that nail polish is extremely flammable and should never be customized near any open flame or extremely hot heat source (say, a stove or something like that).
- Once each bottle is full, place the brush into the bottle and twist the black cap over it until you hear a “click.” Once the cap is securely on the bottle, start shaking! Shake the bottle for 3-5 minutes to fully disperse the colorant into the nail polish base.
- Repeat this process for the pink polish. Add a mixing ball to each bottle, then add 15 scoops of the Rose Gold Mica. Carefully fill each bottle with nail polish base. Then insert the brush, cap and place the rectangle decorative outer cap. Then, shake shake shake until the mica is thoroughly mixed into the base.
- When the colorant has been fully dispersed, you’re finished. Enjoy! Looking for more nail polish ideas? You can also add fragrance oil to nail polish, check out the tutorial here!