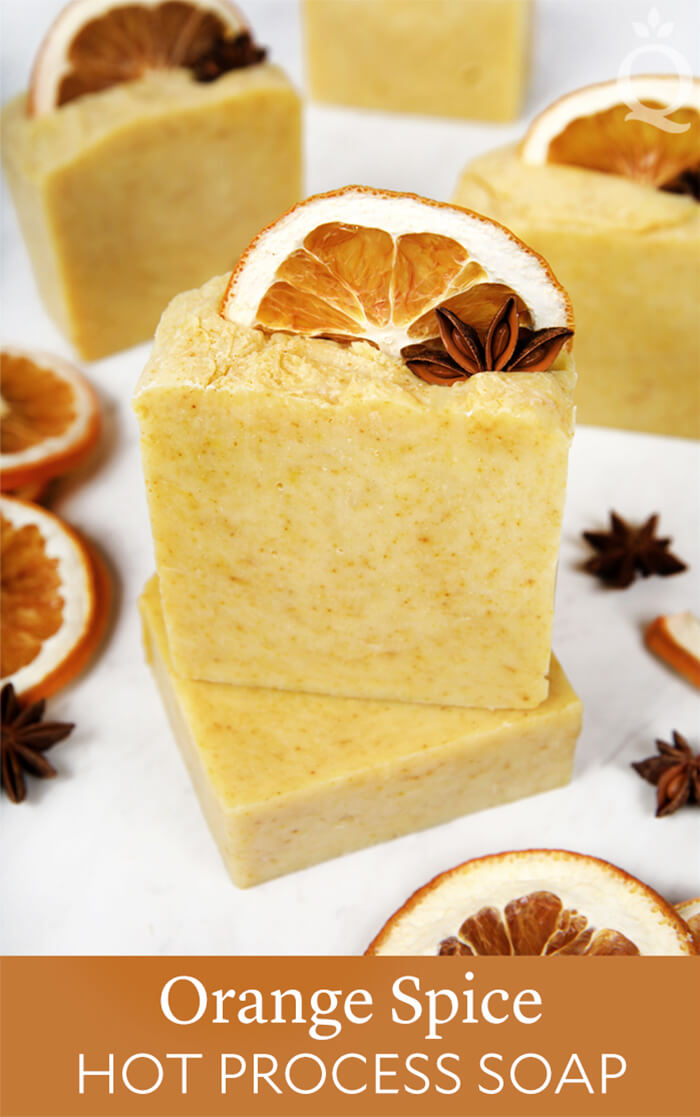
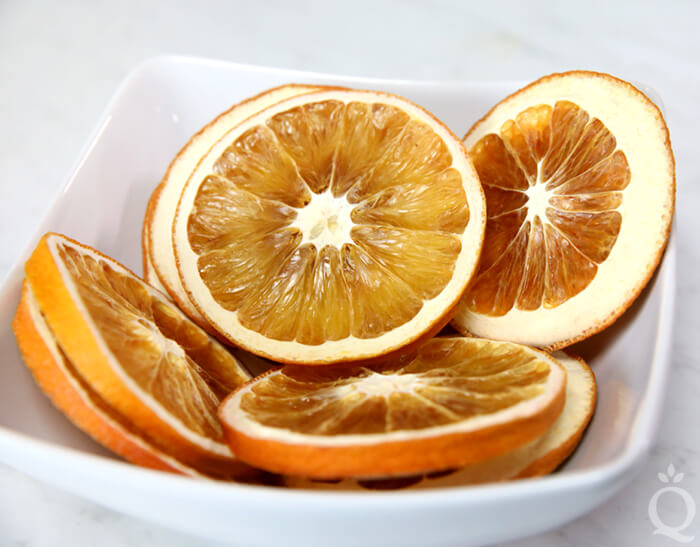
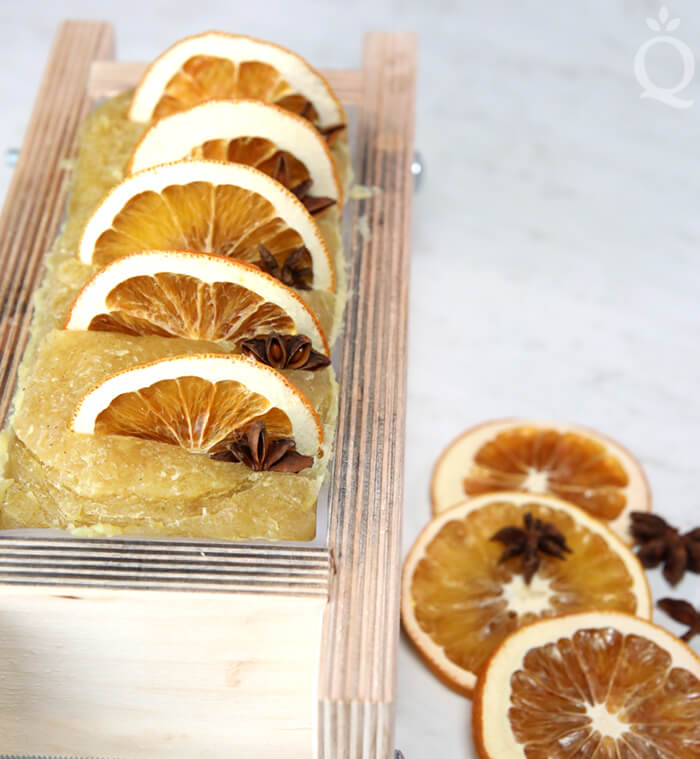
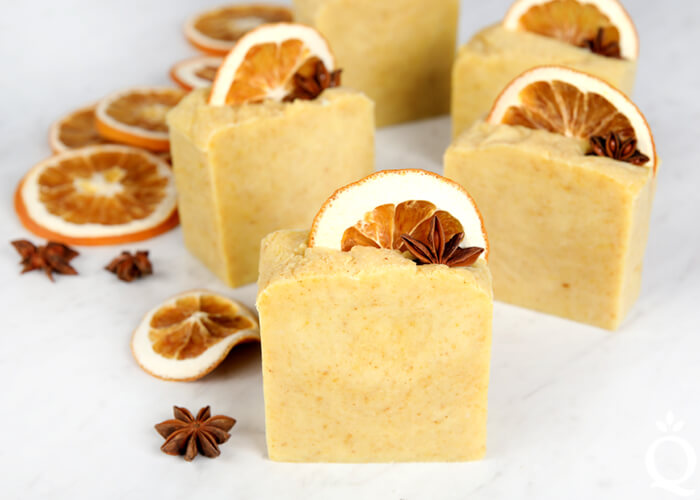
We love making things from scratch. That love of DIY inspired this Orange Spice Hot Process Soap, complete with homemade dried orange slices. The slices were created in a dehydrator as a perfect accent for this holiday project.
It’s scented with a combination of Orange 10X Essential Oil and cinnamon leaf essential oil, which makes the bars smell like a delicious holiday treat. Orange peel powder adds texture and a touch of color.
Unfamiliar with hot process soapmaking? The main difference between hot process and cold process soap is that hot process is cooked, which speeds up the saponification process. This results in soap that can be cut within 24 hours and enjoyed the same day. It’s the perfect project if you need to make last-minute gifts. Learn more in this Lemongrass and Lavender Hot Process Soap video on Soap Queen TV.
To create the dried oranges, we used a process very similar to this tutorial. After about 12 hours in the dehydrator, the orange slices are a hard texture perfect for topping soap. They are purely for decoration and can be left out if you prefer. Oranges are natural items that can wilt or even mold if left in the shower long enough.
What You Need:
2 lb. Wood Loaf Mold
Silicone Liner for 2 lb. Wood Mold
22 oz. Lots of Lather Quick Mix
3.2 oz. Sodium Hydroxide Lye
7.3 oz. Distilled Water
0.7 oz. Sodium Lactate
0.7 oz. Orange 10X Essential Oil
0.3 oz. Cinnamon Leaf Essential Oil
1 Tbsp. Orange Peel Powder
Anise Stars
Dried Orange Slices
Click here to add everything you need for this project to your Bramble Berry shopping cart!
If you’ve never made hot process soap before, stop here. Check out our FREE four part SoapQueen.tv series on cold process soapmaking, especially the episode on lye safety. Bramble Berry also carries a wide range of books on the topic, including Pure Soapmaking.
FRAGRANCE PREP: Measure 0.7 ounces of Orange 10X Essential Oil and 0.3 oz. cinnamon leaf essential oil into a small glass container and set aside.
SAFETY FIRST: Suit up for safe handling practices. That means goggles, gloves, and long sleeves. Make sure kids, pets, other distractions, and tripping hazards are out of the house or don’t have access to your soaping space. Always soap in a well-ventilated area.
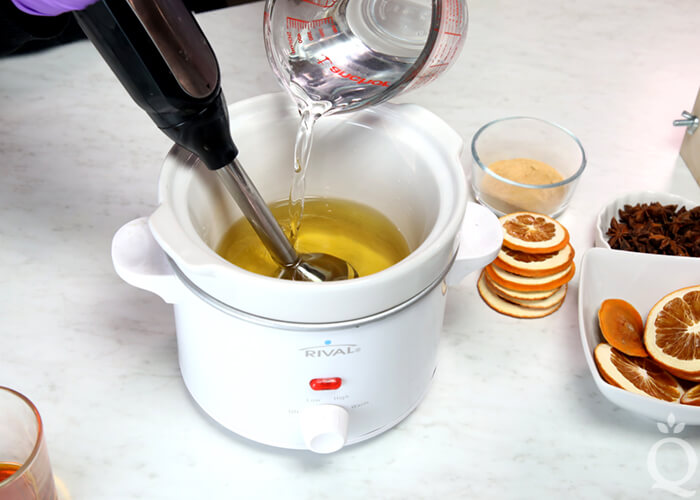
ONE: Slowly and carefully add the lye to the water and gently stir until the lye has fully dissolved and the liquid is clear. Set aside to cool. Once cooled to about 130 °F , add the sodium lactate to the lye water. Sodium lactate is used in hot process at 3% of the oil weight to help produce a smoother bar.
TWO: Fully melt the entire bag of Lots of Lather Quick Mix until it’s completely clear and there’s no cloudiness. Shake the bag to mix up all the oils. Measure 22 oz. into your Crock-Pot and turn it on.
NOTE: The heat setting you use may vary depending on your cooking vessel. We have cooked hot process soap on low and high heat with equally good results. For this recipe, we used the high heat setting for a faster cook time. If you’re making hot process soap in your cooking vessel for the first time, start with the low setting. Next time try the high setting and see which you prefer.
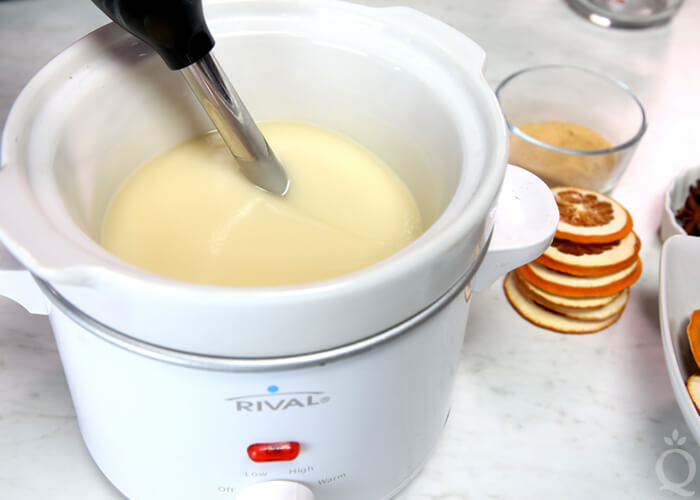
THREE: Slowly add the lye water to the oils. Make sure the mixture does not fill up more than half of the pot or cooking vessel. Tap the stick blender on the bottom of the pot to release air bubbles and begin to blend.
FOUR: Mix with a stick blender until a thick trace is achieved.
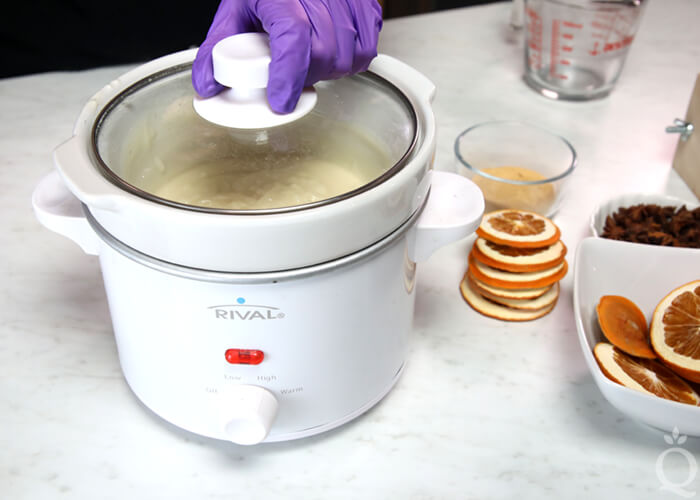
FIVE: Put the lid on the Crock-Pot and allow the soap to start cooking.
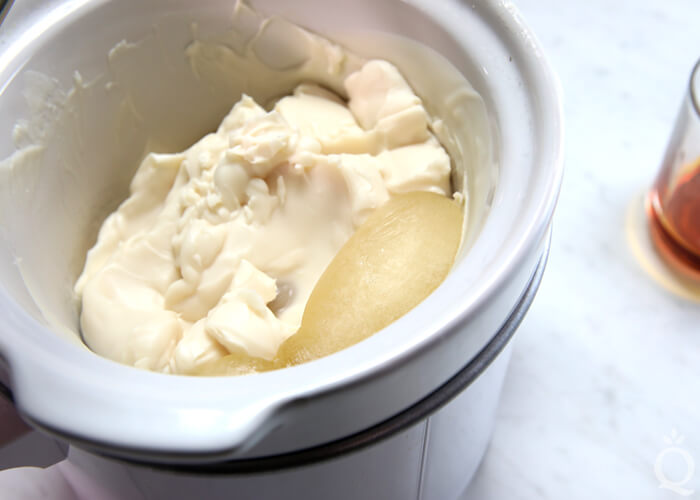
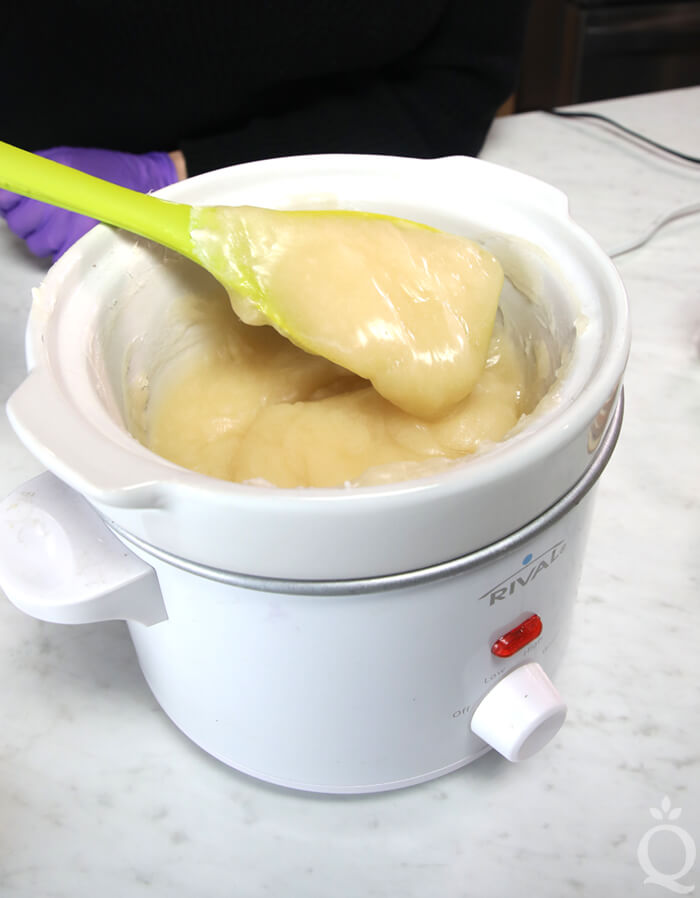
After about 10 minutes, check the soap to see the progress made. Starting from the outside, the texture and color of the soap will start to change into a glossy, slightly Vaseline-like texture (shown below).
NOTE: Don’t be surprised if the soap starts to grow in volume. Do not leave your soap unattended in the first 10 minutes of cook time for this reason. If the soap gets too high in the pot, wearing gloves, take the pot off heat and stir like crazy.
SIX: Stir the batch to ensure even cooking. Place the lid back on the pot and allow it to cook for about another 7-10 minutes.
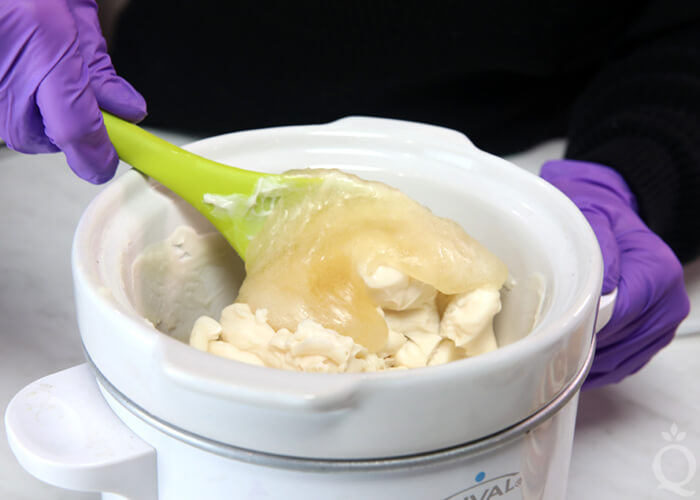
SEVEN: The batch will be ready when it’s the texture of glossy mashed potatoes. This may take up to three more 5-10 minute sessions. When you think it’s ready, use a pH strip to test the levels. Place a small amount of the soap into a cup of distilled water and stir. Dip the pH strip into the water – it should be below 10. Be sure not to overcook the soap, you don’t want it too dry for the next steps.
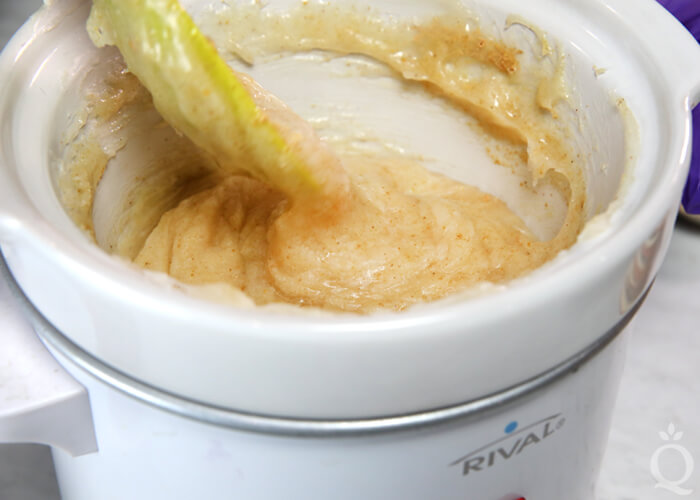
EIGHT: Add 1 tablespoon of orange peel powder directly to the soap batter and stir to get rid of any clumps.
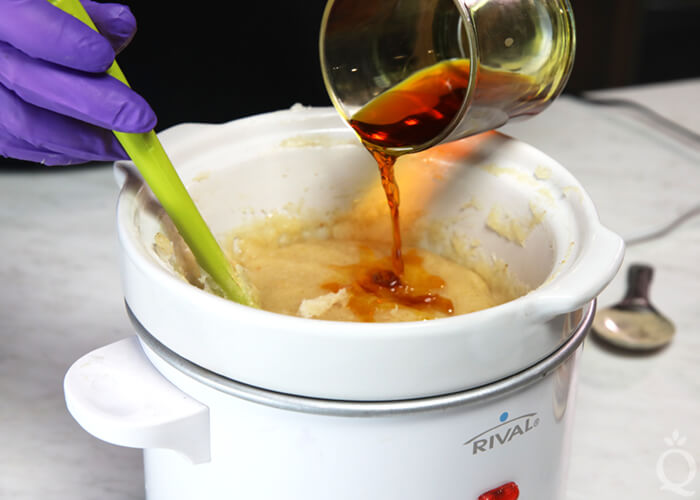
NINE: Add the essential oil blend to the soap and gently stir until fully incorporated.

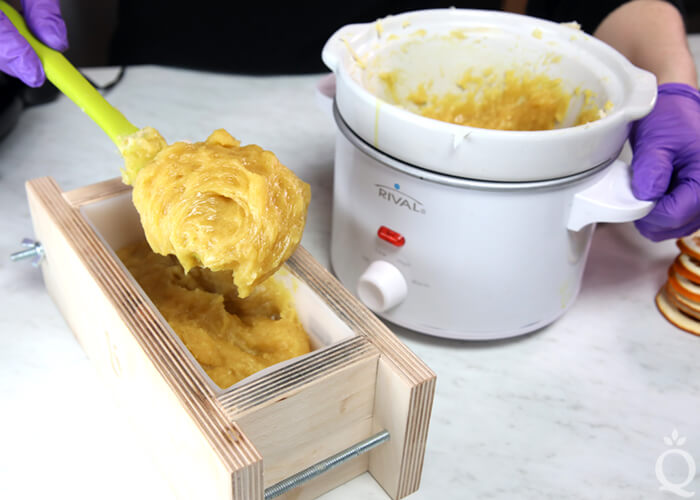
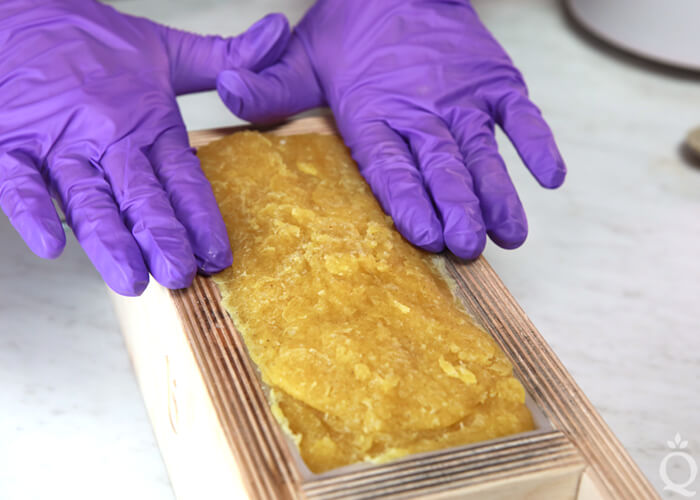
TEN: Working quickly, spoon the soap into the mold. Tap the mold on the counter firmly to help it settle. Once all the soap is in the mold, use a spoon or gloved hands to smooth the top.
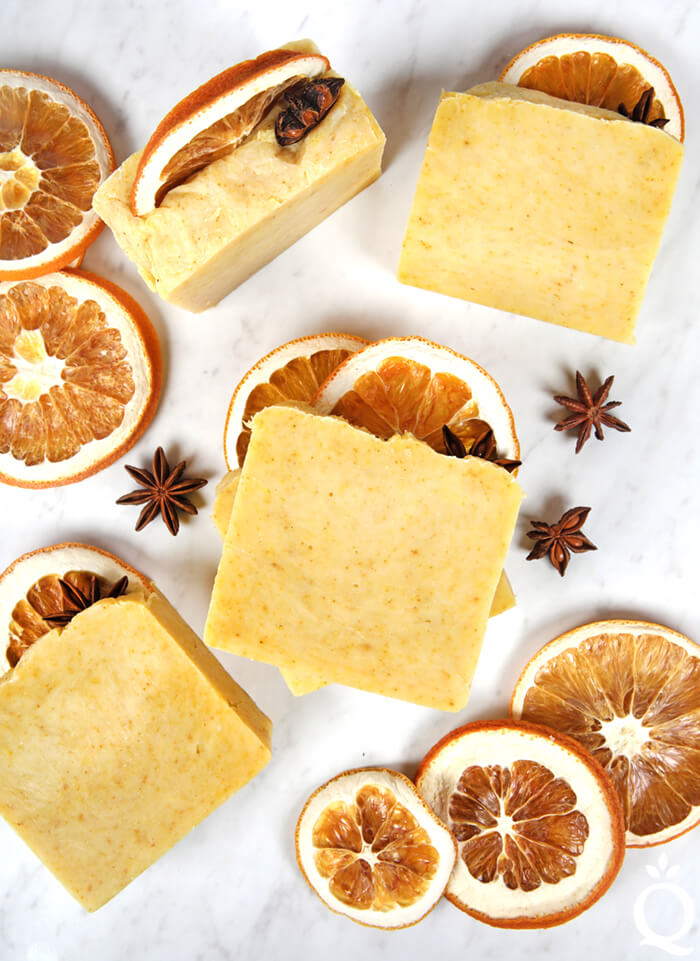
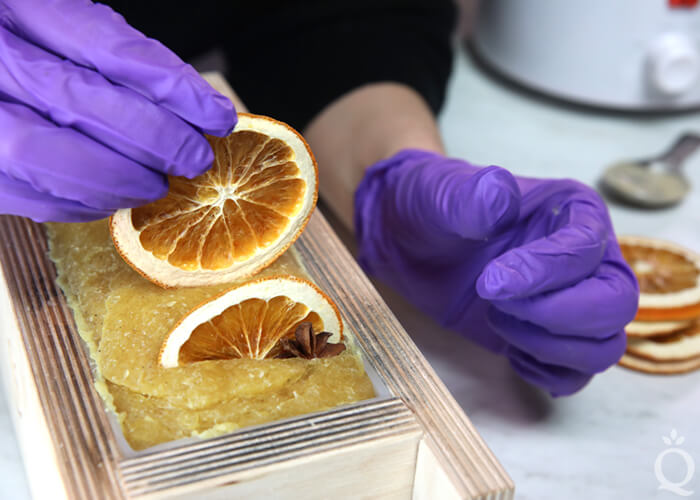
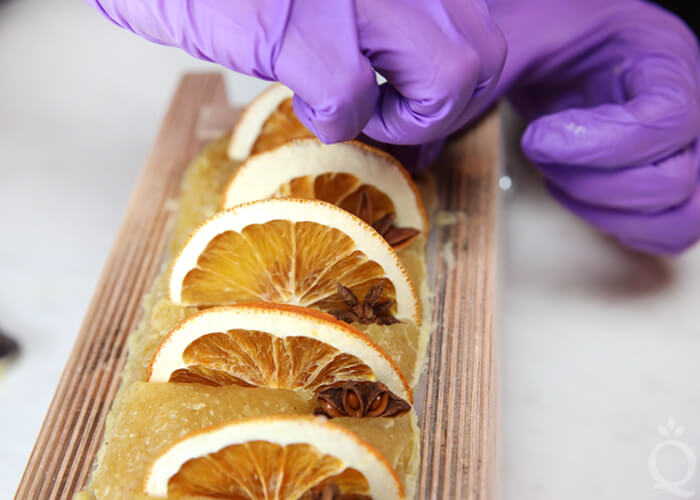
ELEVEN: Insert dried orange slices into the top of the soap. Space them out according to how large you’d like the bar to be. We fit five into the loaf and spaced them to be cut behind the orange slices. Then, insert an anise star directly in front of the orange. Continue this process until the loaf is full.
TWELVE: Allow the soap to stay in the mold for at least 24 hours. Unmold and cut into bars. This soap is ready to use right away, but will last longer in the shower after at least a 2 week cure time.


Orange Spice Hot Process Soap Tutorial
Ingredients
- 2 lb. Wood Loaf Mold
- Silicone Liner for 2 lb. Wood Mold
- 22 oz. Lots of Lather Quick Mix
- 3.2 oz. Sodium Hydroxide Lye
- 7.3 oz. Distilled Water
- 0.7 oz. Sodium Lactate
- 0.7 oz. Orange 10X Essential Oil
- 0.3 oz. Cinnamon Leaf Essential Oil
- 1 Tbsp. Orange Peel Powder
- Anise Stars
- Dried Orange Slices
Instructions
FRAGRANCE PREP: Measure 0.7 ounces of Orange 10X Essential Oil and 0.3 oz. cinnamon leaf essential oil into a small glass container and set aside.
SAFETY FIRST: Suit up for safe handling practices. That means goggles, gloves, and long sleeves. Make sure kids, pets, other distractions, and tripping hazards are out of the house or don’t have access to your soaping space. Always soap in a well-ventilated area.
- Slowly and carefully add the lye to the water and gently stir until the lye has fully dissolved and the liquid is clear. Set aside to cool. Once cooled to about 130 °F , add the sodium lactate to the lye water. Sodium lactate is used in hot process at 3% of the oil weight to help produce a smoother bar.
- Fully melt the entire bag of Lots of Lather Quick Mix until it’s completely clear and there’s no cloudiness. Shake the bag to mix up all the oils. Measure 22 oz. into your Crock-Pot and turn it on. NOTE: The heat setting you use may vary depending on your cooking vessel. We have cooked hot process soap on low and high heat with equally good results. For this recipe, we used the high heat setting for a faster cook time. If you’re making hot process soap in your cooking vessel for the first time, start with the low setting. Next time try the high setting and see which you prefer.
- Slowly add the lye water to the oils. Make sure the mixture does not fill up more than half of the pot or cooking vessel. Tap the stick blender on the bottom of the pot to release air bubbles and begin to blend.
- Mix with a stick blender until a thick trace is achieved.
- Put the lid on the Crock-Pot and allow the soap to start cooking. After about 10 minutes, check the soap to see the progress made. Starting from the outside, the texture and color of the soap will start to change into a glossy, slightly Vaseline-like texture (shown below). NOTE: Don’t be surprised if the soap starts to grow in volume. Do not leave your soap unattended in the first 10 minutes of cook time for this reason. If the soap gets too high in the pot, wearing gloves, take the pot off heat and stir like crazy.
- Stir the batch to ensure even cooking. Place the lid back on the pot and allow it to cook for about another 7-10 minutes.
- The batch will be ready when it’s the texture of glossy mashed potatoes. This may take up to three more 5-10 minute sessions. When you think it’s ready, use a pH strip to test the levels. Place a small amount of the soap into a cup of distilled water and stir. Dip the pH strip into the water – it should be below 10. Be sure not to overcook the soap, you don’t want it too dry for the next steps.
- Add 1 tablespoon of orange peel powder directly to the soap batter and stir to get rid of any clumps.
- Add the essential oil blend to the soap and gently stir until fully incorporated.
- Working quickly, spoon the soap into the mold. Tap the mold on the counter firmly to help it settle. Once all the soap is in the mold, use a spoon or gloved hands to smooth the top.
- Insert dried orange slices into the top of the soap. Space them out according to how large you’d like the bar to be. We fit five into the loaf and spaced them to be cut behind the orange slices. Then, insert an anise star directly in front of the orange. Continue this process until the loaf is full.
- Allow the soap to stay in the mold for at least 24 hours. Unmold and cut into bars. This soap is ready to use right away, but will last longer in the shower after at least a 2 week cure time.