Easter Sunday is coming up this weekend, which means lots of sweet goodies, egg-dyeing and of course, Easter egg hunts. But who says Easter egg hunts have to be for kids only? The Easter bunny has gone digital, and from now until April 21st we’re inviting you to participate in our online Easter egg hunt.

Scour the Bramble Berry website to find the following Soap Queen image:

Once you find 10 of them, email with the URLs where you found the image. We will reward you with two never before published cold process recipes — the Dreamcatcher Swirl and the Cucumber & Carrot Soap. You’ll also receive a PDF on how to use colorants in cold process soap. You have until midnight on Monday, April 21st to email us. To recap:
- Click around the Bramble Berry website looking for the animated image. It could be anywhere! All tabs and pages on the site are fair game.
- Find 10 pages with the image, and email with where you found it.
- You have until midnight on Monday, April 21st to email us and claim the fabulous prize package, which includes two never-before-seen cold process recipes and a PDF guide to colorants.
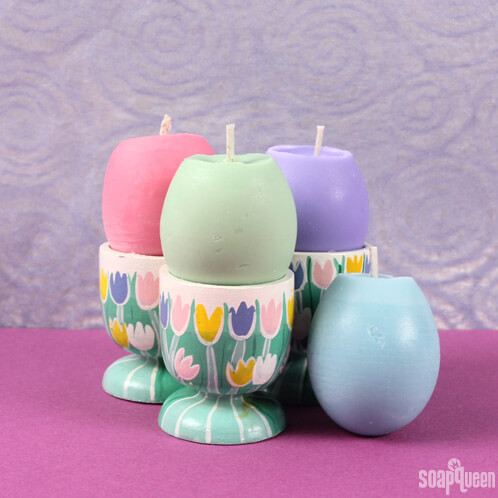
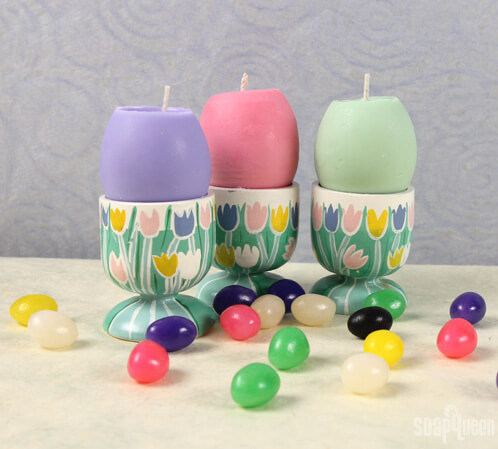
The fun doesn’t stop there. Easter Eggs have gone digital, and we decided to turn them into candles too! This creative candle project can be done in under an hour and for less than $25, so it’s an inexpensive way to make festive Easter decor.
What You’ll Need:
12 oz. Ecosoya Advanced Wax
Milk & Honey Candle & Soap Fragrance Oil
8 – 12 large eggs

Click here to add everything you need for this project to your Bramble Berry shopping cart!
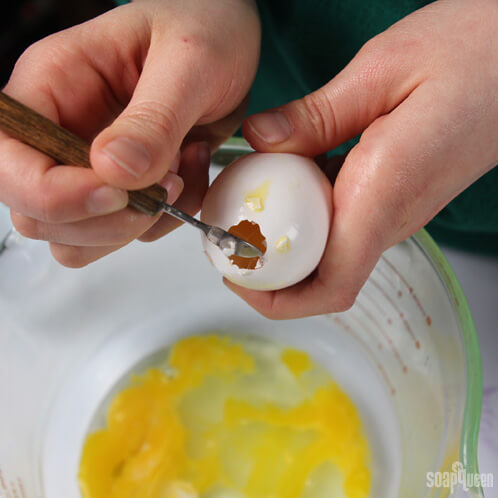
ONE: Using a Clean Up Tool (or other tool with a sharp end), gently poke a hole into the top of a large egg. This part is tricky, so go slow! Some eggs will crack nicely and you’ll be able to chip out a hole, but others will crack all the way through, making them unusable. Once you get the hole big enough, shake out the yolk. Start with a dozen eggs and see if you can get 8 – 10 good ones.
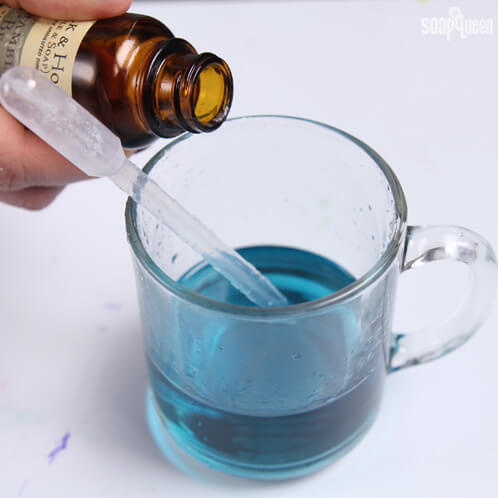
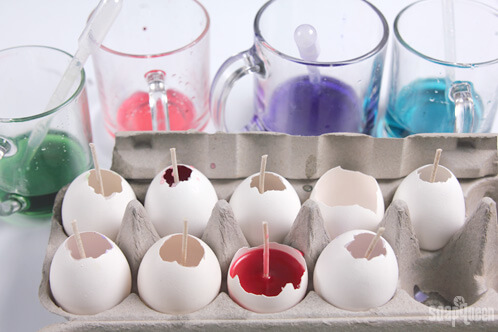
TWO: Split the wax equally into four containers so you have about 3 oz. of wax per container. Melt the wax in the microwave on 30 second bursts, and then add shavings of one dye block to each container. Dye blocks work the same way as color blocks for soap — the more you add the darker the color! You can also use the spoon trick to more quickly determine your color. Add 3 mL of Milk & Honey Candle and Soap Fragrance per container and stir.
THREE: After you rinse out the eggs, drop a small dollop of wax into the bottom of the egg and then place the wick. Wait 15 – 20 minutes for the wax to dry because it will act as glue to keep your wick in place. We did this for two eggs per color.
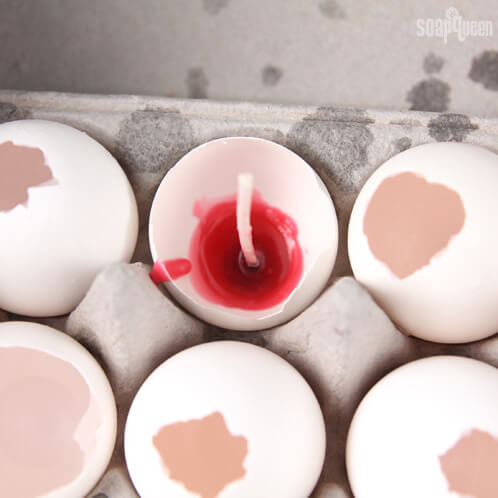
FOUR: Once the wax “glue” has dried, fill the rest of the egg with wax. If some of your openings are too small, it may be easier to use a dropper to fill the egg with wax.

Allow the wax to dry for about 2 – 3 hours, and then chip away at the outer shell to reveal the candle inside. Your egg candles are ready to burn!