As spring rolls around, you may be looking for some sprightly colorants to liven up your bath & body products. To mimic the color of fresh green grass or newly sprouted flowers, Green Chrome Oxide and Hydrated Chrome Green may be just what you’re looking for. As an added bonus, Green Chrome Oxide is 20% off this month as part of Bramble Berry’s web specials.
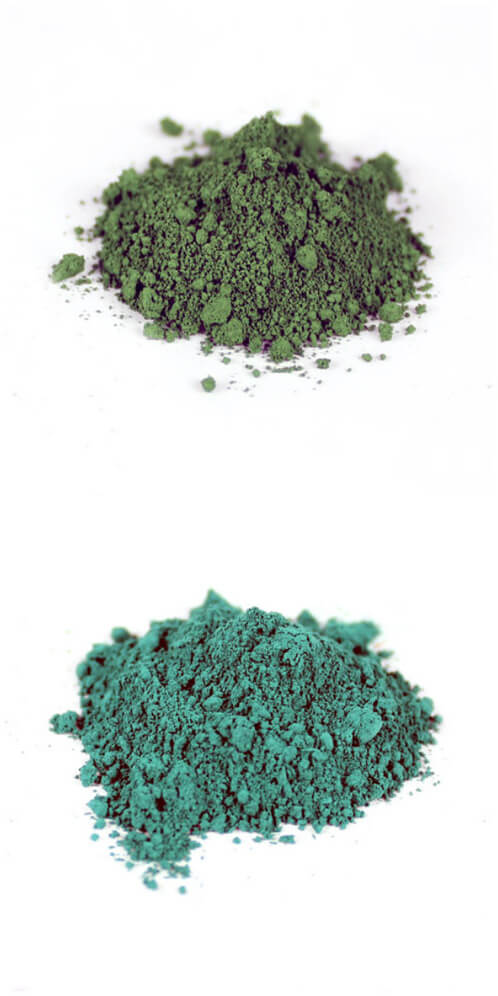
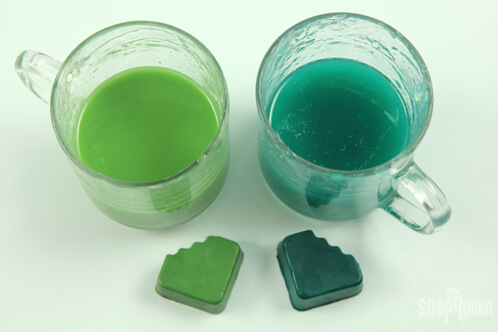
Chrome Green (top) and Hydrated Chrome Green (bottom) colorants
These colorants work well in both cold process and melt and pour soap. They’re not recommended for lotions, bath bombs, or balms because oxides and pigments are oil-soluble and can leave skin streaky with color.
Chrome Green Oxide is a deep forest green that is perfect for achieving a “natural” green color. Hydrated Chrome Green Oxide, on the other hand, is more on the teal side of the green spectrum. Both colorants are non-bleeding and natural. Although they were created in a lab, they’re considered “nature identical” because they do not contain any artificial ingredients (unlike a dye). For a full list of other non-bleeding colorants, check out this blog post.
Oxides tend to clump together more so than micas, so it’s particularly important to disperse them in a liquid oil before you use them in cold process soap. Check out this Soap Queen TV short for a demonstration.
When using oxides in melt & pour soap, you can disperse the oxides in liquid glycerin (like we did in this SQTV short), or use ready made Color Blocks (check out this SQTV short for an example).
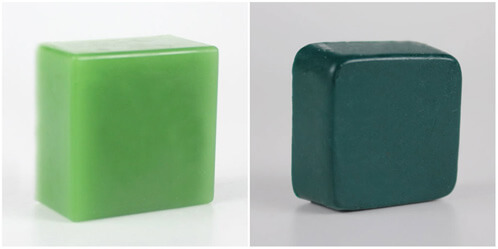
Chrome Green Color Block (left) and Hydrated Chrome Green Color Block (right)
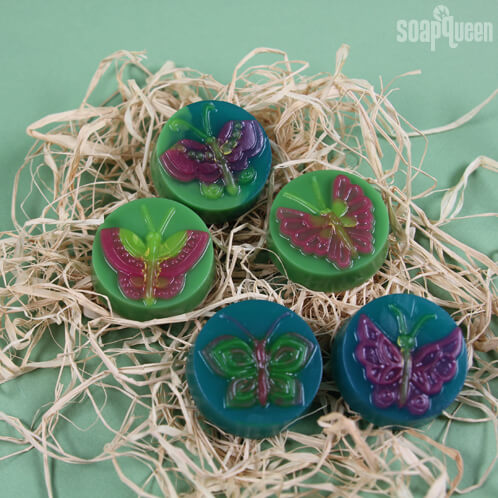
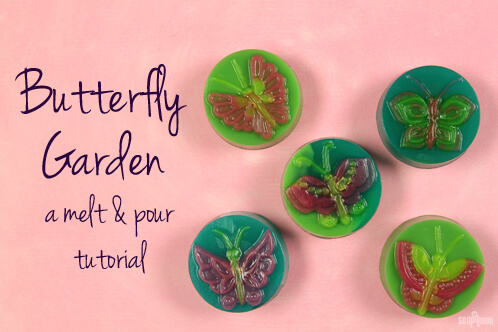
Want to try these colorants in a quick and easy melt and pour project? You got it! Using these two greens as background colors help the butterflies in the new Guest 5 Butterfly Mold pop.
What You’ll Need:
13 oz. Clear Melt and Pour Base
Hydrated Chrome Green Color Block
Electric Bubblegum Color Block
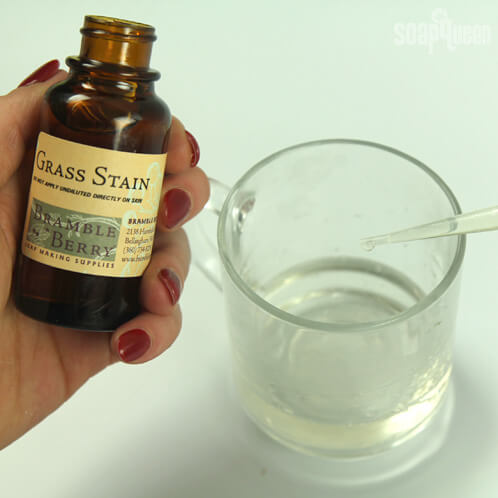
5 mL Grass Stain Fragrance Oil

Click here to add everything you need for this project to your Bramble Berry shopping cart!
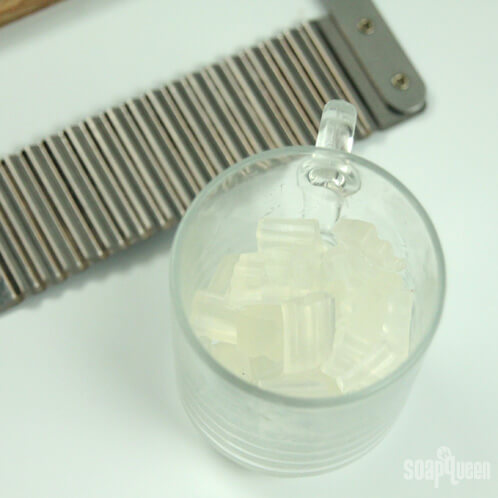
ONE: Cut and melt 3 oz. of Clear Melt & Pour base in a heat-safe container. Heat in the microwave on 5 second bursts, stirring between each heat. Melt and pour is easy to scorch, and so it’s important to heat it in short intervals. Scorched melt and pour hardens very quickly, which makes it difficult to pour.
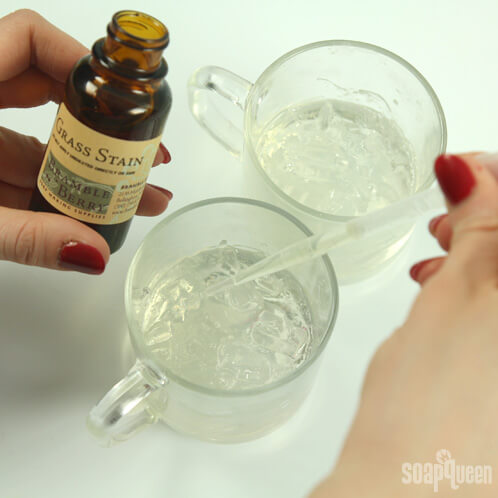
TWO: Add 1 mL of Grass Stain Fragrance Oil and stir.
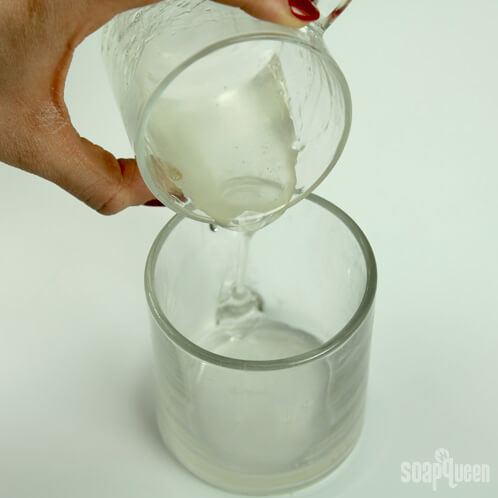
THREE: Pour half the base into a second container. No need to be exact, but you want about 1.5 oz. of base in each container.
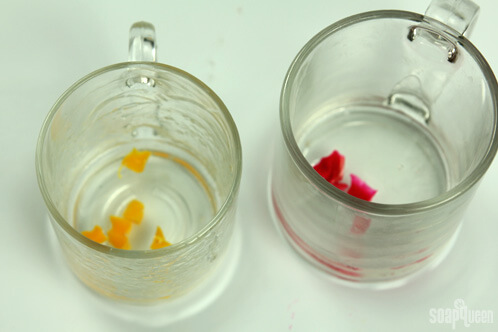
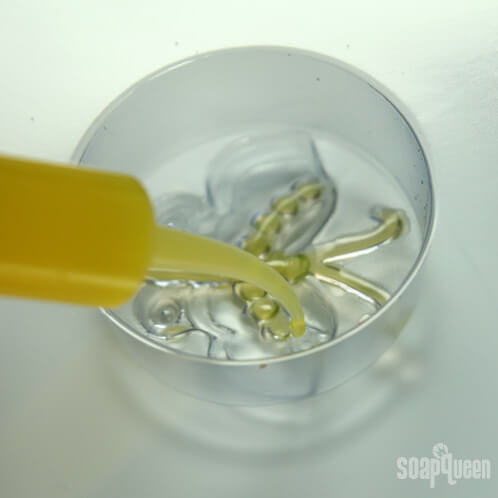
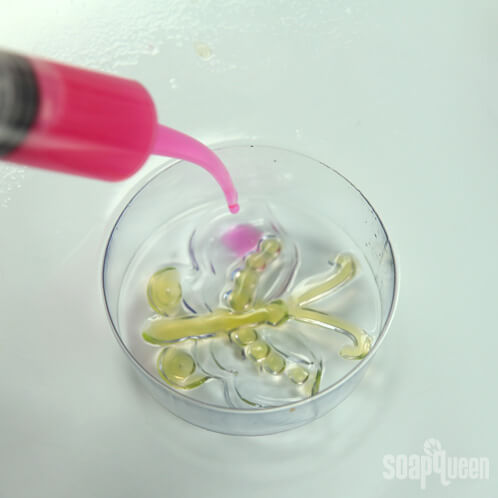
FOUR: Add shavings of the Fizzy Lemonade Color Block and the Electric Bubblegum Color Block to each container. Stir in the color blocks to melt them into the base, but if they don’t melt right away then pop the containers in the microwave on 5 second bursts.
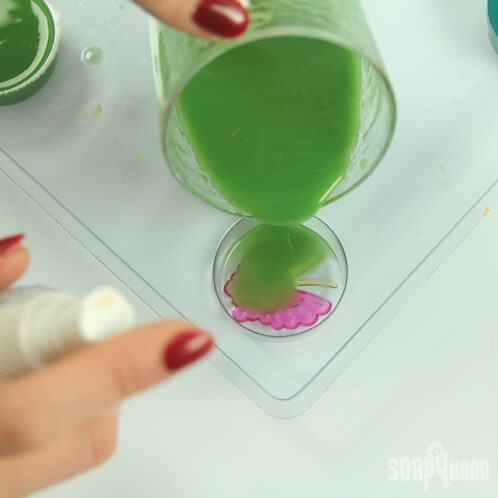
FIVE: Using the injector tool, fill in the detail of the butterfly mold. Feel free to get creative here! We colored the butterflies with two colors, but you can make them one solid color too. Be sure to spray with 99% alcohol to disperse bubbles.
SIX:Don’t worry if you went a bit outside the lines. Allow the soap to harden and then simply use a clean up tool to scrape out any mishaps.

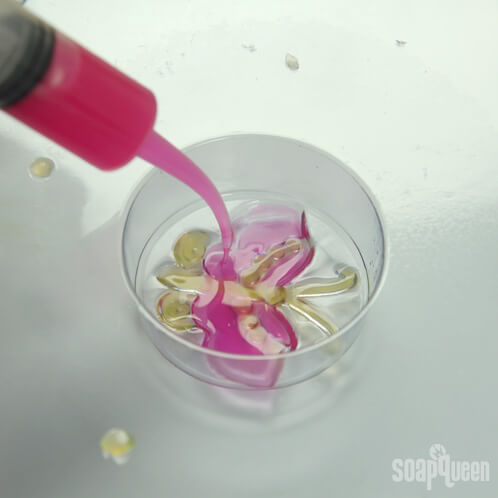
SEVEN: Allow the soap to harden and then spray with 99% alcohol. Then, fill in the remaining part of the butterflies with the second color. Don’t forget to spray with 99% alcohol!
EIGHT: After you’ve filled the butterflies, set the mold aside. Then, cut and melt 10 oz. of Clear Melt and Pour base. Split the base into a second container. There should be about 5 oz. of base per container. Melt the base on 10 second bursts and then add 2 mL of Grass Stain Fragrance Oil to each container.
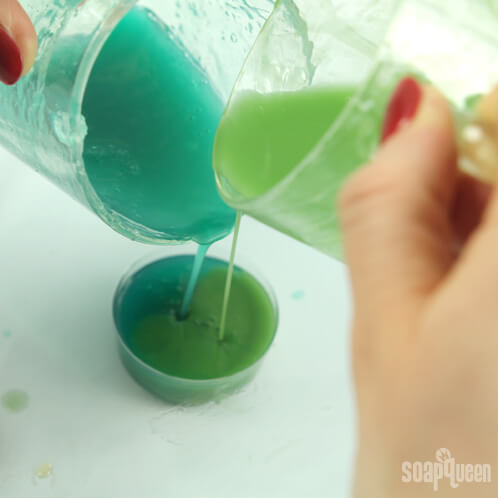
NINE: Add shavings of the Chrome Green Color Block (left) and Hydrated Chrome Green Color Block (right) to each container. Stir in the color blocks to melt them into the base, but if they don’t melt right away then pop the containers in the microwave on 5 second bursts.
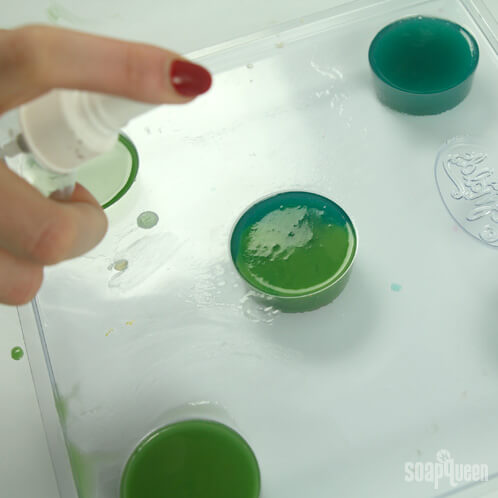
TEN: Once the bases have cooled to around 125 degrees F, spray the butterflies with 99% alcohol and then pour the green backgrounds. We poured two solid Chrome Green backgrounds and two Hydrated Chrome Green backgrounds.
ELEVEN: For the last butterfly, we switched things up! We poured both colors at the same time to achieve a melt and pour swirl.
TWELVE: Spray with 99% alcohol to disperse bubbles.
Allow the soaps to harden for about an hour before unmolding. Enjoy!