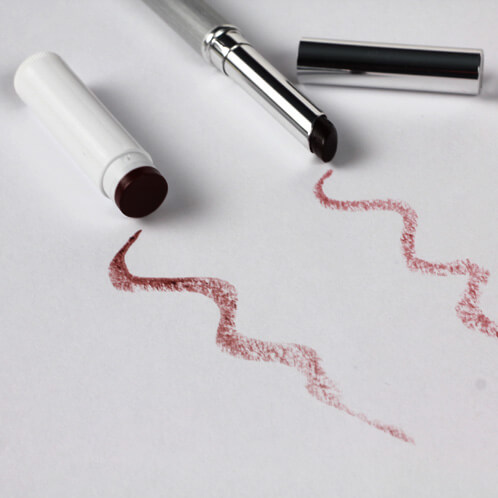
I have a favorite sheer lip tint from a large department store brand that I’ve loved for years. It routinely makes ‘Best Of’ lists in magazines; it’s a classic, beloved by most. And, every time I fork over $15 for this luxury indulgence, I feel a twinge of guilt. After all, I can (and should!) make the stuff myself (!). I hit the lab and created something that is my go-to staple almost every day now. Compared to lipsticks from top luxury beauty brand, I think you will find it very difficult to tell the difference. Without equipment costs, this recipe will cost you less than $2.50 per tube, so never pay $15 for lipstick again!
What You’ll Need:
0.25 oz Candellila Wax
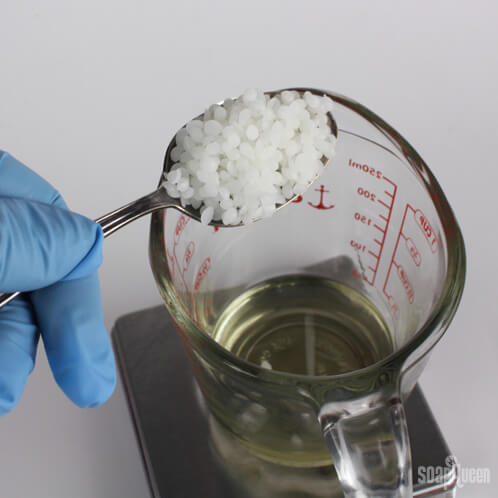
1.25 oz White Beeswax
0.2 oz Emulsifying Wax
2.3 oz Castor Oil
0.25 oz Shea Butter
5 mL Fractionated Coconut Oil
1.5 mL Isopropyl Myristate
2 mL Vitamin E Oil
1/4 teaspoon Titanium Dioxide
4 teaspoons Burgundy Oxide
10 mL Honey Kisses Flavor Oil
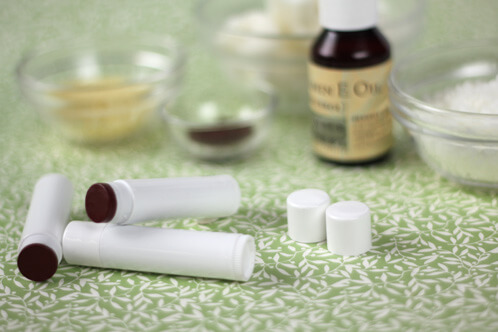
30 Clear Chapstick Tubes
Lip Balm Pouring Tray
Mini Mixer
Mini Scoops
Scale
Droppers

Click here to add everything you need for this project (with clear chapstick tubes instead of white as pictured) to your Bramble Berry shopping cart!
Note: Although this specific recipe makes enough for 30 full lipstick tubes, if you buy the kit you’ll receive enough of each base ingredient to make up to 180 tubes worth of lipstick base. If you’d like to make less tubes or want to save time, check out our pre-made bases. We have two formulations: Bramble Lip Balm Base and Nourish Lip Balm Base. Or, buy more tubes and make a few giant batches =)
COLOR PREP: Micronize the pigments using a clean and sterilized coffee grinder. This ensures that the particles are tiny enough to mix with the rest of the oils well and there won’t be tiny (but noticeable) bits of unmixed colorant. Please note that you can use this coffee grinder for food again but you’ll end up tossing the first batch of coffee (or oatmeal or whatever) you grind with it. The colorants love to stick to every little nook and cranny of that coffee grinder.
POURING TRAY PREP: Stick all of the chapstick tubes to the pouring tray. Wondering how to use a pouring tray? There’s a blog for that! Click here to read it.
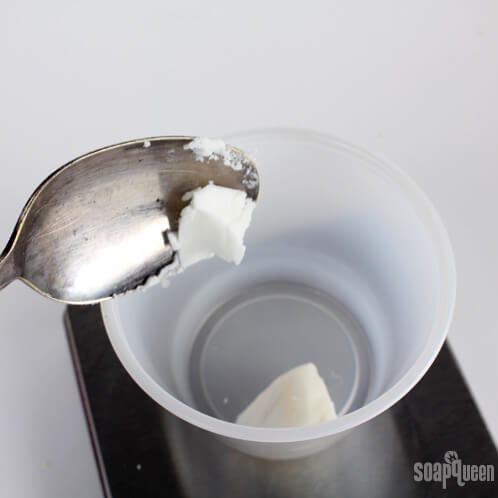
ONE: Combine the Candelilla Wax, Beeswax, E-Wax, and Castor Oil. Heat in a small heat-safe container in the microwave on 30 second bursts, stirring often, until the waxes are melted.
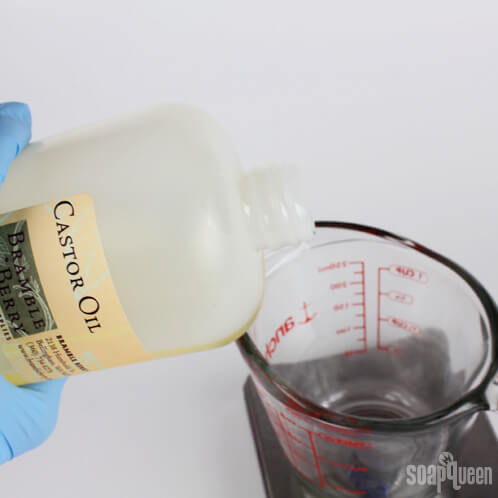
NOTE: The Castor Oil helps to regulate the heat and allow the high melt-point waxes to melt easier. However, temperatures will still get a bit high so make you’re exercising caution when removing your heat-safe container from the microwave if it’s glass. I’ve shattered the glass in the microwave before melting beeswax so that’s why short bursts, and stirring often, are necessary.
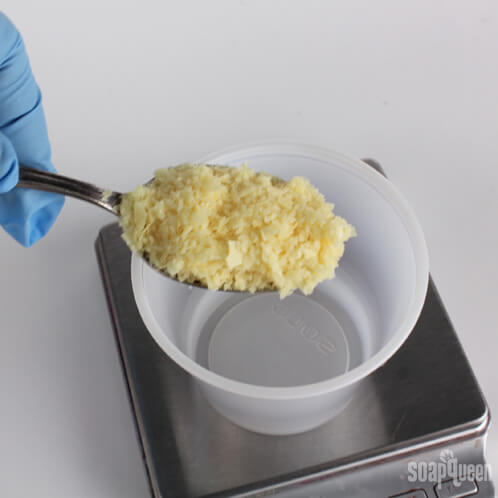
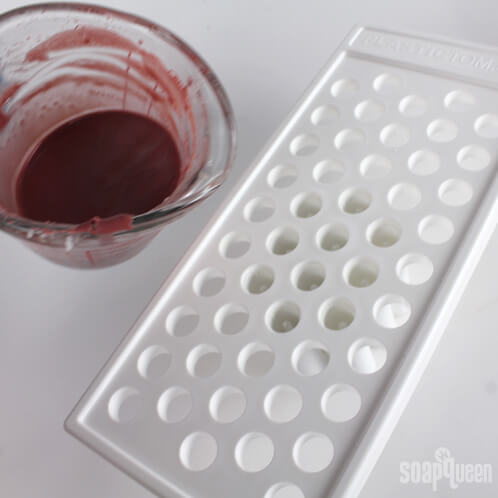
TWO: Add the Shea Butter, Fractionated Coconut Oil, Isopropyl Myristate and Vitamin E Oil. Stir until the Shea Butter has fully melted (or help it along in the microwave for 10-15 seconds. Make sure you microwave in a microwave-safe dish! You wouldn’t put this little plastic container (below) in the microwave — it would melt!).
THREE: Add the Honey Kisses Flavor oil and mix well. Next, add the Titanium Dioxide and Burgundy. Mix in well using the mini mixer.
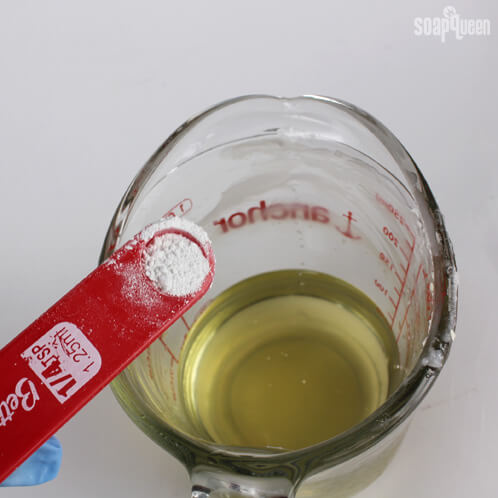
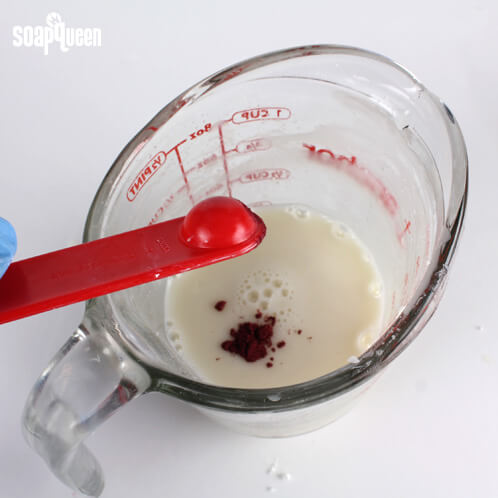
TIP: Push the powder into the oil with the tip of the mini mixer before turning it on, or you’ll get a poof of powdered pigment over your work area!
FOUR: Pour the mixture into the chapstick tubes via the pouring tray. Allow to harden overnight. Remove tubes from pouring tray and cap the tubes.
Allow the mixture to harden for 1 – 2 hours and then your lovely lipstick is ready to use!