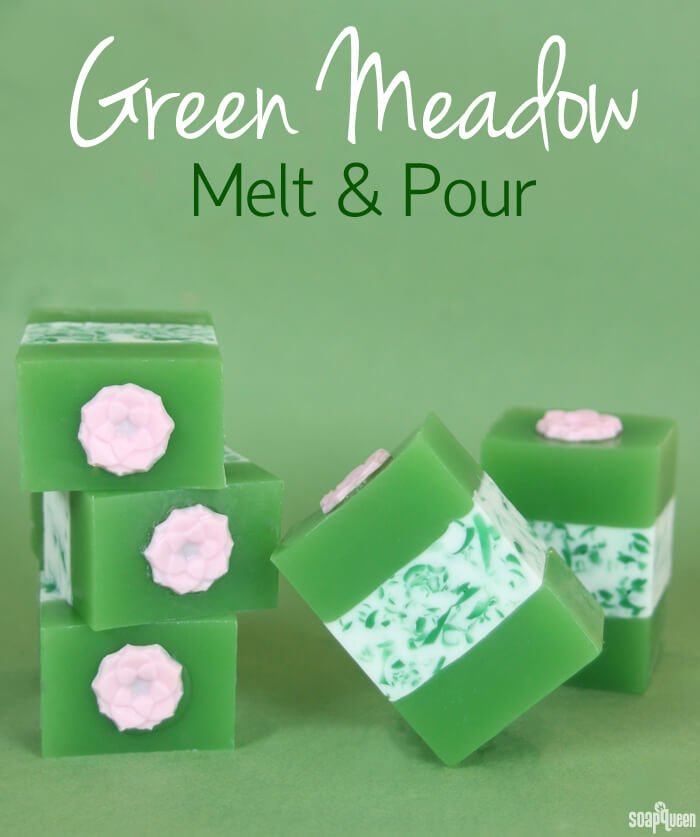
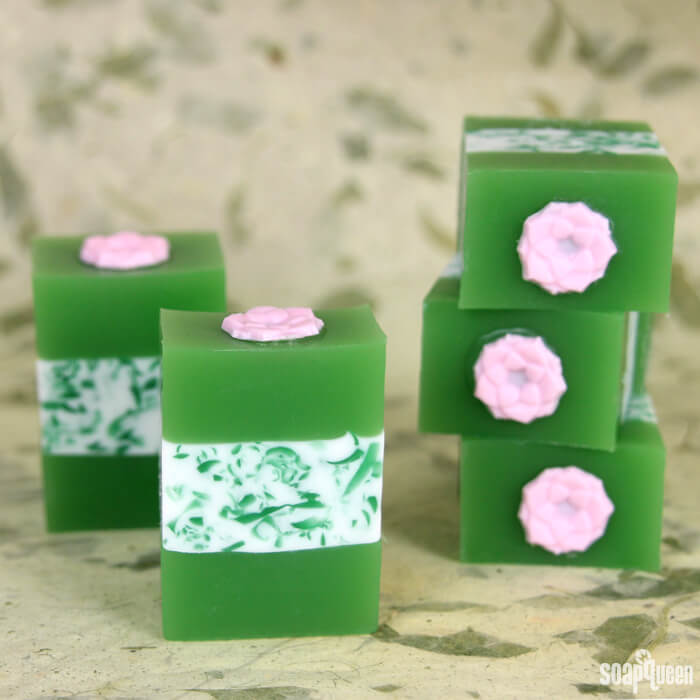
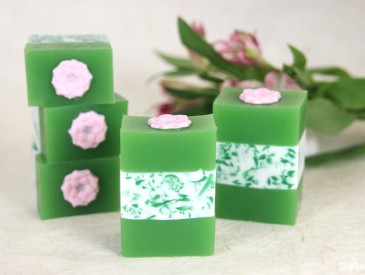
Green is an inspiring color; it brings to mind fresh cut grass, flowers, trees and produce. This Green Meadow Melt and Pour project was inspired by fields full of green grass and bright flowers. Scented with Grass Stain Fragrance Oil, this soap smells crisp, sweet and…green!
This project involves three layers, one of which features a “confetti” soap technique. Hardened melt and pour is shaved and soap is poured all around it. When cut, it gives the illusion of confetti or in this case, fresh cut grass. With this layered project temperatures are key. I highly recommend having a thermometer and a spray bottle of 99% isopropyl alcohol handy at all times.
What You’ll Need:
42.5 oz. Clear Melt and Pour Base
13 oz. White Melt and Pour Base
Chrome Green Color Block
Hydrated Chrome Green Color Block
Fired Up Fuchsia Color Block
1 oz. Grass Stain Fragrance Oil
Tall 12″ Silicone Loaf Mold
Lotus Blossom Wax Tart Mold
Optional: Droppers, Clean-Up Tool, 99% Isopropyl Alcohol

Click here to add everything you need for this project to your Bramble Berry shopping cart!
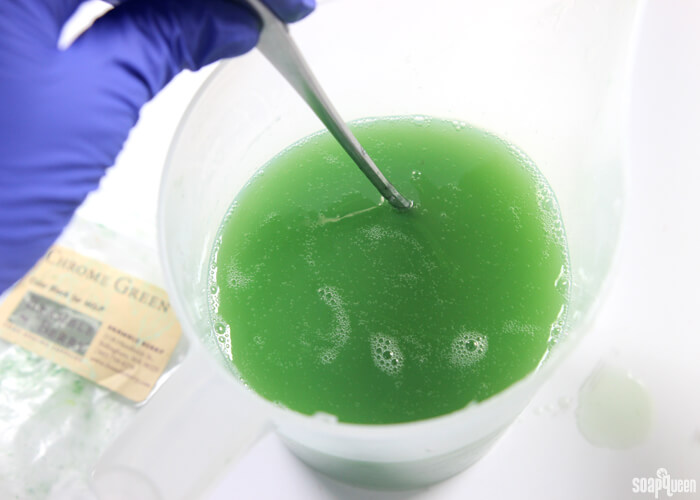
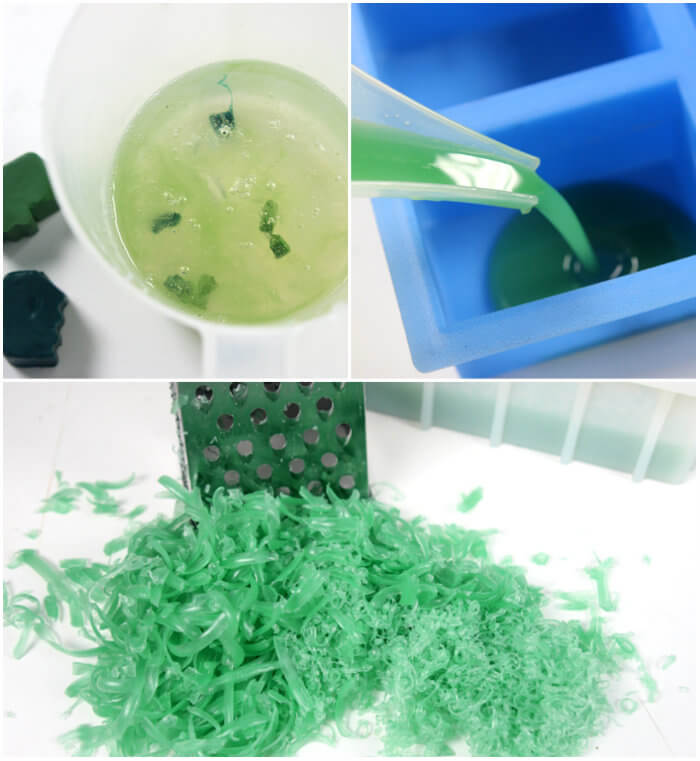
ONE: Chop and melt 17 oz. of clear melt and pour and melt in the microwave using 30 second bursts. Add shavings of the Chrome Green Color Block until you achieve a rich green color. Add .5 oz of Grass Stain Fragrance Oil and stir to thoroughly combine.
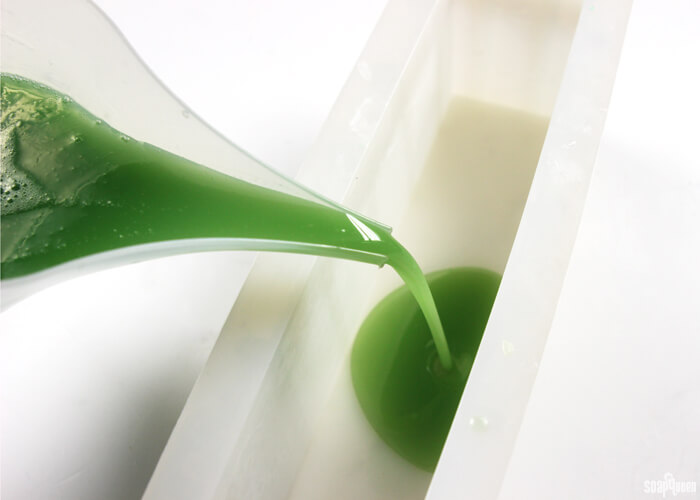
 TWO: Pour the soap into the mold, and spray the top with 99% isopropyl alcohol to disperse any bubbles. Set aside to cool and harden.
 THREE: While the base layer cools, chop and melt 8 oz. of clear melt and pour and add equal parts Chrome Green Oxide and Hydrated Chrome Green Oxide until a rich green color is achieved. Pour the soap into any mold you have handy. Once the soap fully cools and hardens, use a cheese grater to grate the soap into strips; grate 3/4 of the soap using the thick grate, and 1/4 using the fine grate.
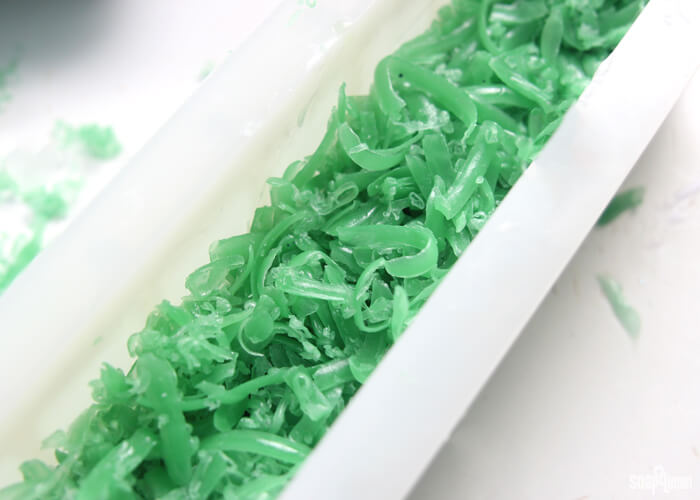
 FOUR: Once the base layer has hardened, spray with 99% rubbing alcohol. Cover the layer with the grated green soap and spray with more 99% isopropyl alcohol.
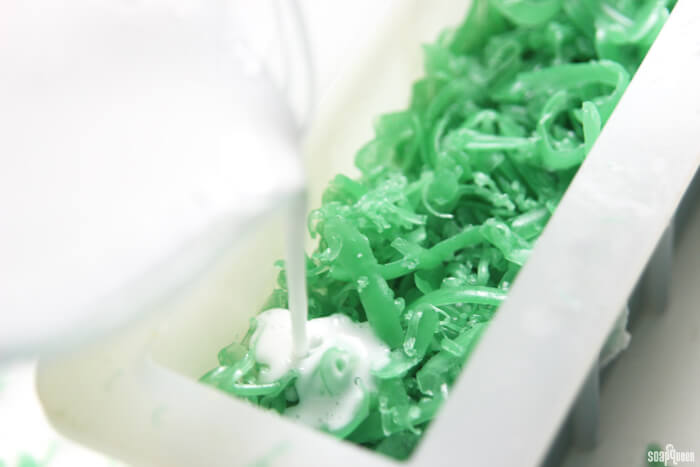
 FIVE: Chop and melt 12 oz. of white melt and pour soap in the microwave using 20 second bursts. Once the soap is between 125 ° F and 135 °F, pour the white soap over the green shavings until fully covered. During this step, temperature is important. If the soap is too hot, it will melt the shavings. If it is too cold, the white soap will not reach the green layer under the shavings. Spray with 99% isopropyl alcohol to disperse any bubbles. Set aside to cool and harden.
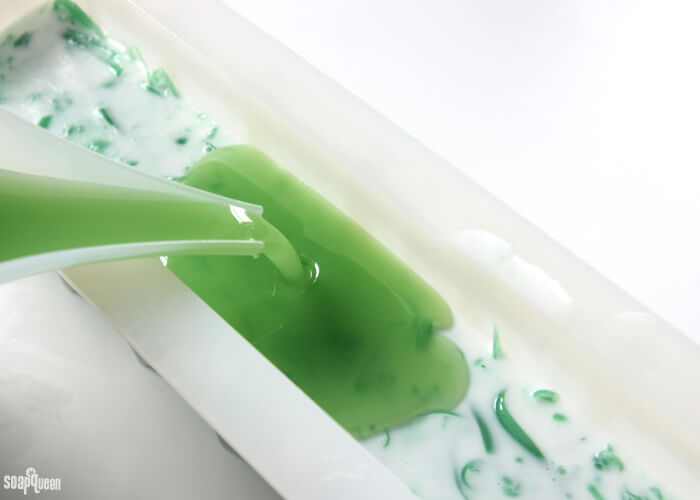
 SIX: Chop and melt 17 oz. of clear melt and pour and melt in the microwave using 30 second bursts. Add shavings of the Chrome Green Color Block until you achieve a rich green color. Add .5 oz of Grass Stain Fragrance Oil and stir to thoroughly combine. Once the soap is below 130 °F, spray the hardened white layer with 99% isopropyl alcohol and pour the green soap on top. Spray with 99% isopropyl alcohol to disperse any bubbles. Set aside to fully cool and harden.
 SEVEN: While the top layer of green soap cools, it’s time to make the flowers! Cut and melt 1 oz. of white melt and pour soap in the microwave using 5 second bursts. Because you are melting such a small amount of soap, using extremely short bursts will prevent the soap from scorching. Add shavings of the Fired Up Fuschia Color block until you achieve a soft pink color. Using a dropper or Injector Tool, fill in the flower with pink soap and spray with 99% rubbing alcohol to disperse any bubbles. Allow to cool and harden.
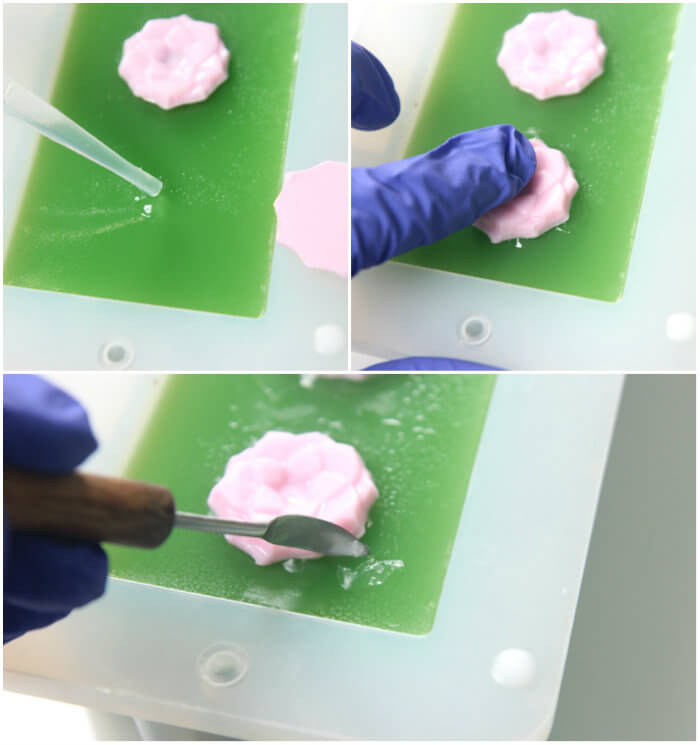
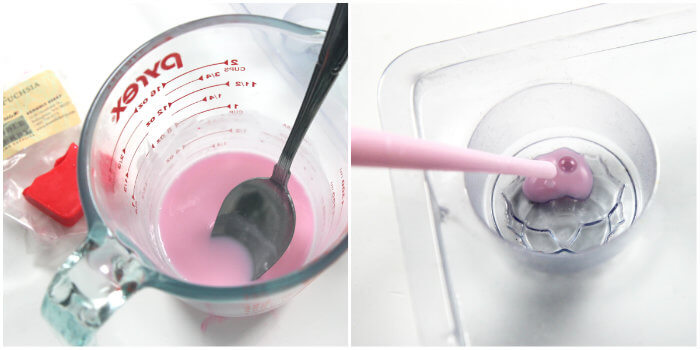 EIGHT: Once the flowers have hardened, remove them from the mold by pressing firmly on the back to release the airlock. Place them down the center of the mold. Each bar will have a flower on top, so space them accordingly. Cut and melt .5 oz of clear melt and pour soap in the microwave using 5 second bursts. Spray the top of the soap with rubbing alcohol. Drop a few small drops of clear melt and pour where you’d like to place a flower, and quickly press the flower on top to adhere. Continue this process for all the flowers. If you’d like, use a Clean Up Tool to remove any clear melt and pour from around the flowers.
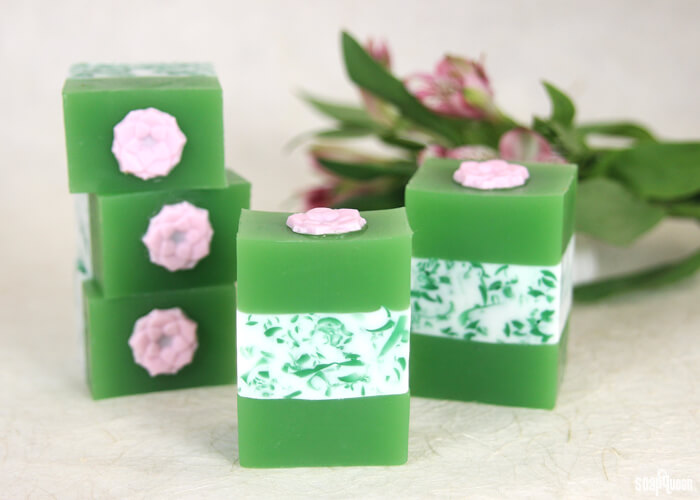
 NINE: Once the soap has completely cooled and hardened, pull away the side of the mold to release the airlock. Push from the bottom of the mold to remove, be careful not to disrupt the flowers on top. Cut into bars and enjoy!
With St. Patrick’s Day right around the corner, do you have any green projects planned?
Green Meadow Melt & Pour
Ingredients
- 42.5 oz. Clear Melt and Pour Base
- 13 oz. White Melt and Pour Base
- Chrome Green Color Block
- Hydrated Chrome Green Color Block
- Fired Up Fuchsia Color Block
- Grass Stain Fragrance Oil
- Tall 12″ Silicone Loaf Mold
- Lotus Blossom Wax Tart Mold
- Optional: Droppers Clean-Up Tool, 99% Isopropyl Alcohol
Instructions
- Chop and melt 17 oz. of clear melt and pour and melt in the microwave using 30 second bursts. Add shavings of the Chrome Green Color Block until you achieve a rich green color. Add .5 oz of Grass Stain Fragrance Oil and stir to thoroughly combine.
- Pour the soap into the mold, and spray the top with 99% isopropyl alcohol to disperse any bubbles. Set aside to cool and harden.
- While the base layer cools, chop and melt 8 oz. of clear melt and pour and add equal parts Chrome Green Oxide and Hydrated Chrome Green Oxide until a reach green color is achieved. Pour the soap into any mold you have handy. Once the soap fully cools and hardens, use a cheese grater to grate the soap into strips; grate 3/4 of the soap using the thick grate, and 1/4 using the fine grate.
- Once the base layer has hardened, spray with 99% rubbing alcohol. Cover the layer with the grated green soap and spray with more 99% isopropyl alcohol.
- Chop and melt 12 oz. of white melt and pour soap in the microwave using 20 second bursts. Once the soap is between 125 ° F and 135 °F, pour the white soap over the green shavings until fully covered. During this step, temperature is important. If the soap is too hot, it will melt the shavings. If it is too cold, the white soap will not reach the green layer under the shavings. Spray with 99% isopropyl alcohol to disperse any bubbles. Set aside to cool and harden.
- Chop and melt 17 oz. of clear melt and pour and melt in the microwave using 30 second bursts. Add shavings of the Chrome Green Color Block until you achieve a rich green color. Add .5 oz of Grass Stain Fragrance Oil and stir to thoroughly combine. Once the soap is below 130 °F, spray the hardened white layer with 99% isopropyl alcohol and pour the green soap on top. Spray with 99% isopropyl alcohol to disperse any bubbles. Set aside to fully cool and harden.
- While the top layer of green soap cools, it’s time to make the flowers! Cut and melt 1 oz. of white melt and pour soap in the microwave using 5 second bursts. Because you are melting such a small amount of soap, using extremely short bursts will prevent the soap from scorching. Add shavings of the Fired Up Fuschia Color block until you achieve a soft pink color. Using a dropper or Injector Tool, fill in the flower with pink soap and spray with 99% rubbing alcohol to disperse any bubbles. Allow to cool and harden.
- Once the flowers have hardened, remove them from the mold by pressing firmly on the back to release the airlock. Place them down the center of the mold. Each bar will have a flower on top, so space them accordingly. Cut and melt .5 oz of clear melt and pour soap in the microwave using 5 second bursts. Spray the top of the soap with rubbing alcohol. Drop a few small drops of clear melt and pour where you’d like to place a flower, and quickly press the flower on top to adhere. Continue this process for all the flowers. If you’d like, use a Clean Up Tool to remove any clear melt and pour from around the flowers.
- Once the soap has completely cooled and hardened, pull away the side of the mold to release the airlock. Push from the bottom of the mold to remove, be careful not to disrupt the flowers on top. Cut into bars and enjoy!