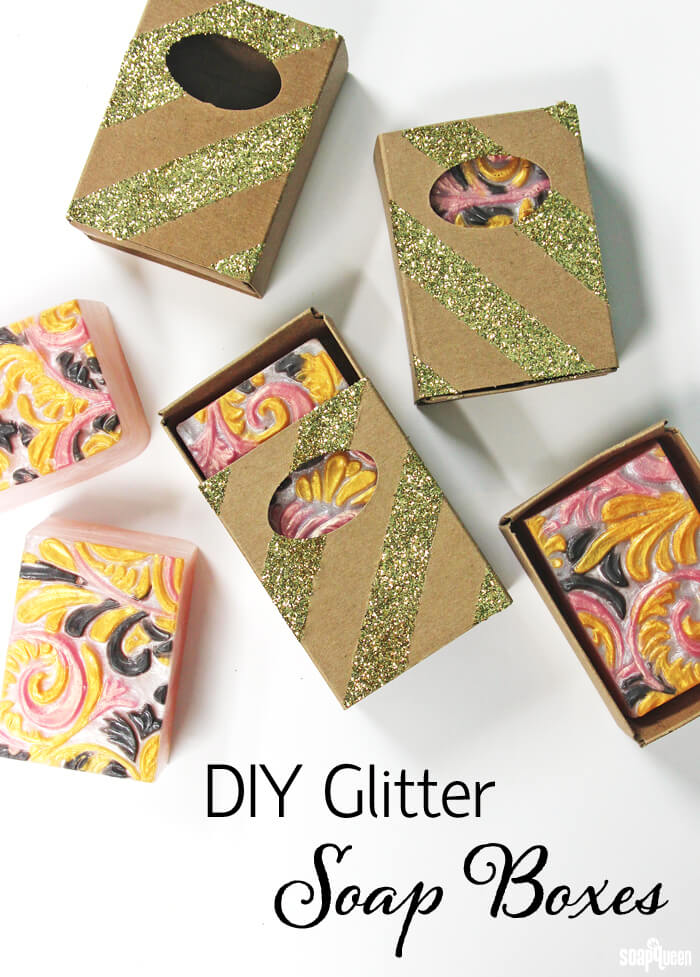
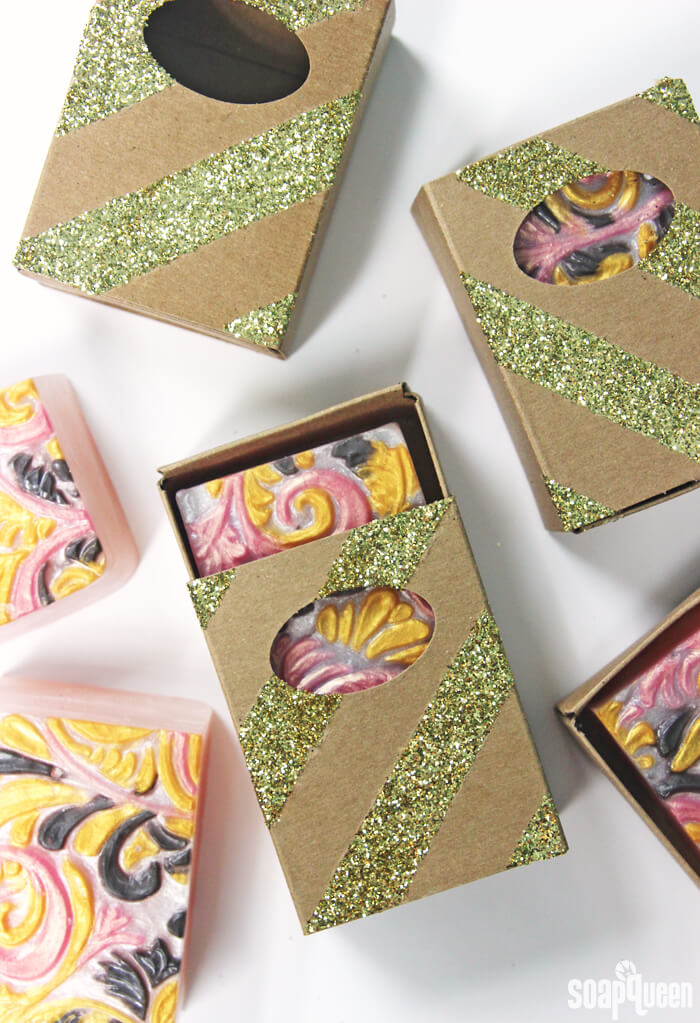
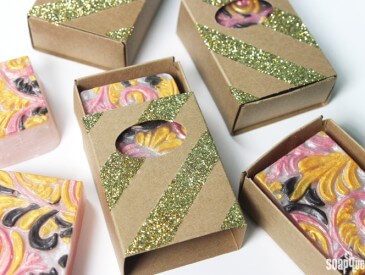
For the next few weeks, we are sharing sparkly projects featuring a wide variety of micas. All this sparkle and shine has me completely inspired and excited for the holidays. I love giving sparkling soap as gifts…and my friends love receiving them! Of course no present is complete without a polished label, package or wrapping. It’s easy to incorporate sparkle and shine to your packaging with just a little glitter and glue. If you’re looking for a way to package your sparkly project, look no further than these DIY Glitter Soap Boxes!
Super easy to make, all you need for this project is some glitter, glue, tape and soap boxes! Simply lay down tape, brush on glue and sprinkle on plenty of glitter. We used Gold Nail Polish Glitter, but these boxes would also look great with Silver Nail Polish or Iridescent Glitter as well. If you’re looking for more packaging inspiration, check out my Packaging Inspiration Pinterest Board.
What You’ll Need:
Soap Box – Sleeve and Tray
Gold Nail Polish Glitter (or glitter of your choice)
Painters Tape
Craft glue (Elmer’s, Tacky Glue, Modge Podge, etc)
Optional: Aerosol hairspray
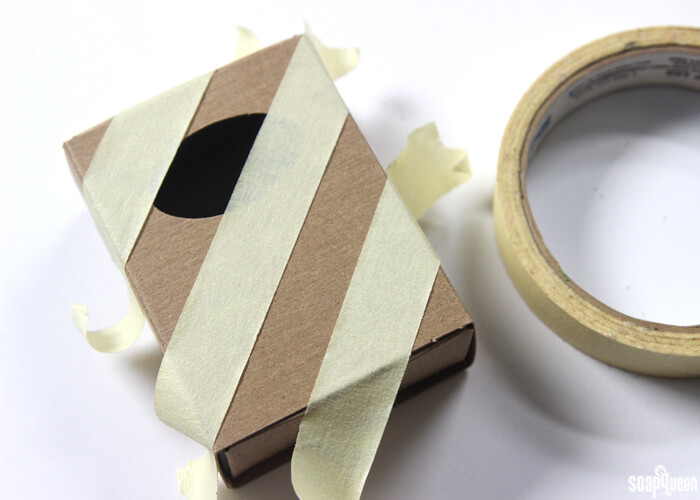
ONE: Lightly place painters tape on the front of the soap box in a diagonal pattern. Keep in mind that the area where the tape lays will not have glitter on it. Try your best to space them tape out evenly. Don’t press the tape on the box too firmly; because the box is cardboard the tape can peel away the box.
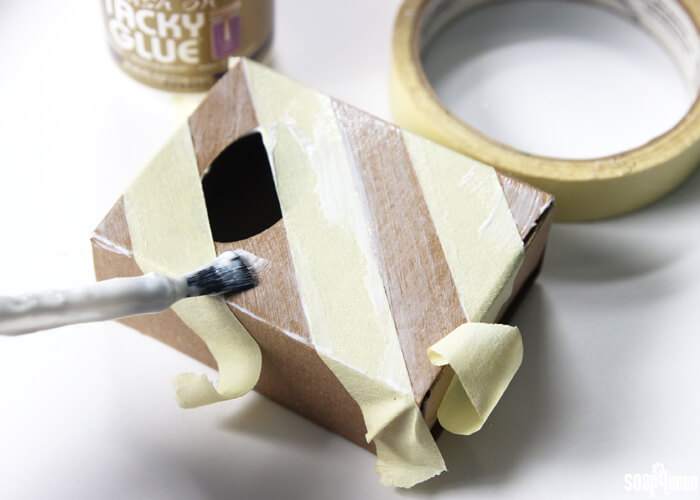
 TWO: Brush glue on the areas of the box uncovered by tape. Just a light coating of glue will work! We used Tacky Glue, but you could also use Elemer’s Glue or Modge Podge.
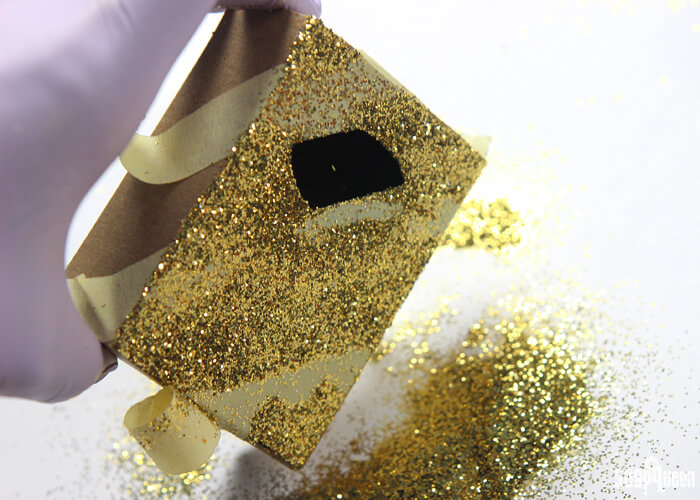
 THREE: While the glue is still wet, sprinkle the box with glitter making sure all the areas with glue are covered. Use your fingers to lightly press and spread the glitter on to the box.
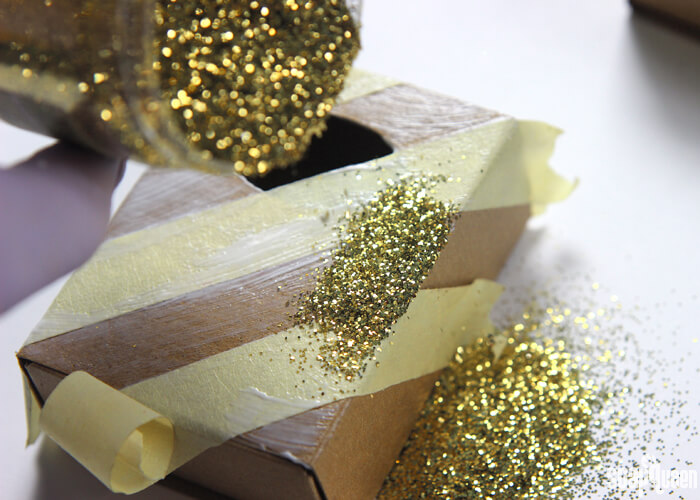 FOUR: Shake off the excess glitter, and place back into the container.
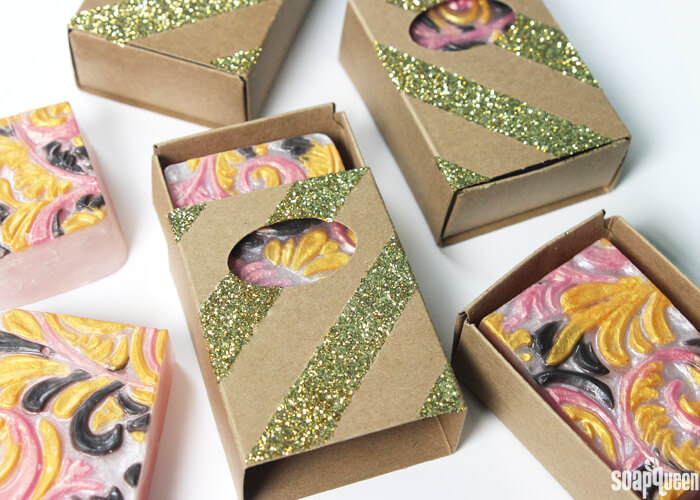
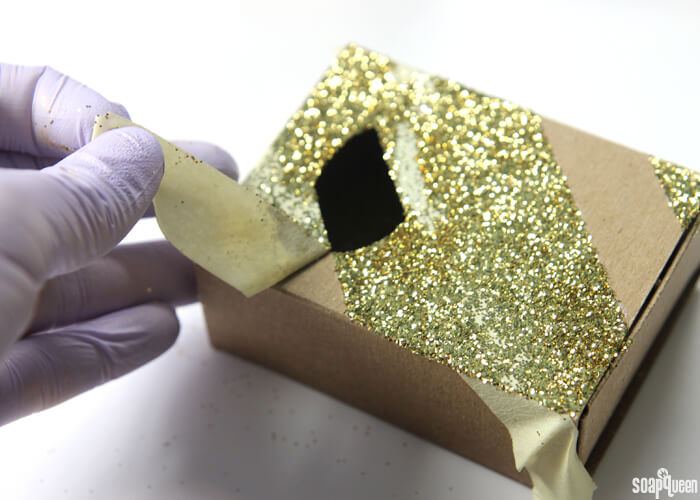
 FIVE: Allow for glue to dry for several minutes. Then gently and slowly, peel away the tape. Allow the glue to thoroughly dry. We found that the glitter does continue to fall off the box a little. To help prevent this, you can spray the front of the box lightly with aerosol hairspray. Place soap in the box and enjoy!
What’s your favorite way to dress up your soap packaging?
DIY Glitter Soap Boxes
Ingredients
- Soap Box – Sleeve and Tray
- Gold Nail Polish Glitter or glitter of your choice
- Painters Tape
- Craft glue Elmer’s, Tacky Glue, Modge Podge, etc
- Optional: Aerosol hairspray
Instructions
- Lightly place painters tape on the front of the soap box in a diagonal pattern. Keep in mind that the area where the tape lays will not have glitter on it. Try your best to space them tape out evenly. Don’t press the tape on the box too firmly; because the box is cardboard the tape can peel away the box.
- Brush glue on the areas of the box uncovered by tape. Just a light coating of glue will work! We used Tacky Glue, but you could also use Elemer’s Glue or Modge Podge.
- While the glue is still wet, sprinkle the box with glitter making sure all the areas with glue are covered. Use your fingers to lightly press and spread the glitter on to the box.
- Shake off the excess glitter, and place back into the container.
- Allow for glue to dry for several minutes. Then gently and slowly, peel away the tape. Allow the glue to thoroughly dry. We found that the glitter does continue to fall off the box a little. To help prevent this, you can spray the front of the box lightly with aerosol hairspray. Place soap in the box and enjoy!