
Micas really shine in melt and pour soap (literally!). In a clear base, you can see all the shimmer and dimension in the individual colorants. It’s probably one of my favorite way to use micas. Learn what else you can add them to in Sunday Night Spotlight.
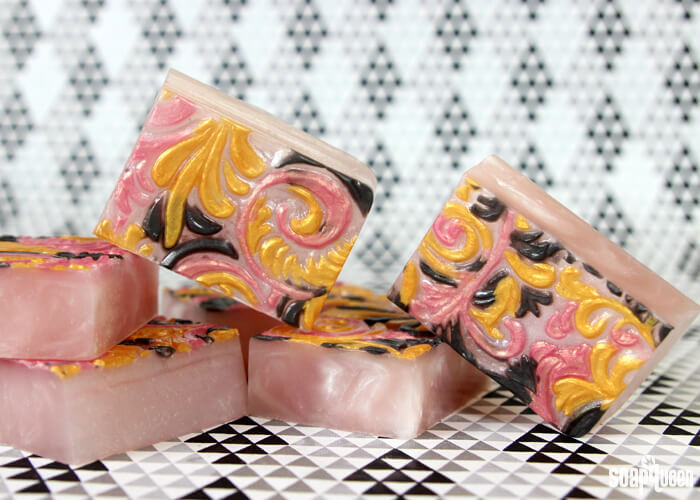
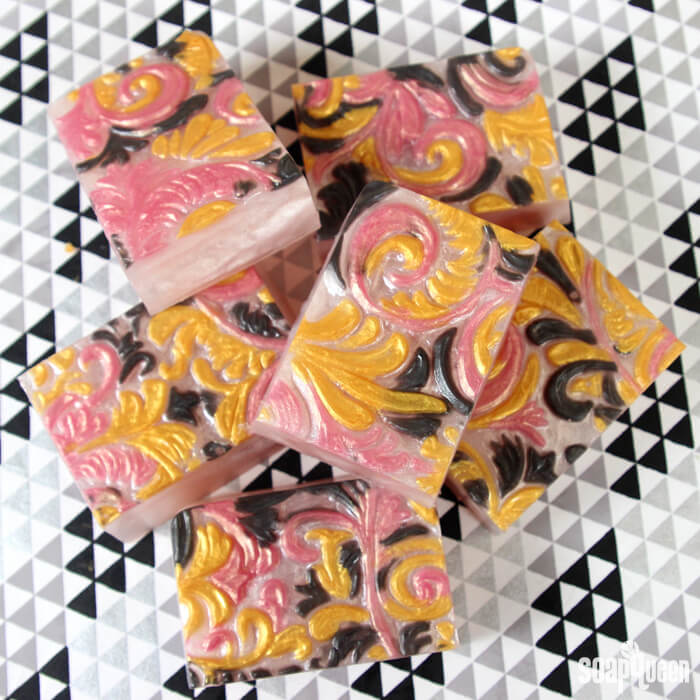
These Romantic Rose Gold Melt & Pour Bars really show off the individual micas. The details in the Tray Floral Wallpaper Mold are filled in with gold, black and pink colored soap. It provides contrast and creates a romantic color palette. The base is colored with a bit of Rose Gold Mica, which is a gorgeous mix of warm gold and dusty pink. Baby Rose Fragrance Oil is added to go with the romantic color palette. Use one of these bars to add some shimmer to your normal bath routine!
What You Need:
Tray Floral Wallpaper Mold
33 oz. Clear Melt and Pour Base
.5 oz. Baby Rose Fragrance Oil
Luster Black Mica
Rose Gold Mica
King’s Gold Mica
Snowflake Sparkle Mica
Super Pearly White Mica
Optional: Droppers, 99% Isopropyl Alcohol, Clean-Up Tool

Click here to add everything you need for this project to your Bramble Berry shopping cart!
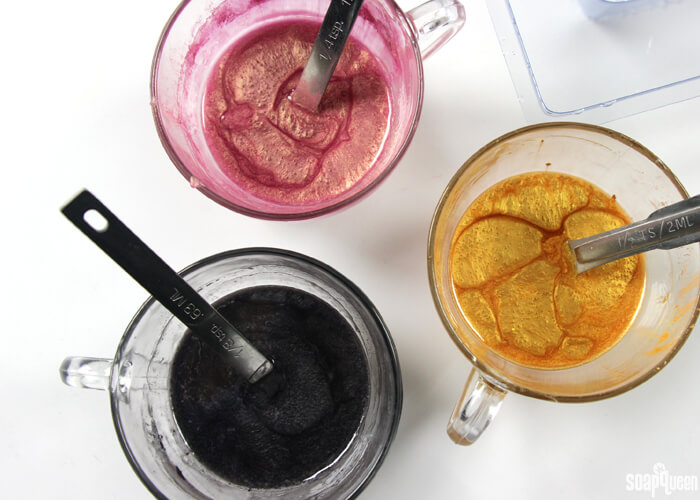
ONE: Chop 6 oz. of Clear Melt and Pour Soap in small, even pieces. Put 2 oz. of soap into three separate heat safe containers and melt in the microwave using 10 second bursts. Once melted, quickly add 1/2 tsp. Luster Black Mica to one container, 1 tsp. Rose Gold Mica to another, and 1 tsp. King’s Gold Mica to the last. Use a spoon to thoroughly mix in the powders.
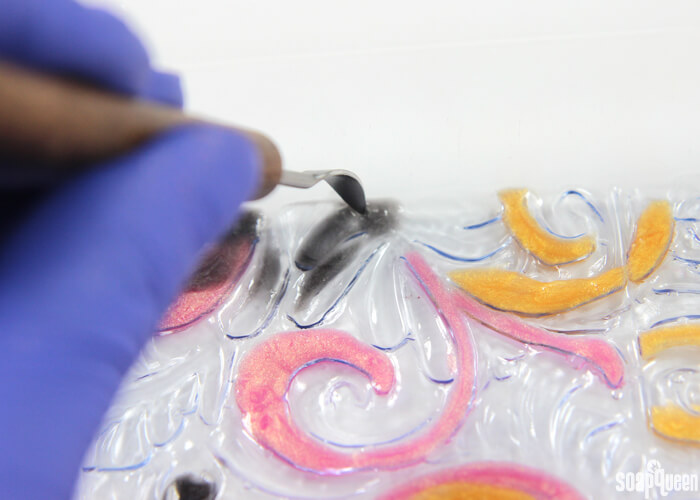
 TWO: Spritz the Tray Floral Wallpaper Mold with alcohol. Spraying the mold helps the soap easily spread into the design. Using a dropper or an injector tool, begin filling in the design with all three colors. There is no right or wrong way to fill in the design, so just have fun with it! Periodically spray the tray and freshly poured soap with rubbing alcohol to disperse any bubbles in the soap, and to help the soap spread throughout the design.
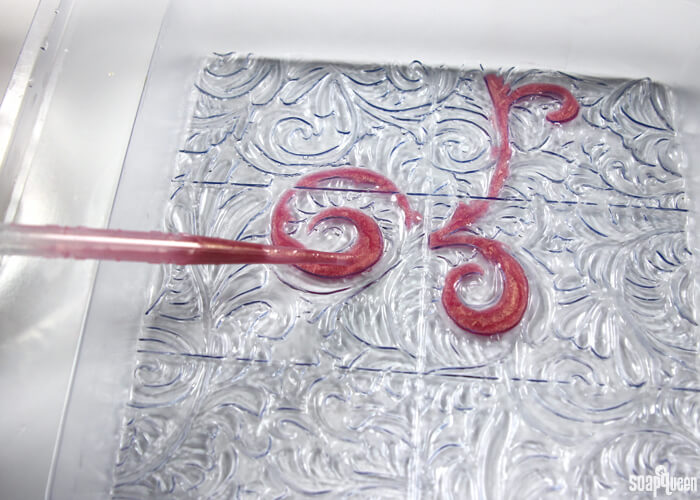
To help make sure there was an even amount of each color in each bar, I alternated colors while filling in the tray. I concentrated on filling in the larger design elements with pink and gold, and used the black soap to accent and define.

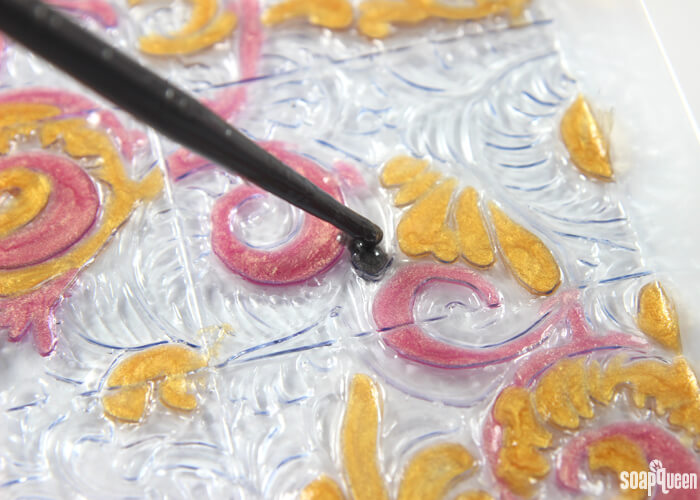
If the soap goes into an area where you did not intend, don’t fret! Allow the soap to harden and use a Clean Up Tool to scrape the soap out of the space. If necessary, place the soap back into the microwave using 5 second bursts to ensure it stays fluid and workable. You may also want to have a few extra droppers nearly; the soap can harden and cool in the droppers.
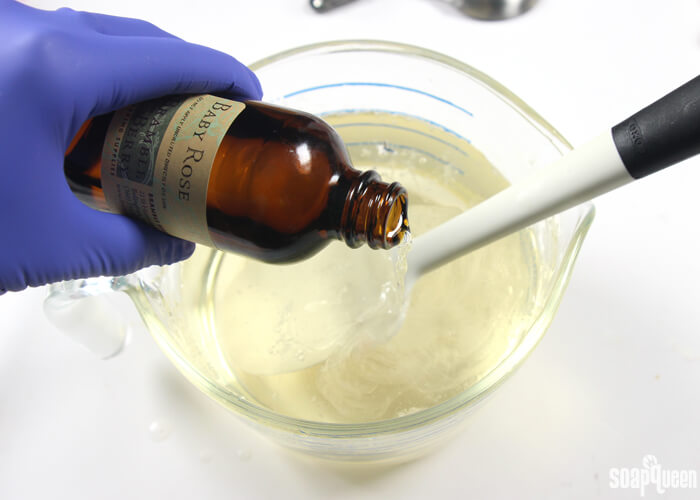
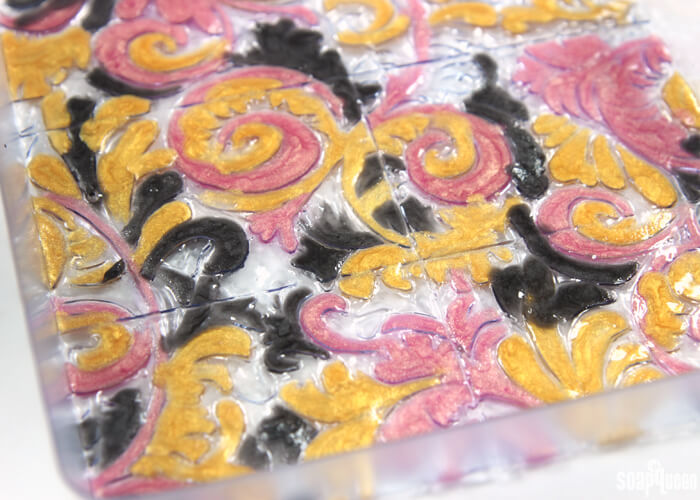 THREE: Once the pattern is full, allow it to fully cool and harden Don’t wait too long though! Just a few minutes is all you need. If you want too long, the next layer will have a tough time adhering to the small details. Chop and melt 27 oz. of Clear Melt and Pour Base in a heat safe container using 30 second bursts. Once fully melted, add .5 oz. of Baby Rose Fragrance Oil and use a spoon or spatula to thoroughly mix in.
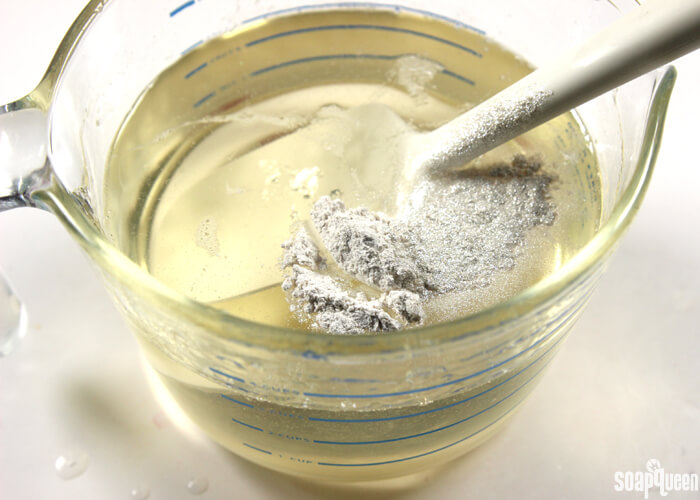
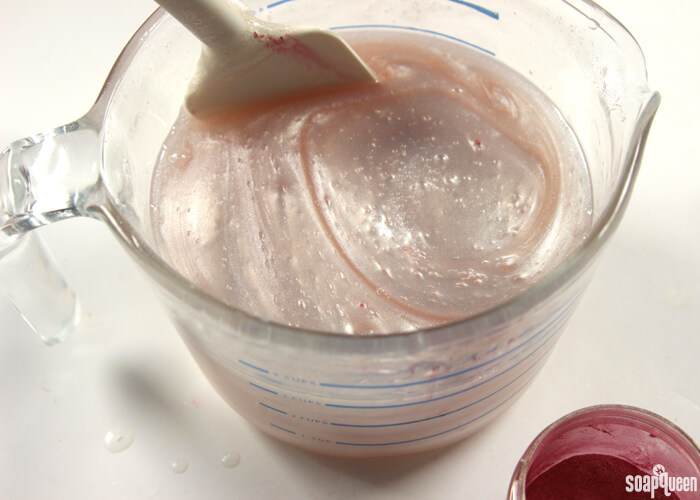
FOUR: Add 1 tsp. Super Pearly White and 1 tsp. Snowflake Sparkle Mica and use a spoon or spatula to thoroughly mix until there are no clumps. Add a pinch of Rose Gold Mica – just enough to add a light pink hue. Stir to mix in. If you get mica bubbles at the top of the container, just a quick spritz of rubbing alcohol will break them up.
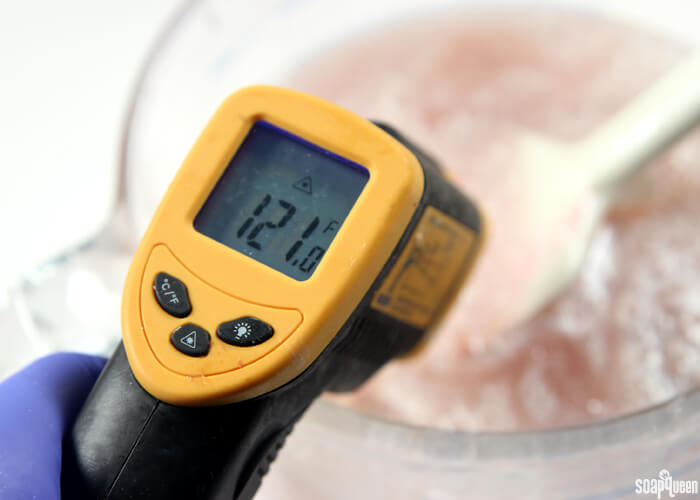
FIVE: Allow the melted soap to cool until it’s 125 ° F or below. If the soap is too hot, it may melt the design below.
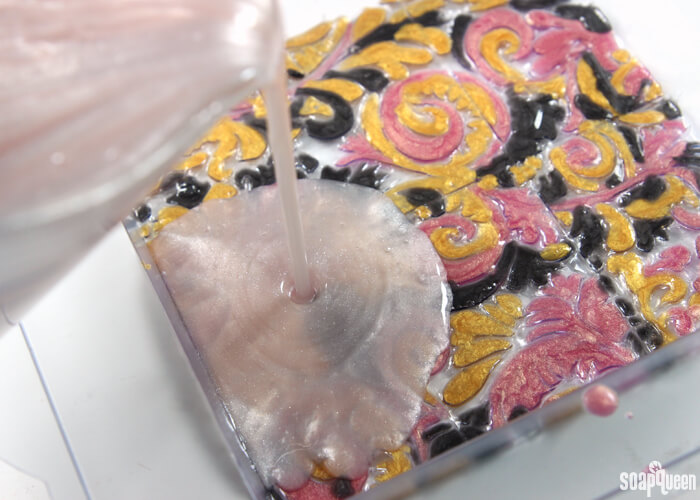
SIX: Once the soap has cooled, spritz the bottom layer with rubbing alcohol to help the melted soap adhere. Then, gently pour the pink soap into the mold.
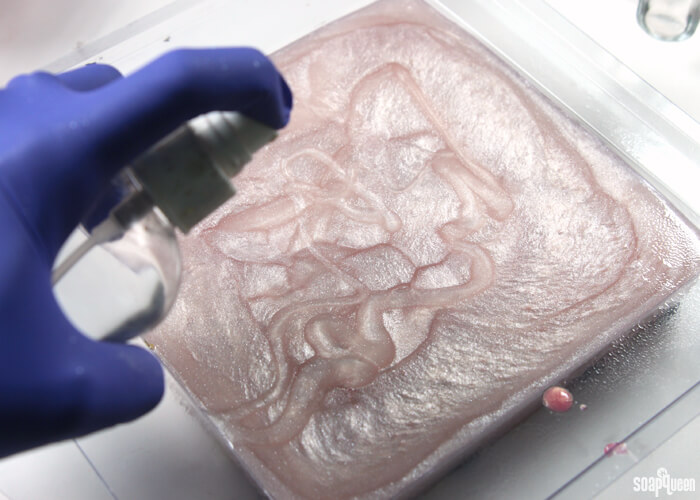
SEVEN: Spritz the top with rubbing alcohol to disperse any bubbles. Allow to fully cool and harden, then cut along the perforation to create bars. Wrap in plastic wrap or another airtight packaging option to help prevent sweating, aka: glycerin dew. Read more about storing handmade products here.
What’s your favorite color to use in melt and pour soap? I’d love to see this design in purples, yellows and dark blue too.

Romantic Rose Gold Melt & Pour Bars
Ingredients
- Tray Floral Wallpaper Mold
- 33 oz. Clear Melt and Pour Base
- .5 oz. Baby Rose Fragrance Oil
- Luster Black Mica
- Rose Gold Mica
- King's Gold Mica
- Snowflake Sparkle Mica
- Super Pearly White Mica
- Optional: Droppers 99% Isopropyl Alcohol, Clean-Up Tool
Instructions
- Chop 6 oz. of Clear Melt and Pour Soap in small, even pieces. Put 2 oz. of soap into three separate heat safe containers and melt in the microwave using 10 second bursts. Once melted, quickly add 1/2 tsp. Luster Black Mica to one container, 1 tsp. Rose Gold Mica to another, and 1 tsp. King’s Gold Mica to the last. Use a spoon to thoroughly mix in the powders.
- Spritz the Tray Floral Wallpaper Mold with alcohol. Spraying the mold helps the soap easily spread into the design. Using a dropper or an injector tool, begin filling in the design with all three colors. There is no right or wrong way to fill in the design, so just have fun with it! Periodically spray the tray and freshly poured soap with rubbing alcohol to disperse any bubbles in the soap, and to help the soap spread throughout the design. To help make sure there was an even amount of each color in each bar, I alternated colors while filling in the tray. I concentrated on filling in the larger design elements with pink and gold, and used the black soap to accent and define. If the soap goes into an area where you did not intend, don’t fret! Allow the soap to harden and use a Clean Up Tool to scrape the soap out of the space. If necessary, place the soap back into the microwave using 5 second bursts to ensure it stays fluid and workable. You may also want to have a few extra droppers nearly; the soap can harden and cool in the droppers.
- Once the pattern is full, allow it to fully cool and harden. Chop and melt 27 oz. of Clear Melt and Pour Base in a heat safe container using 30 second bursts. Once fully melted, add .5 oz. of Baby Rose Fragrance Oil and use a spoon or spatula to thoroughly mix in.
- Add 1 tsp. Super Pearly White and 1 tsp. Snowflake Sparkle Mica and use a spoon or spatula to thoroughly mix until there are no clumps. Add a pinch of Rose Gold Mica – just enough to add a light pink hue. Stir to mix in.
- Allow the melted soap to cool until it’s 125 ° F. If the soap is too hot, it may melt the design below.
- Once the soap has cooled, spritz the bottom layer with rubbing alcohol to help the melted soap adhere. Then, gently pour the pink soap into the mold.
- Spritz the top with rubbing alcohol to disperse any bubbles. Allow to fully cool and harden, then cut along the perforation to create bars. Wrap in plastic wrap or another airtight packaging option to help prevent sweating, aka: glycerin dew.