
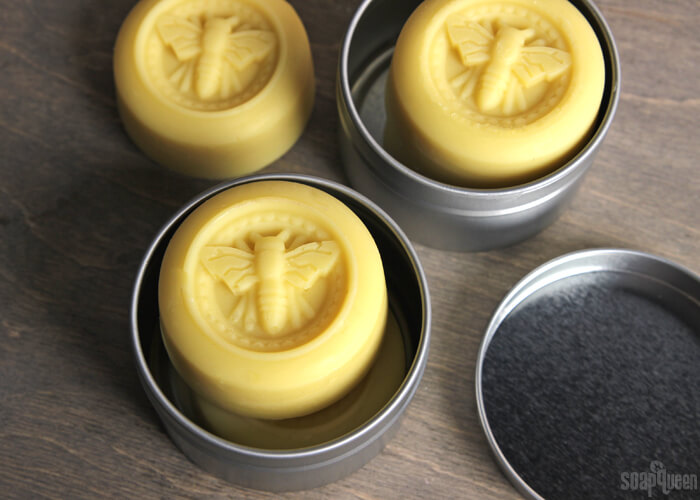
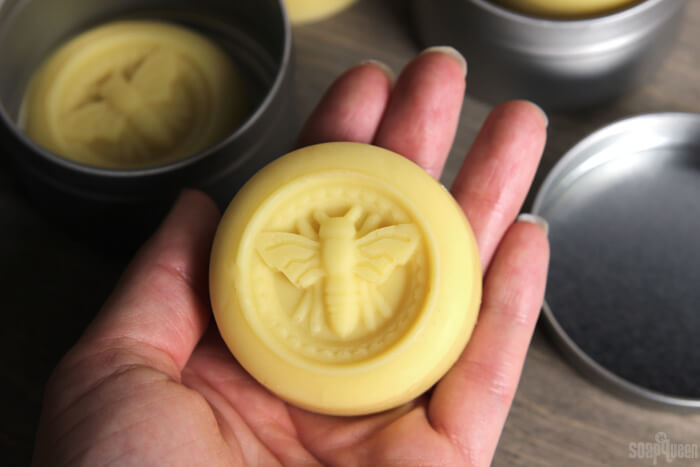
Beeswax is an incredibly versatile ingredient. It’s used in a variety of projects including balms, soap, lotion and more. In these Beeswax & Honey Lotion Bars, yellow beeswax gives firmness and a lovely yellow color. To add softness and skin-loving properties, olive oil and shea butter are added. The combination of the oil, butter and wax create a lotion bar that’s firm at room temperature, but softens when applied to the skin.
Pure Honey Fragrance Oil adds a sweet smell to the bars. Combined with the natural smoky scent from yellow beeswax, these bars smell good enough to eat! Two lotion bars can fit into a candle tin fairly comfortably, but the top of the bar may get a little squished. If you’re packaging them in tins, you may want to underfill the cavities slightly to make them a little slimmer. You could also package the bars in bail jars, cube boxes, or gift bags. If you’re giving these bars as gifts, download and print these labels on Waterproof Label Paper for a polished look. Store them in a cool, dry and dark place to avoid any melting or softening.
What You’ll Need:
6 Cavity Guest Bee Silicone Mold
3.5 oz. Olive Oil
3.5 oz. Shea Butter
2.5 oz. Yellow Beeswax
3 mL Pure Honey Fragrance Oil
Dropper
Optional: Save the Bees Label Template & 3 Candle Tins
![]()
Click here to add everything you need for this project to your Bramble Berry shopping cart!
[sq_products]
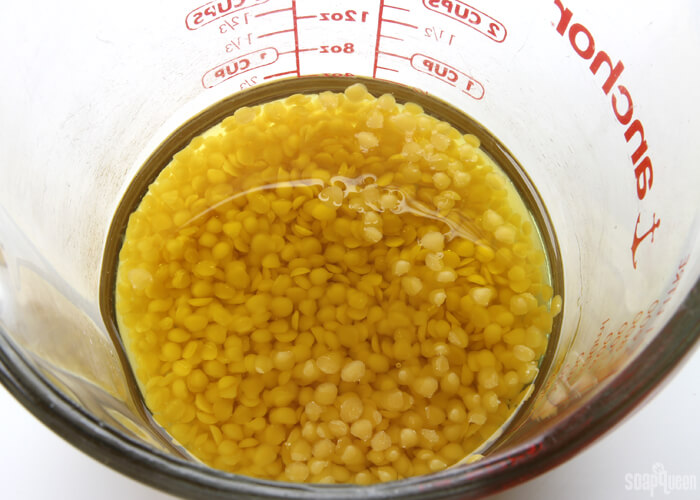
ONE: In a small heat-safe container, combine the olive oil and yellow beeswax. Place in the microwave and heat using 30-60 second bursts until fully melted. Beeswax has a high melting point and can take a while to fully melt. Because of this, don’t use a glass container with too much head space. The container can actually explode if it gets too hot! Once melted, remove from the microwave carefully, as the mixture will be very hot.
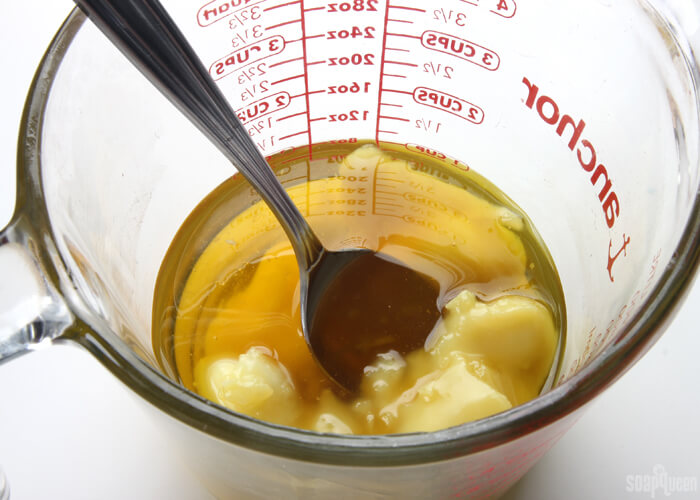
TWO: Add the shea butter and stir. The heat from the mixture will begin to melt the shea butter. If necessary, place the container back into the microwave and heat using 15-20 second bursts until the mixture is clear.
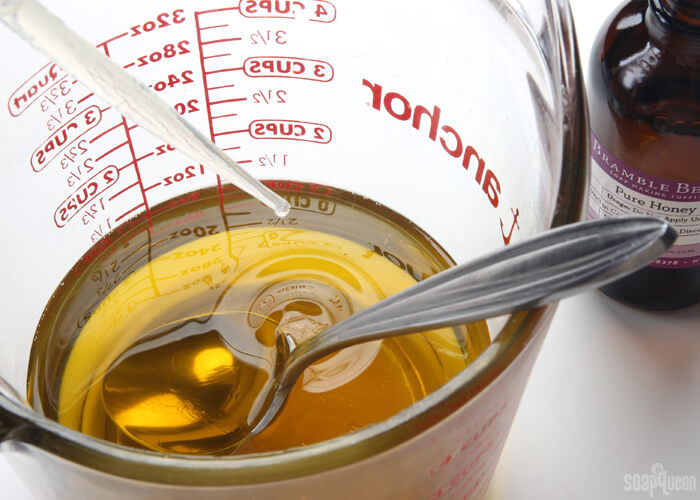
THREE: Add the Pure Honey Fragrance Oil and stir to completely mix in.
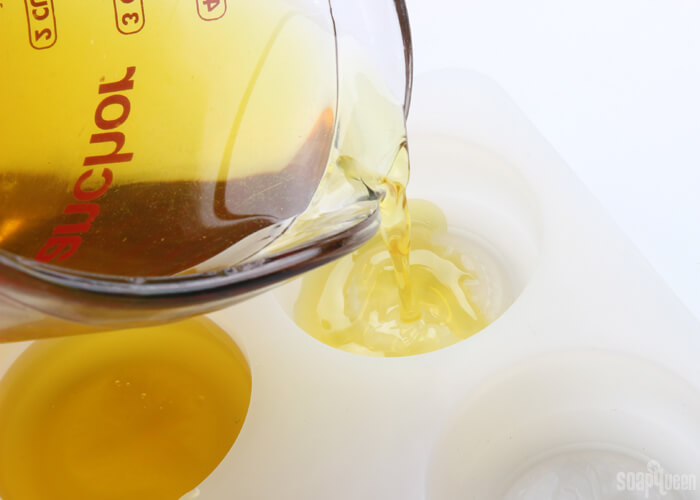
FOUR: Carefully pour the mixture into each mold cavity. Allow to fully cool and harden. This will take several hours or up to overnight. Remove from the mold. Store these bars in a cool place because they can melt slightly in extremely high temperatures! To use, warm in hands and apply to dry areas of the skin. I love lotion bars for dry patches such as knees and elbows!

Beeswax Lotion Bars DIY
Ingredients
- 6 Cavity Guest Bee Silicone Mold
- 3.5 oz. Olive Oil
- 3.5 oz. Shea Butter
- 2.5 oz. Yellow Beeswax
- 3 mL Pure Honey Fragrance Oil
- Droppers
Instructions
- In a small heat-safe container, combine the olive oil and yellow beeswax. Place in the microwave and heat using 30-60 second bursts until fully melted. Beeswax has a high melting point and can take a while to fully melt. Because of this, don't use a glass container with too much head space. The container can actually explode if it gets too hot! Once melted, remove from the microwave carefully, as the mixture will be very hot.
- Add the shea butter and stir. The heat from the mixture will begin to melt the shea butter. If necessary, place the container back into the microwave and heat using 15-20 second bursts until the mixture is clear.
- Add the Pure Honey Fragrance Oil and stir to completely mix in.
- Carefully pour the mixture into each mold cavity. Allow to fully cool and harden. This will take several hours or up to overnight. Remove from the mold. Store these bars in a cool place, because they can melt slightly in extremely high temperatures!