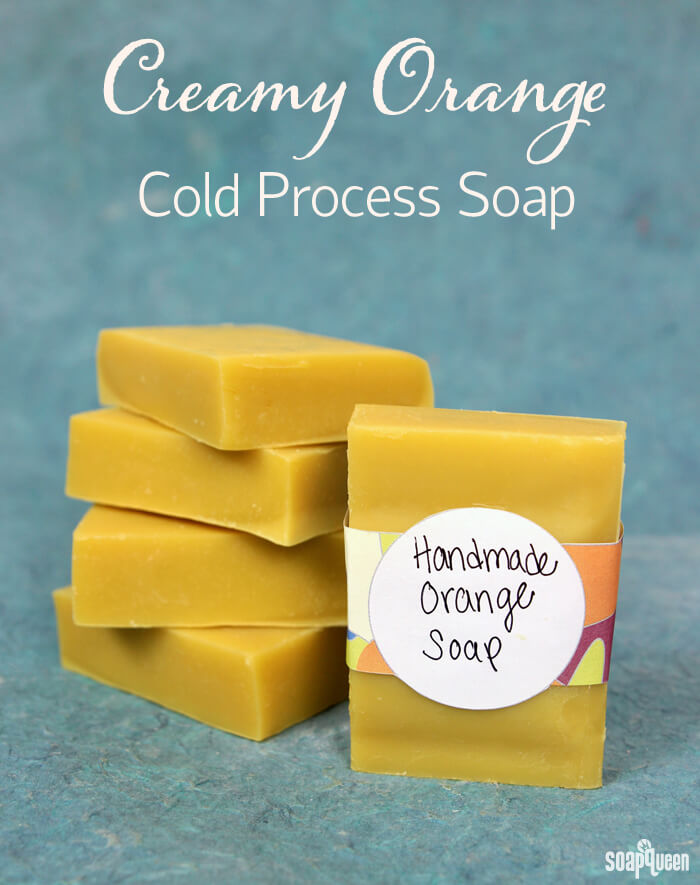
Today is the second tutorial in the Back to Basics Cold Process Series. Now that we have made a basic recipe with coconut oil, palm oil and olive oil, we are adding cocoa butter into the mix! The addition of cocoa butter adds to the firmness of the bar. It also causes the soap batter to reach a thick trace more quickly. In addition, 10X Orange Essential Oil is added to give this soap a beautiful, natural orange color. The Back to Basics Soapmaking Kit includes all the soaping ingredients you need to create all four recipes in this series, including the 10″ Silicone Mold. Now, let’s get soaping!
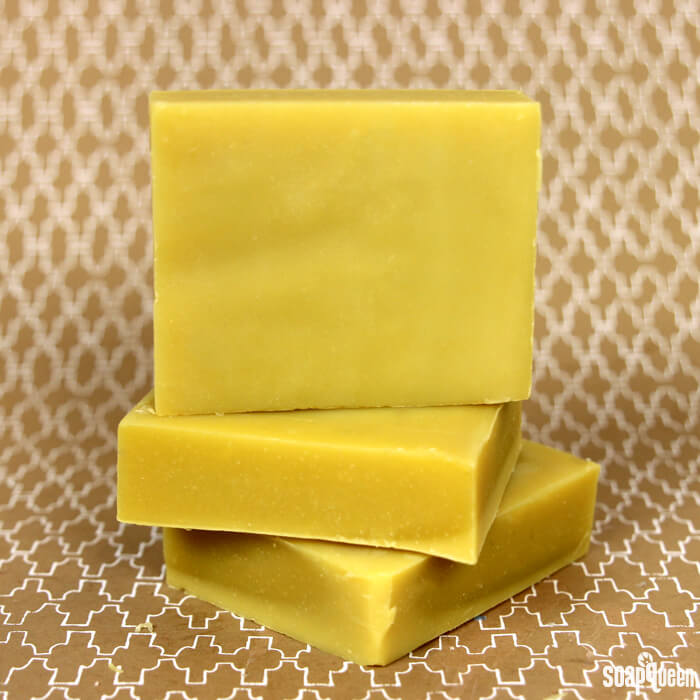
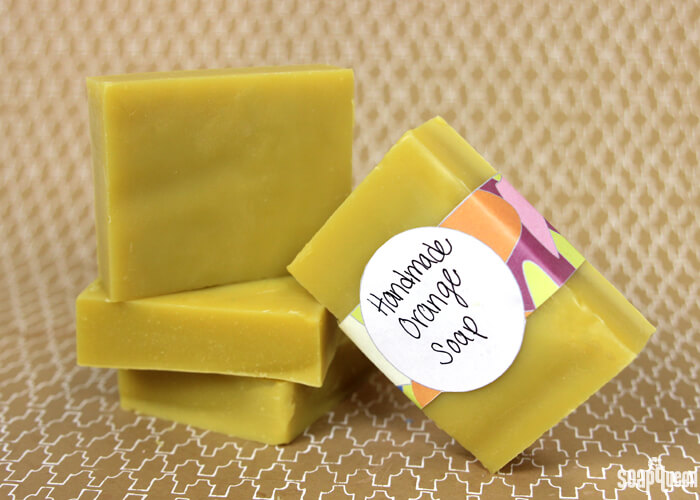
 The soap bands shown above are included in the Back to Basics Kit!
One of the most best parts of soap making is trying out different oils and butters. It’s interesting to see how various oils and butters affect trace and the final product. There are so many soaping oils, it can take a few batches to find “the perfect bar” for you. Everybody likes different soap properties (cleansing, moisturizing, exfoliating, etc), so it’s fun to experiment! This recipe is comprised of coconut oil, palm oil, olive oil and cocoa butter. To learn more about properties of common soap making oils, check out this blog post.
The coconut oil, palm oil and cocoa butter contribute to the firmness of the bar. A large percentage of olive oil is used to give the bar softness. In addition to firmness, coconut oil also gives the bar a lush lather and cleansing properties. Cocoa butter is used at 10% for firmness and for its skin loving properties. Cocoa butter is a stable fat and also contains natural antioxidants, making it a popular choice for cold process recipes. Read more about it in this Sunday Night Spotlight.
Use cocoa butter at 15% or less in cold process soaps; any higher than than can cause cracking in your final bar. Because of its naturally chocolatey scent, cocoa butter can hide some delicate fragrances, like florals. This is important when working with more faint or delicate fragrances. The cocoa butter will cause this recipe to reach trace and become thicker faster than some recipes. Keep this in mind when stick blending! Because of their ability to thicken trace, butters are an excellent addition for designs with layers and textured tops. Finally, cocoa butter has a higher melt point than other oils in this recipe so keeping to the warmer end of the temperature range is helpful to keeping it fully workable the entire process.
This recipe contains a 5% superfat. This means that 5% of the oils in this recipe were not turned into soap, and are “free floating” in the soap. In other words, this recipe contains 5% less lye than necessary to turn 100% of the oils into soap. Learn more about superfatting soap in this blog post.
Creamy Orange Cold Process Soap Recipe (Superfat 5%)
13.6 oz. Olive Oil (40%)
8.5 oz. Palm Oil (25%)
8.5 oz. Coconut Oil (25%)
3.4 oz. Cocoa Butter (10%)
4.8 oz. Sodium Hydroxide Lye
11.2 oz. Distilled Water
2 oz. 10X Orange Essential Oil
This tutorial is the second in the Back to Basics Cold Process Series. This series of tutorials includes four cold process recipes that are perfect for beginning soapers. The Back to Basics Soapmaking Kit includes all the soaping ingredients you need to create all four recipes, including the 10″ Silicone Mold. The only ingredient you need to buy separately is lye, and any tools you may need. A great way to receive the basic soaping tools is with the Beginner’s Soaping Tool Kit, or click the “Buy it Now” button for the tools necessary for this project, lye and kit to your cart to your cart separately.

Click here to add everything you need for this project to your Bramble Berry shopping cart!
If you’ve never made Cold Process soap before, stop here! I highly recommend checking out our FREE four part SoapQueen.tv series on Cold Process Soapmaking, especially the episode on lye safety. And if you’d rather do some reading, Bramble Berry carries a wide range of books on the topic, including my newest book, Soap Crafting. You can also checkout the digital downloads for that instant gratification factor. I also recommend reviewing the first blog post in this series, which is all about how to handle lye safely.
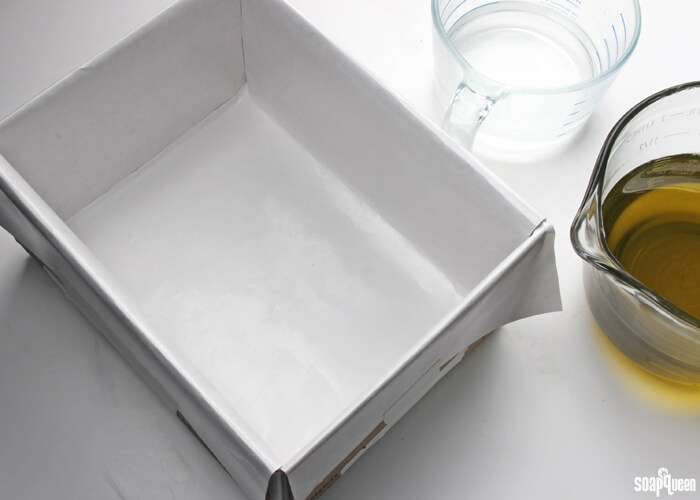
Prepare your Mold: For this recipe, we are going to use a box rather than a mold. To turn any box into a soap making mold, it first needs to be lined with freezer paper. Freezer paper is heavy duty and durable, and has one side that is shiny. This side needs to be facing up. Learn how to line molds including recycled boxes in this blog post. In particular, we are using a USPS Medium Flat Rate Box. The inside dimensions are 11″ x 8-1/2″ x 5-1/2″.
Set Up Your Area: Before soaping, it’s helpful to have your soaping area prepared before you start. While soaping, you don’t want to be running around looking for a spatula or whisk! Because this recipe does not have any complicated designs, the tools are minimal. But you will need your fully lined mold, prepared lye water, pre-mixed oils, stick blender, and a spatula. Check out the Soapy Session Preparation and Setup Guide for tips.
SAFETY FIRST: Suit up for safe handling practices! That means goggles, gloves and long sleeves. Make sure kids, pets, and other distractions and tripping hazards are out of the house or don’t have access to your soaping space. Always soap in a well-ventilated area.
ONE: Slowly and carefully add the lye to the water and gently stir until the lye has fully dissolved and the liquid is clear. Set aside to cool.
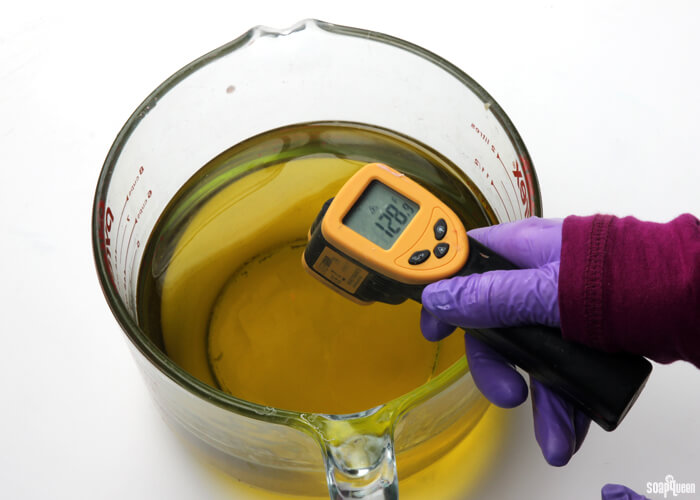
TWO: Combine the correct weights of coconut oil, olive oil, cocoa butter and palm oil (remember to fully melt then mix your entire container of palm oil before portioning). Allow the lye water and the oils to cool to 130°F or below (and are ideally within 10 degrees of each other). For this recipe, both the oils and lye were around 120°F.
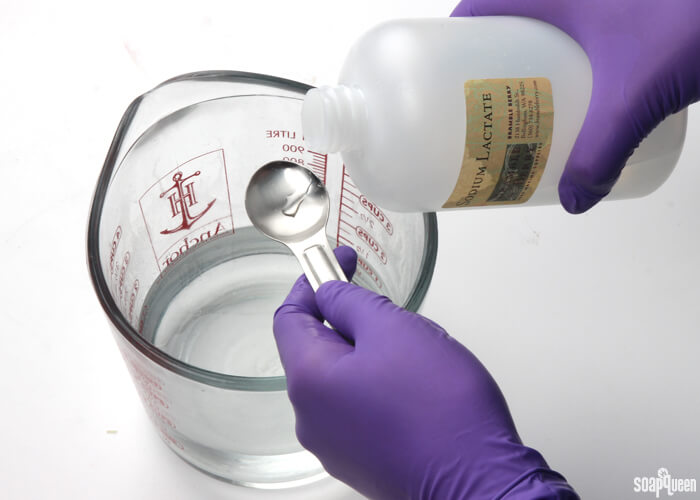
If you’d like a harder bar of soap that releases faster from the mold, you can add sodium lactate to the cooled lye water. Use 1 teaspoon of sodium lactate per pound of oils in the recipe. For this recipe, you’d add about 2 tsp. sodium lactate.
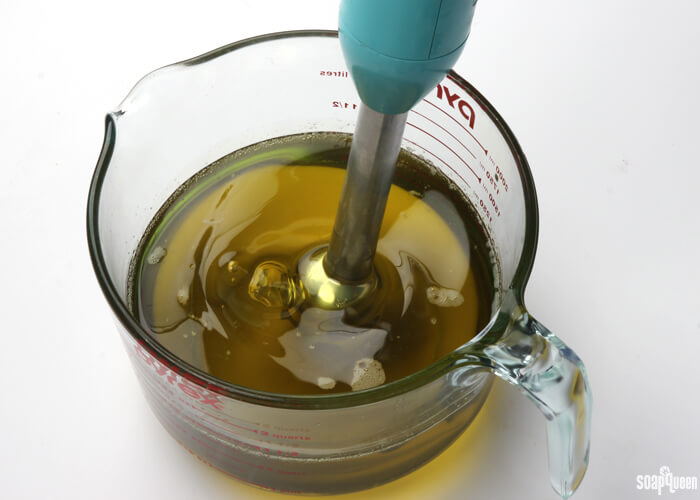
THREE: Place your stick blender into the oils. Gently tap the blender on the bottom of the bowl several times to release any bubbles that got trapped by the stick blender head. This is called, “burping the stick blender.”
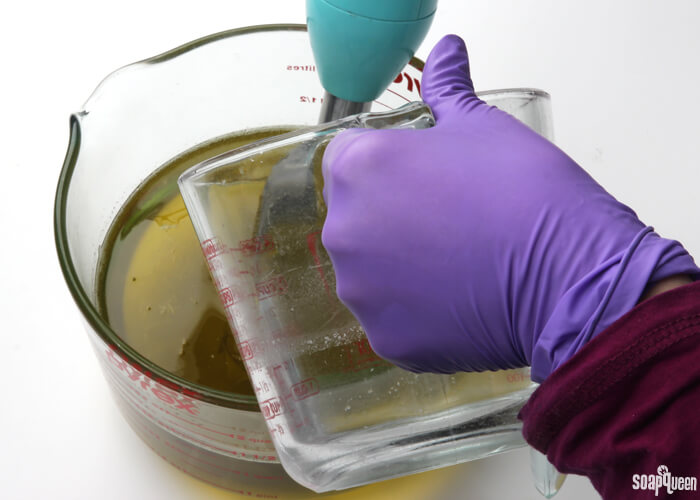
 FOUR: Once bubbles no longer rise to the surface of the oils, gently pour the cooled lye water down the shaft of the stick blender and into the oils.
 FIVE: Turn on the stick blender and pulse several times. You will immediately see the lye and oils begin to come together, and begin to create a creamy yellow color. As you continue to mix, the color will become lighter. Alternate between using the stick blender to stir the mixture, and pulsing the stick blender.
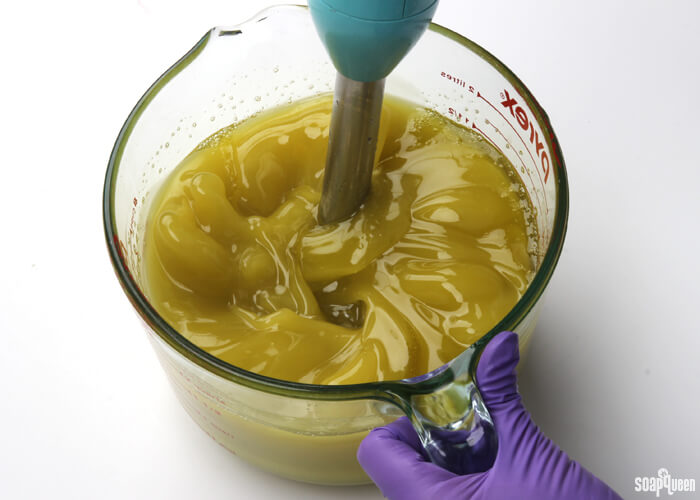
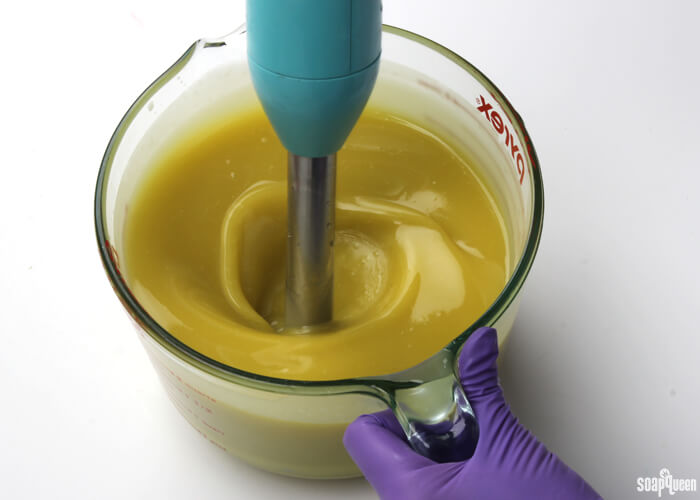
SIX: After about 30 seconds, test for trace. Because this recipe contains 10% cocoa butter, it will begin to thicken more quickly than recipes that do not contain butters, or have a high amount of liquid oil. To test for trace, lift the stick blender up and out of the batter, and “drizzle” soap on top. If the drizzles of soap are slightly supported on top of the batter, this is a thin trace. Be sure to also check the sides of the bowl; you want to make sure you see no streaks of oil within the mixture.
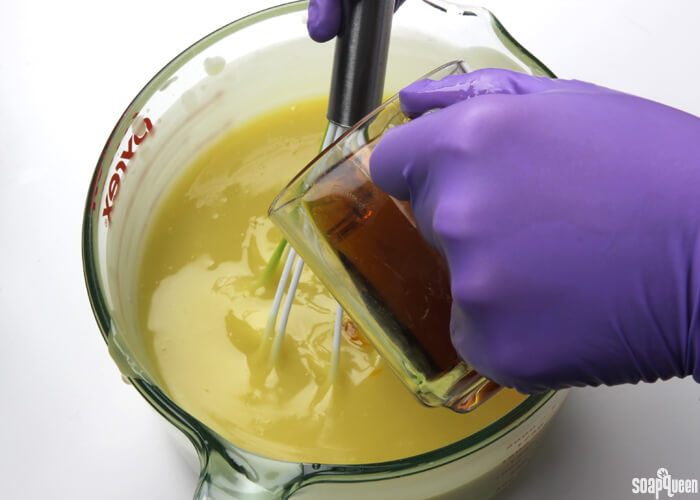
 SEVEN: Once you have reached a thin trace, add all the 10X Orange Essential Oil and gently mix in with a whisk. You will notice the color of the soap batter to change into a beautiful orange color immediately. Note that 10X Orange Essential oil has been specially re-distilled so that the scent lasts in soap. Normal Orange Essential Oil will not retain its scent with cold process soap recipes.
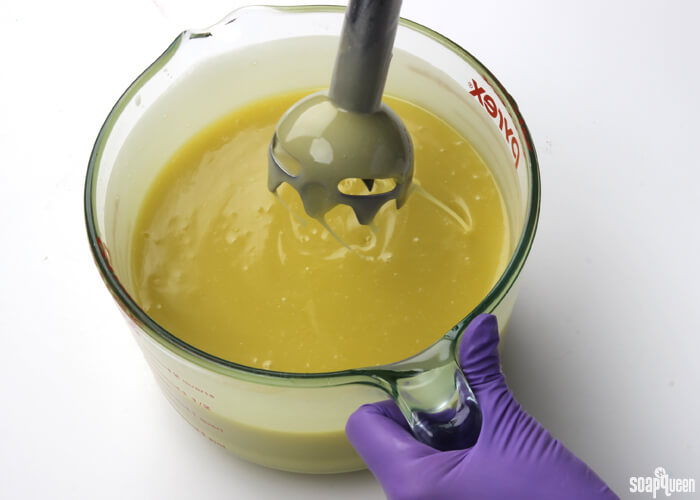
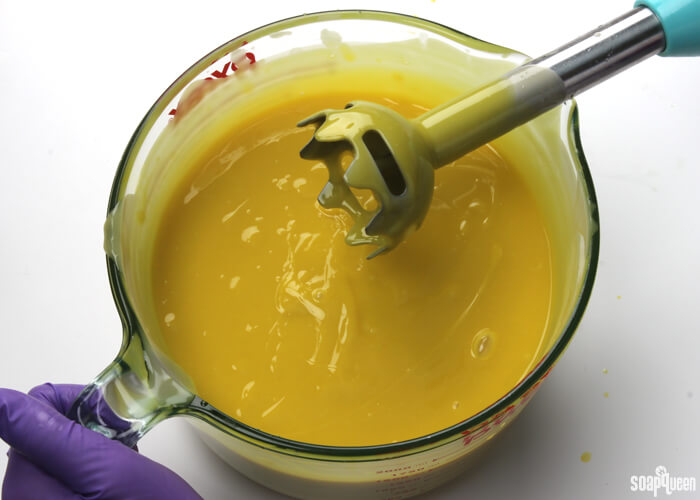
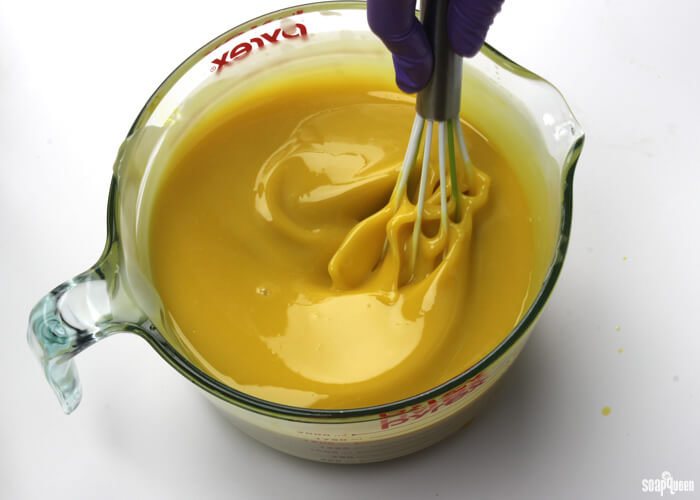 EIGHT: Once the essential oil is mixed in, pulse the mixture a few more times with the stick blender until you reach a medium trace. Below, you can see that the soap is fairly thick, and supports itself on top of the mixture. This is a great example of medium trace. For even more examples of trace, check out this blog post.
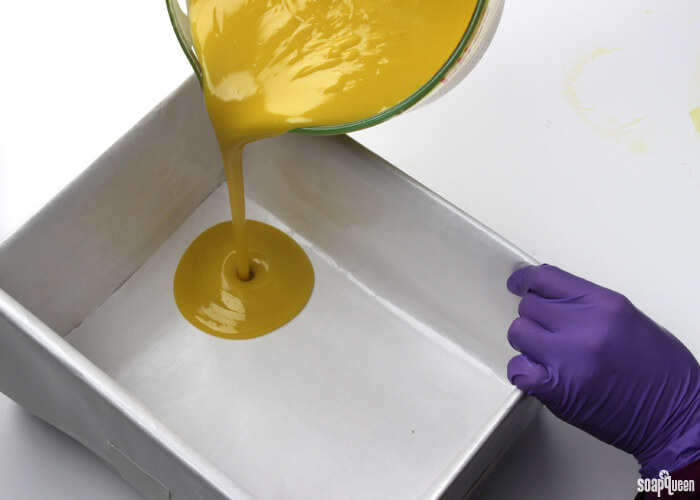
 NINE: Pour the soap into the lined mold, scraping the sides of the bowl with a spatula to get all the soap into the mold. Tap the mold on the counter firmly to help eliminate air bubbles. Make sure you still have your goggles on! Sometimes soap can jump up during this process. =)
 TEN: Spray the top of the soap with 99% isopropyl alcohol. Doing so helps to prevent soda ash from forming. Allow the soap to sit in the mold for 3-4 days. Unmold, and cut into bars. Allow the soap to cure for 4-6 weeks. During this time, the soap becomes more mild and water evaporates from the soap making it firmer and longer lasting in the shower. The soap can be used before the full cure time, but will not last as long. It’s best to wait!

Do you like working with butters in your cold process recipes? Do you have any tips for working with them to share with readers and new soapmakers?

Back to Basics: Creamy Orange Cold Process Tutorial
Ingredients
- 13.6 oz. Olive Oil 40%
- 8.5 oz. Palm Oil 25%
- 8.5 oz. Coconut Oil 25%
- 3.4 oz. Cocoa Butter 10%
- 4.8 oz. Sodium Hydroxide Lye
- 11.2 oz. Distilled Water
- 2 oz. 10X Orange Essential Oil
Instructions
Prepare your Mold: For this recipe, we are going to use a box rather than a mold. To turn any box into a soap making mold, it first needs to be lined with freezer paper. Freezer paper is heavy duty and durable, and has one side that is shiny. This side needs to be facing up. Learn how to line molds including recycled boxes in this blog post. In particular, we are using a USPS Medium Flat Rate Box. The inside dimensions are 11″ x 8-1/2″ x 5-1/2″.
Set Up Your Area: Before soaping, it’s helpful to have your soaping area prepared before you start. While soaping, you don’t want to be running around looking for a spatula or whisk! Because this recipe does not have any complicated designs, the tools are minimal. But you will need your fully lined mold, prepared lye water, pre-mixed oils, stick blender, and a spatula. Check out the Soapy Session Preparation and Setup Guide for tips.
SAFETY FIRST: Suit up for safe handling practices! That means goggles, gloves and long sleeves. Make sure kids, pets, and other distractions and tripping hazards are out of the house or don’t have access to your soaping space. Always soap in a well-ventilated area.
- Slowly and carefully add the lye to the water and gently stir until the lye has fully dissolved and the liquid is clear. Set aside to cool.
- Combine the coconut oil, olive oil, cocoa butter and palm oil (remember to fully melt then mix your entire container of palm oil before portioning). Allow the lye water and the oils to cool to 130°F or below (and are ideally within 10 degrees of each other). For this recipe, both the oils and lye were around 120°F. If you’d like a harder bar of soap that releases faster from the mold, you can add sodium lactate to the cooled lye water. Use 1 teaspoon of sodium lactate per pound of oils in the recipe. For this recipe, you’d add about 2 tsp. sodium lactate.
- Place your stick blender into the oils. Gently tap the blender on the bottom of the bowl several times to release any bubbles that got trapped by the stick blender head. This is called, “burping the stick blender.”
- Once bubbles no longer rise to the surface of the oils, gently pour the cooled lye water down the shaft of the stick blender and into the oils.
- Turn on the stick blender and pulse several times. You will immediately see the lye and oils begin to come together, and begin to create a creamy yellow color. As you continue to mix, the color will become lighter. Alternate between using the stick blender to stir the mixture, and pulsing the stick blender.
- After about 30 seconds, test for trace. Because this recipe contains 10% cocoa butter, it will begin to thicken quicker than recipes that do not contain butters, or have a high amount of liquid oil. To test for trace, lift the stick blender up and out of the batter, and “drizzle” soap on top. If the drizzles of soap are slightly supported on top of the batter, this is a thin trace. Be sure to also check the sides of the bowl; you want to make sure you see no streaks of oil within the mixture.
- Once you have reached a thin trace, add all the 10X Orange Essential Oil and gently mix in with a whisk. You will notice the color of the soap batter to change into a beautiful orange color immediately.
- Once the essential oil is mixed in, pulse the mixture a few more times with the stick blender until you reach a medium trace. Below, you can see that the soap is fairly thick, and supports itself on top of the mixture. This is a great example of medium trace. For even more examples of trace, check out this blog post.
- Pour the soap into the lined mold, scraping the sides of the bowl with a spatula to get all the soap into the mold. Tap the mold on the counter firmly to help eliminate air bubbles. Make sure you still have your goggles on! Sometimes soap can jump up during this process. =)
- Spray the top of the soap with 99% isopropyl alcohol. Doing so helps to prevent soda ash from forming. Allow the soap to sit in the mold for 3-4 days. Unmold, and cut into bars. Allow the soap to cure for 4-6 weeks. During this time, water evaporates from the soap making it firmer and longer lasting in the shower. The soap can be used before the full cure time, but will not last as long. It’s best to wait!