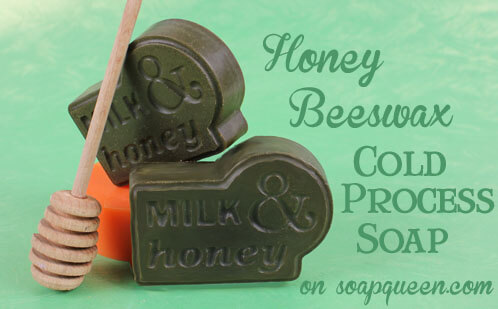
Did you know that our Heavy Duty (HD) and ELF molds are great for cold process? They’re made of durable FDA approved food grade plastic, which means you can use them for food projects like this adorable holiday tutorial demonstrates (just remember to keep molds for food separate from molds for soap!). It also means that your cold process soap may typically need 1-2 weeks before it’s ready to unmold from these molds. The range of designs in this mold line is totally worth the wait, but a bit of Sodium Lactate (1 tsp per pound of oils) added to cooled lye water can help facilitate the hardening process and allow for a shorter wait time.
Recipe:
0.55 oz Cocoa Butter
3.3 oz Coconut Oil
2.75 oz Olive Oil (pure)
3.3 oz Palm Oil
1.1 oz Sunflower Seed Oil
1.6 oz Sodium Hydroxide (lye)
3.6 oz Distilled Water
1 teaspoon Sodium Lactate
0.8 oz Honey Beeswax fragrance
(Note: This mold has been discontinued.
It has been substituted with the 6 Cavity Honeycomb Silicone Mold.)

Click here to add everything you need for this project to your Bramble Berry shopping cart!
This is a great recipe for beginner soap makers but if you’ve never made cold process soap before, stop right now and watch Cold Process Episodes 1-4 on Soap Queen TV (for free!), especially the episode on lye safety. Bramble Berry also offers a number of books on soapmaking, including this downloadable e-book. Knowledge is power!
SAFETY: Make sure goggles, gloves, and long sleeves are in place. Kids, pets, and other tripping/distraction hazards should be out of the house or not able to access your soaping space for at least an hour. Always soap in a well ventilated area.
ONE: Slowly and carefully add the lye to the water, and stir until clear. Set aside to cool. Add the Sodium Lactate to the cooled lye water and gently stir.
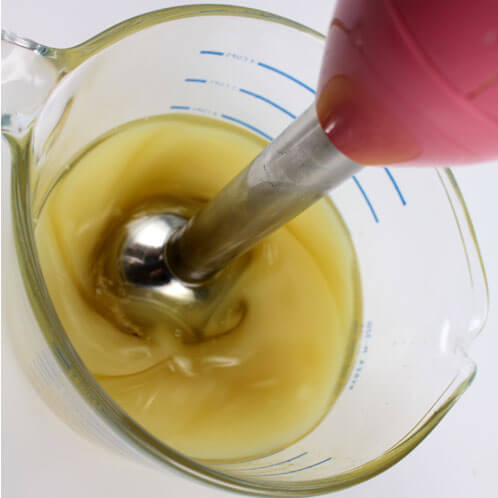
TWO: Melt and combine the Cocoa Butter, Coconut Oil, and Palm Oil. Add the Olive Oil and Sunflower Seed Oil and stir until combined.
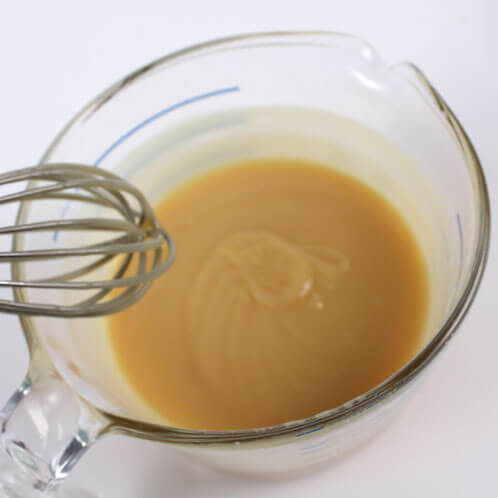
THREE: Once the lye water and oils are at or below 120 degrees (and ideally within 10 degrees of each other), slowly and carefully pour the lye water into the oils. I like to pour down a spatula or the shaft of my stick blender to eliminate air bubbles. Give the mixture a couple swirls with the stick blender off, then turn the stick blender on and bring the soap to light trace.
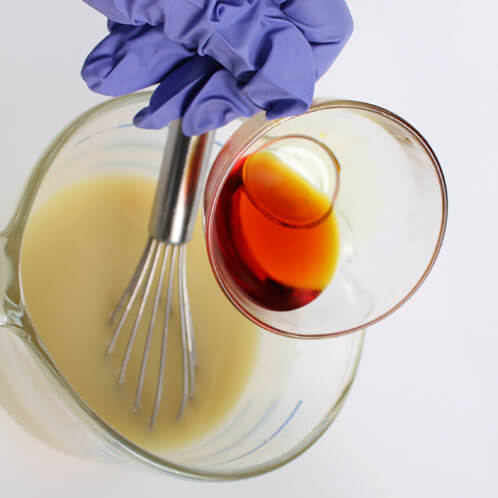
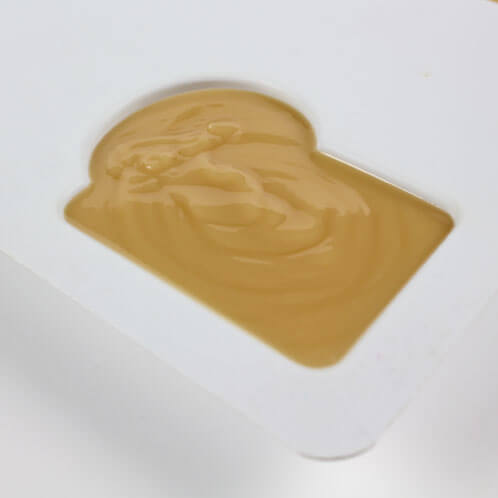
FOUR: Add the Honey Beeswax Fragrance Oil and continue to blend with the stick blender until the fragrance oil is fully mixed in and the soap reaches medium trace.
FIVE: Pour the soap into each cavity of the mold. Tamp the mold on the table to eliminate air bubbles.
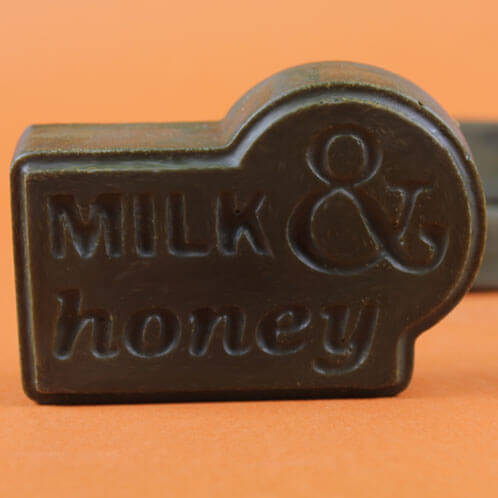
(Note: The Milk and Honey Mold has been discontinued. It has been substituted with the 6 Cavity Honeycomb Silicone Mold.)
Optional: Spray the back of the soap with 91% Isopropyl (Rubbing) Alcohol and cover and insulate for 24 hours. Allow the soap to sit in the mold for at least 5 days before attempting to unmold.