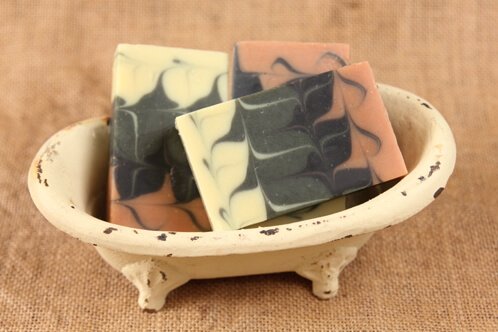
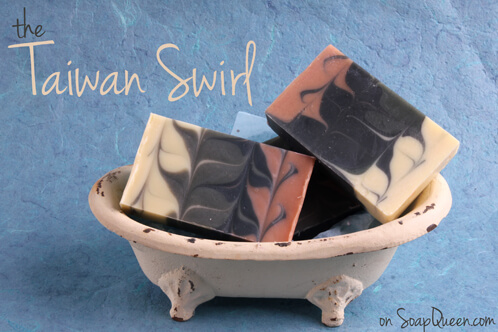
This beautiful technique is called the ‘Taiwan Swirl’ because of the first YouTube video that showcased this style of soapmaking. The most difficult part of this recipe is keeping the batter at a light enough trace to get wispy lines. You can change the look of the design by changing the size of the dowel/chopstick/skewer or swirling tool. This recipe used a larger tool and a thin to medium trace to achieve the final product.
Bonus! The new Multi-Pour Sectioning Tool makes it a breeze to separate the 4 colors in this recipe that create the unique design. Scroll down to step 7 to see how to use the dividers.
What You’ll Need:
3.5 oz. Cocoa Butter
8.7 oz. Coconut Oil
10.5 oz. Olive Oil
5.2 oz. Palm Oil
7 oz. Rice Bran Oil
4.8 oz. Sodium Hydroxide
11.5 oz. distilled water
Essential Oil Blend: 1.5 oz. Litsea Essential Oil and .6 oz. Spearmint Essential Oil

Click here to add everything you need for this project to your Bramble Berry shopping cart!
If you’ve never made Cold Process soap before, stop here! I highly recommend checking out our FREE four part SoapQueen.tv series on Cold Process Soapmaking, especially the episode on lye safety. And if you’d rather do some reading, Bramble Berry carries a wide range of books on the topic, including my newest book, Soap Crafting. You can also checkout the digital downloads for that instant gratification factor.
SAFETY FIRST: Suit up for safe handling practices! That means goggles, gloves and long sleeves. Make sure kids, pets, and other distractions and tripping hazards are out of the house or don’t have access to your soaping space. Always soap in a well-ventilated area.
COLOR PREP: Disperse 1 teaspoon of each colorant into 1 tablespoon of Sunflower or Sweet Almond Oil (or any other liquid oil). Use a mini mixer to get clumps worked out smoothly. Prepping your colors in the beginning will allow you to work quickly and give you more time to work with your soap.
FRAGRANCE PREP: Combine the Litsea and Spearmint essential oils in a glass container and set aside until step 3.
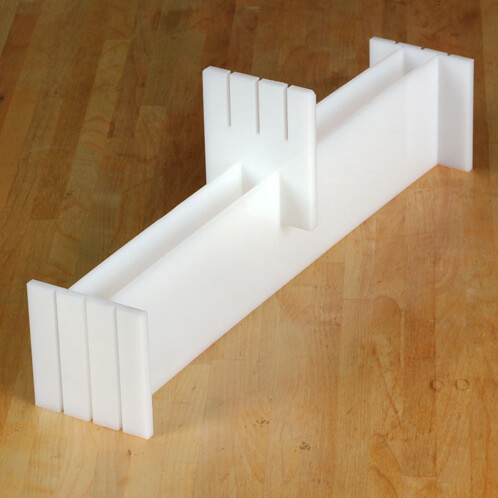
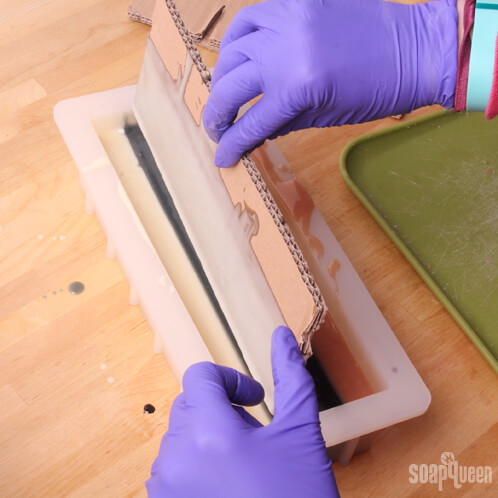
MOLD PREP: Using cardboard, cut three dividers that fit snugly down the center (lengthwise) of the mold. Cardboard brackets on either end can help with stability. If you don’t want to use cardboard, Bramble Berry has a retrofit divider set here for the classic sliding bottom 5 pound mold.
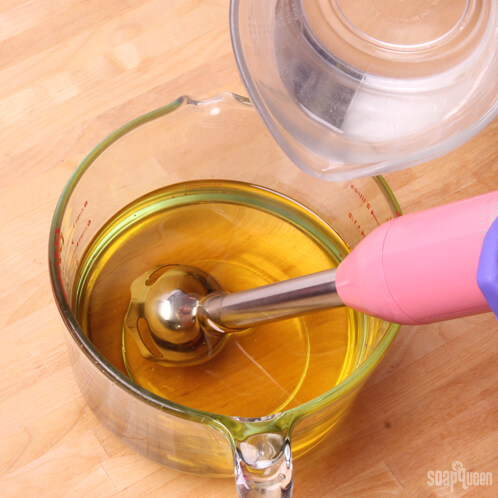
ONE: Slowly and carefully add the lye to the water and gently stir until the lye has fully dissolved and the liquid is clear. Set aside to cool.
TWO: Combine the Cocoa Butter, Coconut Oil, Olive Oil, Rice Bran Oil and Palm oils (remember to fully melt then mix your entire container of Palm Oil before portioning). Once the lye water and the oils have cooled to 130 degrees or below (and are ideally within 10 degrees of each other), add the lye water to the oils and stick blend until thin trace. If you’d like a harder bar of soap that releases faster from the mold, you can add Sodium Lactate to the cooled lye water. Use 1 teaspoon of Sodium Lactate per pound of oils in the recipe.
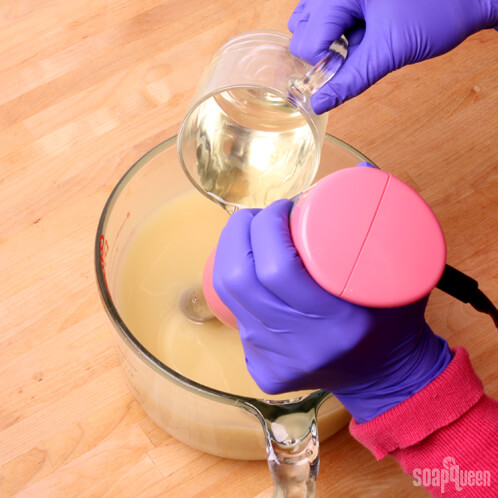
THREE: When the batter reaches light trace, add the essential oil blend. The Litsea Essential Oil will breakdown the trace, so be sure the batter is fully emulsified before moving on. You may need to stick blend for 10 – 20 seconds.
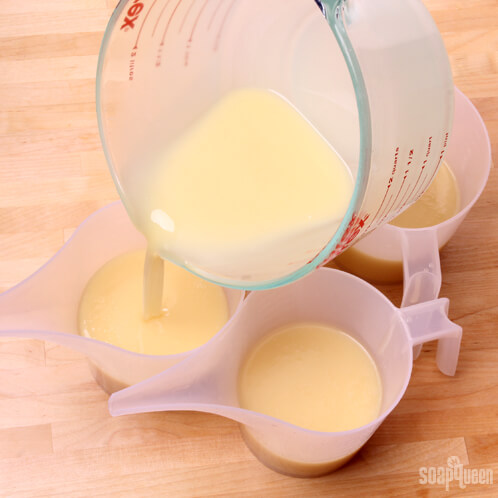
FOUR: Split the batter evenly into four contains. No need to be exact, but each container should hold about 11 – 12 ounces.
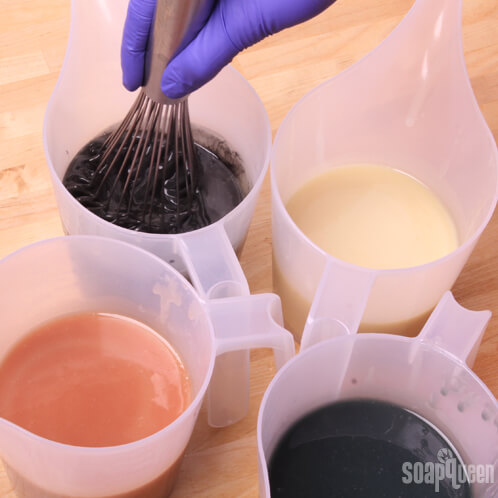
FIVE: Add the dispersed colorants at the following rates:
- 1 teaspoon dispersed Titanium Dioxide
- 3 teaspoons dispersed Indigo Powder
- 1 teaspoon dispersed Dark Red Brazilian Clay
- 2 teaspoons dispersed Activated Charcoal
Stir in the colorants with a wire whisk or spoon.
Quick note: We used cardboard dividers here, but for ease of use the new Multi-Pour Sectioning Tool can’t be beat! This sectioning tool set is perfectly fitted for our 5 Pound Wood Mold with Sliding Bottom. It divides your 5-pound soap loaf into either 3 or 4 sections. Keep in mind it only fits the 5 lb. Wood Mold, so it’s too big for this tutorial. If you want to try the dividers in the bigger mold, simply resize the recipe with the Lye Calculator and set the dividers into the mold.
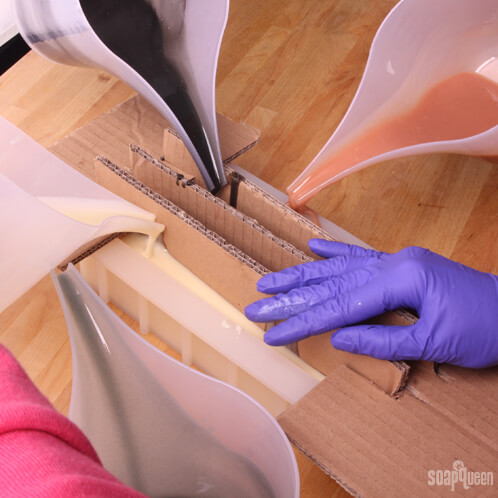
SEVEN: For now we’ll stick with the cardboard, and for this part you may need to grab a friend. Make sure your center pieces of cardboard are stable and then get someone to help you simultaneously pour the colored batters. Tamp the mold on the table several times once all the soap has been poured, and then slowly lift the cardboard straight up and out of the mold.
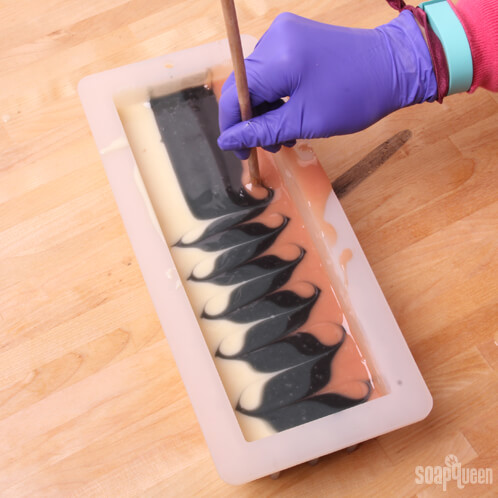
EIGHT: Insert a chopstick or dowel down to the bottom of the mold. Then, move it back and forth horizontally through the soap, working your way up the mold.
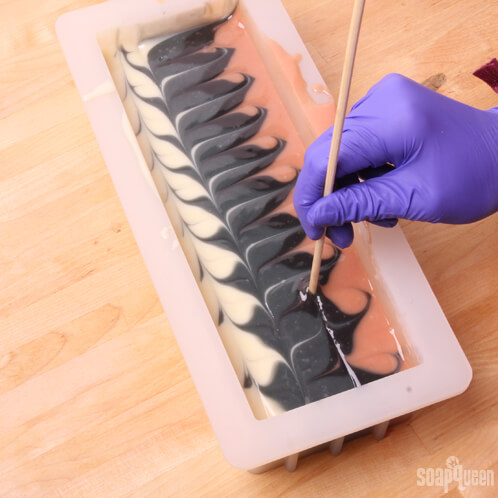
NINE: Repeat this process, except this time move the dowel up and down vertically.
Allow the soap to sit in the mold for 24-48 hours. When it’s time to cut, you can cut the loaf in the traditional way, but I find that the swirls really shine when I cut the bars horizontally. If you’re not sure how to cut bars horizontally, there’s a video for that here. Cure for 4-6 weeks and enjoy!